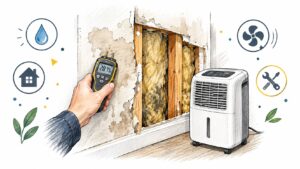
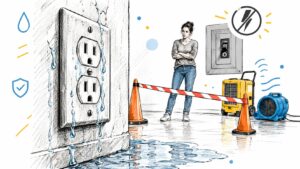
Water is on the floor, the baseboards are wet, and your brain immediately jumps to the worst-case scenario. That reaction is normal. Whether the problem started with a burst pipe, a failed water heater, an overflowing appliance, or storm water pushing in after heavy rain, the first hour matters more than most homeowners realize.
What you need right now isn't theory. You need order. You need to know what to shut off, what to move, what not to touch, and when a small cleanup job becomes an emergency water damage repair call.
In practical terms, speed matters because water damage restoration sits at the center of disaster recovery work. It accounts for 34.0% of the global disaster recovery market in 2026, and emergency response services are projected to capture 58.0% because stabilization has to happen immediately to limit secondary deterioration, according to Fact.MR's disaster restoration services market analysis. That doesn't mean you should panic more. It means you should act in the right order.
Your Action Plan for a Water Damage Emergency
A water emergency feels chaotic because several problems start at once. Water spreads. Materials absorb it. Humidity rises. Flooring traps it. Wall cavities hide it. If you try to do everything at once, you waste time on the wrong tasks.
Start with one goal: stabilize the property.
Focus on control first
Your first job is not deep cleaning. It's stopping the source, reducing immediate hazards, and keeping damage from spreading into rooms that are still dry.
Think in this order:
- Protect people
- Stop active water flow
- Reduce electrical risk
- Limit spread
- Document damage
- Decide whether this is beyond DIY
That order works for nearly every emergency water damage repair situation in Austin and Georgetown. It also keeps homeowners from making the most common mistake, which is grabbing towels and starting cleanup before they've dealt with the source or the hazard.
Practical rule: If water is still entering the home, nothing else matters until you stop or isolate that source.
Know what counts as a real emergency
A slow drip under a sink is one thing. Water soaking carpet, running under walls, spreading from a laundry room, or entering after a Central Texas storm is another. In those situations, the visible water is only part of the problem.
Surface water is obvious. Hidden moisture isn't.
That's why emergency response exists in the first place. Once water moves into drywall, insulation, subfloors, cabinetry, and trim, a simple cleanup can turn into a repair and drying project fast. The goal is to keep the event from getting bigger than it already is.
Keep your head and move in sequence
If you're a homeowner, landlord, or property manager in Austin or Georgetown, the smartest response is a disciplined one:
- Stay out of unsafe areas if outlets, power cords, or appliances are near the water.
- Use photos and short videos early before you start moving items around.
- Move only what you can safely move without walking through dangerous water.
- Treat floodwater and backups as contaminated until proven otherwise.
You don't need to know everything yet. You just need to make the next correct decision.
First 15 Minutes What to Do Right Now
The first 15 minutes should be fast, deliberate, and boring. That's good. Water losses get expensive when people improvise.
Step one is safety
If there's any chance the water has reached outlets, power strips, appliances, or electrical cords, don't step into it. Shut off power to the affected area if you can do it safely from the breaker panel without walking through water. If you can't reach the panel safely, stop there and call for help.
If the water is coming from a plumbing line, fixture, refrigerator supply, water heater, washing machine hose, or similar indoor source, shut off the home's main water supply immediately.
If you have to choose between saving belongings and reducing risk, reduce risk first.
Step two is stop the source
Once you've handled immediate safety, identify where the water is coming from.
Use this quick triage:
- Burst or leaking supply line. Shut off the main valve.
- Overflowing toilet or sink. Shut off the fixture valve if reachable, then stop using nearby plumbing.
- Appliance failure. Turn off the unit and isolate the water supply if possible.
- Roof or storm intrusion. Move belongings away from the wet zone and contain drips if you can, but don't climb onto a wet roof during active weather.
If you want a local walkthrough specific to this region, review what to do immediately after water damage in your Central Texas home.
Step three is stabilize, not renovate
Now you can do limited mitigation. Keep it simple.
- Remove standing water from small clean-water spills with mops, towels, or a wet-dry vacuum.
- Lift valuables first. Grab documents, laptops, chargers, medications, and anything sentimental.
- Protect furniture by moving it to a dry room or placing a barrier under legs if the floor is damp.
- Open cabinet doors and interior doors in affected areas to improve airflow.
- Blot, don't scrub, if you're dealing with a small clean-water incident on hard flooring.
Do not tear out drywall in the first rush unless a professional has told you to, or there's an immediate safety reason. Do not run household fans into contaminated water areas. Do not use a standard vacuum on water.
Step four is document before things change
Take wide photos of the room, then close-ups of the source, the water line, damaged materials, and any affected contents. Keep photos chronological. If you move furniture, take photos before and after.
Write down the time you discovered the problem and what you did first. That matters later.
Step five is know your line
Some homeowners lose time because the job looks manageable in the first few minutes. Don't judge the event by what you can see on the surface.
Call for professional emergency water damage repair when:
- Water has spread beyond one small, contained area
- Drywall, insulation, cabinets, or flooring are wet
- The source involved a backup or outdoor flooding
- You smell contamination
- The water has been sitting long enough that you're unsure what soaked where
The goal of these first 15 minutes is not to finish the job. It's to keep the job from getting worse.
Deciding to Call for 24/7 Professional Help
Some water losses are small enough to wipe up and move on. Most aren't. Homeowners get into trouble when they assume “not much standing water” means “not much damage.”
That's the wrong test.
Use water type to make the call
The contamination level changes the decision fast. Clean water from a fresh supply line is one thing. Gray water from appliances or other used water sources raises the risk. Black water, including sewage or heavily contaminated floodwater, is not a DIY cleanup job.
The costs reflect that difference. The average cost of water damage restoration is $3,869, while clean water averages $3.50 per square foot and black water averages $7.50 per square foot or more, according to Angi's water damage cost guide. The same source notes that 1 in 60 insured homes files a water damage or freezing claim annually. This isn't rare, and waiting is expensive.

DIY cleanup versus actual restoration
A mop and fan can help with a minor surface spill. They do not replace extraction, moisture mapping, drying calculations, or contamination control.
| Concern | DIY Limitation | Professional Solution |
|---|---|---|
| Hidden moisture | You can dry the surface and still leave water inside walls, under flooring, or in cabinets | Technicians inspect affected materials and target concealed wet areas |
| Water category | Most homeowners can't safely evaluate contamination level in a stressful moment | Restoration crews separate clean-water events from gray or black water risks |
| Drying | Box fans move air, but they don't verify whether materials are actually dry | Crews set drying equipment to remove moisture from structure, not just surfaces |
| Documentation | Casual photos often miss the detail insurers want | Restoration teams provide organized records, readings, and scope support |
| Escalation risk | Delay lets damage spread and cleanup costs climb | Fast mitigation contains the loss before reconstruction gets bigger |
The call should happen earlier than you think
Here's my advice. If water reached building materials, call. If the source is dirty, call. If the affected area isn't completely obvious and limited, call.
One local option is RestoTek TX, which handles inspection, water extraction, structural drying, microbial prevention, and reconstruction for Austin and Georgetown properties. That kind of full-cycle response matters because emergency water damage repair is rarely just one task.
The cheapest water loss is usually the one that gets professionally assessed before the moisture spreads out of sight.
What to Expect from Restoration Technicians
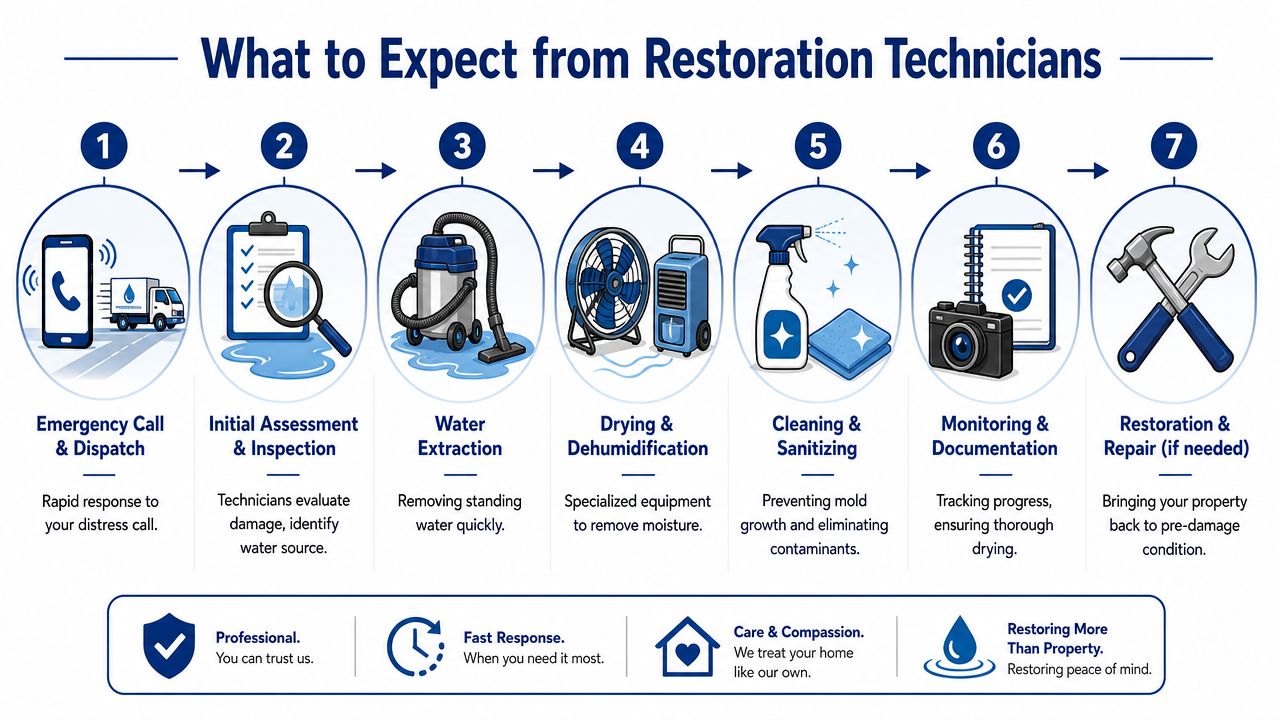
Once technicians arrive, the process should feel methodical. If it feels random, that's a problem. Good restoration crews don't guess. They inspect, extract, calculate, dry, monitor, and document.
Inspection comes before equipment
A proper crew starts by identifying the source, affected materials, visible damage, and likely hidden migration paths. In a real water loss, technicians don't just look at the wet spot. They check adjacent walls, flooring transitions, cabinetry, and lower cavities where water tends to travel.
That early assessment shapes everything that follows. It tells them what can be dried in place, what needs removal, and what needs ongoing monitoring.
If you want a clearer idea of who performs this work, see what a water damage restoration technician handles on site.
Extraction happens fast
Standing water should be removed quickly with professional extraction tools. This step matters because every bit of water taken out early reduces the amount that has to be pulled back out of materials later.
Homeowners sometimes think the noisy drying equipment is the main job. It isn't. Extraction is the first real production step. If large amounts of water stay in place too long, the rest of the job gets harder.
Drying is a science, not a fan placement contest
Experienced crews differentiate themselves from amateur cleanup through the IICRC S500 process, which uses a multi-phase protocol. The drying system is supposed to be installed based on psychrometric calculations, not guesswork, according to the Water Restoration Authority's explanation of the water damage restoration process. The same standard requires daily monitoring and adjustment so materials reach their documented equilibrium moisture content.
That matters because the surface can look fine while the structure is still wet.
A room doesn't count as dry because it feels dry. It counts as dry when the measurements say the materials reached the target dry standard.
You should expect these visible steps
Most professional emergency water damage repair jobs follow a pattern like this:
- Moisture inspection with meters and mapping of affected areas
- Water extraction from flooring, cavities, and accessible low points
- Equipment setup using air movers and dehumidifiers sized to the loss
- Controlled demolition when necessary if certain materials can't be safely dried in place
- Cleaning and treatment for affected surfaces and odor issues
- Daily checks to record readings and adjust the setup
- Repair or reconstruction planning once the property is dry
Notice what's missing from that list. Random waiting.
Daily monitoring is not optional
A competent crew comes back, checks readings, and changes the drying setup if conditions shift. Humidity changes. Temperature changes. Materials release moisture at different rates. A static setup can stall out.
That daily adjustment is one of the most important parts of the job, and it's one of the parts homeowners never see on social media cleanup videos. Professional drying is not about blasting air for a few days and hoping for the best. It's about verifying results.
Ask direct questions
When the crew is on site, ask these:
- What materials are wet right now
- What are you using to verify drying
- What has to be removed versus dried in place
- How often will readings be taken
- What documentation will I receive
Those are serious homeowner questions. A serious crew will answer them clearly.
Managing Your Insurance Claim and Documentation
Water damage creates two jobs at once. One is the cleanup and drying work. The other is building a clean, organized record of what happened. If you handle the second part poorly, you make the first part harder to pay for.
Document before the scene changes
Before major cleanup starts, take photos and video from multiple angles. Start wide so the insurer can see the room layout. Then move closer to show damaged flooring, walls, cabinets, furniture, and the apparent source.
Keep going after mitigation starts. Document extraction, equipment placement, removed materials, and the condition of contents. If a section of the home worsens over time, keep a photo trail.
Build a simple claim file
You don't need a complicated system. You need a consistent one.
Use one folder, digital or physical, for these items:
- Photos and videos from discovery through dry-down
- A timeline of when you found the loss, who you called, and what was shut off
- Receipts for emergency purchases, temporary lodging if applicable, and protective materials
- Notes from every phone call with your adjuster, plumber, mitigation crew, or property manager
- Emails and estimates in one place
Write down names, dates, and what each person told you. Memory gets unreliable once the stress sets in.
Don't wait for perfect certainty
Homeowners often hesitate because they don't know the full scope yet. That's normal. Report what you know, then update the file as more information comes in.
Tell the carrier the source as you understand it, the rooms affected, and whether active mitigation is underway. If parts of the loss are still being assessed, say that plainly. Don't guess beyond the facts.
Professional records help your claim
A restoration company can support the claim by providing moisture readings, drying logs, photos, and a written scope of work. That kind of documentation helps show that the mitigation work wasn't cosmetic. It was necessary.
For owners in Williamson County, it also helps to review a local service page like water damage restoration in Georgetown so you understand the type of work and documentation typically involved in a full response.
Keep the conversation practical
When you speak with the adjuster, stay focused on facts:
- what happened
- when you discovered it
- what areas were affected
- what immediate steps you took
- what professionals documented
Avoid editorializing. Don't minimize the damage, and don't exaggerate it. A clean record beats an emotional argument every time.
Why Local Austin Expertise Matters
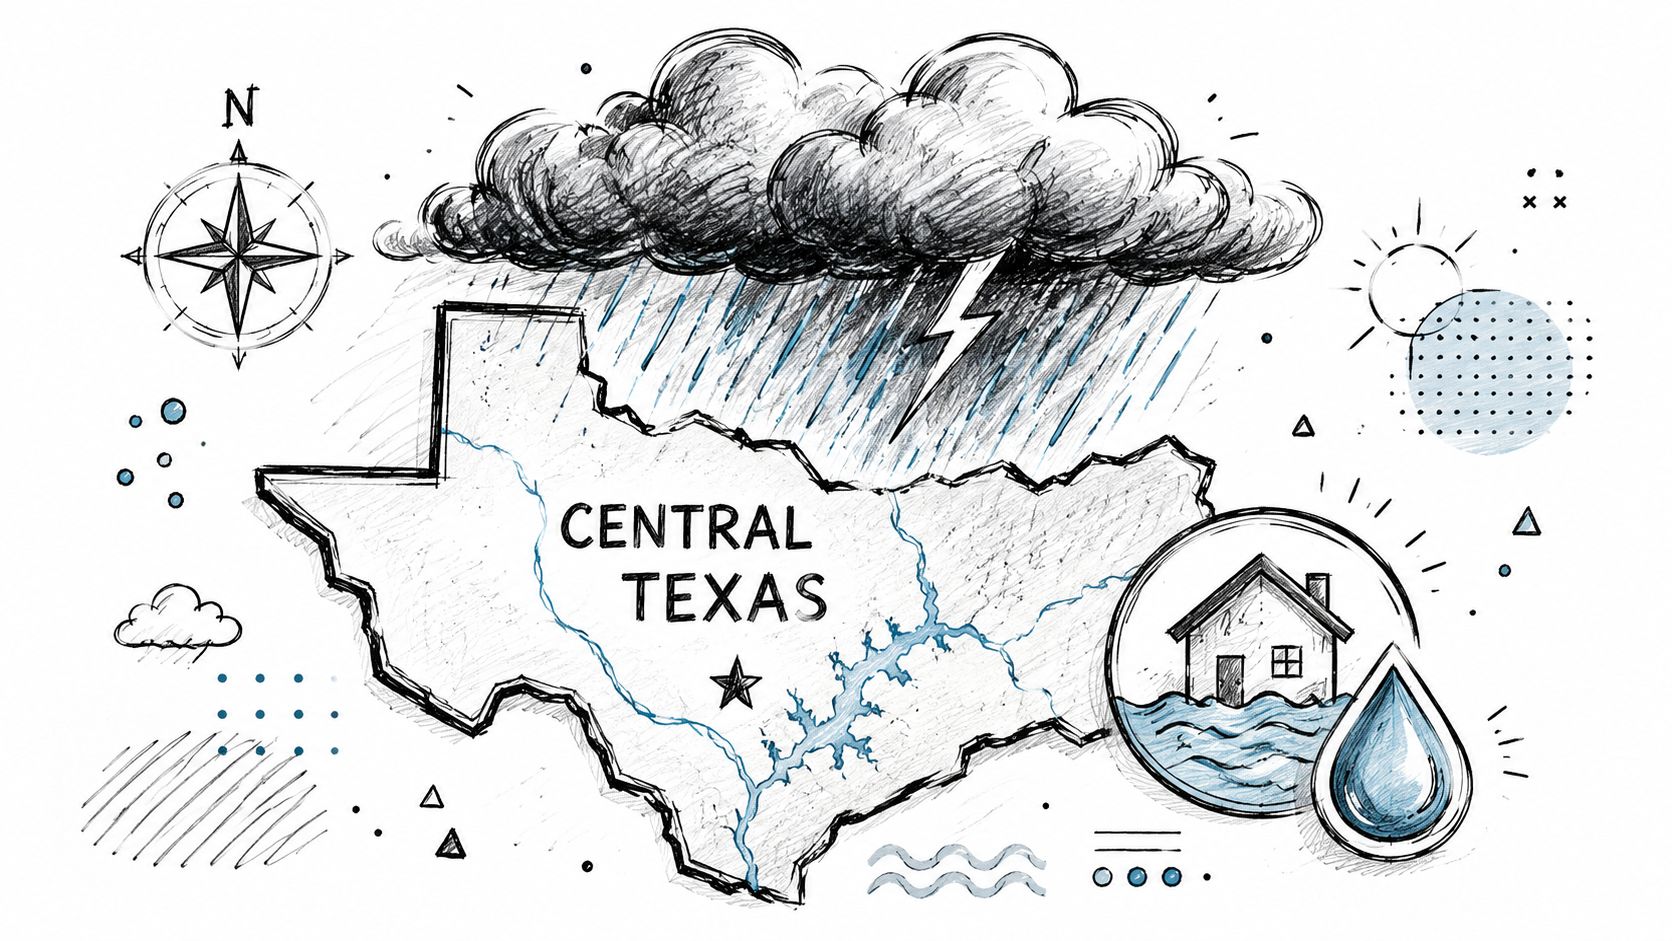
Austin and Georgetown water losses have a local twist that out-of-town responders often underestimate. After flash floods and hard rain events, surfaces can start drying quickly while deeper building cavities stay wet.
That false sense of progress causes bad decisions.
Central Texas hides moisture differently
In this region, rapid surface drying after flash floods can mask deep saturation in wall cavities, and that hidden moisture can trigger mold within 24 to 48 hours, according to Duraclean's discussion of emergency water damage repair issues. The same source says 78% of post-water-loss mold incidents come from inadequate detection of hidden moisture.
That's the issue many homeowners miss. The drywall face may feel dry. The paint may even look normal. Meanwhile, insulation, framing edges, lower cavities, and trim assemblies can still hold damaging moisture.
Local knowledge changes the inspection
A local crew that has worked Central Texas storm losses knows where to look harder:
- Exterior-facing walls after wind-driven rain
- Garage conversions and additions where building transitions trap moisture
- Cabinet toe-kicks and baseboards where water pools out of sight
- Flooring transitions where one room looks dry and the next room isn't
- Wall cavities near low-grade entries after runoff intrusion
That's where thermal imaging, moisture meters, and disciplined inspection matter. Not because the tools are impressive, but because the building won't tell you the truth from the surface alone.
Family-operated local response matters in a crisis
A family-operated company rooted in the area usually understands the practical side of these events better than a roaming storm crew. They know the local weather pattern, the common construction layouts, and the reality that homeowners want one team to guide the job from mitigation through repair.
That kind of continuity matters when you're trying to confirm the property is dry before rebuild starts. It also matters when you need plain-language answers instead of generic disaster-script talk.
If you're dealing with water intrusion in Austin or Georgetown, don't judge the job by what looks dry today. Judge it by whether someone measured the hidden areas that usually get missed.
If water is spreading, walls are wet, or you suspect hidden moisture after a storm or plumbing failure, contact RestoTek TX and get the property assessed before surface drying gives you a false sense of security. In Austin and Georgetown, fast inspection, documented drying, and a complete repair plan are what keep a bad water loss from turning into a longer, costlier rebuild.