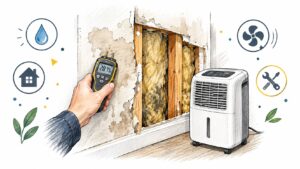
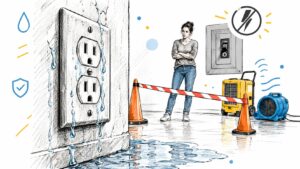
You hear water before you see it. A drip behind a wall. A toilet that won't stop running. A supply line under the sink that lets go while you're at work. By the time you notice the stain, the warped baseboard, or the soft spot in the floor, your day has changed completely.
Most homeowners in Austin and Georgetown aren't prepared for what comes next because they shouldn't have to be. One water loss turns you into the unwilling coordinator of plumbers, mitigation crews, moisture readings, insurance calls, demolition decisions, drying equipment, and rebuild schedules. It feels personal because it is. This is your house, your routine, your kids' rooms, your kitchen, your work-from-home setup.
That's where restoration project management matters. Not as a corporate phrase, but as a way to bring order to a messy situation. Across industries, organizations that invest in proven project management methods lose 28 times less money than those that don't, according to project management statistics summarized here. In water damage work, the stakes aren't abstract. Delays can affect structural materials, indoor air quality, and how smoothly an insurance claim moves.
A good restoration process does two things at once. It moves fast, and it stays disciplined. That balance is what keeps a small leak from becoming a bigger tear-out, and what keeps a stressful claim from turning into a drawn-out dispute.
The Unplanned Project When Water Damage Strikes
A common Central Texas call starts after a storm or a plumbing failure. Water comes in fast, or it stays hidden long enough to spread undetected through drywall, trim, insulation, and flooring. By the time the homeowner calls, they're usually asking some version of the same question. “What do I do first?”
The answer isn't “dry everything as fast as possible” without a plan. The answer is to treat the loss like a managed recovery. That means identifying the source, stopping additional damage, documenting conditions, setting a drying strategy, and keeping every step connected to the next one.
Why the first decisions matter
In Georgetown and Austin, urgency can push people into the wrong moves. They start peeling back materials before documenting them. They run household fans without understanding where the moisture is. They toss damaged items before the adjuster has a clear record. Or they hire one company for mitigation and then scramble later to find someone else for repairs.
Those choices create gaps. Gaps in documentation. Gaps in accountability. Gaps between what was damaged, what was dried, and what needs to be rebuilt.
Practical rule: The first goal isn't to make the home look better. The first goal is to make the property safe, stable, and measurable.
That mindset changes the whole experience. Instead of reacting to every new problem, you're working from a sequence. Safety first. Source control. Inspection. Moisture mapping. Containment if needed. Extraction. Material evaluation. Drying. Verification. Then rebuild.
What good management looks like on the ground
Homeowners don't need a lecture on process. They need someone who can translate the process into plain decisions.
A disciplined restoration manager should help you answer questions like these:
- Can we stay in the home: That depends on electrical safety, contamination concerns, affected rooms, and how disruptive the drying setup will be.
- What has to come out now: Not every wet material needs demolition, but saturated padding, swollen composite materials, and trapped moisture behind finishes often do.
- What needs to be documented today: Photos, moisture readings, affected contents, source location, and visible material damage should be recorded early.
- What can wait until tomorrow: Cosmetic decisions usually can. Safety and moisture control usually can't.
The families who move through a loss more smoothly aren't the ones who panic less. They're the ones who get a clear sequence early and stick to it. That's the core benefit of restoration project management. It turns a house emergency into a controlled job with milestones, decisions, and a finish line.
Emergency Response and The Critical First Inspection
The first few hours after a water loss are noisy and emotional. People want to save rugs, move furniture, mop floors, and start tearing out drywall. Some of that instinct is understandable. It's also where costly mistakes happen.
Before any cleanup starts, handle the immediate risks.
What to do in the first hours
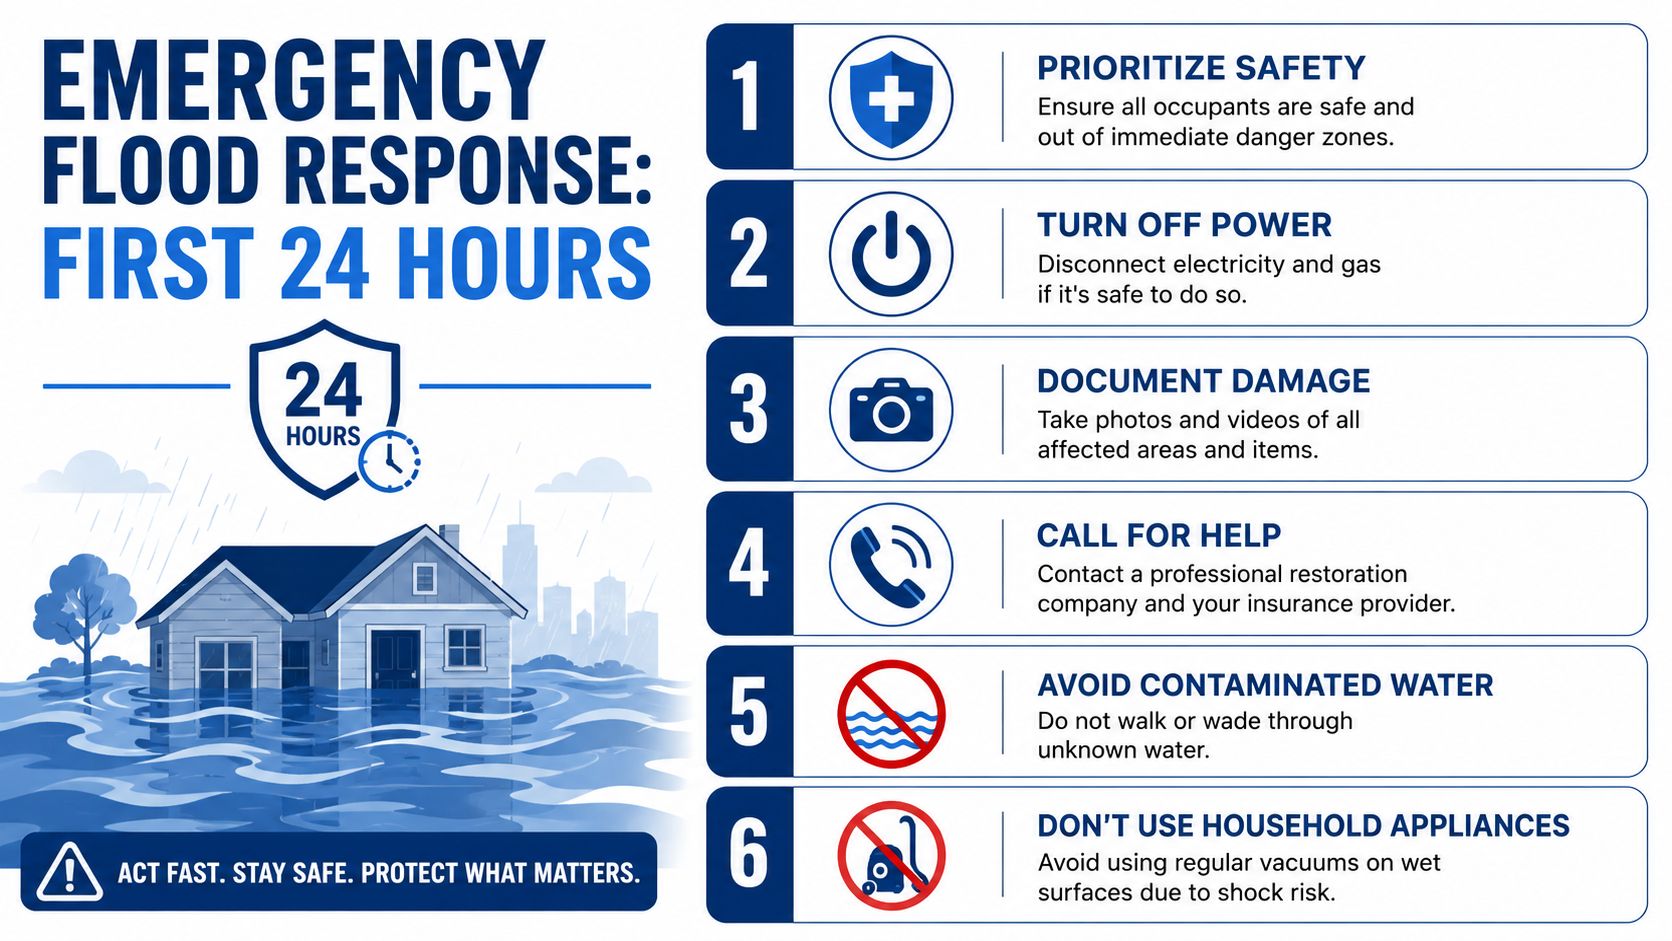
If water has entered the home, focus on safety and documentation first.
- Protect people first: Keep family members and pets away from affected areas until electrical and slip hazards are assessed.
- Shut off utilities if safe: If water is near outlets, appliances, or service panels, don't guess. Shut power and gas off only if you can do it safely.
- Photograph before moving things: Capture floors, walls, contents, and the source area before cleanup changes the scene.
- Avoid contaminated water: If the source is unknown, or if the water came from a backup or overflow, treat it cautiously.
- Call qualified help early: Early inspection usually prevents wrong assumptions and missed moisture.
For a homeowner checklist suited for local losses, this first 24 hours water damage guide for Georgetown and Austin is useful because it follows the order that matters most after discovery.
Why inspection comes before aggressive drying
A lot of failed jobs begin with a crew rushing in with equipment before anyone has defined the actual scope. Industry data shows that up to 80% of restoration managers tend to “glaze over” the planning phase because of urgency, and that rush leads to scope mismatches and poor feasibility assessment, as noted in this restoration industry discussion of project management failures.
That sounds like an internal management problem, but homeowners feel the consequences fast. If the team doesn't inspect carefully at the start, they may miss wet insulation in a wall cavity, fail to trace the leak to its true source, or underestimate how far moisture migrated under flooring. Then the plan changes mid-job, the budget shifts, and the insurance conversation gets harder.
When someone skips inspection and jumps straight to equipment placement, they're often treating what they can see, not what's actually wet.
A proper first inspection should answer several practical questions at once.
| Inspection question | Why it matters |
|---|---|
| Where did the water come from | Source control has to happen before drying can succeed |
| What materials are affected | Different materials hold and release moisture differently |
| Is there hidden moisture | Walls, cabinetry, subfloors, and cavities can stay wet after surfaces look dry |
| Are there contamination concerns | Clean water, gray water, and sewage-related losses require different handling |
| What documentation is needed now | Early records support both the job plan and the claim |
What homeowners should listen for
During that inspection, plain language matters. You should hear clear explanations, not vague reassurances. A good inspector should be able to tell you what's wet, what's likely salvageable, what has to be opened up, and why the drying plan looks the way it does.
If the first visit feels rushed, the rest of the project usually feels the same.
The Mitigation Process From Extraction to Structural Drying
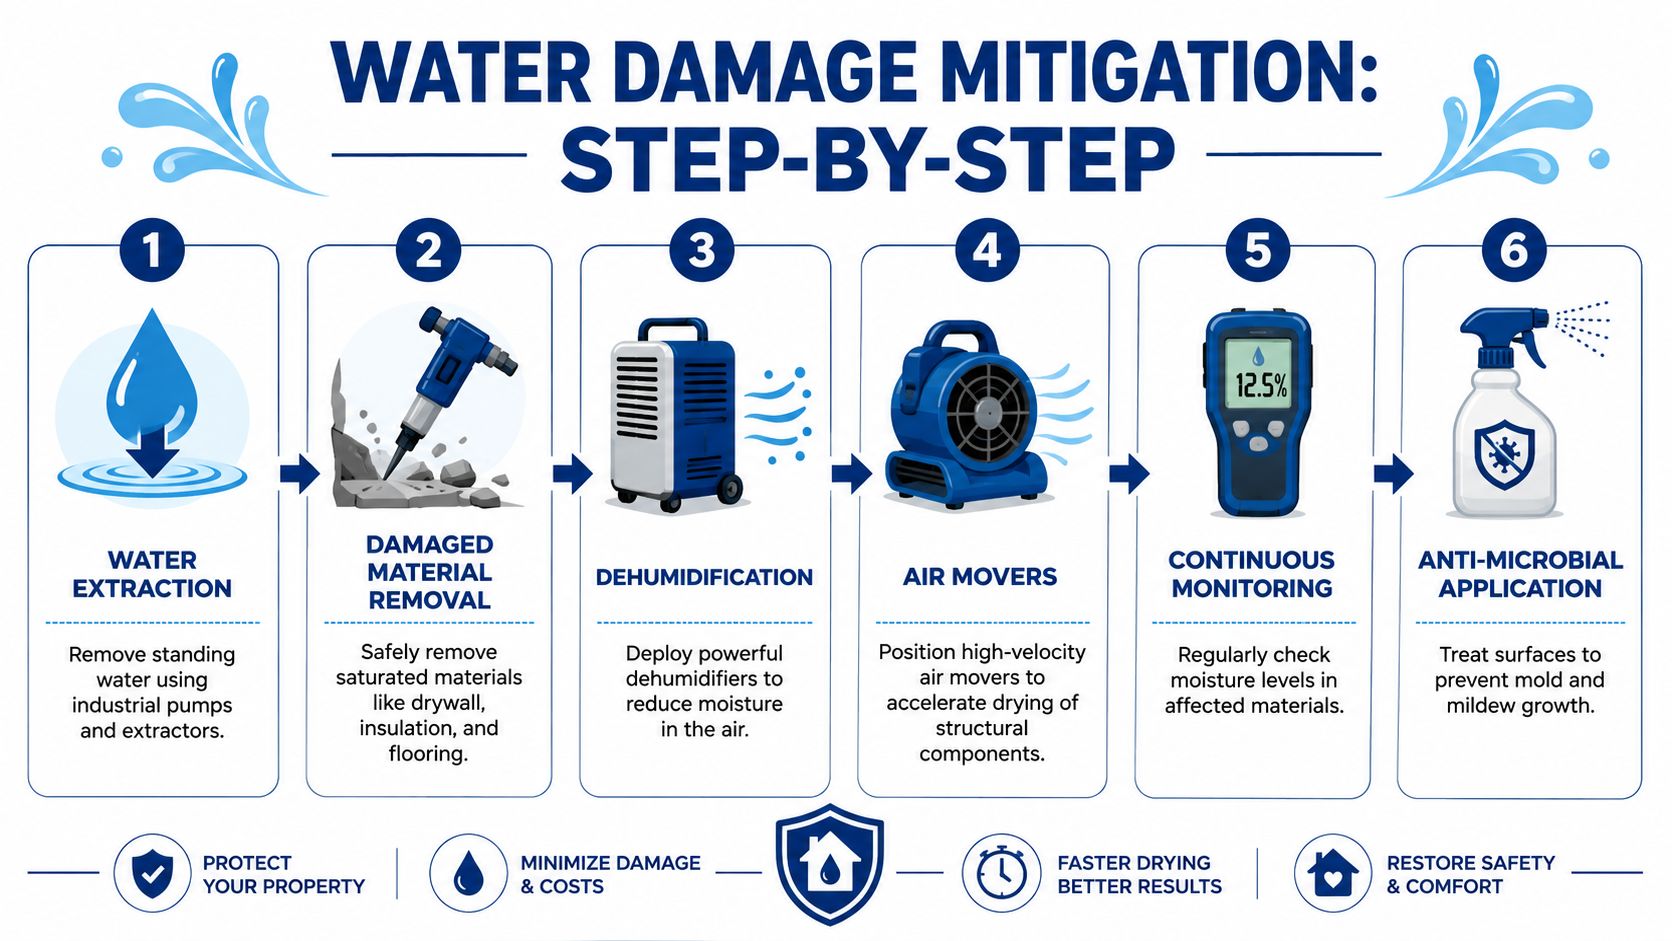
Once the inspection is done and the source is controlled, the job turns from diagnosis to action. This is the part that looks chaotic from the outside. Hoses. Pumps. Pads lifted. Baseboards removed. Air movers running. Dehumidifiers humming all day and all night.
That noise usually means the work is moving in the right order.
Extraction comes first
Standing water has to be removed before anything else can work. Industrial extractors and pumps pull out bulk water far more effectively than mops, towels, or shop tools meant for light household use. The faster that free water comes out, the less time it has to migrate into adjacent materials.
After extraction, technicians evaluate what can be saved and what can't. Carpet might be salvageable in one room and unsalvageable in another depending on saturation, contamination, and how long it sat. Carpet pad often has to go because it holds water and collapses under drying effort. Swollen particleboard cabinets, delaminating laminate flooring, and heavily saturated drywall are common problem areas.
Removal is part of mitigation, not a failure
Homeowners sometimes see controlled demolition as bad news. In reality, selective removal is often what protects the rest of the house. Wet materials can trap moisture behind surfaces and slow the entire project.
Typical mitigation tasks may include:
- Removing saturated pad: Pad acts like a sponge and rarely dries predictably once heavily soaked.
- Cutting damaged drywall: Opening wet wall sections allows airflow and access to cavities that would otherwise stay damp.
- Pulling affected insulation: Insulation can hold moisture against framing and delay the dry-out.
- Detaching baseboards and trim carefully: When salvageable, these materials can be labeled, dried, and reinstalled later.
- Isolating contents: Furniture, boxes, and textiles often need to be moved, blocked up, or documented separately.
This is also where local experience matters. Homes in Austin and Georgetown often have a mix of tile, engineered wood, slab-on-grade construction, and newer finish materials that react differently to moisture. What works in one house can be the wrong move in the next.
Drying is engineered, not improvised
Air movers don't just “blow air around.” Dehumidifiers don't just “suck humidity out.” A proper drying setup creates a controlled environment where moisture leaves structural materials and is then removed from the air before it can settle elsewhere.
That's why equipment placement looks deliberate. Air movers are aimed to create circulation across wet surfaces. Dehumidifiers are positioned to process the air volume inside the affected area. Containment may be used so the drying chamber stays efficient. Daily adjustments matter because moisture conditions change as materials give up water.
For a closer look at how that process works in local conditions, this structural drying guide for Central Texas properties explains why drying plans have to account for both building materials and the region's weather patterns.
A room can feel dry and still be wet where it counts. Subfloors, sill plates, wall cavities, and cabinet toe-kicks are frequent holdouts.
What to expect while equipment is running
This phase disrupts normal life. It's loud. It adds heat. It limits access to rooms. Sometimes floors are covered with cords and hoses. Sometimes kitchen cabinets are opened or drilled strategically to help drying reach enclosed spaces.
That disruption is frustrating, but random drying is worse. Good mitigation has a purpose behind every machine, every removed material, and every daily adjustment. If the crew can explain that purpose clearly, the project usually stays on track.
Drying Verification and Specialized Testing
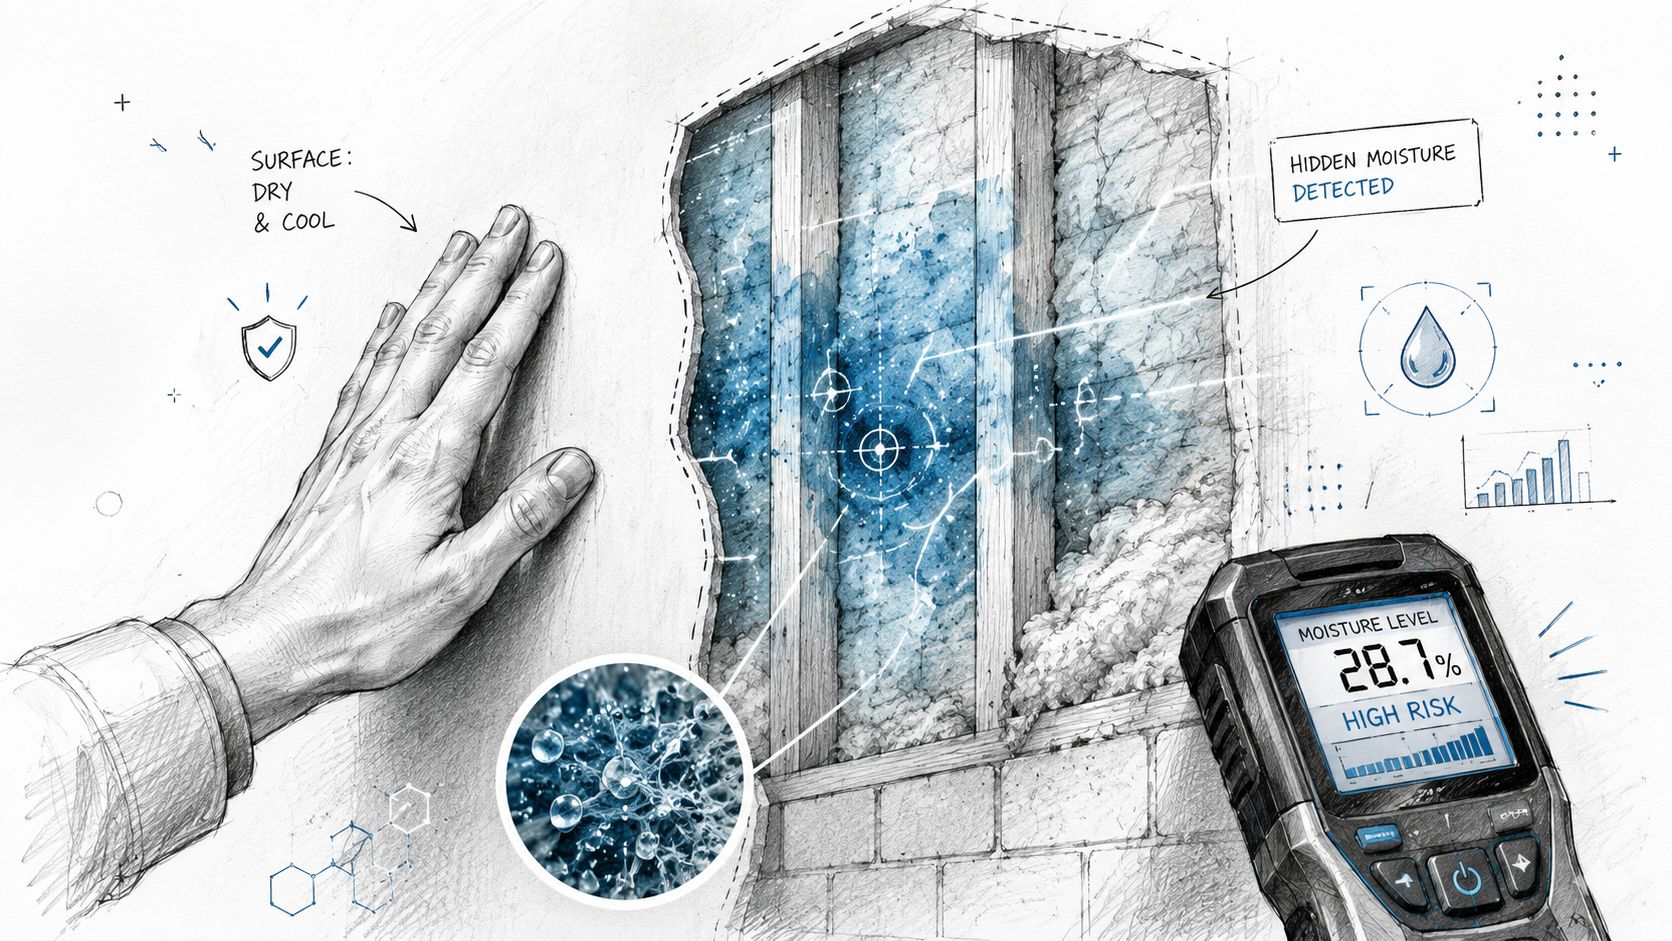
A surface that feels dry to your hand may still contain enough moisture to create trouble later. That's why the most important part of drying isn't the fan you can hear. It's the data you can't see.
Water damage work separates into two categories. Jobs that look dry, and jobs that are verified dry.
Why touch and smell aren't enough
Drywall can feel normal on the face and still hold moisture deeper in the assembly. Hardwood can look fine while the subfloor below it retains moisture. Cabinet backs, insulation pockets, and wall bottoms are common spots where hidden moisture lingers after visible water is gone.
That's why instrumented verification matters. Integrating IICRC guidelines, including instrumented assessment of hidden moisture in walls and cavities followed by targeted drying, improves project success rates by approximately 35%, according to this PMI library reference on project methodologies and restoration outcomes. Just as important, that approach helps prevent secondary issues such as mold amplification.
What technicians measure during dry-out
A sound verification routine isn't just one reading at the end. It's repeated measurement over the life of the job.
Common tools include:
- Moisture meters: Used to measure moisture content in materials like drywall, wood, and trim.
- Thermal imaging cameras: Helpful for identifying temperature anomalies that may suggest hidden moisture patterns.
- Hygrometers and humidity meters: Used to track ambient conditions and support equipment adjustments.
- Moisture mapping notes: A written record of where high readings were found and how they changed over time.
Those readings need context. Technicians compare affected materials to an established dry standard for that property or to unaffected areas with similar materials. Without that comparison, numbers don't mean much.
When specialized testing enters the picture
Not every water loss needs third-party testing. Some do.
If materials may contain asbestos, testing may be required before disturbing them further. If the affected area sat wet long enough to raise microbial concerns, independent mold or air-quality testing may be appropriate. If the source involved contaminated water, the project manager may also coordinate added documentation and more controlled removal procedures.
A good rule is to separate verification from assumption.
| Situation | Better approach |
|---|---|
| Wall looks dry | Check with a moisture meter |
| Room smells normal | Confirm moisture conditions anyway |
| Flooring surface appears stable | Evaluate the assembly below it |
| Material may contain regulated components | Test before demolition continues |
Drying ends when materials reach their dry standard, not when the room becomes inconvenient to keep under equipment.
That standard protects more than the house. It protects the rebuild. If reconstruction starts over a structure that's still damp, paint can fail, flooring can shift, trim can swell, and odors can return. Verification is what gives the repair phase a clean foundation.
The Path to Reconstruction Putting Your Property Back Together
Mitigation stabilizes the loss. Reconstruction gives the home back its shape, function, and comfort. For many homeowners, this is the point where the emotional strain changes. The house stops feeling like a job site and starts feeling recoverable again.
This phase can be deceptively complex because the work looks familiar. Drywall, texture, paint, flooring, trim, cabinets, doors. People assume it's straightforward. It usually isn't. Matching existing finishes, coordinating trades, and sequencing repairs around material lead times takes just as much discipline as drying did.
The handoff problem most homeowners run into
One of the biggest headaches in restoration comes when mitigation and rebuild are treated as separate worlds. The drying crew leaves, the estimate sits, and then the homeowner starts over with another contractor who didn't witness the loss, didn't document the tear-out, and didn't see what was hidden behind the walls.
That gap creates delays and misunderstandings. The rebuild team may not know why certain materials were removed or what underlying conditions were found. The homeowner ends up retelling the same story to new people while trying to keep the claim aligned.
An end-to-end process avoids that reset. If you want to see what that rebuild stage typically includes, this reconstruction and rebuild overview shows the range of repair work that often follows drying and remediation.
What good reconstruction management looks like
Reconstruction should follow a clean sequence, but not every item happens in a simple line. Some trades overlap, and some can't start until inspections, approvals, or material deliveries are in place.
A well-run rebuild usually depends on these habits:
- Scope alignment: The repair plan should match what was removed and what the claim covers.
- Trade coordination: Drywall crews, painters, flooring installers, cabinet teams, and plumbers need the right order.
- Finish matching: Texture, sheen, trim profiles, and transitions matter if you want the repair to blend.
- Jobsite protection: Clean areas should stay protected while the final work happens.
- Final punch review: Small details need attention before the project closes.
Pre-loss condition, and sometimes better
Most homeowners want one simple outcome. They want the property back to normal. Sometimes that means exact replacement. Sometimes it means making sensible updates while walls or floors are already open.
The key is controlling those decisions instead of letting them drift. Change orders, upgrade choices, and finish selections should be discussed clearly so the restoration scope doesn't turn into a vague remodel without budget clarity.
Reconstruction is where good restoration project management pays off in visible ways. The hidden work mattered, but this is the part you live with every day afterward.
Navigating Insurance Paperwork and Project Communication
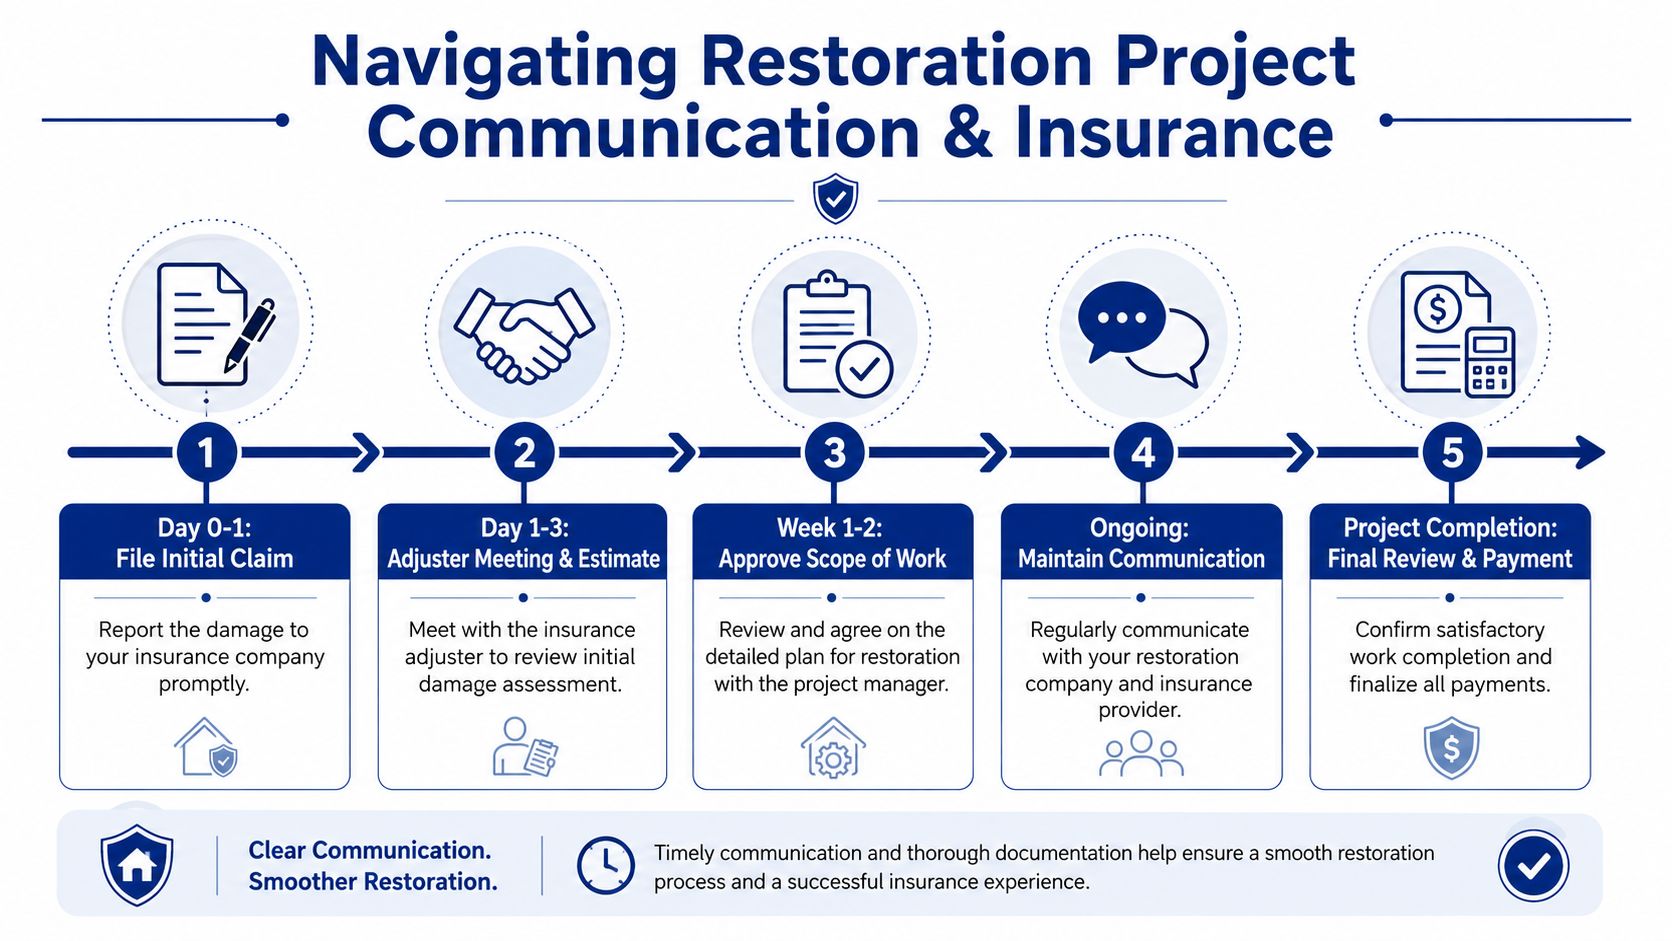
For a lot of homeowners, the paperwork is harder than the drying. The house is disrupted, you're trying to remember what was in each affected room, and every call seems to introduce a new term, a new approval step, or a new person.
That's why documentation isn't back-office busywork. It's part of the restoration job itself.
Good claims move on good records
The strongest restoration files are built from the first day. Photos before and during mitigation. Moisture maps. Daily drying logs. Notes on removed materials. Records of source control. Updated scope documentation when hidden damage is discovered.
Those records do more than support billing. They create a chain of logic. This was wet. Here's where it spread. Here's what was removed. Here's why it couldn't stay. Here's how drying was verified. Here's what now needs repair.
In project management more broadly, scope creep affects 37% of projects and budget overruns affect 35%, while large claims are 50% more likely to fail, according to these project management statistics on scope, budget, and project size. In restoration work, that's exactly why rigorous documentation and regular spending reviews matter. If the scope isn't defined and updated carefully, the homeowner ends up caught between the field crew, the estimate, and the adjuster.
What to ask for during the project
You don't need to become an insurance expert overnight. You do need a clear paper trail and consistent updates.
Ask for:
- A current scope of work: Not a vague promise. A current description of what's being done and what may still change.
- Daily or regular status updates: Short updates reduce surprises and help you plan your week.
- Photo documentation: This matters most for hidden areas you won't be able to see once repairs begin.
- Moisture and drying records: If a question comes up later, objective records are better than memory.
- Clear notes on exclusions or owner decisions: Upgrades, elective changes, and non-covered items should be separated cleanly.
The most expensive communication problem in restoration is silence. When nobody documents changes as they happen, every disagreement gets harder to solve later.
One point of contact changes the whole experience
The smoother projects usually have one person managing communication across the homeowner, technicians, trades, and insurance contacts. That person doesn't need to have every answer immediately. They do need to know where the answer lives and who is responsible for the next step.
That single point of contact helps with practical issues homeowners care about every day:
| Communication need | Why it reduces stress |
|---|---|
| Who is coming tomorrow | You can plan access, pets, work schedules, and parking |
| What decision is needed from you | Delays often happen when owner choices aren't identified clearly |
| Has the adjuster approved this stage | It prevents assumptions about cost responsibility |
| What changed since yesterday | It keeps hidden damage from feeling like a surprise bill |
Clear communication also protects the contractor relationship. Homeowners are usually patient when they understand what's happening. They get frustrated when they feel left out of their own project.
If your property has been hit by a leak, flood, overflow, or backup in Georgetown or Austin, RestoTek TX can help manage the full recovery process, from inspection and mitigation through drying, documentation, and reconstruction, with clear guidance every step of the way.