Water is on the floor, the baseboards are swelling, and the air already feels heavy. In Georgetown and across the Austin area, that can happen after a washing machine hose fails, a water heater lets go, or a fast-moving storm pushes water where it doesn't belong. When that happens, most homeowners worry about the visible mess first. The bigger problem is the moisture you can't see yet.
If you're trying to figure out how to prevent mold after water damage, the most important thing to know is simple. Your first decisions matter more than anything you do later. In Central Texas, warm air and humidity make drying harder, especially after flash floods and summer storms. Panic doesn't help, but a fast, methodical response does.
The First Hour Is Critical After Water Damage
At 2 a.m., a failed water heater or burst supply line can turn a Georgetown home into a wet job site in minutes. In our area, that first hour matters because heat and humidity start working against you right away, and after a flash flood or hard storm, water often reaches places you cannot see from the doorway.
Start by getting control of the loss. Stop the water source if you can do it safely. Keep people out of the affected area if there is any chance of electrical risk or contaminated water. Then look past the puddle. Water moves fast into laminate seams, under baseboards, and into drywall edges, especially in homes that stay closed up during a humid Central Texas day.
I see one mistake more than any other in Georgetown and Austin. Homeowners wait a few hours to see whether fans and air conditioning will handle it. Sometimes that works on a small, clean spill on tile. It does not work well when water has reached carpet pad, wood flooring, cabinets, or lower drywall. By the time the room looks drier, hidden materials are often still wet.
Practical rule: In the first hour, focus on stopping the water and limiting how far it spreads into materials you cannot inspect yet.
That may mean accepting a trade-off early. Saving a rug or a few boxes is not worth letting moisture stay trapped under flooring or inside a wall cavity. The goal is not to make the room look better. The goal is to keep a simple water loss from turning into a mold and demolition job.
A focused first-hour checklist
- Stop the source if the problem is a plumbing leak, appliance line, or fixture failure.
- Shut off power to the affected area if water is near outlets, cords, or appliances, but only if you can do it safely.
- Photograph the damage before moving things so you have a clean record for insurance.
- Move contents off wet floors using bins, blocks, or anything dry and stable.
- Remove standing water with the best equipment you have access to, especially if water is spreading beyond one room.
- Watch for signs you need a pro now such as stormwater intrusion, soaked carpet and pad, warped wood floors, water inside walls, or more water than towels and a wet vac can reasonably handle.
If you want a local sequence to follow, this first 24 hours water damage guide lays it out step by step for Georgetown and Austin homes.
A water loss feels chaotic. Clear decisions in the first hour give you the best chance of keeping it contained.
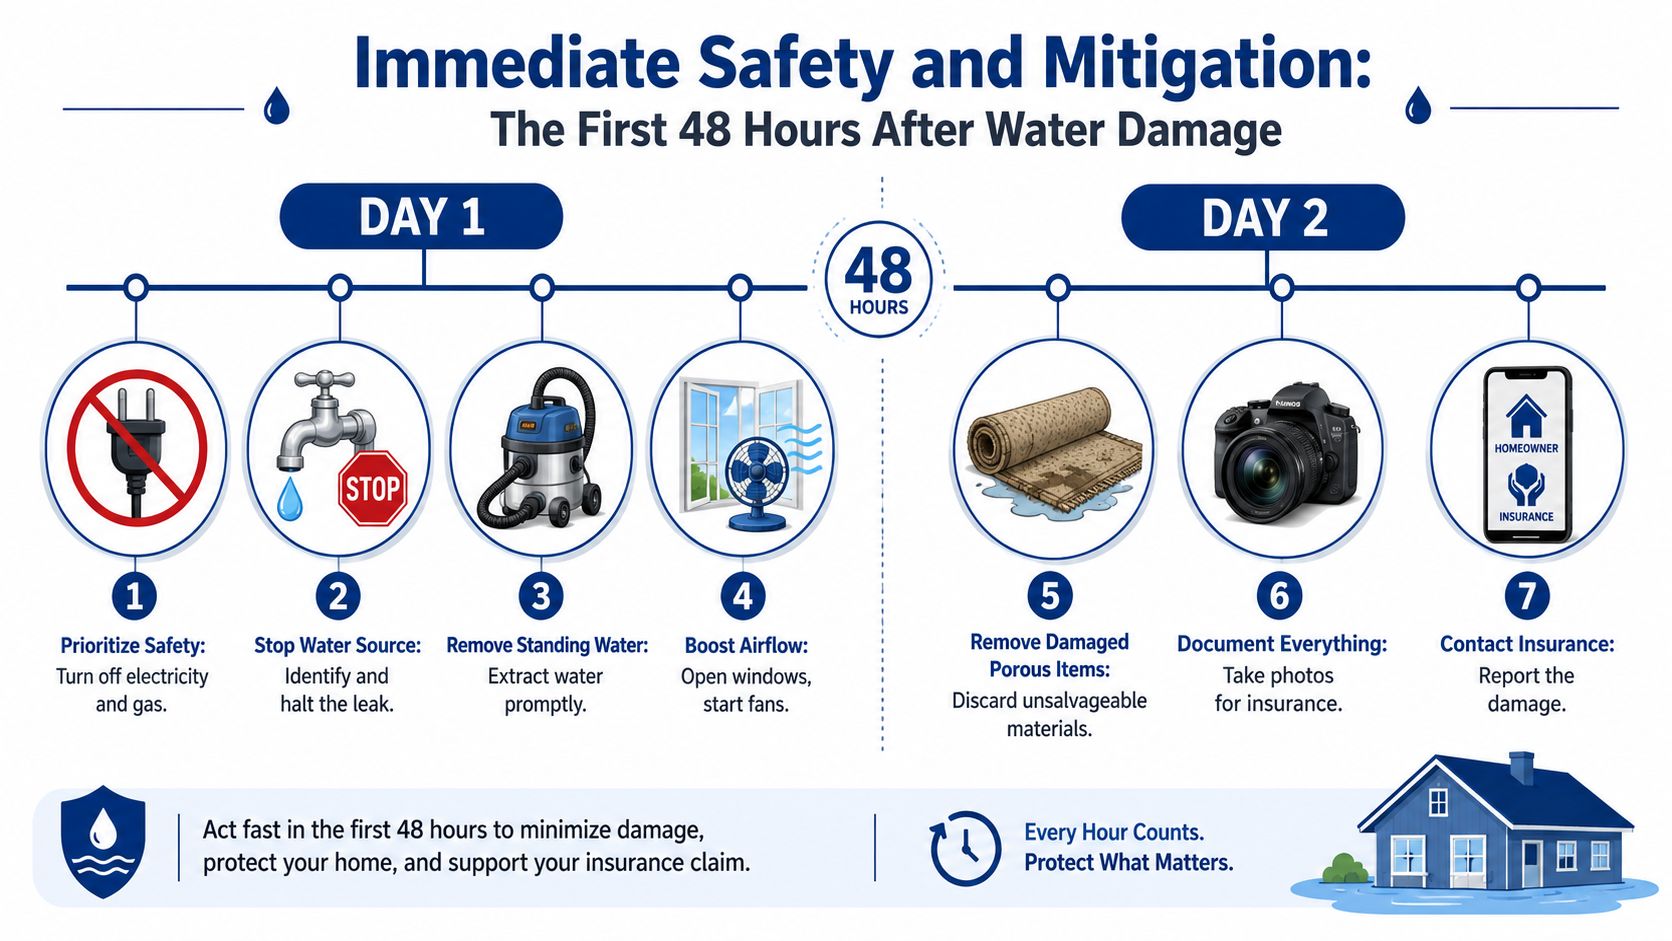
Immediate Safety and Mitigation in the First 48 Hours
By the time the first day turns into the second, a water loss in Georgetown often changes character. What started as a wet floor can turn into damp drywall paper, swollen trim, and humidity trapped in closets, cabinets, and wall cavities. In Central Texas, especially after a flash flood or a heavy storm line through Austin and Georgetown, warm outdoor air can slow drying instead of helping it.
Protect people before property
The room has to be safe before anyone starts cleanup. Wet tile, extension cords on a damp floor, and contaminated water from outside or a sewer-related backup are enough to stop a DIY response right there.
Use this order:
- Check for electrical hazards. If water is near outlets, appliances, power strips, or the panel area, stay out until that part of the home is shut off safely.
- Confirm the water source is controlled. A supply line, water heater leak, or appliance failure has to be isolated before cleanup does any good.
- Limit access. Keep children, pets, and anyone without proper protection out of the affected area.
If the water came from outside during a storm, crossed the garage, or carried visible debris, treat it as contaminated. That is usually the point where homeowners should stop handling materials bare-handed and bring in a restoration crew.
Document the loss before cleanup changes it
Good photos save arguments later. Take wide shots of each affected room, then close-ups of water lines, buckled flooring, stained baseboards, damaged furniture, and the source of the loss if you can identify it.
Include:
- Wide room photos from more than one angle
- Close-ups of materials such as drywall, flooring, trim, cabinets, and contents
- The source area like a failed supply line, leaking valve, or appliance connection
- Personal property before you sort it, clean it, or throw it away
This step matters most when the damage looks smaller than it really is. A room can photograph as "a little wet" while the lower drywall, insulation, and subfloor are already holding moisture.
Remove standing water with equipment made for wet work
After documentation, get rid of bulk water fast. Use a wet/dry vacuum, pump, mop, or squeegee based on the surface and depth. Do not use a regular household vacuum on wet materials.
| Tool | Good use | What to avoid |
|---|---|---|
| Wet/dry vacuum | Small to moderate standing water | Don't use a standard vacuum |
| Mop and bucket | Thin film of water after extraction | Too slow for deep pooling |
| Towels | Spot cleanup and protecting furniture legs | Not a primary extraction method |
| Squeegee | Hard surfaces like tile or sealed concrete | Doesn't help with hidden moisture |
There is a trade-off here. Homeowners often spend too much time trying to save every damp rug, box, or fabric item while water sits under laminate, vinyl, or carpet pad. Priority goes to the structure first. Contents can often be evaluated after the wet materials are under control.
Start controlled drying, not random airflow
Fans help, but fan placement matters. Move air across wet surfaces, into affected rooms, and out of pockets where humidity builds up. Open vanity doors, closet doors, and sink cabinets if those areas got damp.
Be careful with open windows. In Georgetown and Austin, outside air after a storm is often humid enough to feed the problem. If the house feels muggy, windows may be working against you.
Wet materials that are dried quickly are far less likely to support mold growth. That is why these 48 hours carry so much weight. If you want a clearer picture of what proper structural drying looks like after extraction, this Central Texas structural drying process shows how contractors handle hidden moisture, airflow, and dehumidification.
Know when the job is already beyond DIY
A manageable cleanup usually has clear limits. You can see the affected area, the water was clean, and materials are drying with steady progress.
Call a professional restoration company if any of these are true:
- Carpet and pad are soaked across more than a small area
- Water reached drywall, baseboards, insulation, or cabinetry
- Wood or laminate flooring is cupping, lifting, or trapping water underneath
- The source involved stormwater, sewage, or unknown contamination
- The home still feels humid or smells musty after cleanup starts
- You cannot get drying equipment in place quickly enough
In this area, that threshold gets crossed fast. Flash flooding, slab-on-grade construction, and high humidity make hidden moisture harder to remove than many homeowners expect. If active drying is not underway by the end of this window, the loss usually gets more expensive, not less.
What to avoid during the first two days
- Don't leave wet carpet pad in place and hope surface airflow will handle it.
- Don't shut the room and walk away. Trapped humidity slows drying.
- Don't paint, caulk, or seal over damp materials. Moisture stays behind them.
- Don't assume clear water stayed clean. Water that moved through walls, floors, or exterior entry points needs a closer look.
- Don't keep touching wet drywall to judge progress. Use visible conditions, odor, and moisture testing if available.
By the end of the first 48 hours, the site should be safer, standing water should be gone, and drying should be active. If that is not happening, it is time to bring in local help before mold and material failure set in.
The Drying Process to Remove Hidden Moisture
Once the standing water is out, most homeowners think the hard part is over. It isn't. Preventing mold after a water loss usually comes down to whether the structure gets dry, not whether the floor looks dry.
That distinction matters in Georgetown and Austin because ambient moisture slows evaporation. A hallway may feel normal again while the drywall paper, subfloor, and insulation still hold enough moisture to support growth.
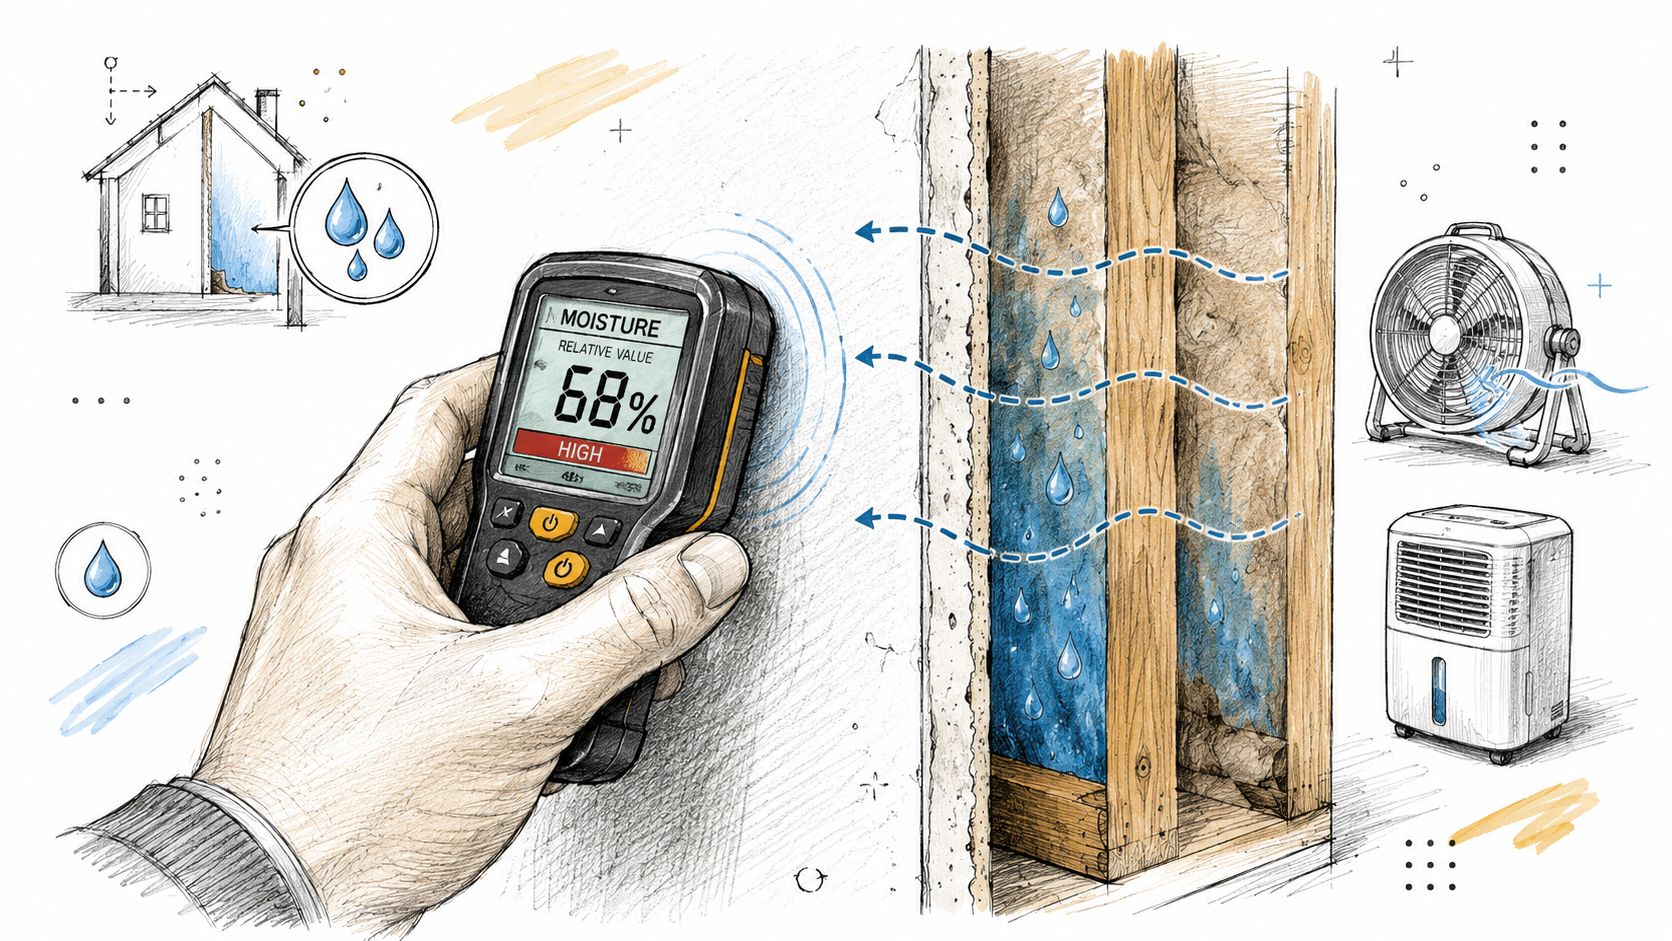
Surface dry is not dry
A dry-looking laminate floor can still have moisture under the planks. Baseboards can feel firm while the drywall behind them stays damp. Wall cavities are especially deceptive because they don't get much natural air movement.
That's why professionals don't rely on touch. They rely on meters, controlled airflow, and dehumidification. If you're doing part of this yourself, think like a drying contractor, not like someone airing out a bathroom.
For a closer look at the process, this Central Texas structural drying guide explains how targeted drying protects the building, not just the finish materials.
Your humidity target matters
The most useful number a homeowner can work with during drying is indoor relative humidity. According to guidance cited from the EPA and industry experts, keeping indoor relative humidity below 60%, and ideally between 30% and 50%, is essential to discourage mold growth, as described in this humidity control overview.
If you don't have a hygrometer, get one. They aren't expensive, and they tell you whether your fans are helping or whether the room is turning into a warm, damp chamber.
A room can smell better and still be too humid. Measure it. Don't guess.
How to set up drying that actually works
Fans and dehumidifiers do different jobs. Fans move moisture off wet materials and into the air. Dehumidifiers pull that moisture out of the air so materials can keep drying. One without the other is limited.
A workable homeowner setup usually looks like this:
- Air movers or fans aimed across wet surfaces, not straight down at one spot
- A dehumidifier running continuously in the affected zone
- Interior doors positioned intentionally, either open to improve circulation or closed to isolate a drying chamber
- Cabinets, closets, and vanities opened up where water entered
- HVAC monitored carefully, because some systems help with humidity and others can spread moisture if the setup is poor
DIY gear versus professional drying
Consumer equipment can help on a minor, clean-water incident if you catch it quickly. But there are limits. Home dehumidifiers fill fast. Small fans don't create the same pressure and air exchange you get from professional air movers. And without moisture readings, you won't know if the wall cavity behind the baseboard is still wet.
That gap is where a company like RestoTek TX fits. They handle extraction, structural drying, moisture detection, microbial prevention, and reconstruction for homes in Georgetown and Austin. That's useful when the moisture isn't just on the floor anymore.
Drying mistakes that keep showing up
Things that slow the process or push it backward:
| Mistake | Why it fails |
|---|---|
| Running fans without dehumidification | Moisture stays in the air and can settle elsewhere |
| Turning equipment off at night | Drying stalls and humidity rebounds |
| Leaving wet contents packed together | Items hold moisture and block airflow |
| Assuming one dry room means the whole area is dry | Hidden pockets often remain in cavities and under flooring |
The goal isn't comfort. The goal is a structure that has been dried far enough that moisture can't keep feeding growth.
Cleaning What You Can and Discarding What You Must
Homeowners usually lose time at this stage because they want to save everything. That's understandable. It also causes some of the worst mold problems. After a water loss, the right question isn't “Can this be cleaned?” It's “Can this material be dried and cleaned thoroughly enough to be safe?”
What usually stays and what usually goes
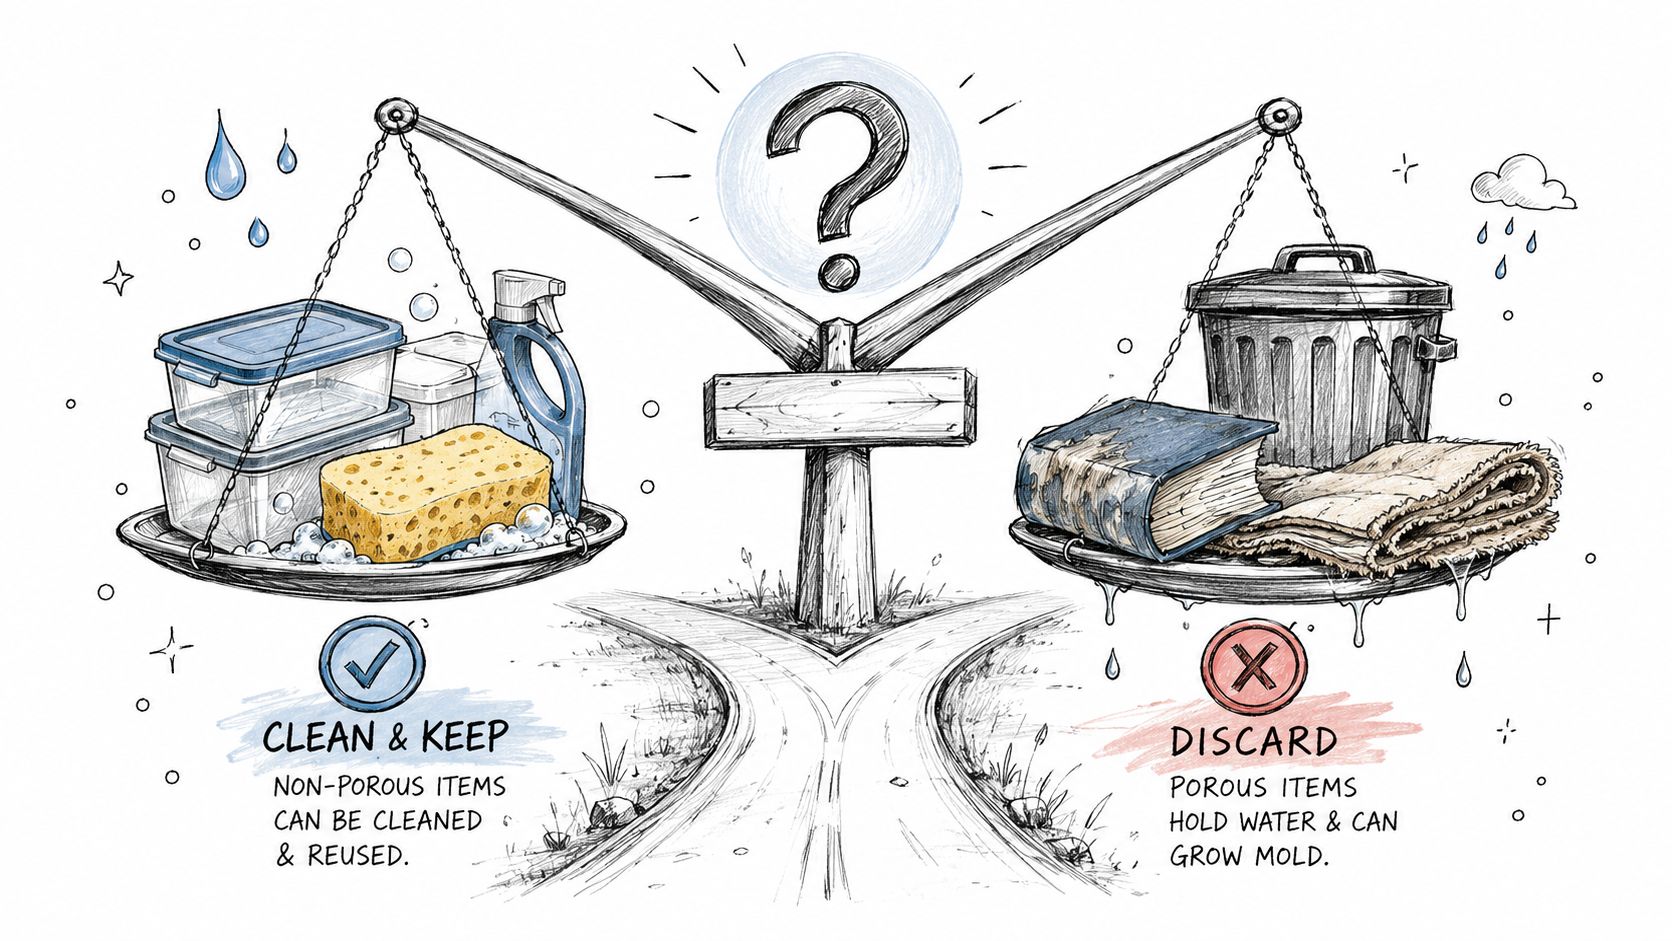
Some materials give you a realistic path to recovery. Others don't. Hard, non-porous, and cleanable materials usually have a better chance. Soft, absorbent, layered materials are much riskier.
A simple comparison helps:
| Usually salvageable if cleaned and dried promptly | Often removal candidates after saturation |
|---|---|
| Tile | Carpet padding |
| Vinyl flooring surfaces | Insulation |
| Metal | Ceiling tiles |
| Plastic | Unfinished composite materials |
| Sealed wood surfaces | Wet drywall sections |
| Glass | Porous contents that stayed soaked |
The Cornell article states that the critical success window is 24 to 48 hours, and that saturated porous materials such as ceiling tiles, insulation, and carpet padding cannot be dried thoroughly within that period and need immediate disposal rather than cleaning, as noted in this Cornell discussion of preventing mold after water damage.
That aligns with what we see on real jobs. Carpet itself may sometimes look recoverable, but the padding underneath is often the primary problem. It holds water, loses shape, and stays damp where you can't inspect it well.
Clean hard surfaces the right way
If a surface is hard, non-porous, and not physically damaged, clean it thoroughly after drying begins. Remove dirt and residue first. Then sanitize if appropriate for the situation and material.
For hard surfaces, the background guidance notes that the CDC references a bleach solution of one cup of bleach per gallon of water for mold on hard surfaces. If you use bleach, ventilate well, wear gloves, and never mix it with other cleaners.
Cleaning works on the right material. It doesn't rescue a material that stayed wet deep inside.
Examples of materials that may respond well to cleaning include sealed tile, metal furniture legs, plastic bins, and some sealed trim surfaces that did not swell or delaminate. The test is practical: if water soaked into it, don't be sentimental.
Material decisions that save time later
Use these calls as your filter:
- Swollen drywall or soft baseboards usually mean water migrated farther than the stain suggests.
- Insulation that got wet is rarely worth trying to save because it loses performance and traps moisture.
- Cabinet toe kicks and vanity backs often hide damp voids, even when front faces look fine.
- Rugs with heavy backing can hold moisture longer than homeowners expect.
A common mistake is keeping damaged materials in place because they “don't smell yet.” Odor is a late clue, not an early one. If the item is porous and stayed saturated, removal is often the cleaner, faster, and safer path.
When to Call a Professional Restoration Company
Some water losses are manageable. Some aren't. Knowing the difference early can spare you a failed cleanup, a hidden mold problem, and a bigger rebuild later.
A good rule is this: if the job involves contamination, hidden moisture, structural materials, or a delayed response, DIY has probably reached its limit.
Clear signs it's time to hand it off
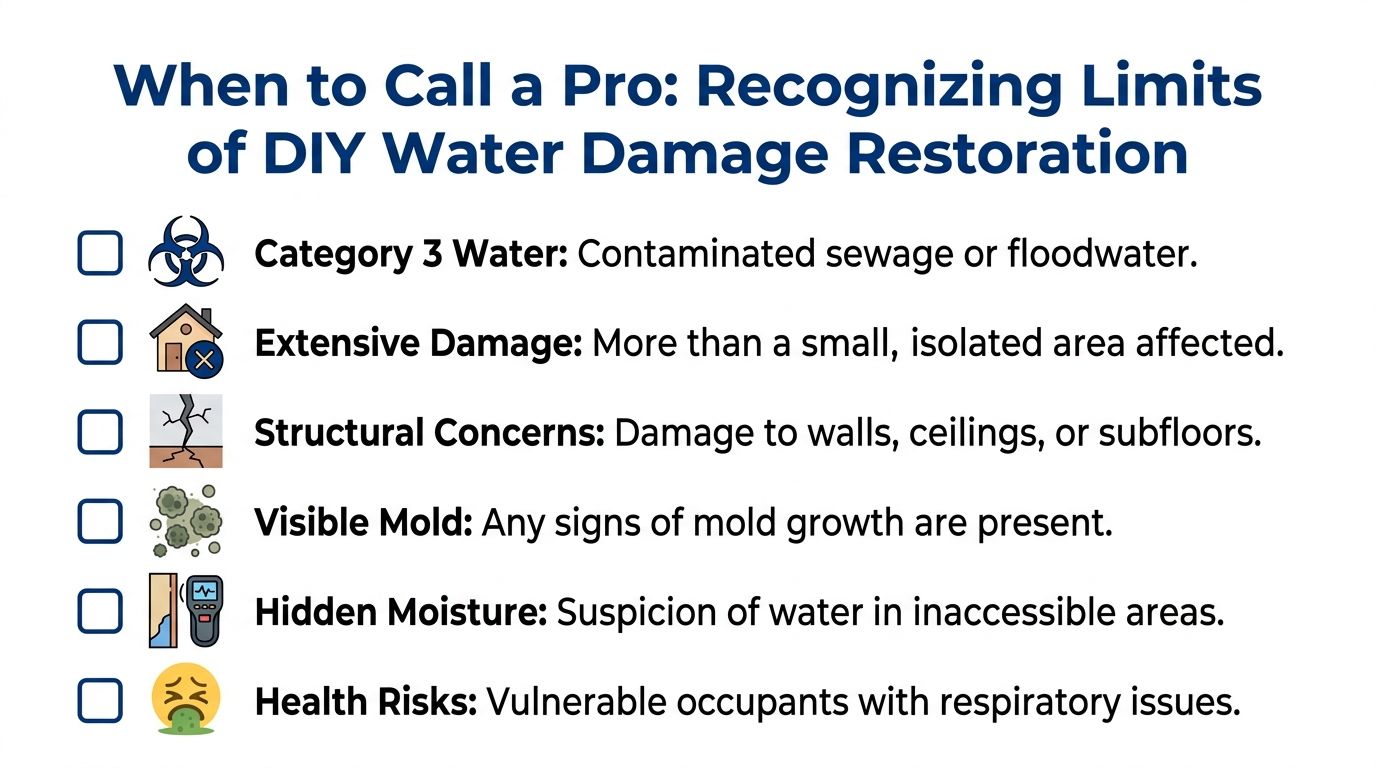
You should call a restoration company if any of these apply:
- The water came from sewage, floodwater, or an unknown source. That isn't a home cleanup project.
- The affected area isn't small or isolated. Once multiple rooms, long runs of flooring, or wall cavities are involved, equipment and inspection matter.
- Water has likely reached subfloors, insulation, or ceilings. Hidden saturation changes the scope.
- You can see or smell mold. At that point, you're no longer just drying.
- The water sat too long before active drying started. Delayed action narrows your options.
- Someone in the home has respiratory sensitivity. Even minor microbial growth can become a serious practical issue.
Why professional work is different
A restoration crew doesn't just bring bigger fans. They verify what got wet, identify what needs removal, isolate risk areas, and track drying instead of guessing. That matters in Central Texas because high outdoor humidity can work against every shortcut.
Professionals are also useful when the loss is no longer just a mitigation problem. Once drywall cuts, flooring removal, cabinetry detachment, or reconstruction become likely, the project needs coordination, not just effort.
If hidden moisture or mold is part of the concern, a local mold inspection in Georgetown can help define the full scope before you waste time cleaning the wrong things.
Calling for help isn't overreacting when the structure itself may still be wet.
The local factor in Georgetown and Austin
Homes here deal with sudden weather swings, humid stretches, slab construction, and storm-related water intrusion that doesn't always stay near one entry point. A burst pipe in an interior wall behaves differently than wind-driven rain coming through a vulnerable opening. Flash flood water brings a different level of contamination risk than a clean sink overflow.
The trigger isn't pride. It's complexity. If you can't confidently say where the water went, what materials stayed wet, and whether drying conditions are under control, bring in a qualified restoration company.
Your Path to a Safe and Dry Home in Central Texas
In Georgetown, a water loss can look under control by the end of the day and still turn into a mold problem a few days later. That happens a lot after summer storms, flash flooding, or any incident where indoor drying has to compete with heavy outdoor humidity.
The homes that recover well usually follow the same pattern. The water source gets handled fast. Wet materials are assessed accurately. The structure gets dry all the way through, not just dry to the touch. Then the cleanup decisions match the type of water, the materials affected, and how long everything stayed wet.
That is the practical answer to how to prevent mold after water damage in Georgetown and Austin. Fast action helps, but accuracy matters just as much. If you miss moisture in a wall cavity, under flooring, inside base cabinets, or around a slab edge, the timeline can shift against you even when the room looks fine.
Good results come from discipline. Keep drying. Keep checking. Remove what cannot be safely saved. Do not paint over a stain and assume the problem is finished.
For Central Texas homeowners, local conditions change the job. Humid air can slow evaporation. Storm water can travel farther than expected. A small entry point can leave moisture in places you would not suspect on day one. Clear guidance from someone who understands how these losses unfold here is often what helps a homeowner avoid a second problem after the first one.
If you need help getting your home dry and safe, RestoTek TX offers no-cost estimates for water damage restoration, drying, inspection, and repair in Georgetown, Austin, and surrounding Central Texas communities.