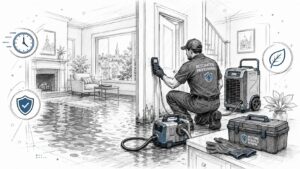
You notice the stain first. Maybe it's a yellowing ring on the ceiling, a warped baseboard, or a musty smell that won't go away even after cleaning. In Georgetown and Austin homes, that moment usually comes with the same question: is this a small issue, or is water moving somewhere I can't see?
That's where leak detection matters. It's not just about finding water. It's about finding the source, confirming how far the moisture traveled, and making sure the repair solves the actual problem instead of the symptom. For homeowners, that first step often decides whether the rest of the project stays controlled or turns into a much larger restoration.
Beyond the Dripping Faucet What Is Leak Detection
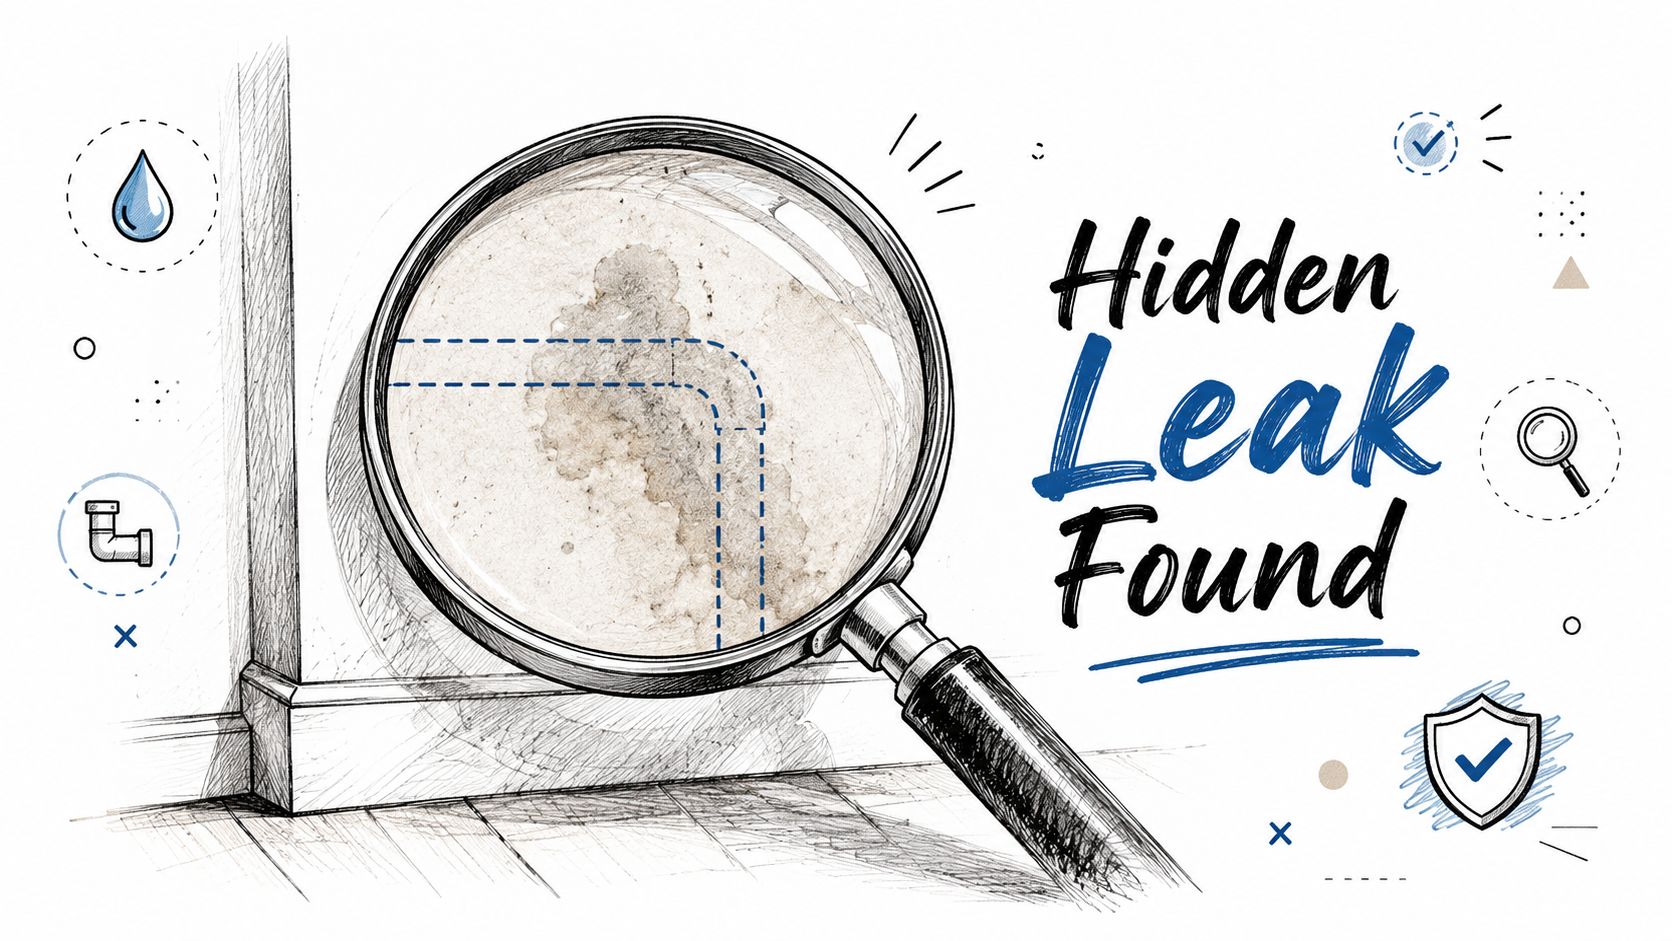
When homeowners ask what is leak detection, they're usually thinking about a visible drip under a sink or a burst line in the open. Professional leak detection is different. It's a methodical process used to locate hidden water intrusion with as little disruption to the house as possible.
It's comparable to a medical workup. A doctor doesn't start treatment by guessing and cutting. They use tools to narrow down the problem first. Leak detection works the same way. The goal is precision.
What professionals are actually looking for
A leak investigation usually tries to answer three questions:
- Where is the water entering or escaping from. That could be a supply line, drain line, appliance connection, roof penetration, window detail, or slab plumbing issue.
- Where has the moisture traveled. Water rarely stays where it starts. It can wick into drywall, flooring, framing, insulation, and cabinets.
- What can stay intact during diagnosis. Good detection work reduces guesswork, which means fewer holes in walls and less unnecessary demolition.
That matters because water damage isn't always obvious at the surface. A dry-looking wall can still hold moisture. A ceiling stain can show up far away from the actual failure point. And a persistent odor often means the problem has been active longer than anyone realized.
Practical rule: The first job isn't tearing things open. The first job is narrowing the problem down so repairs happen in the right place.
Leak detection has become a serious discipline well beyond residential work. Water utilities worldwide lose about 20 to 30% of supplied water each year, which is one reason early identification is treated as a major operational priority in water distribution management research. In a house, the stakes are smaller in scale but just as real to the owner. The faster the source is identified, the easier it is to limit secondary damage.
What leak detection is not
It's not random demolition. It's not standing in a room and guessing based on a stain. And it's not one magic gadget that instantly tells you everything.
Good leak detection combines observation, instruments, system testing, and experience. That's why the process often saves both time and stress. Instead of chasing symptoms from room to room, you get a clear starting point for repair, drying, and restoration.
The Tools of the Trade How Professionals Find Leaks
A hidden leak usually leaves clues long before water starts dripping into the middle of the room. The challenge is reading those clues correctly. Pros use a combination of tools because no single device works perfectly in every wall, slab, ceiling, or crawlspace.

Acoustic listening devices
Acoustic equipment works like a stethoscope for plumbing. A trained technician listens for the sound of water escaping under pressure through pipe, slab, or wall assemblies.
This is especially useful when a line is buried or hidden. A pinhole leak can create a distinct sound, but real homes aren't quiet laboratories. Appliances cycle on, outdoor noise carries through walls, and normal plumbing movement can confuse the reading. Acoustic work is effective, but only when the person using it knows what normal sounds like in that environment.
Thermal imaging cameras
Thermal cameras don't see water directly. They show temperature differences. If water is cooling an area as it moves or evaporates, the camera may reveal a suspicious pattern behind a wall, under flooring, or across a ceiling.
That makes thermal imaging valuable for narrowing a search area without opening up large sections of the home. It's also one of the most misunderstood tools. A cool spot doesn't automatically mean a plumbing leak. Air movement, insulation gaps, and HVAC issues can create similar patterns, so thermal imaging works best as part of a broader inspection.
A camera can point you toward the problem area. It still needs confirmation from moisture readings, pressure behavior, or direct inspection.
Pressure testing and moisture verification
Pressure testing answers a simpler question. Can a plumbing system hold pressure the way it should? If it can't, that confirms there's likely a failure somewhere even if the exact location isn't visible yet.
Moisture meters help complete the picture by checking whether materials are wet and how far that moisture extends. In larger building systems, modern setups may also combine sensing cables, spot sensors, and a monitoring panel that records the zone, location, and time stamp of a leak for faster isolation, as described in water leak detection system commissioning guidance. In residential restoration, teams often pair those principles with field inspection to define the affected area before drying begins.
If you're dealing with visible staining, odor, or suspected hidden moisture, a formal water damage inspection and assessment helps sort out whether the issue is active, old, localized, or more widespread.
What works and what doesn't
Here's the practical version:
| Tool | Best use | Limitation |
|---|---|---|
| Acoustic listening | Pressurized plumbing leaks in hidden areas | Noise can interfere |
| Thermal imaging | Narrowing search areas behind finishes | Needs confirmation |
| Pressure testing | Confirming a plumbing failure exists | Doesn't always pinpoint location |
| Moisture meters | Mapping wet materials for drying scope | Measures moisture, not source by itself |
Homeowners sometimes hope for one quick scan that solves the whole mystery. In practice, strong leak detection is usually layered. One tool points. Another confirms. Then the repair and drying plan can start with confidence.
Is Your Home Hiding a Leak Common Warning Signs
Most hidden leaks don't announce themselves with a burst pipe and standing water. They often begin subtly. A faint smell. A slight ripple in flooring. A stain that seems to get darker after a shower or laundry cycle.
That's why homeowners often feel uncertain at first. The clues seem small on their own, but together they tell a clearer story.
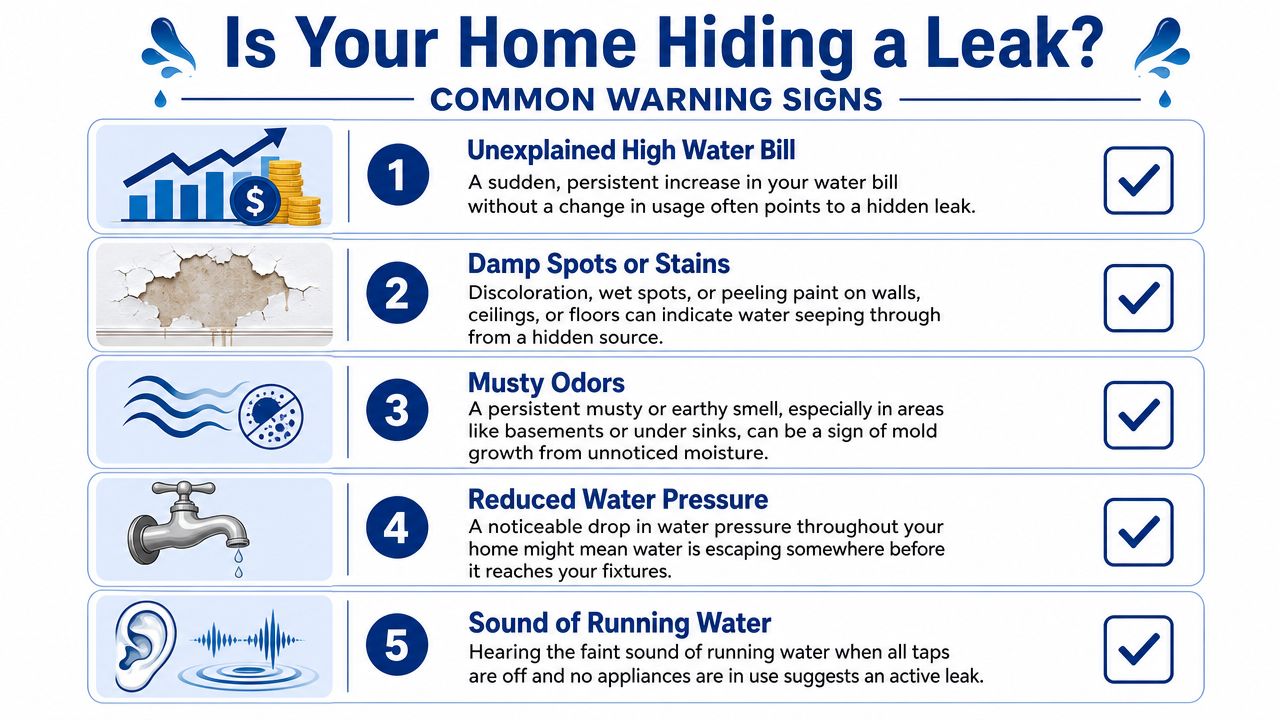
Five signs worth taking seriously
- A water bill that suddenly climbs without a clear reason. If your routine hasn't changed but usage keeps rising, water may be escaping somewhere out of sight.
- Stains, bubbling paint, or soft drywall. These surface changes often mean moisture has been sitting behind the finish for a while.
- A musty smell that returns after cleaning. Odor usually points to ongoing dampness, not just a one-time spill.
- Lower water pressure at fixtures. A pressure drop can suggest water is leaving the system before it reaches the faucet or showerhead.
- The sound of water moving when nothing is on. If the house is quiet and you still hear a faint run or hiss, that's worth checking.
What these signs can look like in real homes
In one house, the first clue is warped wood flooring near a kitchen sink cabinet that seems otherwise dry. In another, it's a ceiling stain below an upstairs bathroom where the family assumed someone splashed too much. In older homes, a leak may show up as recurring paint damage or trim separation that keeps getting touched up without anyone addressing the moisture behind it.
Some warning signs overlap with other issues, which is why homeowners can lose time trying to interpret them alone. A musty smell might be from a long-term plumbing seep, but it could also be tied to moisture intrusion from outside. Staining could come from a roof issue, a tub surround, or supply plumbing.
If a symptom keeps returning after cosmetic fixes, the cosmetic fix wasn't the real fix.
A practical next step is to compare the clue with the location. Does the odor get stronger near one wall? Does the stain worsen after using a specific bathroom? Does the flooring change near an appliance, exterior wall, or shower? Those patterns help narrow the source before major damage develops.
If you want a homeowner-level checklist for subtle moisture clues, this guide on signs of hidden water damage in a Georgetown home is a useful place to start.
The RestoTek TX Process From Detection to Drying
When a homeowner calls about a suspected leak, the primary concern usually isn't the toolset. It's the uncertainty. They want to know what happens next, who handles what, and whether they're about to lose half a wall just to find a pipe.
That's why the process matters almost as much as the equipment.
What the service path looks like
RestoTek TX handles leak-related water losses as a full sequence, not as isolated tasks. That means the investigation connects directly to mitigation, structural drying, and repair planning under one workflow.
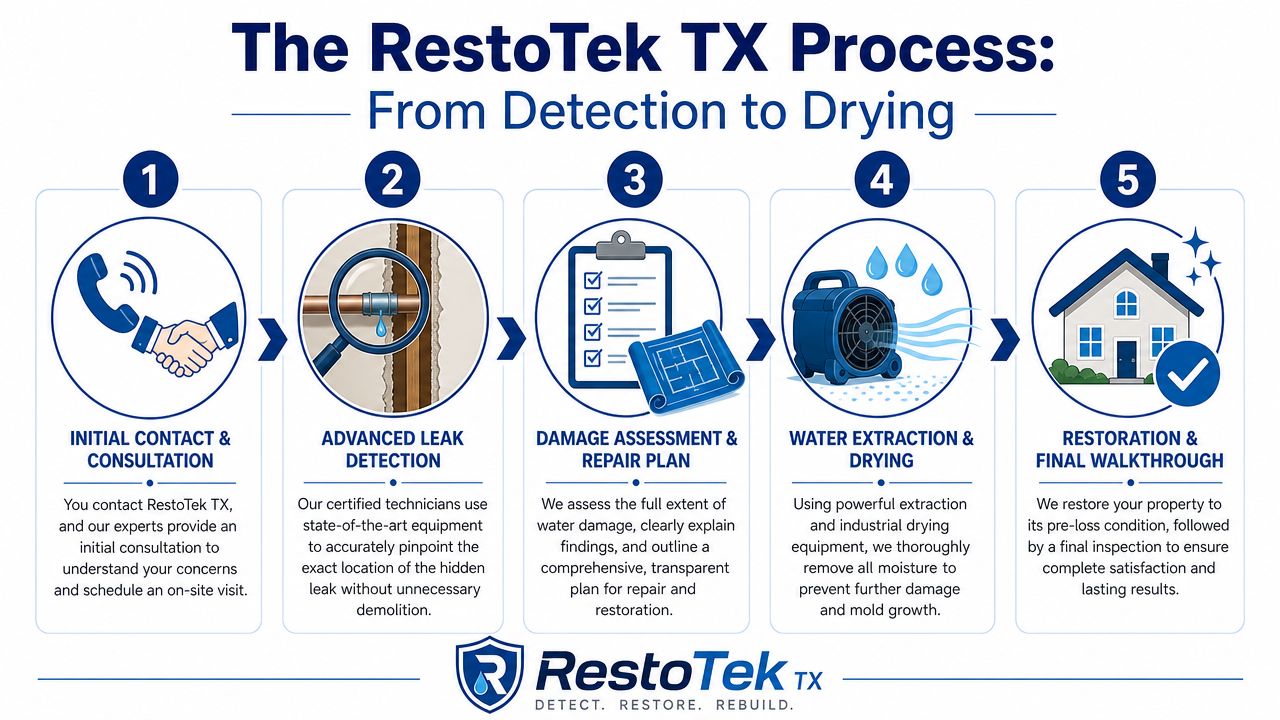
Initial contact
The first conversation focuses on symptoms, timeline, and urgency. Is there active water? Is the damage spreading? Has a plumber already been involved, or is the source still unknown?On-site detection and inspection
A technician checks visible damage, moisture patterns, likely source areas, and hidden spread. The point isn't to guess fast. It's to narrow down the origin and separate active moisture from old staining.Source confirmation
Findings are cross-checked with instrument readings and site conditions, as background noise, construction type, and subsurface conditions can affect readings. Public guidance on non-invasive detection notes that background noise and soil conditions can interfere with readings, which is why technician judgment is critical when distinguishing a small leak from normal system sound in real-world leak detection conditions.Mitigation and drying
Once the source is identified and addressed, the moisture problem still remains. Wet materials are evaluated for salvageability, water is extracted where needed, and drying equipment is set based on the affected structure.Repair and final walkthrough
After dry standards are reached, the project moves into rebuild or finish restoration if needed. The homeowner can then see what was damaged, what was saved, and what was done to return the space to service.
Why this sequence helps homeowners
A lot of frustration in water-loss jobs comes from handoff gaps. One company finds moisture. Another opens materials. Another dries. Another rebuilds. Every transition creates room for delay and confusion.
With a coordinated process, the detection step becomes useful immediately because it informs the rest of the response. If moisture extends into framing, the drying plan changes. If the leak stayed localized, the repair scope can stay tighter. If odor or microbial concerns are present, treatment can be planned earlier instead of after the damage lingers.
The cleanest projects are the ones where diagnosis, drying, and repair planning line up from the start.
For homeowners trying to understand what happens after wet materials are exposed and stabilized, structural drying services are the part that protects the house from lingering moisture that can stay trapped long after the obvious water is gone.
What calm communication looks like
Joan and Josh Garza run a family-operated company, and that local structure matters in stressful jobs. Homeowners usually don't need a technical lecture. They need plain answers. Where is the likely source? What has to happen first? What can be saved? What should they expect over the next few days?
A solid process replaces panic with sequence. Find it. Confirm it. Stop it. Dry it. Restore it.
Special Considerations for Georgetown and Austin Homes
Homes in Georgetown and Austin don't exist in neutral conditions. Central Texas puts houses through long dry stretches, hard rain events, shifting soils, and sharp swings in moisture levels. Those conditions matter because leaks don't happen in a vacuum. They show up inside structures that are already expanding, contracting, settling, and taking on environmental stress.
Why local conditions change the diagnosis
One of the most common concerns in this region is movement around foundations and slab plumbing. When soil conditions change, buried lines and rigid connections can be placed under stress. That doesn't mean every crack or stain points to a slab leak, but it does mean local context matters when symptoms appear low on walls, around flooring transitions, or in patterns that don't match an obvious fixture overflow.
Broad leak detection principles from large systems still apply on a smaller scale. In pipeline operations, statistical methods look for anomalies by comparing expected behavior with actual behavior. The same core idea shows up in residential problem-solving. Regional pattern awareness helps narrow risk. The industry history of statistical pipeline leak detection goes back to systems developed in the 1990s, and those methods are described as widely used for recognizing abnormal flow and pressure behavior in pipeline leak detection techniques. For homeowners, the takeaway is simpler: local patterns matter, and good diagnosis pays attention to them.
Common local scenarios
Here are situations that come up often in Central Texas homes:
- Slab-related concerns. Moisture symptoms at flooring level, warm spots, unexplained dampness, or repeated issues in one area may call for a more focused plumbing and structural review.
- Heavy rain after dry periods. Water can find weak points in exterior details, roof penetrations, window assemblies, and wall transitions.
- Foundation movement effects. Small shifts can stress plumbing connections, especially where materials transition or lines pass through rigid framing.
- Mixed construction ages. Older homes and newer homes fail differently. One may have aging materials. Another may have tight modern assemblies that trap moisture when a leak does happen.
What homeowners can do before damage spreads
You don't need to diagnose the whole issue yourself, but local awareness helps. Watch for changes that line up with weather shifts. If a stain appears after storms, that points in one direction. If moisture seems tied to fixture use or hot water cycles, that points in another. If flooring changes start near the center of the house rather than an exterior wall, that can steer the inspection differently.
The main mistake is treating every sign as cosmetic. In this part of Texas, houses move and weather hits hard. A small symptom can still have a hidden cause.
In Georgetown and Austin, the house, the weather, and the soil all become part of the leak investigation.
That's why local experience matters. The tools may be standard, but the reading of the house has to fit the region.
Your Next Steps After a Leak Is Found
Once a leak is confirmed, homeowners often think the job is almost over. In reality, that's the point where the work splits into two different paths. One path stops the source. The other path deals with what the water already did.
Step one is stopping the leak
If a supply line, fixture connection, appliance line, or drain issue is active, it has to be stopped first. That may mean shutting off the local valve or the home's main water supply. In many cases, a plumber handles the mechanical repair.
That repair is essential, but it isn't the full solution. Replacing a failed line doesn't dry a wall cavity. Tightening a fitting doesn't remove moisture from subflooring. Once water gets into building materials, the risk shifts from plumbing failure to property damage.
Step two is addressing the water inside the structure
After the source is controlled, the next questions are practical:
- What materials are wet right now
- How far did the moisture spread
- What can be dried in place
- What needs removal to prevent ongoing deterioration or microbial growth
Restoration work becomes separate from plumbing. A plumber repairs the system. A restoration team handles extraction, moisture mapping, drying, material evaluation, odor concerns, and repair coordination.
What homeowners should do immediately
A calm response usually looks like this:
- Shut off water if the leak is active and accessible
- Turn off power in affected areas if water is near electrical components and it's safe to do so
- Remove rugs, papers, electronics, and loose contents from wet areas
- Take photos of visible damage
- Avoid opening up materials randomly unless safety requires it
- Get the leak repaired and the moisture professionally evaluated
Some homeowners stop after the plumbing repair because surfaces look dry a day later. That's a gamble. Moisture can stay trapped in insulation, cabinetry, framing, under flooring, and inside wall assemblies long after the visible water disappears.
The difference between a repair and a full recovery
A simple repair fixes the failure point. Full recovery returns the home to a stable, dry condition. That includes checking hidden moisture, setting up drying when needed, preventing secondary issues, and restoring damaged finishes.
If you're in Georgetown or Austin and you've gone from “I think I have a leak” to “now what do I do,” the safest move is to treat detection as the start of a complete solution, not the finish line. The right first step makes every later step smaller, cleaner, and easier to manage.
If you need help moving from leak discovery to a fully dry, restored home, RestoTek TX handles inspection, mitigation, drying, and repair coordination for water-loss events in Georgetown, Austin, and surrounding Central Texas communities.