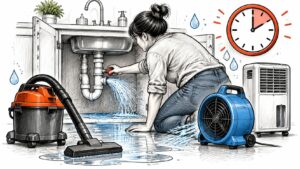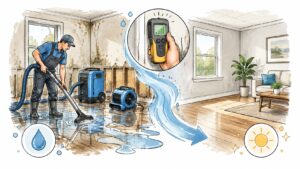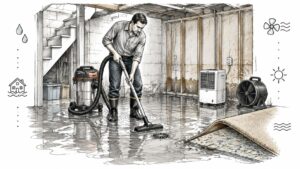
For clean-water burst pipes, shut off the water supply first, then aim to dry affected materials within 24-48 hours. Burst pipe cleanup is complete only when moisture measurements confirm that hidden materials are dry, not when the floor looks clean.
You may have water spreading across the hallway, a hissing sound behind a wall, and towels that are already soaked through. Focus on controlling the release and making the area safe before moving furniture or switching on fans. The right sequence protects both the building and the people trying to clean it up.
The Burst Pipe Cleanup Timeline at a Glance
Water across the floor is the obvious problem. The less obvious problem is how far it has traveled beneath flooring, behind baseboards, and into the wall below the broken pipe.
The U.S. Environmental Protection Agency's mold and moisture guide recommends drying wet or damp areas and contents within 24-48 hours, while cautioning that mold can still occur within that window. Treat that benchmark as a prevention target, not a guarantee or a reason to wait.
Prioritize the work by phase
The phases overlap. Someone can photograph the damage while another person arranges plumbing help, but nobody should begin extraction in an electrically unsafe room.
| Phase | Target timing | Core action | Why it matters |
|---|---|---|---|
| Stop the water | Immediately, before cleanup | Shut off the local or main supply valve | Stops new water entering walls and floors |
| Remove standing water | As soon as access is safe | Extract with wet vacuums, mops, and towels | Limits further soaking into carpet pad and subfloor |
| Dry affected materials | Within the EPA drying window above | Use safe air movement and dehumidification | Reduces conditions that support mold growth |
| Verify hidden dryness | Throughout drying, until readings stabilize near dry comparison materials | Check walls, subfloor, and cabinets with moisture instruments | Surface dryness doesn't establish that cavities are dry |
A closed valve isn't a repaired pipe. Keep the failed supply isolated until the broken line, fitting, or appliance connection has been repaired and checked. Otherwise, restoring water service can undo the cleanup.
Concealed materials also need their own attention. Carpet padding, insulation, and wood beneath a finished surface may remain wet after you've removed every visible puddle.
Practical rule: Track what the building is doing, not just what the equipment is doing. A running dehumidifier isn't proof that a wet wall is drying.
Before you leave the property unattended, confirm that the supply remains controlled, standing water has been removed, and any operating equipment is safe for the conditions. Start a written moisture log so the next check shows whether the affected materials are improving. If you can't measure the wet layers, that's an unresolved part of the job.
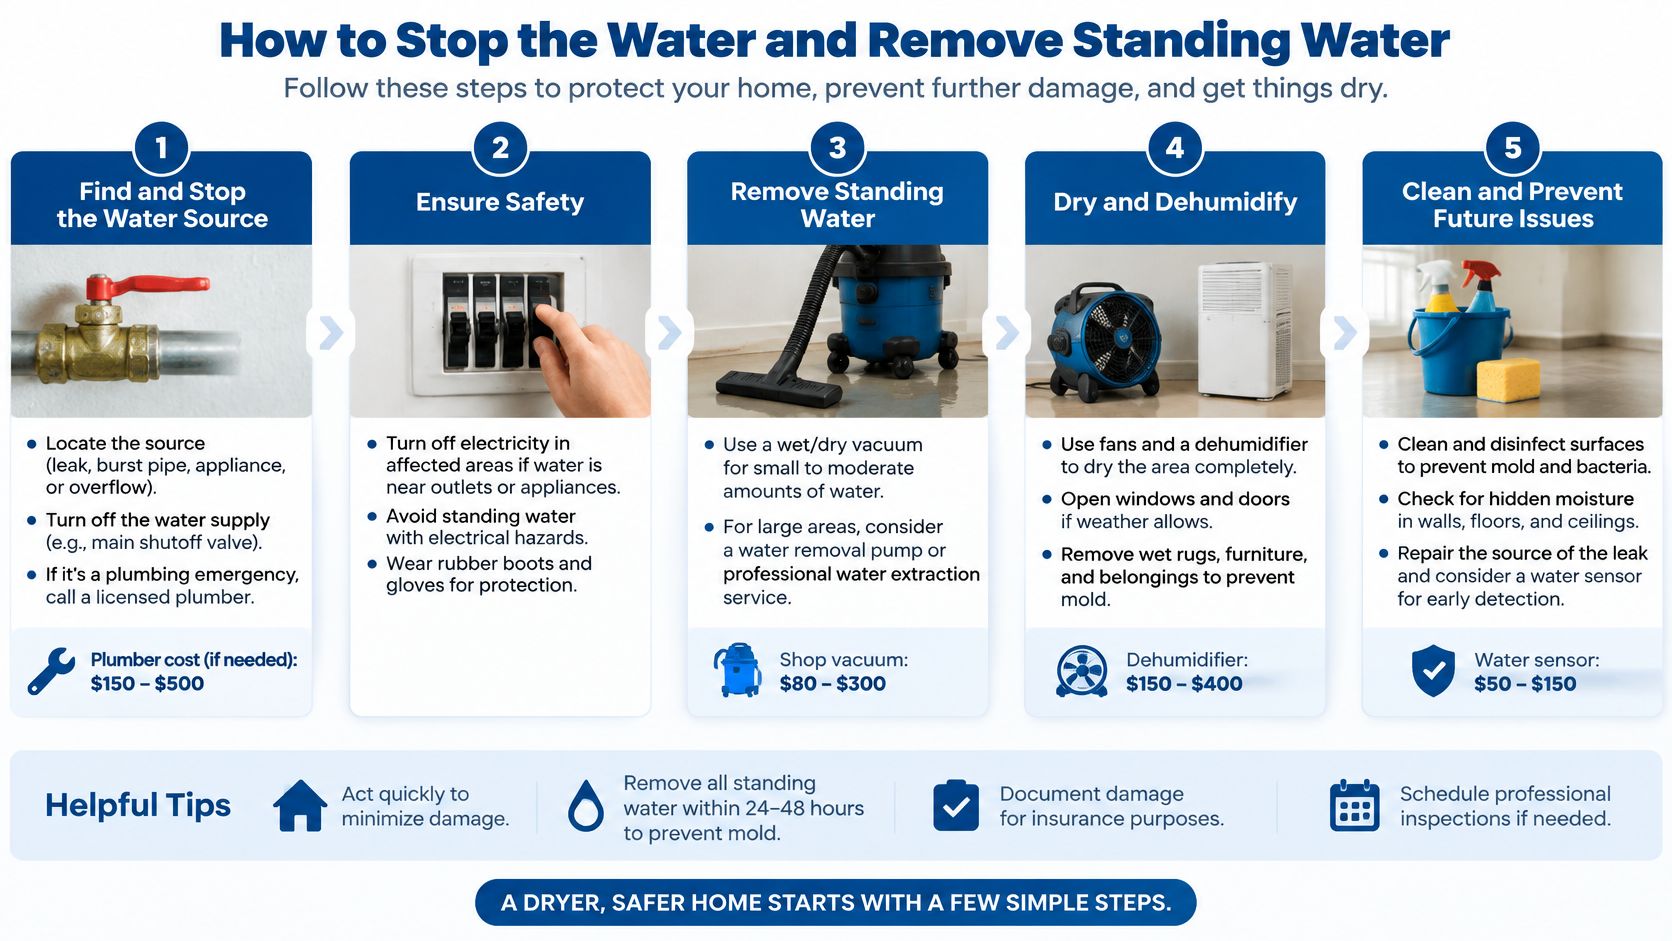
How to Stop the Water and Remove Standing Water
Don't rush into the wet room with an extension cord and a household vacuum. Establish a dry route, keep children and pets away, and look for electrical hazards or a sagging ceiling before approaching the leak.
This sequence keeps source control ahead of cleanup.
Secure the room before extracting water
Close the nearest effective supply valve. For an accessible fixture leak, try its local shutoff; if water keeps flowing or the break is inside a wall, close the main supply. If you're unsure where to look, use this guide to finding your water shutoff valve, and don't force a seized valve until it breaks.
Address electricity from a dry location. If water has reached outlets, fixtures, or appliances, switch off the affected circuits only if you can reach a dry panel without crossing water. If the panel or approach is wet, stay out and contact an electrician or the utility rather than trying to unplug equipment.
Photograph the scene without delaying source control. Take wide room views, close-ups of damaged finishes, and a photograph of the failed pipe if it's accessible. Record the original conditions before moving belongings, but don't stand beneath swollen ceiling drywall to get a better angle.
Extract with equipment rated for water pickup. Use a wet/dry vacuum configured for liquid collection according to its instructions, followed by mops and towels for residual water. Work from the farthest affected area toward the exit, emptying collected water somewhere it won't flow back into the building.
Expose wet surfaces without creating more damage
Lift loose coverings and assess carpet layers. Move area rugs to a suitable drying location, and carefully separate salvageable wet carpet from the underlying layers where access is safe. Pulling hard against tack strips can tear the backing, and wet padding may need removal rather than drying beneath the carpet.
Move furniture and protect what must stay. Carry valuables, boxes, and small furniture onto dry surfaces instead of dragging them through adjoining rooms. Place foil or nonstaining blocks beneath furniture legs that can't be moved, since a wet towel left underneath keeps moisture against the finish.
Record when you discovered and stopped the release. Note whether the pipe may have leaked before you found it, because the shutoff time doesn't establish when materials first became wet. Keep repair photographs, receipts, and cleanup notes together so the timeline remains understandable.
Remove accessible wet baseboards only after documenting them and confirming that removal won't expose wiring or disturb suspect building materials. Don't start cutting walls just because the baseboard feels damp.
Finish this stage by checking that flow has stopped and identifying the failed component. Equipment setup comes after source control and the contamination check, not before them.
When to Stop DIY
More airflow isn't always better. Fans can help dry a fresh clean-water loss, but they can also distribute mold from contaminated surfaces into occupied rooms.
FEMA's cleanup guidance advises using fans and dehumidifiers only when electricity is safe and warns that fans can spread mold. Before plugging anything in, identify where the water came from and inspect the area for existing microbial growth.
Classify the water before choosing equipment
Water appearance alone isn't enough. Clear water from a fresh supply break is different from wastewater carrying detergent, food residue, or sewage, even when both came from an appliance area.
| Situation | What it looks like | Cleanup approach | Call a pro when |
|---|---|---|---|
| Clean supply-line water | Clear water from a fresh burst with a known source | Extract, establish controlled drying, and log moisture readings | Materials aren't drying or cavities remain inaccessible |
| Gray water | Used water from a washer or dishwasher discharge, sometimes containing detergent or residue | Treat as contaminated, limit contact, and arrange prompt extraction | Porous materials are soaked or contact is unavoidable |
| Visible mold | Fuzzy growth or suspicious spotting; a musty odor can also warrant investigation | Hold fans until assessed; gently clean only small, appropriate surfaces | Growth is extensive, concealed, or returns after cleaning |
| Sewage or contaminated water | Sewage, foul-smelling water, or murky water of uncertain origin | Avoid DIY removal and arrange professional extraction with appropriate protection | Sewage is present or direct contact could occur |
A burst washer supply hose isn't automatically gray water. The distinction is whether the release came from the clean incoming supply or the appliance's used-water system, and what the water contacted afterward. When the source is uncertain, don't classify it as clean because it doesn't smell.
The EPA's building-remediation guidance sets out clean-water extraction and drying procedures for 24-48 hours, but directs users to different remediation guidance when materials remain wet for more than 48 hours or mold is present. That means the response changes with the condition of the materials, not just the type of pipe that failed.
Keep contamination out of clean rooms
Don't aim a fan at moldy drywall, pull contaminated carpet through the house, or use the HVAC system to distribute air from an affected cavity. Closing a door helps separate spaces, but it isn't a substitute for professional containment.
If a separate room is clean, electrically safe, and isolated from the mold-affected space, drying equipment may be used there without directing airflow through the contaminated area. Ventilation outdoors can help when outdoor conditions support drying, but opening windows while a dehumidifier runs can continually introduce humid air.
Stop DIY when you can't control what the water or airflow will carry into the rest of the property.
Gloves, eye protection, and protective footwear reduce incidental exposure during limited cleanup. They don't make sewage extraction or extensive mold removal suitable homeowner projects.
Also stop when drywall is losing strength, insulation is saturated, or demolition would disturb unknown materials. Don't aggressively open a wall around an old pinhole leak before assessing the cavity. You may expose a larger contaminated area than the visible stain suggests.
How to Dry Floors, Walls and Hidden Moisture
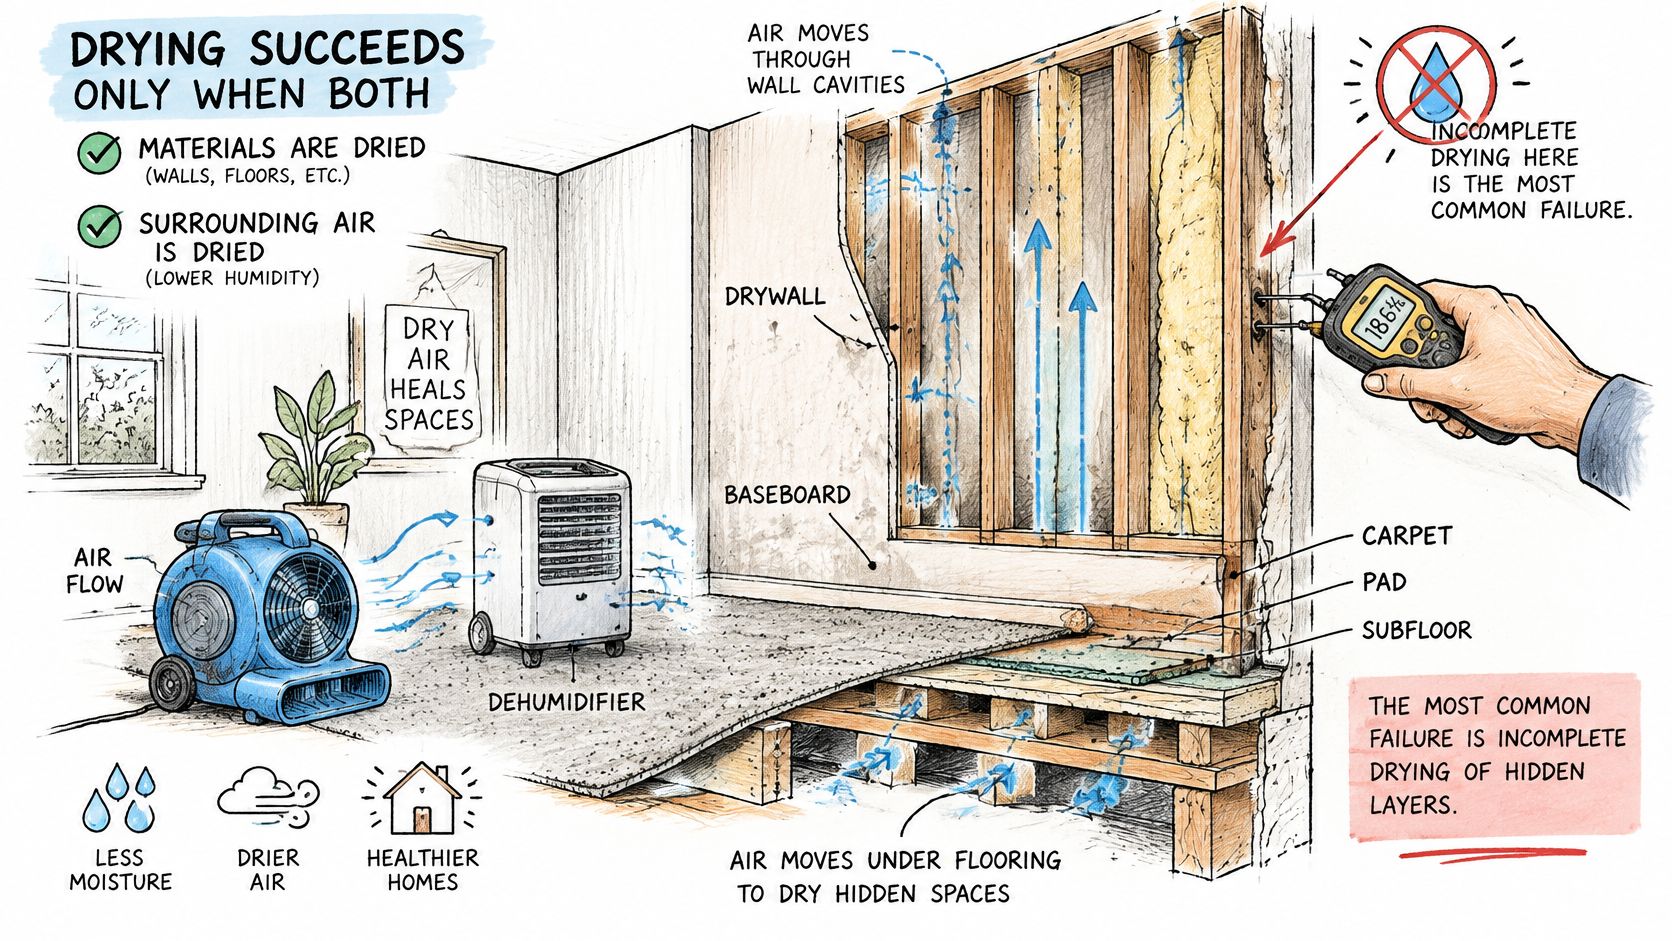
A dry-looking floor can cover a wet subfloor. Successful drying removes moisture from both the materials and the surrounding air, rather than repeatedly blowing damp air across the same surface.
The EPA's mold cleanup guidance emphasizes resolving moisture problems and recognizes that moldy absorbent materials may need replacement. Deodorizer, paint, and surface cleaning aren't substitutes for reaching the wet layers.
Work from the surface down
For salvageable clean-water carpet, begin with extraction, then separate the carpet from the floor so the backing and underlying assembly can be evaluated. Air movement helps exposed surfaces release moisture; dehumidification removes that moisture from the room air. Leaving saturated padding sandwiched beneath carpet defeats that approach.
Wood requires restraint. Remove liquid promptly and use controlled airflow and dehumidification, but don't aim concentrated heat at finished hardwood to hurry the job. A dry finish doesn't establish that the boards or subfloor beneath it have reached an acceptable condition.
Wall access requires planning. A technician may remove baseboard or make a small inspection opening near the bottom of the affected wall after checking for utilities and material hazards. Don't blindly drill into a cavity, and don't close an opening while the insulation or framing remains unresolved.
Measure each affected layer
Use a moisture meter appropriate for the material and follow its operating instructions. Compare affected wood with similar unaffected wood, not with a drywall reading from another room; readings from different materials aren't interchangeable.
A useful drying log includes:
- Location and material: Identify the cabinet base, wall section, carpet backing, or subfloor being checked.
- Repeatable readings: Measure the same marked locations and record the meter mode.
- Dry comparison: Establish a reference from comparable unaffected materials.
- Equipment changes: Note repositioned air movers, dehumidifier operation, and areas opened for access.
This is the purpose of structural drying after water intrusion in Central Texas: matching the drying setup to the wet assembly, then verifying the result.
Completion test: Comparable materials should approach established dry reference readings before they're enclosed or refinished.
Pay particular attention to carpet pad, subfloor, insulation, ceiling materials, and cabinet backs. A persistent musty smell warrants investigation, but the absence of odor doesn't replace moisture measurements.
Decide Whether to Call a Restoration Pro Today
Call a restoration professional today if the loss involves contamination, suspected mold, stalled drying, or wet areas you can't safely inspect and measure. Waiting for the room to look worse doesn't make that decision easier.
At RestoTek TX, we coordinate plumbing repairs with licensed and insured plumbing professionals, ensure the source is resolved, and begin drying and restoration immediately after repairs. We provide a single point of contact for the plumbing coordination and restoration process, so you're not left trying to connect separate scopes yourself.
Make the drying endpoint explicit
A water damage restoration technician should be able to explain which materials are affected and how drying completion will be verified.
- Request a written plan: Include affected assemblies, target readings, monitoring arrangements, and a provisional completion date tied to results.
- Keep the claim record together: Retain photographs, repair records, moisture logs, and estimates without assuming documentation guarantees coverage.
Your immediate next step is practical: stop the supply if it's still running, photograph the damage from a safe position, and log when the release was discovered and controlled. Get an estimate before authorizing reconstruction or closing wet walls.
RestoTek TX offers burst pipe cleanup, structural drying, and reconstruction for homes and commercial properties in Georgetown, Austin, and surrounding Central Texas communities. Visit RestoTek TX to request a free estimate and arrange an assessment of the visible damage and hidden moisture before repairs cover it up.