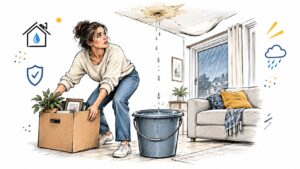
You hear a sharp hiss behind the kitchen wall, then notice water moving across the tile toward the baseboards. A washing-machine hose can split during a cycle, a water heater can begin leaking without warning, and a failed fitting inside a wall can keep feeding water long after the original sound stops. In that moment, knowing how to find the water shutoff valve matters more than knowing exactly which pipe failed.
The first priority is to stop the flow safely. After that, you need to confirm the correct valve, protect people and electrical equipment, document the loss, and recognize when the job has moved beyond a homeowner repair. The steps below reflect the conditions I see in Central Texas homes, from slab-on-grade ranch houses to two-story properties with crowded utility closets.
What to Do the Moment a Pipe Bursts
A homeowner once called after hearing water spray behind a kitchen cabinet. The supply line had separated while the dishwasher was running, and water had already reached the toe-kick and adjoining flooring. The homeowner first searched for towels, then tried to find the exact break. That cost valuable time. The better move is to stop the water before investigating the source.
The first response
Stay calm and identify the risk. If the leak is at a sink, toilet, washing machine, or appliance, look for that fixture's local shutoff first. A supply line failure at a toilet may stop with the small valve beside the toilet, while water inside a wall, ceiling, or slab usually requires the main.
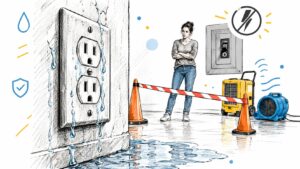
Protect against electrical contact. Keep people and pets away from standing water near outlets, appliances, cords, or electrical panels. If the breaker is safely reachable from a dry position, shut off the affected circuit. If reaching it would require crossing water or touching wet equipment, step back and call 911.
Close the nearest safe valve. Turn a wheel-style valve clockwise. Move a lever-style ball valve until the handle sits perpendicular to the pipe. Don't use excessive force, especially on an old gate valve.
Confirm the result. Open a faucet at the lowest practical fixture in the home. Flow should taper off. If water continues, you may have closed the wrong valve, or the valve may not be sealing.
For a broader walkthrough of the emergency response, keep this pipe-burst guidance from RestoTek TX available for household members and property staff.
What to take outside
Before leaving the house to search for an exterior valve, grab your phone, flashlight, and a towel. Use the phone to call your water utility, plumber, or restoration provider, the flashlight to inspect a meter box or dark garage corner, and the towel to protect your hand from sharp or dirty access covers.
Don't enter a room with sparks, smoke, a fallen electrical appliance, rapidly rising water, or an unsafe ceiling. Once the immediate danger is controlled, trace the service line from the meter toward the house so you can distinguish the utility-side curb stop from the home-side main.
Tracing the Main Shutoff From Meter to House
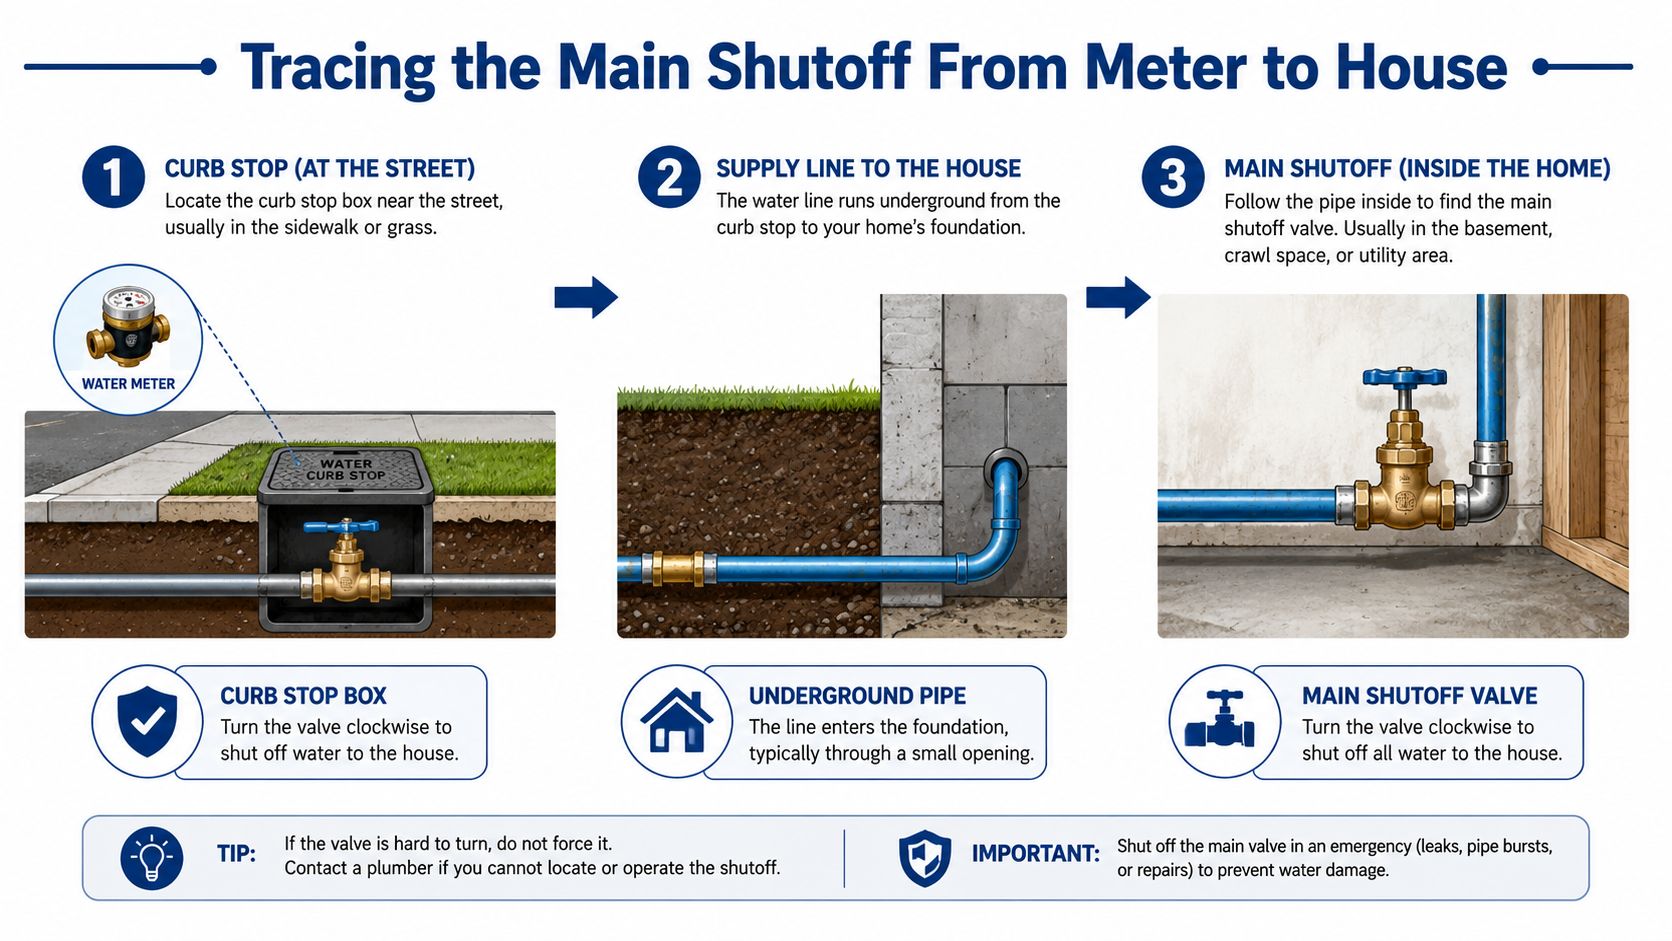
The fastest reliable search starts outside and moves inward. Begin near the street-side meter or curb box, then follow the incoming cold-water line toward the point where it enters the structure. The main valve should be upstream of the first branch serving sinks, toilets, appliances, and hose bibs.
Start at the service line
Look near the sidewalk, driveway edge, or property line for a round or oval metal cover. Some older covers are cast iron, while newer meter boxes may have a rectangular plastic lid set flush with the soil or landscaping. Don't confuse the meter itself with the valve. The meter measures use, while the nearby curb stop controls the service line.
The curb stop is often on the utility side of the property boundary, but it can be useful when the house-side valve is missing, inaccessible, or failed. A purpose-built curb key, sometimes called a water-meter key, is safer and more effective than improvising with a screwdriver or loose pliers. If the lid is stuck, buried, or damaged, don't pry aggressively over a pressurized line. Contact the utility or a plumber.
Follow the pipe to the house
From the meter area, identify the likely route toward the foundation. On the exterior wall, look for a brass or copper riser, a service pipe entering through masonry, or a valve mounted close to the entry point. Inside, inspect the basement, crawlspace, garage, and utility room, especially near the water heater's cold-water inlet.
A home-side main sits on the incoming pipe before it branches. A round wheel handle usually indicates a gate valve associated with older plumbing. A lever handle generally indicates a ball valve, which closes with a quarter-turn. Older galvanized systems may also have a round-bodied stop-and-waste valve that closes the supply and drains part of the line.
Practical rule: The valve closest to the house is normally the one you want for household isolation. The curb stop is a backup when the house-side control cannot be reached or trusted.
A main that's hidden behind stored boxes, buried under landscaping, enclosed behind a nonremovable panel, or reachable only through an unsafe crawlspace is a readiness problem. Arrange a plumbing system inspection before the next leak. A plumber can identify the correct valve, test whether it seals, and recommend an accessible replacement or secondary control.
How Home Layout Changes Where the Valve Lives
Foundation type often tells you where to search first. In Central Texas, slab-on-grade construction removes the basement option, so the main may sit outside, in a garage, near the water heater, or beside a laundry area. A basement home usually gives you a more visible entry point on the wall nearest the street.
Two-story homes may bring the incoming line through the lowest level before it branches upward. Don't assume the valve is upstairs because the leak is upstairs. The whole-house control is generally near the service entry, not near the most visible fixture.
Compare the likely locations
| Home Layout | Primary Location | Backup / Secondary | Visual Marker |
|---|---|---|---|
| Slab-on-grade ranch | Exterior wall, garage, utility room, or near the water heater | Meter box or buried valve near the curb | Brass cover, painted plate, exposed riser, or garage-wall entry |
| Basement foundation | Basement wall closest to the street-side service entry | Near the water heater or crawlspace transition | Exposed pipe, wheel handle, or lever valve at eye or waist height |
| Multi-story build | Lowest-floor utility closet, garage, or entry wall | Exterior service point or meter box | Main line before vertical branches and manifold connections |
| Older home with crawlspace | Crawlspace near the foundation wall | Panel near the water heater or secondary interior valve | Galvanized pipe, round stop-and-waste body, or access hatch |
| Mobile or manufactured home | Under or near the laundry room | Removable skirting panel or exterior service connection | Small access panel, exposed flexible line, or marked service point |
Older properties may have more than one valve, but extra handles don't automatically mean each one controls the entire building. Trace the pipe and look for the valve before the first branch. A valve near the water heater may isolate the heater only, especially when the main line enters elsewhere.
After closing the suspected main, open the lowest hose bib or faucet. If pressure falls and water stops, you've likely isolated the house. If fixtures continue flowing, close the next upstream valve and have a plumber map the system.
Shutting Off Individual Fixtures and Appliances
A local shutoff is the right tool when the failure is limited to one fixture and the valve operates normally. It lets the rest of the house keep working, but it won't help if water is escaping from a wall, ceiling, slab, water-heater connection, or failed main valve.
Common fixture controls
Under a kitchen sink, look for small quarter-turn chrome stops on both the hot and cold supply lines. The handle usually closes when turned clockwise or positioned across the valve body. A refrigerator may have a small saddle valve attached to a copper line, or a push-to-connect outlet behind the appliance. Pulling the refrigerator away can kink the line, so move it carefully and shut the valve before disconnecting anything.
In a bathroom, inspect the stops beneath the sink and at the toilet wall connection. A toilet normally has a small valve at the base of its supply line. Turn it clockwise, then avoid flushing until you're certain the leak has stopped.
The washing machine usually has separate hot and cold hose bibs behind the unit. Close both if a hose, fitting, or appliance connection is leaking. Exterior hose bibs may have interior isolation valves in the garage, utility room, or crawlspace, particularly where freezing-weather protection was added.
Know when local isolation isn't enough
A fixture stop has a valve body and a connection to a flexible supply tube or appliance hose. A plain pipe stub, capped line, or fitting without a controllable handle isn't a shutoff. Don't mistake a compression nut for a valve.
Use the main when:
- Water is inside a wall or ceiling. You can't verify the full path from a fixture stop.
- The local valve is seized or leaking at the stem. Turning it may worsen the release.
- The water source is unclear. Stop the whole supply before searching.
- A pressurized hose has split. The main prevents continued flow if the local control fails.
For a leaking water heater, close the cold-water supply and stop using the unit. Arrange water heater leak repair before reopening the supply.
Valve Types and How to Operate Them Safely
The handle gives you a useful first clue, but it also tells you how much force is appropriate. Gate valves use a round wheel and need multiple turns. Ball valves use a lever and move through a quarter-turn. Stop-and-waste valves appear on some exterior or older service lines and may include a drain feature.
Gate valves are the ones most likely to create trouble during an emergency. Corrosion, mineral deposits, and long periods without movement can bind the stem or internal gate. If the wheel feels frozen, repeated wrench force can snap the stem or twist the pipe connection. A broken main valve can turn a contained leak into an uncontrolled supply-line failure.
Use the handle without damaging the line
First, confirm the pipe direction and identify whether the valve is on the house side of the meter. Marking the open position with tape or paint helps household members understand the normal operating position later. Apply slow, steady hand pressure. Don't add a cheater bar, pipe wrench, or long extension to a stubborn wheel.
If the supply line itself starts turning, stop immediately. A second wrench can hold a threaded fitting while another turns a connection, but this is a plumbing technique, not a reason to force a seized valve during an active leak. Call a plumber if the valve leaks around the stem, shows heavy mineral crust, has a cracked body, or refuses to close.
| Valve Type | Visual Cue | Operation | Common Failure |
|---|---|---|---|
| Gate valve | Round wheel handle | Turn clockwise to close, without overtightening | Seized stem, worn internal gate, broken wheel or stem |
| Ball valve | Lever handle on a compact body | Turn the lever a quarter-turn until perpendicular to the pipe | Stiff lever, damaged handle, leaking body or fitting |
| Stop-and-waste valve | Round-bodied valve on an exterior or older line | Close steadily and watch for drainage behavior | Corrosion, blocked drain port, leaking packing or body |
Ball valves are generally easier to operate quickly because the handle position shows whether the valve is open or closed. That doesn't make an old ball valve immune to failure. A stiff lever, cracked body, or wet fitting still requires professional attention.
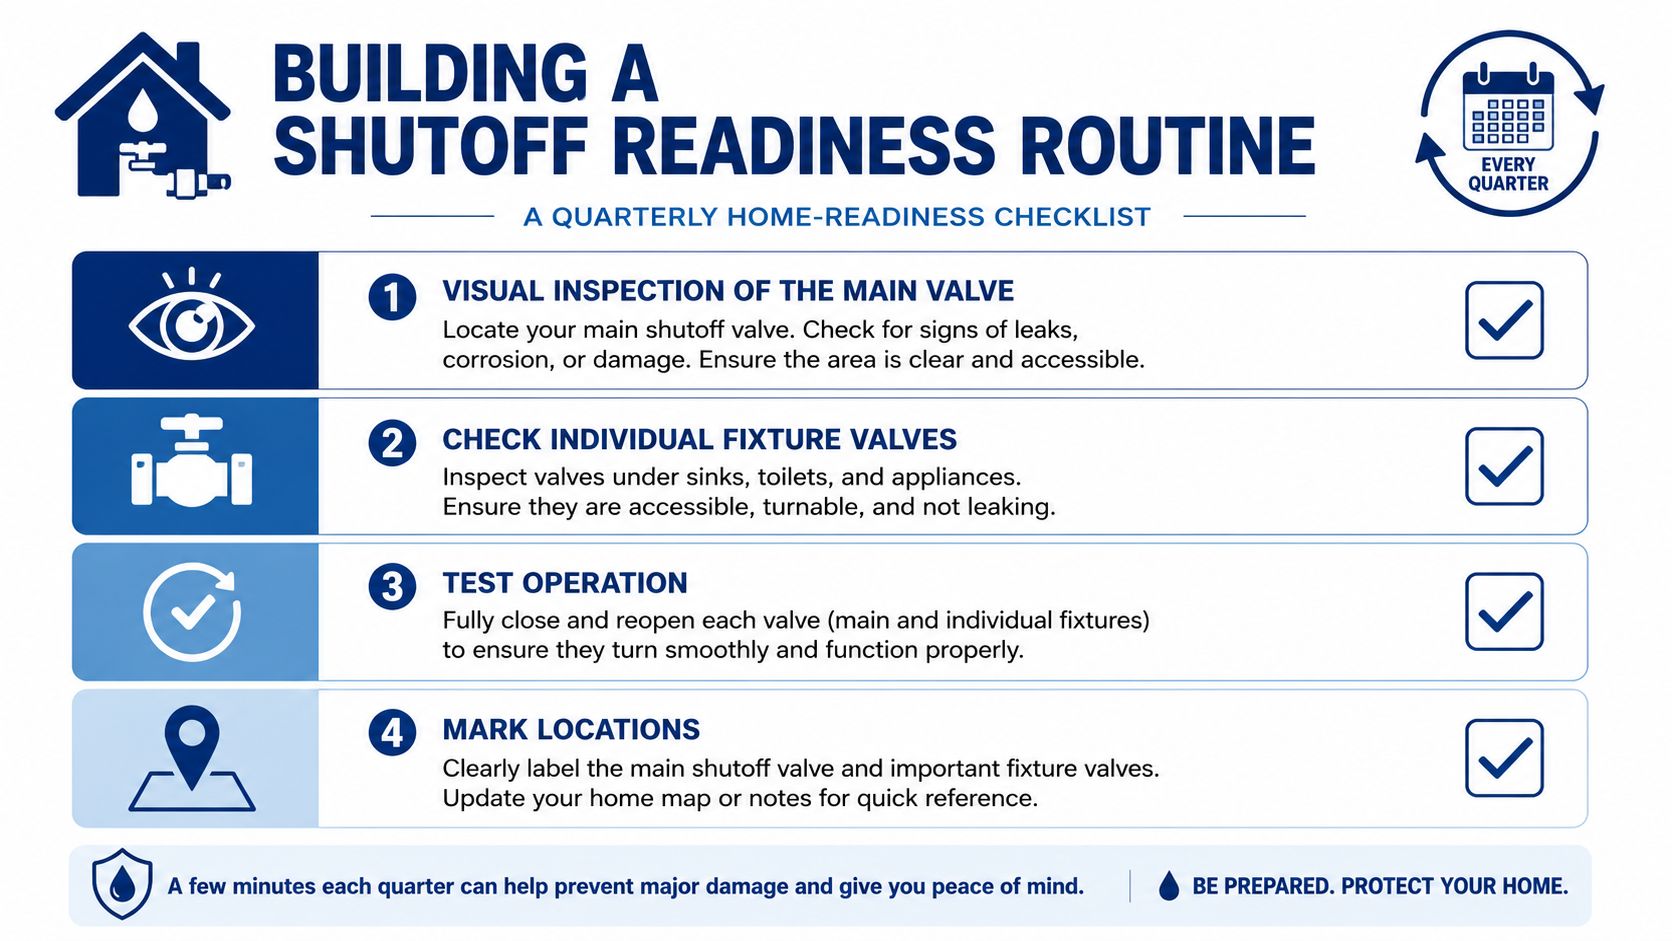
Building a Shutoff Readiness Routine
Most homeowners treat the main valve as an object to locate once. That approach fails when the handle is hidden behind storage, the gate has seized, or no one else in the household knows which valve controls the house.
A practical routine turns the search into a documented safety task. The 2024 British Columbia building-code appeal board decision cited in the supplied guidance reinforces the importance of valves and related equipment being readily accessible for use, cleaning, and maintenance. Accessibility isn't a luxury when a leak is sending water into a wall.
Run this checklist during calm conditions
- Inspect the main. Look for corrosion, mineral crust, damaged handles, damp fittings, and blocked access.
- Check local stops. Inspect sinks, toilets, appliances, hose bibs, and the water-heater connection.
- Operate gently. Close and reopen each accessible valve slowly. Stop if the stem leaks, the body twists, or the handle binds.
- Mark the location. Use a durable tag, paint mark, or label that remains visible after landscaping and storage changes.
- Photograph the route. Save images of the meter, exterior entry, main valve, and nearby landmarks in a shared phone album.
- Store the curb key. Keep it with other emergency tools in a predictable, dry location.
- Brief other adults. Include household members, landlords, property managers, and regular pet-sitters.
- Record contacts. Place the plumber's after-hours number near the breaker panel or in the same emergency folder.
In Sun Belt slab homes, also watch for pressure-related noise, loose connections, and water-hammer symptoms after cold snaps. A plumber can check the pressure-reducing valve and determine whether the service setup needs a more accessible shutoff.
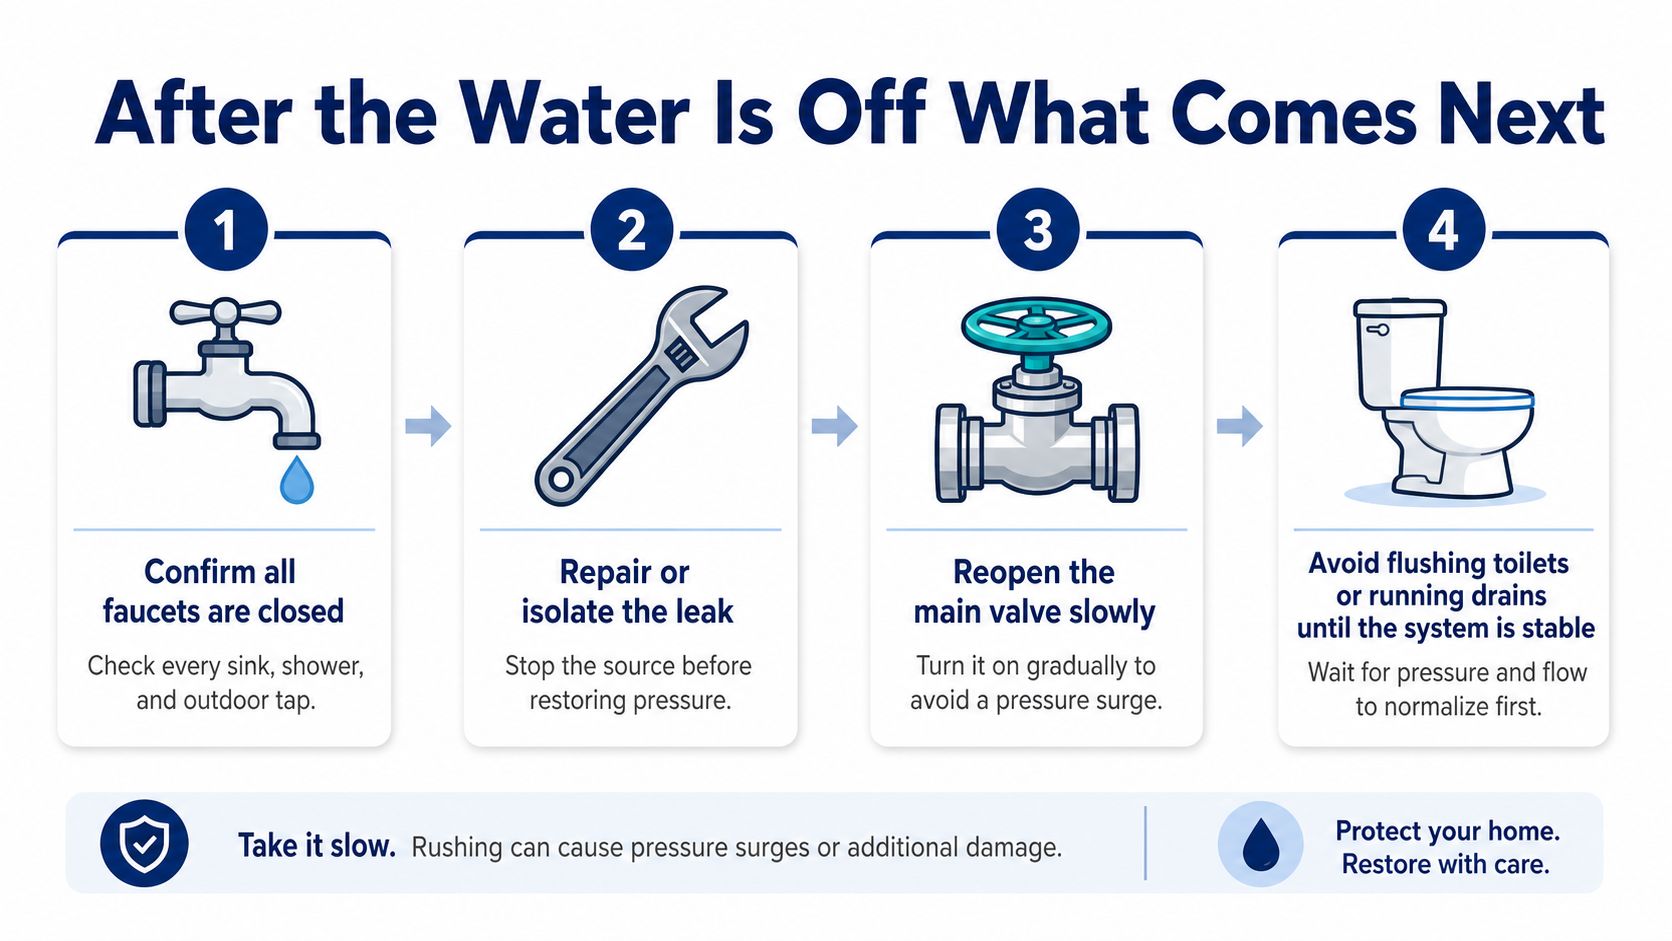
After the Water Is Off, What Comes Next
A closed valve stops the incoming supply, but water already inside flooring, cabinets, drywall, insulation, and mechanical components can continue causing damage. Even a once-per-second drip can waste more than 250 gallons per month, according to the water-leak loss research summarized by Rapid Eye Inspections. A failed supply line or burst pipe can saturate a room before the source is easy to identify.
Stabilize before restoring service
Keep faucets closed after pressure drops. Do not reopen the main until the leak is repaired or a plumber has isolated it. Avoid flushing toilets or running drains while the system is unstable, especially if the source is concealed or a drain backup may be involved.
If water reached a wall, ceiling, or slab, shut off electricity only from a dry, safe position. Stay out of rooms with standing water near electrical equipment, bulging drywall, active sparks, or a compromised ceiling. In a Central Texas slab-on-grade home, water can also spread beneath flooring and along the slab edge, so a dry-looking surface does not confirm that the assembly is dry.
Document the loss
Photograph the leak source, shutoff position, affected rooms, water level, flooring, cabinets, walls, and damaged belongings. Keep the plumber's diagnosis, repair invoices, material photographs, mitigation invoices, and communications with building management or your insurer.
Call a licensed plumber for burst pipes, failed valves, hidden leaks, sewer backups, and repairs involving pressurized or concealed lines. Call a water-damage restoration company once water has entered structural materials, cabinets, insulation, flooring, or HVAC components. Until help arrives, move only light items that are safe to handle, increase airflow when electrical conditions permit, and avoid household vacuums, chemicals, and improvised holes in walls or floors.
Fast isolation can reduce the scale of a loss. A LexisNexis Risk Solutions study of 2,306 homes found a 96% reduction in water claim events when a Flo by Moen in-line shutoff was installed, while claim severity fell 72% when a claim still occurred, as reported by Rapid Eye Inspections' summary of the study. The practical lesson is straightforward: an accessible, working shutoff supports damage control, not just routine plumbing work.
In a rental or condominium, notify management immediately and say whether the leak may have started in a neighboring unit. For Central Texas homeowners needing inspection, extraction, drying, mitigation, microbial prevention, or reconstruction after water damage, RestoTek TX provides emergency restoration and related services in Georgetown, Austin, and surrounding communities. Call a restoration crew when water has reached building materials or safe cleanup requires more than household tools.