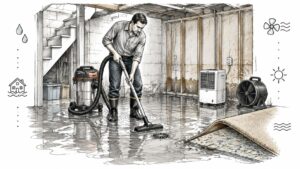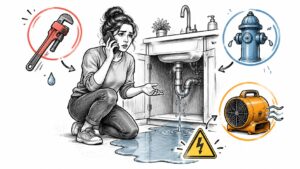
You're standing at the basement stairs, looking at water around storage boxes, carpet, or the furnace. You want to start pumping immediately, but you don't yet know whether the water is safe, whether the electricity is off, or how far moisture has traveled behind the walls.
Effective water removal in basement spaces starts with those decisions, not with renting the biggest pump. The work isn't finished when the concrete looks dry. It's finished when affected materials have been checked against a dry reference area and the moisture source has been corrected.
Is the Basement Safe to Enter
If the water is gray or black, smells like sewage, or reaches live electrical equipment, don't step in until the hazard is cleared. Waterproof boots don't protect you from energized water, and gloves don't make sewage cleanup a reasonable homeowner project.
The EPA's mold prevention guidance identifies plumbing leaks, seepage, flooding, and sewage backups as different moisture sources, and warns that standing water and wet materials can support microorganisms. That distinction matters: a confirmed supply-line leak requires a different response from outside floodwater or a backed-up sewer.
Basement hazards and what to do before entering
| Hazard | Warning sign | Action before entering |
|---|---|---|
| Sewage or contaminated floodwater | Gray or black water, sewage odor, debris | Stay out pending professional assessment; protective gear alone doesn't clear the hazard |
| Electrical hazard | Water near outlets, panel, or running appliances | Shut off power only from a dry location; otherwise call the utility |
| Gas leak | Gas smell or hissing sound | Leave the house and call the gas utility from outside |
| Structural damage | Sagging floor joists, cracked walls, shifting floor | Stay out; have a structural professional inspect first |
| Clean water from supply or overflow | Clear or tinted water, no odor, confirmed clean source | Proceed with waterproof boots and gloves only after other hazards are cleared |
Water color is a warning sign, not a reliable contamination test. Clear water entering from outdoors still isn't equivalent to drinking-water supply leakage. An overflow involving wastewater also shouldn't be treated as clean just because it came from a fixture.
Make the first moves from dry ground
Photograph the scene from the stairs only if you can do so safely. Use a flashlight instead of switching on basement lights, and keep a phone available for emergency calls.
For suspected Category 3 water damage, keep children and pets away and arrange controlled cleanup. Porous materials may need removal rather than ordinary washing.
If gas is suspected, don't operate switches or use your phone inside. Leave first. If the floor shifts beneath you or the walls appear displaced, retreat rather than trying to retrieve belongings.
DIY or Professional Help for Basement Water
DIY or professional help by situation
| Situation | Reasonable DIY | Call a professional when |
|---|---|---|
| Shallow clean water, addressed promptly | Wet vacuum, fans, dehumidifier | Material readings aren't declining during monitored drying |
| Sewage or contaminated floodwater | Initial safety and documentation only | Always; porous materials may need removal |
| Deep water or water near outlets | Source shutoff from a safe location | Electrical clearance and controlled extraction are needed |
| Wet drywall, insulation, or cavities | Limited access work after utilities and material hazards are checked | Moisture mapping is needed to establish the wet boundary |
| Recurring seepage after rain | Clear gutters and correct accessible runoff problems | Drainage or foundation assessment is needed |
The decision comes down to contamination, water depth and electrical exposure, and hidden wet materials. A small amount of sewage deserves professional attention even when a wet vacuum could physically remove it. Conversely, a promptly discovered clean supply leak on an accessible concrete floor may be manageable without demolition.
Depth matters because it changes equipment needs and can conceal damaged electrical equipment, unstable contents, or structural problems. Use the entry precautions above rather than treating shallow water as automatically safe.
Know what your equipment can verify
A household dehumidifier can remove moisture from the air. It can't tell you whether insulation behind a finished wall is wet. If you can't access or measure the affected assembly, you can't confidently declare it dry.
For a plumbing failure, isolate the supply and arrange the repair before beginning the drying sequence. We coordinate repairs with licensed plumbers, confirm that the water source is resolved, and begin drying and restoration immediately afterward. All plumbing work is completed by licensed and insured plumbing professionals.
We also guide customers through the restoration process when the problem begins with a line backup or sink overflow. The useful distinction is between handling an accessible, understood loss and guessing at conditions you can't inspect.
Stop rule: If the source is unknown, the water isn't clean, or moisture readings fail to decline during drying, stop expanding the DIY work and bring in a restoration professional.
Document the Loss for Insurance Claims
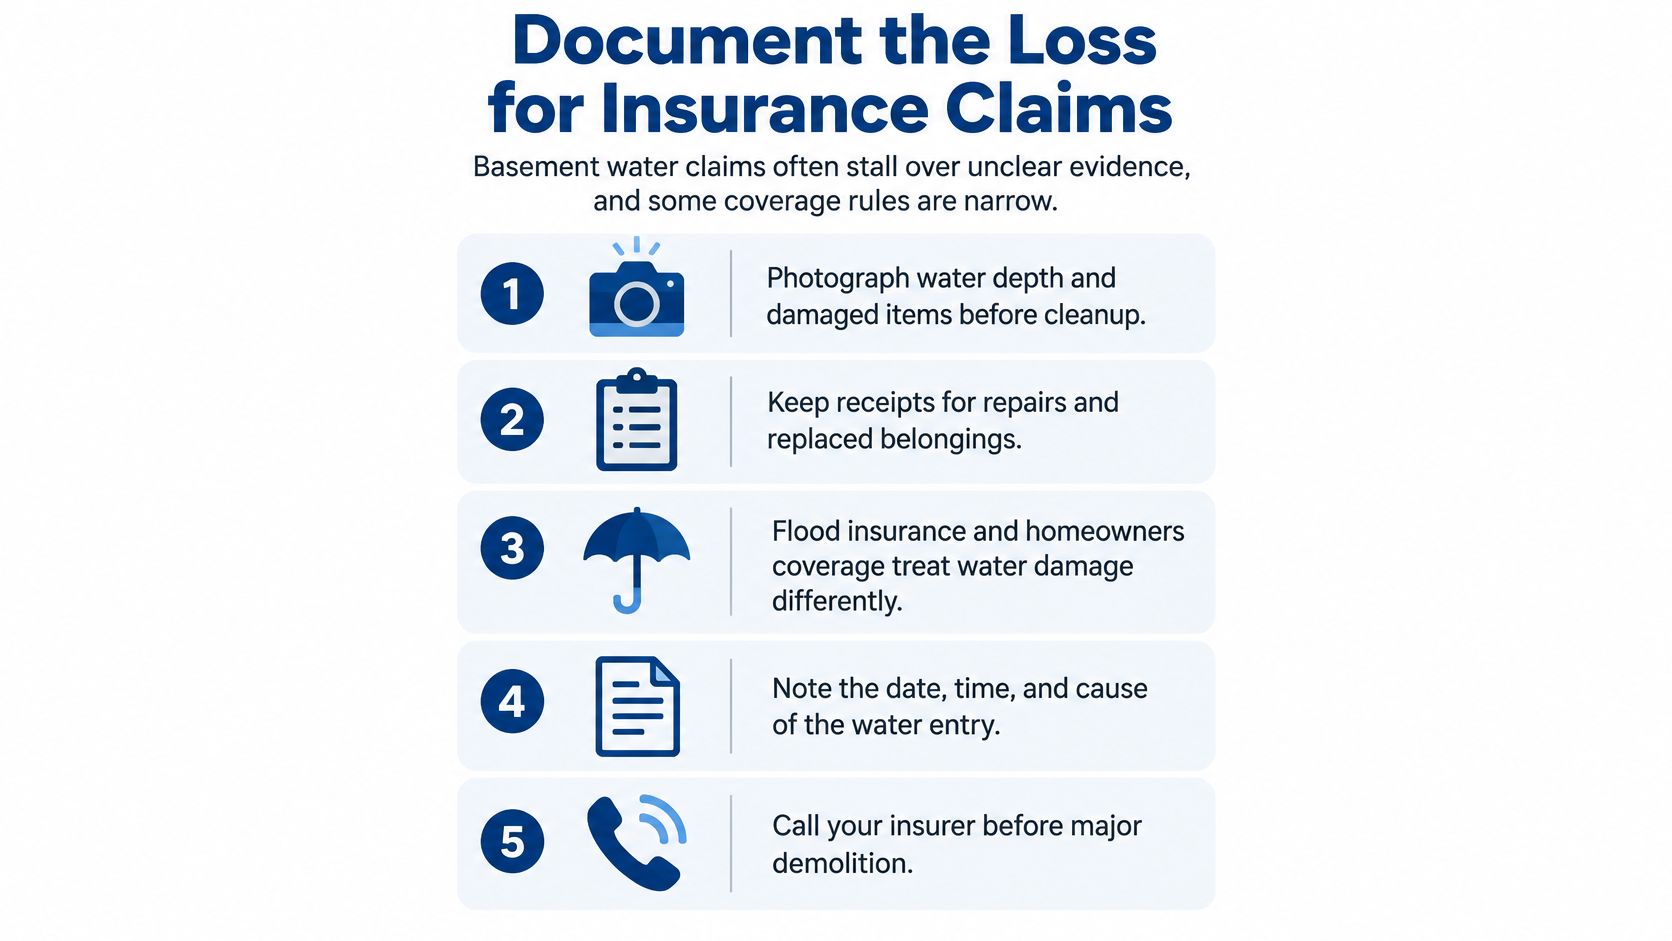
Unclear evidence can complicate a basement water claim, especially when coverage turns on where the water came from. Photographing a split supply line, a backed-up drain, or a stormwater entry point helps distinguish events that may fall under different policy terms.
Flood insurance and ordinary homeowners coverage aren't interchangeable. FEMA's basement coverage guidance explains that NFIP basement coverage is limited to specified building items and cleanup, which can include pumping trapped floodwater, removing spent cleaning solutions, mold or mildew treatment, and structural drying of salvageable foundation elements.
Preserve evidence without delaying safe mitigation
- Photograph the original conditions. Capture the waterline, suspected source, each affected room, and damaged belongings before moving them. Include wide views and close-ups so the location and extent remain understandable.
- Keep a dated event log. Record when you discovered the water, when the source was stopped, and when extraction began. Separate what you know from what you suspect.
- Save drying records. Keep moisture readings, measurement locations, equipment records, and progress photographs. These help explain why drying continued after visible water disappeared.
- Retain invoices and receipts. Separate plumbing repair, extraction, drying, disposal, and reconstruction charges where possible. Clear descriptions make the work easier to evaluate.
- Inventory damaged property. List each item's approximate age, value, and condition, supported by photographs or purchase records when available.
Photograph discarded items first when safety allows, and ask the insurer what evidence it needs before disposal. Don't keep contaminated belongings inside solely to preserve a claim. If urgent disposal is necessary, record the reason and retain the photographs.
Our insurance claim process guidance can help you organize the restoration documentation. Mold testing after water damage can also document conditions for insurance purposes, but documentation doesn't establish that a particular policy covers the work.
Before nonurgent demolition begins, ask the insurer:
- Which work is covered? Ask specifically about extraction, drying, material removal, and rebuilding.
- Is mold treatment included? Request an explanation of applicable limits or exclusions.
- How should damaged materials be documented? Confirm whether photographs, samples, inventories, or an inspection are needed.
How to Remove Standing Water Step by Step
Use this procedure only after the basement has been cleared for entry. Contaminated water, suspected structural damage, and electrical exposure change the work from ordinary extraction to a controlled professional response.
The EPA's guide to mold, moisture, and your home identifies wet vacuums, fans, and dehumidifiers as useful drying tools, with methods selected according to the material and contamination involved. The important distinction is between removing liquid water and drying the materials that absorbed it.
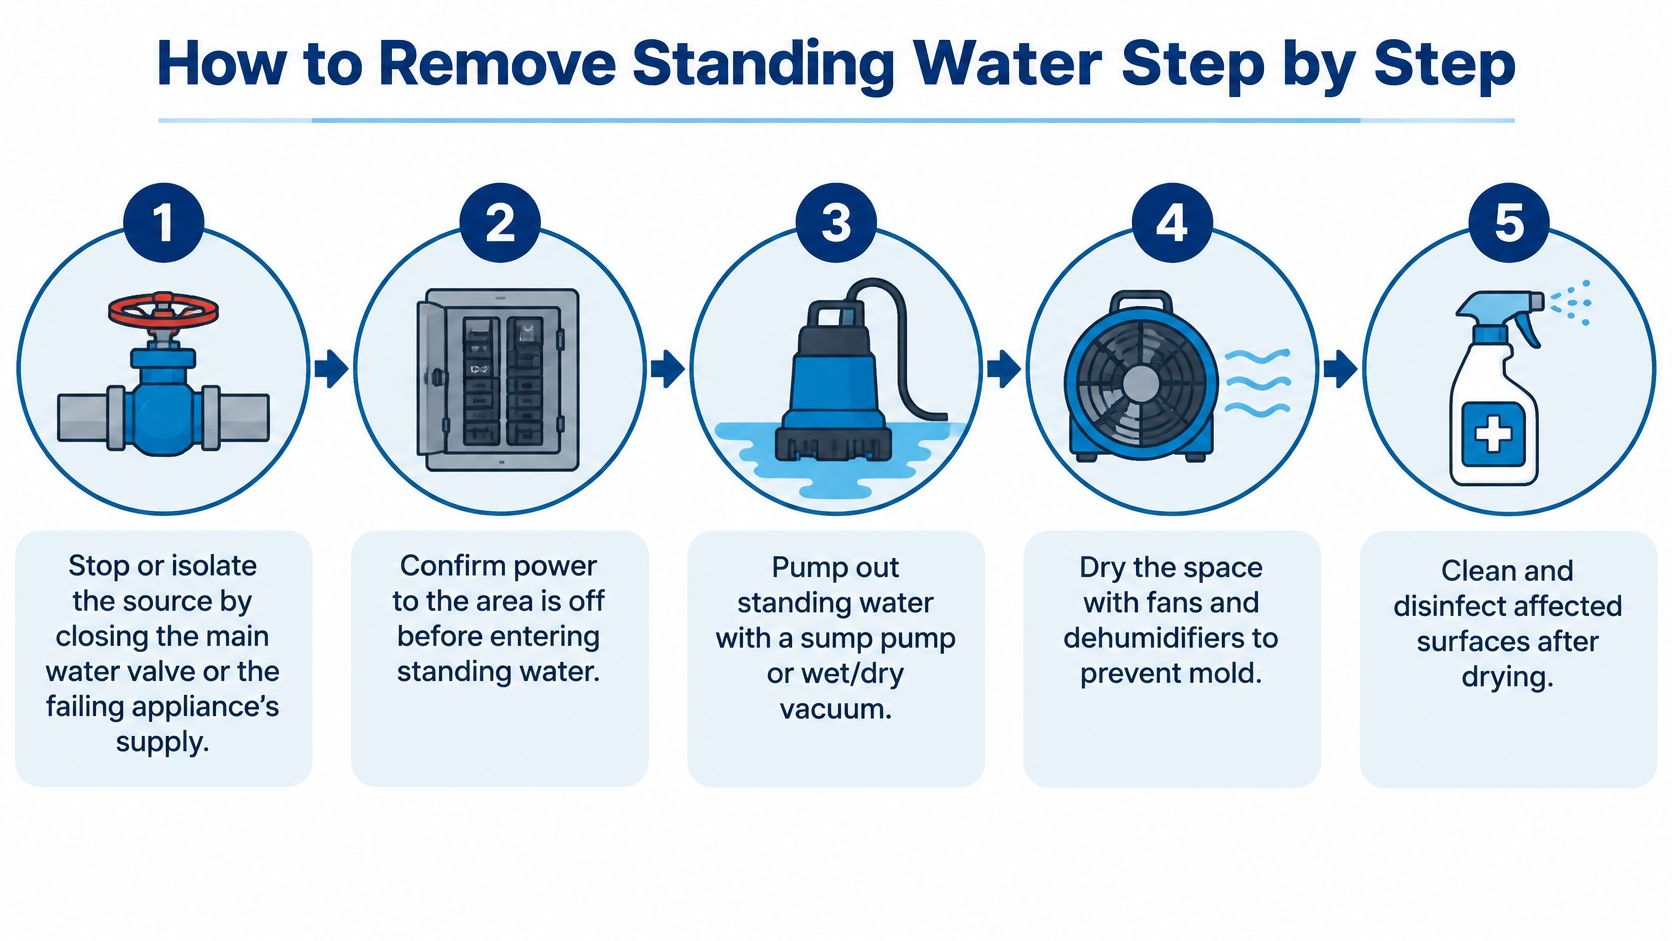
Follow the extraction sequence
Stop or isolate the source. Close the failing appliance's supply valve or the main water valve from a safe location, and arrange repair of the failed component. Pumping while a supply line continues discharging wastes effort and makes progress impossible to judge.
Confirm electrical safety. Have affected circuits isolated before entry, and use extraction equipment only with a safe power arrangement appropriate to wet conditions. The common mistake is assuming that switching off a basement light also de-energizes outlets, appliances, and every circuit serving the room.
Extract standing water with suitable equipment. Use a water-rated submersible pump for bulk removal or a wet/dry vacuum for accessible shallow pooling, placing the intake at the low point and routing discharge away from the foundation. Pause if water rapidly returns; a flooded basement with saturated soil outside needs professional assessment before aggressive pumping because pressure imbalance can damage foundation walls.
Lift wet carpet and remove saturated pad. Expose the subfloor so you can extract residual water and inspect its condition, rather than trying to dry the assembly through the carpet surface. Leaving pad in place is a common shortcut that keeps a reservoir of moisture against the floor.
Expose affected wall cavities where necessary. Remove baseboards and enough damaged drywall or paneling to locate the wet boundary, after checking for concealed wiring, plumbing, and hazardous materials. Don't choose an arbitrary cut height or stop at the visible stain, because moisture may have wicked beyond it.
Pair air movement with dehumidification. Direct fans across accessible wet surfaces and run a dehumidifier with a reliable collection or drain arrangement, provided contamination and mold concerns have been addressed. Heat alone isn't a substitute for moisture removal, and fans shouldn't be used to spread contamination around an uncleared space.
Record readings and conditions. Mark measurement locations on a sketch and log the material, meter mode, reading, and time so subsequent checks are comparable. Measuring random places on each visit can create the appearance of progress while a wet cavity remains unaddressed.
Check the setup before leaving it running
Check the dehumidifier bucket or drain hose, inspect equipment cords, and make sure extracted water isn't returning through a nearby window well or foundation joint. Keep access routes clear so equipment can be inspected without climbing over wet belongings.
Cleaning and any appropriate disinfection must follow the contamination assessment, not a blanket instruction to spray everything. A disinfectant doesn't remove trapped water or make damaged porous material salvageable.
At the end of the initial extraction effort, there should be no accessible pooled water, saturated pad left beneath carpet, or unrecorded wet areas. Equipment should be operating safely, and the next measurement locations should already be identified.
Drying Targets for the First 48 Hours
The EPA's flooded-home guidance advises removing standing water and drying wet materials and belongings within 24–48 hours; if a flooded home can't be dried during that window, assume mold may already be growing. That's a response target, not permission to wait before starting.
The schedule below is a practical way to organize work, not a set of guaranteed drying times. Actual progress depends on access, materials, contamination, equipment, and whether water is still entering.
Basement drying timeline and checkpoints
| Time window | Action | Check |
|---|---|---|
| 0 to 2 hours | Stop the source and begin safe extraction | Water level falling and source confirmed off |
| 2 to 12 hours | Remove carpet pad and run appropriate drying equipment | Subfloor readings trending toward the dry reference |
| 12 to 24 hours | Expose affected wall cavities where safe | Cavity readings measured and recorded |
| 24 to 48 hours | Continue material drying and verify progress | Affected readings reach a comparable unaffected reference |
| After 48 hours | Treat possible mold growth as an assessment issue | Musty odor or visible growth prompts professional evaluation |
Read the checkpoint, not just the clock
Find the stage you've reached and check the corresponding result. If extraction is complete but cavity conditions haven't been measured, the job hasn't advanced to verified drying merely because time has passed.
Finished basement walls, flooring, insulation, and porous masonry can conceal moisture. A room can feel comfortable while the back of drywall or the underside of flooring remains wet.
A dry-looking floor is evidence that surface water is gone. It isn't evidence that the building assembly is dry.
Use a suitable moisture meter and compare like materials under comparable conditions. A wood reading shouldn't be judged against concrete, and a reading taken through a finish may not describe the material underneath.
Respond when progress stalls
A flat trend calls for diagnosis, not another evening with the same equipment. Check whether the source has stopped, the dehumidifier is draining, and air can reach the wet surfaces.
Additional cavity access, removal of unsalvageable material, or greater dehumidification capacity may be necessary. Don't remove more drywall blindly; use readings to establish where access is needed, and arrange professional moisture assessment when the wet boundary remains uncertain.
Stop the Water Source Before It Returns
The pattern of water entry helps narrow the cause. Water appearing after rain suggests a different investigation from water appearing while a supply line runs, but neither observation is proof by itself. Photograph the first wet location before extraction obscures it.
Water pattern and likely source
| Observed pattern | Likely source | Fix |
|---|---|---|
| Water after rain with no plumbing change | Seepage or grading | Extend downspouts and regrade soil away from the house |
| Water along one wall after storms | Gutter or grading problem | Correct discharge and slope at that wall |
| Water rising through a floor drain | Sewer or floor-drain backup | Inspect the drain and sewer line |
| Water rising while the sump pump is off or failing | Sump pump failure | Test the pump and evaluate battery backup |
| Water with no rain while a supply line runs | Plumbing leak | Shut off the supply and call a licensed plumber |
Pumping without correcting the pathway leaves the basement vulnerable to another loss. Start with accessible checks, such as blocked gutters and disconnected discharge pipes, before assuming the foundation needs major excavation.
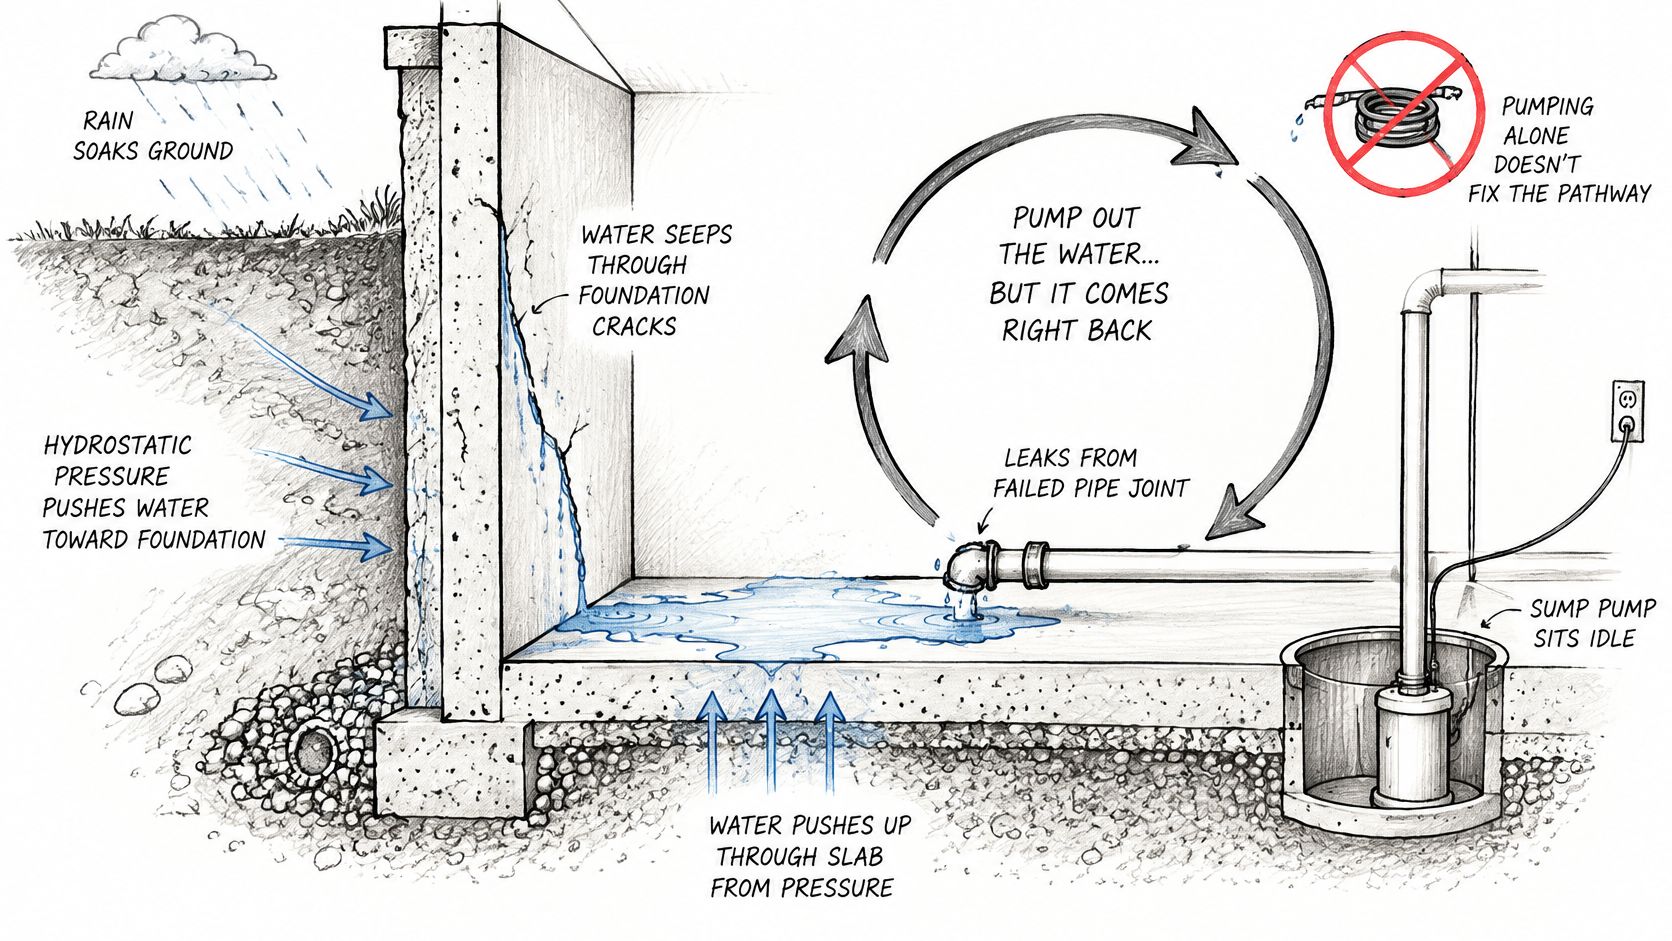
Match the repair to the pathway
Building Science Corporation's basement guidance recommends layered drainage: direct roof and surface runoff away from foundation walls, route groundwater through drainage layers to a protected perimeter drain, and use below-slab crushed stone to provide drainage redundancy.
For runoff problems, extend downspouts to a suitable discharge point away from the foundation and correct soil that slopes toward the house. Check that the discharge doesn't collect in another low spot and return underground.
For sump problems, inspect the float, power supply, discharge line, and outlet location. Evaluate battery backup for outages, but don't expect backup power to compensate for a blocked pipe or an undersized drainage system.
Water entering at slab edges or through cracks may indicate groundwater pressure or failed drainage. A drainage assessment should establish whether the perimeter drain is obstructed and whether the below-grade assembly has a workable route for water removal.
Avoid the coating shortcut: An interior waterproofing coating may conceal the symptom without relieving water pressure outside the wall.
Interior finishes should support an appropriate drying path, not trap moisture behind an impermeable layer. Choose the repair after identifying how water reaches the assembly, rather than buying a coating because the leak is visible indoors.
Confirm the Basement Is Dry Before You Rebuild
Rebuilding should follow a documented acceptance check, not a contractor's calendar or the disappearance of puddles. A useful final record identifies what was measured, where it was measured, and which unaffected material supplied the comparison.
Repeat the measurements consistently
Return to the marked locations used during drying, including accessible wall cavities, framing, subfloor, and areas beneath affected flooring. Use the same meter settings and measurement method so the final readings can be compared with the earlier record.
Then compare affected materials with a dry, unaffected reference of the same material. Don't close the assembly until readings match the appropriate reference range, accounting for meter limitations and any flooring or finish manufacturer's requirements.
Our moisture mapping approach helps establish the extent of affected materials rather than relying on a quick surface check. An unexplained high reading deserves investigation before new drywall hides the location.
Check for conditions that need further assessment
- Persistent musty or earthy odor. Don't cover it with paint or deodorizer and assume the underlying issue is resolved.
- Discoloration on walls or ceilings. Have suspicious areas assessed before disturbing or enclosing them.
- Recent or past water damage. Leaks, flooding, and plumbing failures can justify closer inspection even where the finish looks intact.
- Respiratory symptoms that improve outside. Arrange medical advice and a building assessment; symptoms alone don't diagnose mold exposure.
We recommend mold testing when these warning signs or a relevant water-loss history warrant it. Testing identifies whether mold is present and at what levels; it doesn't remove mold. Remediation is a separate process that removes mold and addresses the underlying moisture issue.
If high levels are detected, we guide customers through the next steps, including professional remediation options where required. Obvious contamination shouldn't be ignored while waiting for a test to confirm what already requires corrective action.
Continue dehumidification while monitoring whether the space remains stable through normal use and changing weather. A favorable reading taken immediately beside running drying equipment isn't the same as proof that recurring seepage has been fixed.
Close the walls when comparable material readings meet the dry reference and no unresolved warning signs remain. Otherwise, pause reconstruction and investigate the remaining moisture or microbial concern.
RestoTek TX provides basement water extraction, structural drying, source-repair coordination, and reconstruction for properties in Georgetown, Austin, and surrounding Central Texas communities. Visit RestoTek TX to arrange an assessment and get a clear plan for removing the water, verifying dry materials, and rebuilding only when the basement is ready.