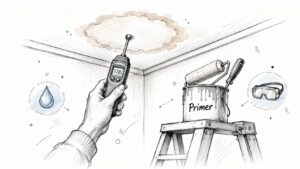
You're standing in the kitchen or walking past a hallway and there it is, a yellow-brown ceiling stain that wasn't there yesterday. The first reaction is usually annoyance, then a quick urge to grab primer and make it disappear. That move can work on a dry, isolated mark, but in Central Texas homes it's often the fastest way to hide an active moisture problem that's already doing damage above the drywall.
Ceiling water stain removal starts with a harder question than most guides ask, where did the water come from, and is anything still wet? In Georgetown and Austin, where storm bursts, flash flooding, older roofs, and aging plumbing can all collide, the stain is usually the end of the story, not the beginning. Treat the stain as a symptom first, and you give yourself a real chance to fix the problem before it turns into a ceiling replacement, a mold issue, or both.
Discovering a Water Stain on Your Ceiling
A ceiling stain often shows up at the worst possible time, right when someone is making coffee, hanging laundry, or settling in for the night. The color may start as a pale yellow halo, then deepen into brown as the wetting cycle repeats. That visual change matters, because a stain is evidence that water has already moved through building materials, carried minerals and debris with it, and left behind a visible trail.
What the stain is actually telling you
The stain itself isn't the problem, it's the sign that something above the ceiling has already failed. Industry repair guidance shows why people get into trouble when they treat this as paint work, because a minor ceiling-water repair can sit around $150 to $800 or roughly $45 to $55 per square foot, while moderate damage commonly runs $800 to $2,500 and severe cases can reach $10,000+ when drywall, insulation, framing, or mold work is needed, according to HomeFixx's ceiling water damage guide.
That cost jump is a clear warning. Once moisture spreads beyond the stained patch, the ceiling stops being a cosmetic surface and becomes a structural assembly with hidden damage inside it.
Practical rule: If the stain is new, spreading, soft, or paired with a musty smell, don't think “paint.” Think “moisture source.”
Why the first instinct is usually wrong
A lot of homeowners go straight to primer because the stain is the visible problem. That's understandable, but it skips the part that matters most. Home repair cost data places typical ceiling repair around $1,057, with most homeowners paying about $438 to $1,684 for ceiling work overall, and some water-damaged ceiling repairs reaching $4,400, according to HomeAdvisor's ceiling repair cost benchmarks.
Those numbers point to the same lesson I've seen on job sites for years, the stain is usually just the exit point. The water is often coming from a roof leak, plumbing failure, condensation, or an HVAC issue above the ceiling, and until that source is handled, the stain can come right back.
Finding and Stopping the Water Source
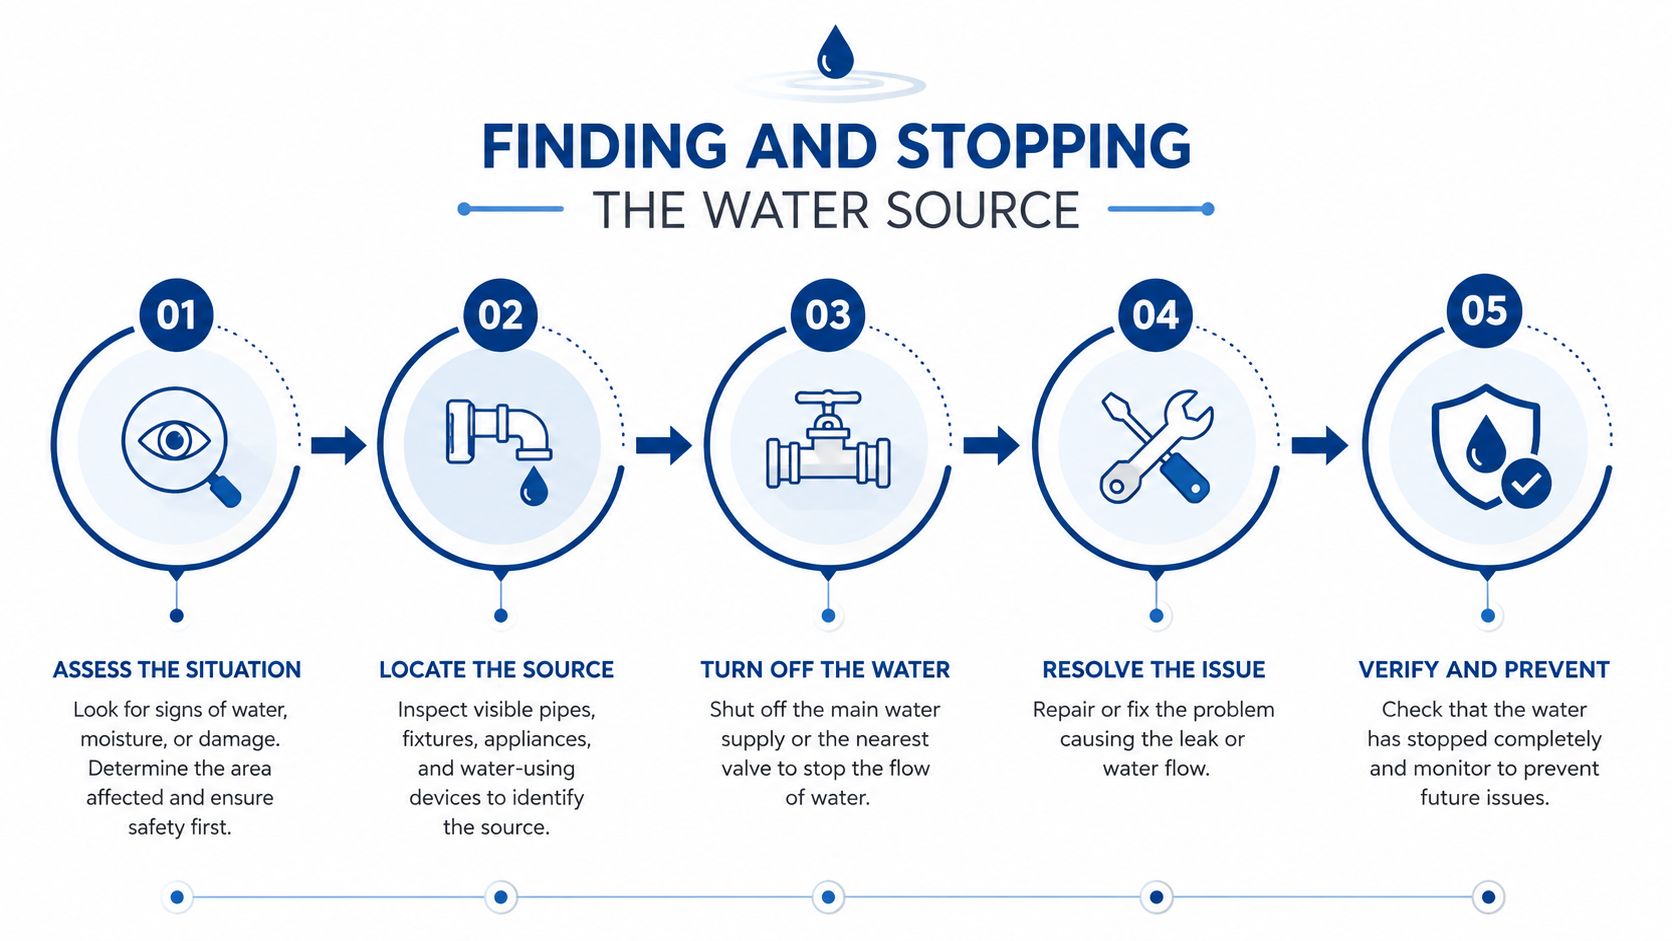
The stain points to the leak, but it doesn't identify it. I always start by tracing the problem upward, because that's where the repair begins. In Georgetown and Austin, that means checking the attic first if there is one, then moving outward to plumbing, roofing, and drainage conditions that can all push water into the ceiling cavity.
Start above the stain, not on the stain
An attic inspection gives you the fastest clues. Use a strong flashlight and look for wet insulation, dark streaks on rafters, dripping fasteners, or a damp roof deck. If the ceiling is under a bathroom, laundry area, or kitchen, check the fixtures and pipe joints above it before you assume the roof is guilty.
A moisture meter helps here because it tells you where the material is still holding water even when the surface looks fine. That matters in older Central Texas homes, where a stain may show up far from the actual source path. If you need a deeper walk-through of leak tracing, this leak detection resource fits that step well.
Roof, gutters, and plumbing all deserve a look
Roof flashing, pipe boots, clogged gutters, and shingle damage are all common culprits. In a storm-prone area, water can enter through a small failure and travel along framing before it finally shows up in a room below. Plumbing leaks are just as deceptive, especially when a supply line or drain issue above the ceiling only leaks under pressure or during use.
Use a simple room-by-room audit:
- Attic surfaces: Look for wet insulation, staining, and sagging decking.
- Bathroom fixtures above the stain: Check toilet seals, supply connections, and under-sink plumbing.
- Roof edges and penetrations: Look at flashing, vents, and roof openings.
- Gutters and drainage: Watch for overflow points that can back water up into the structure.
The point is to stop the source before you touch any cleaner or paint. If the source is still active, the repair isn't finished.
Testing for Mold and Asbestos Before You Start Cleaning
A stain that stayed wet long enough to discolor a ceiling can also create health risks, especially in older homes. One of the big mistakes I see is people assuming the area is safe because it looks dry. That's not enough. Active ceiling water damage can lead to mold growth within 24 to 48 hours, according to HomeFixx's ceiling water damage guidance, and Central Texas humidity can make the situation less forgiving.
When mold testing matters
A simple spot test can help you decide whether you're dealing with staining alone or something more concerning. One home-maintenance source recommends a 1:5 bleach-to-water test on a small hidden area, with a 15-minute dwell time, and says fuzzy or irregular edges point toward possible mold rather than a simple water mark, as noted in Liberty Home Guard's ceiling stain guidance.
That test is not a license to scrub the whole ceiling. It's a decision tool. If the area has fuzzy growth, a recurring musty odor, or a stain that looks contaminated across a larger patch, stop there and bring in a certified mold remediation specialist.
Why older ceilings deserve extra caution
In Georgetown and older Austin neighborhoods, textured ceiling materials can also raise an asbestos question, especially in homes built before modern material rules changed. The risk isn't the stain itself, it's what happens if someone scrapes, sands, or disturbs an old textured finish without knowing what's in it. That's where a simple cosmetic plan can turn into a material hazard.
If a ceiling is textured, brittle, or patched in an older house, testing comes before cleaning, not after.
If the ceiling material is suspect, the safest move is to avoid aggressive scraping and get it evaluated by a qualified professional. For practical next steps on that side of the problem, this mold testing resource is the kind of reference homeowners should use before they start tearing into a stained surface.
Drying Out the Area and Stopping Further Damage
Once the source is stopped and the surface has passed the basic safety check, drying becomes the priority. A lot of DIY work falls apart here, because people open a window, point a fan at the ceiling, and assume time will handle the rest. It usually doesn't. A ceiling can look dry on the outside while the gypsum core still holds moisture.
Dry the structure, not just the paint
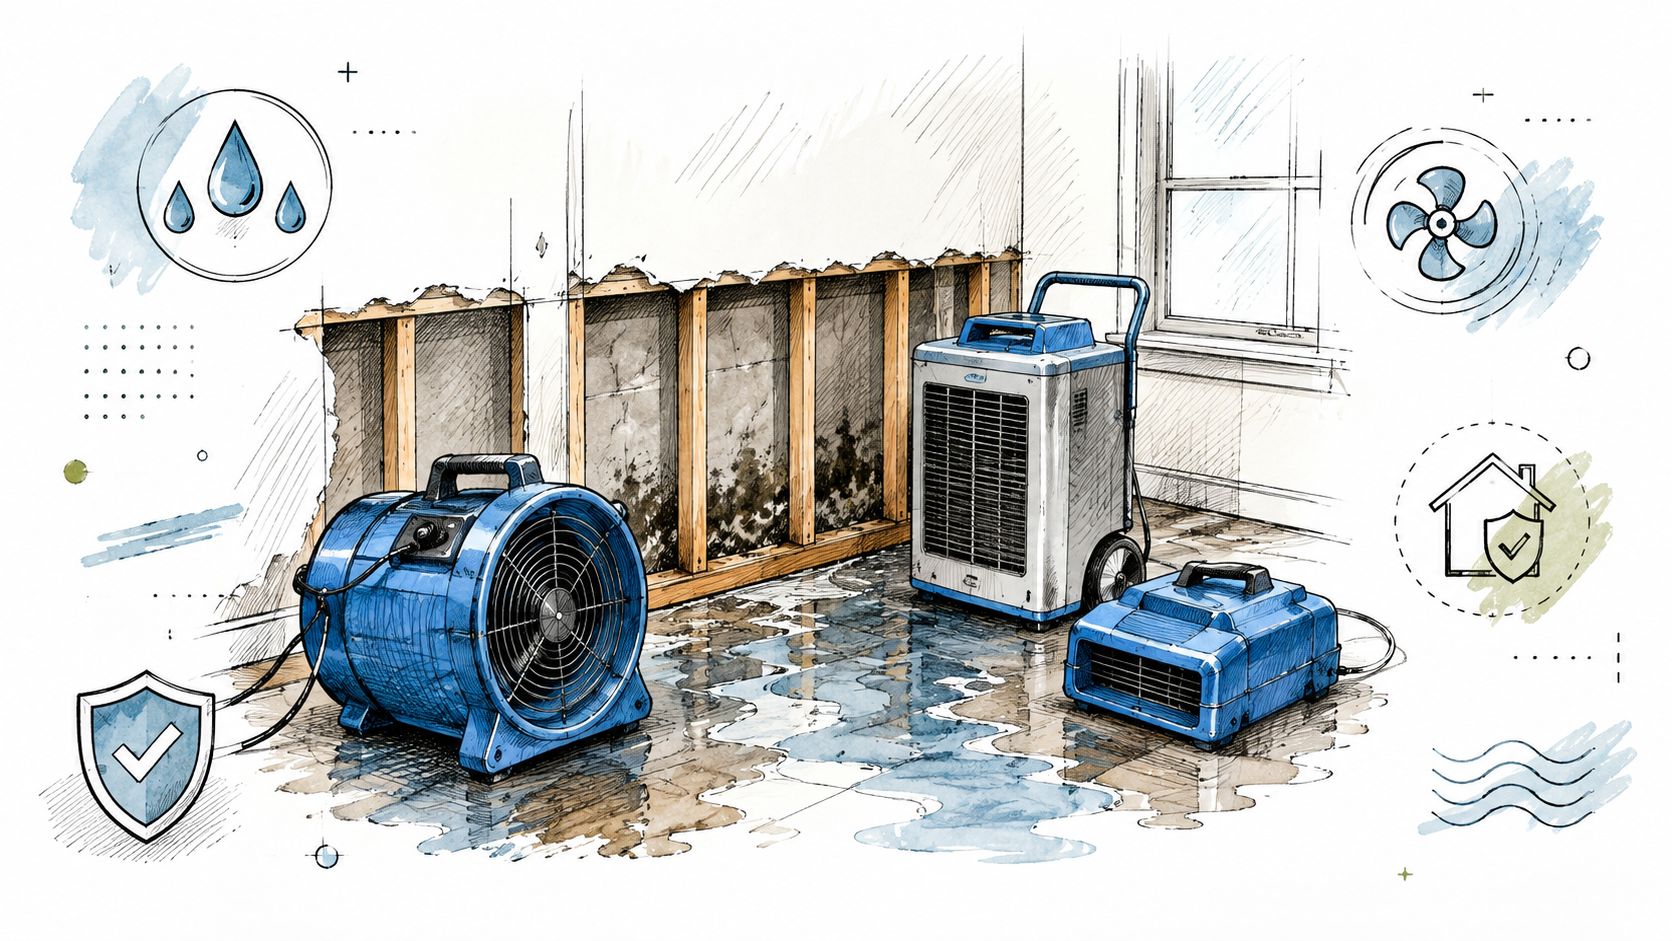
Air movement and dehumidification need to work together. Fans help move air across the area, while a dehumidifier pulls moisture out of the room so the ceiling assembly can dry. If the room feels damp or the attic above it still has wet insulation, the damage is probably still active.
A moisture meter tells you whether the job is finished. Check the stained area, then check nearby drywall and adjacent wall sections. If readings stay high or the ceiling feels soft, you're not ready for paint or patching.
Watch for materials that have failed
Drywall that sags, crumbles, or feels spongy is telling you it has lost integrity. At that point, trying to save the whole section with surface treatment usually wastes time and can make the finish look worse later. The same is true if the stain area keeps growing after the source was supposedly fixed.
For larger moisture problems, structural drying guidance for Central Texas homes is the right kind of approach, because it treats the wet cavity as the problem, not just the stained face of the ceiling.
A dry ceiling still needs verification
Surface dryness is not the same thing as dry standards. I've seen ceilings that looked ready for paint but still held moisture behind the paper face, and those jobs failed later with bubbling or bleed-through. If the area is only slightly affected, careful drying may be enough. If the ceiling is soft, swollen, or smells stale after drying, the assembly may need removal rather than restoration.
That's the line where patience saves money. Rushing to finish often costs more than waiting for real dry conditions.
Cleaning the Stain and Preparing Your Ceiling for Paint
Once the ceiling is dry and stable, the stain itself is the part you can address. The order matters, clean first, dry again, then seal, then repaint. Skip one of those steps and the discoloration often bleeds back through the finish.
Use gentle cleaning first
Start with the least aggressive method that still gives you a clear result. A mild vinegar solution works for many water stains because it cleans without beating up drywall that has already been stressed by moisture. Apply it lightly, let it sit for 10 to 15 minutes, then rinse with care. Light application matters. Too much liquid can soak the paper face again, spread residue, or leave a patch that telegraphs through the paint.
If you want to test a hidden area with bleach, use a small spot and a controlled mix. A separate home-maintenance source recommends a 1:5 bleach-to-water solution with a 15-minute dwell time for that kind of check, and the Southern Living's ceiling stain removal guide gives that kind of practical approach. If the discoloration lightens, you are probably dealing with a water stain rather than active biological growth. If the edges stay fuzzy or irregular, stop the cosmetic cleanup and treat it as a mold question instead.
Practical rule: Clean the smallest area that answers the question. Do not soak a ceiling just to see what happens.
Primer does the real cosmetic work
Paint by itself rarely hides a ceiling stain for long. Mineral residue and old discoloration can bleed through fresh paint, especially if the surface was not sealed first. A stain-blocking primer creates the barrier regular ceiling paint cannot.
One home-maintenance guide recommends a 3/8-inch nap roller for water-based primer and notes an approximate 2-hour recoat time, while also saying that darker or broader stains may need two coats, according to Liberty Home Guard. That lines up with what holds up on the job, a thin, even primer coat beats a heavy wet one every time.
Textured ceilings need a different touch
Smooth drywall is one job. Textured ceilings are another. Wiping a stain often does little on stippled or older finishes, and scrubbing texture can leave shiny spots or flatten the pattern in a way that shows after paint dries. On those ceilings, a thicker nap roller or spray application usually makes more sense than a rag and bucket.
If the ceiling has loose material, patching compound, or worn texture, the repair often calls for scraping, patching, priming, and repainting. The goal is a stable finish that blends back into the room, not a quick wipe that leaves a visible reminder of the leak.
When to Call a Professional Restoration Service
There is a point where DIY stops saving time and starts adding risk. That line shows up quickly when the ceiling feels soft, the stain comes back after drying, the odor lingers, or the affected area is bigger than a small patch. At that stage, the right move is a professional assessment, not another round of surface cleaning.
A stained ceiling is often a symptom, not the problem itself. In Georgetown and Austin, where flash flooding, wind-driven rain, and older housing stock can expose weak flashing, aging plumbing, and attic moisture, a visible mark can hide active damage above the drywall. I have seen plenty of ceilings that looked like minor cosmetic repairs and turned out to need source tracing, drying, and structural checks before anyone touched paint.
Red flags that deserve immediate help
Some signs call for a restoration team right away. If you see any of these, stop the surface work and bring in help:
- Sagging or soft drywall: The ceiling material may already be compromised and can fail under its own weight.
- Visible mold growth: Large patches, fuzzy edges, or repeated growth after cleaning need remediation, not repainting.
- Persistent musty odor: Odor often means moisture is still trapped in the cavity or materials.
- Known roof or plumbing failure: The source may need detection, drying, and repair together.
- Widespread staining: Once the stain is larger than a small isolated spot, the hidden damage risk climbs fast.
The cost of ceiling repair can still be substantial even before you add mold work, framing repairs, or a full rebuild. Remodeling Magazine's Cost vs. Value report is a useful reminder that repair and replacement decisions often carry more trade-offs than a simple paint job, and regional contractor estimates usually reflect the same reality on water-damaged ceilings. A mark that looks minor from the room below can still involve damaged drywall, insulation, and hidden moisture above it.
Why professional documentation matters
Insurance claims live and die on documentation. Clear photos of the stain, the source, wet materials, and any damaged surrounding surfaces help build the file before repairs begin. A restoration company can also record the mitigation steps, drying progress, and repair scope in a way that supports claims handling.
For Georgetown and Austin homeowners, that matters because storm-related ceiling damage often combines roof intrusion, attic moisture, and interior repairs. RestoTek TX handles water damage inspection, structural drying, leak detection, microbial prevention, and reconstruction, which makes it a practical option when the ceiling stain is only one part of a larger loss. It fits cases where the stain is evidence of a broader water event.
Protecting Your Home After Ceiling Stain Repair
A finished ceiling isn't the end of the job, it's the checkpoint that tells you the system is stable again. The habit that prevents repeat damage is simple, check the roof after major storms, keep gutters clear, and look at the attic a few times a year. In Central Texas, that matters because weather can change fast, and small roof or drainage failures don't always announce themselves right away.
Build a basic monitoring routine
Keep a moisture meter accessible if you've had one ceiling leak already. Watch for new discoloration on ceilings, crown molding, or upper walls, and treat any fresh mark as a warning, not a decoration. If you smell something stale after rain or after heavy HVAC use, inspect sooner rather than later.
The best ceiling repair is the one that never has to be repeated because the leak was caught before it reached the drywall.
Prevent the next problem before it starts
After a storm, check attic insulation for dampness, make sure bathroom fans vent properly, and stay ahead of roof maintenance before the next heavy rain cycle. Georgetown's rainfall and Austin's sudden downpours can punish weak flashing, clogged gutters, and aging sealants. If a ceiling stain ever appears again, follow the same order, source first, drying second, cleaning last.
That sequence saves time, money, and a lot of stress. It also keeps a cosmetic problem from turning into a structural one.
If you're dealing with a ceiling stain that keeps returning, smells musty, or looks worse than a simple repaint should fix, RestoTek TX can inspect the source, dry the affected area, and repair the damaged materials under one roof. Visit RestoTek TX to request help from a Central Texas team that handles water damage from the first wet spot through cleanup and reconstruction.