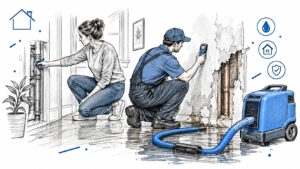
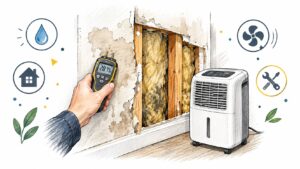
The first clue is usually small. A ceiling stain after a storm, a musty smell near one wall, a baseboard that feels cool when the rest of the room doesn't, or a water bill that makes no sense after everyone swears nothing is leaking. A homeowner in Georgetown might call for help after a pipe bursts in the living room and a restoration technician arrives with a handheld thermal camera, not to “see through walls,” but to map where the surface temperatures are behaving strangely.
That's the thermal imaging inspection value. The camera doesn't prove a leak by itself, and it doesn't replace hands-on verification. It gives the technician a fast, non-destructive way to find patterns, narrow the search, and decide where to check with a moisture meter, opening, or other physical test.
What a Thermal Imaging Inspection Actually Looks Like
A homeowner usually expects a quick gadget demo. What happens looks more deliberate. The technician walks the room, scans walls, ceilings, floors, trim, and sometimes cabinet toe kicks, then keeps moving the camera because one image rarely tells the full story.
The first pass is about finding the pattern
The camera is looking for a surface temperature pattern, not a hidden X-ray view of the wall cavity. Wet drywall, damp insulation, and saturated framing can hold or release heat differently from dry materials, so the camera can flag an area that deserves a closer look.
That's why the technician pauses, changes angle, and may adjust the display palette. A patch that looks suspicious from one direction can disappear from another if the issue is a reflection, a temperature mismatch, or a surface condition that needs confirmation.
Practical rule: a thermal image is a clue, not a verdict.
A good inspection feels calm and methodical. The technician may ask what happened, when the water was first noticed, and which rooms have changed temperature or smell. Those details help separate a real water-loss trail from a normal cold wall, a sunlit exterior, or HVAC airflow.
For homeowners who want a broader primer on leak detection basics, this overview of leak detection methods helps frame where thermal imaging fits. The main thing to remember is simple. The camera is a mapping tool, and the map still needs verification.
How Thermal Cameras Turn Temperature Into a Picture
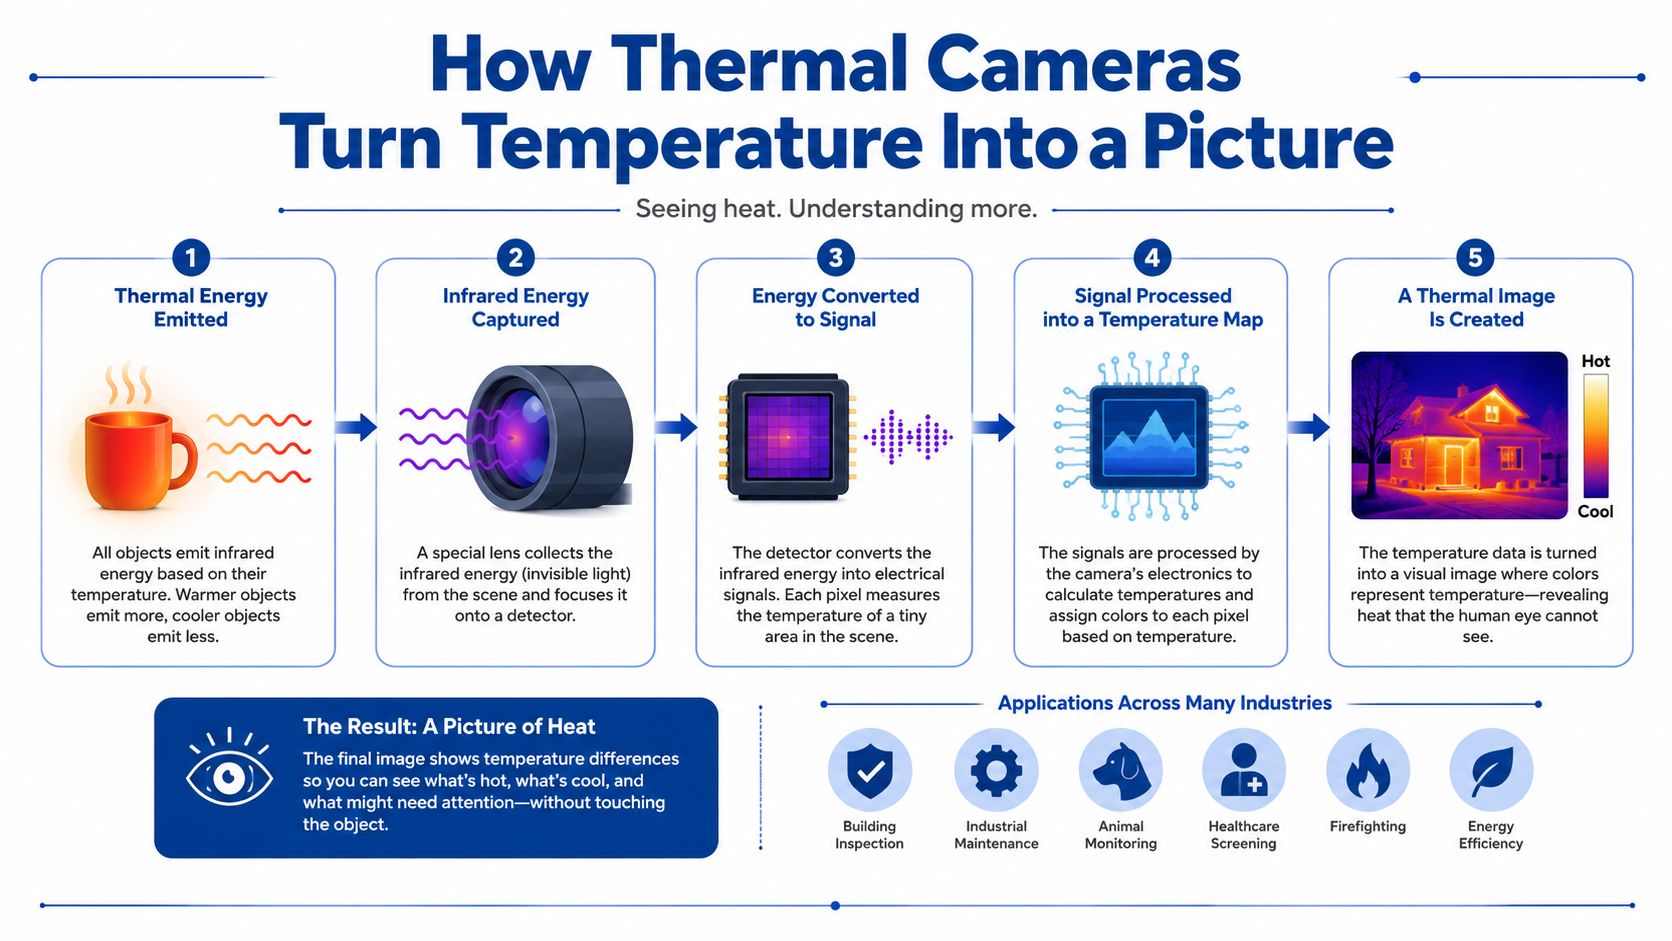
A thermal camera works a lot like watching paint dry, only with temperature. Fresh paint and dry paint don't look identical because they behave differently on the surface, and moisture changes how a building material stores and releases heat. When one area is wetter than another, the camera can show that difference as a color pattern.
Surface temperature is the key, not wall vision
The camera reads surface temperature. It doesn't know what's inside the wall unless the inside condition changes the surface enough for the sensor to detect it. That's why thermal imaging can be useful on a wet ceiling after a roof leak, but less useful on a wall with no temperature contrast.
The idea behind delta-T is just temperature difference. Fluke's building-inspection guidance recommends a delta-T of at least 10 °C (18 °F) between interior and exterior surfaces, with that condition ideally stable for at least four hours before scanning, because a strong, steady contrast makes the reading easier to trust. That's the same reason a technician may wait before scanning instead of rushing in and snapping one photo. The scan becomes more informative when the building has had time to create a usable contrast.
Emissivity sounds technical, but the idea is simple
Different surfaces give off heat differently. A glossy tile floor, a painted drywall patch, and bare metal don't behave the same way, so the camera's view can shift depending on material and angle. That's why the operator thinks about surface type, not just color on the screen.
Thermal imaging is a temperature map, not an X-ray, and the map only works when the building is set up to show a difference. If the contrast is weak, the camera may still show pretty colors, but the picture won't mean much.
The core lesson is plain. The camera doesn't find water on its own. It reveals where temperature behavior suggests water might be present.
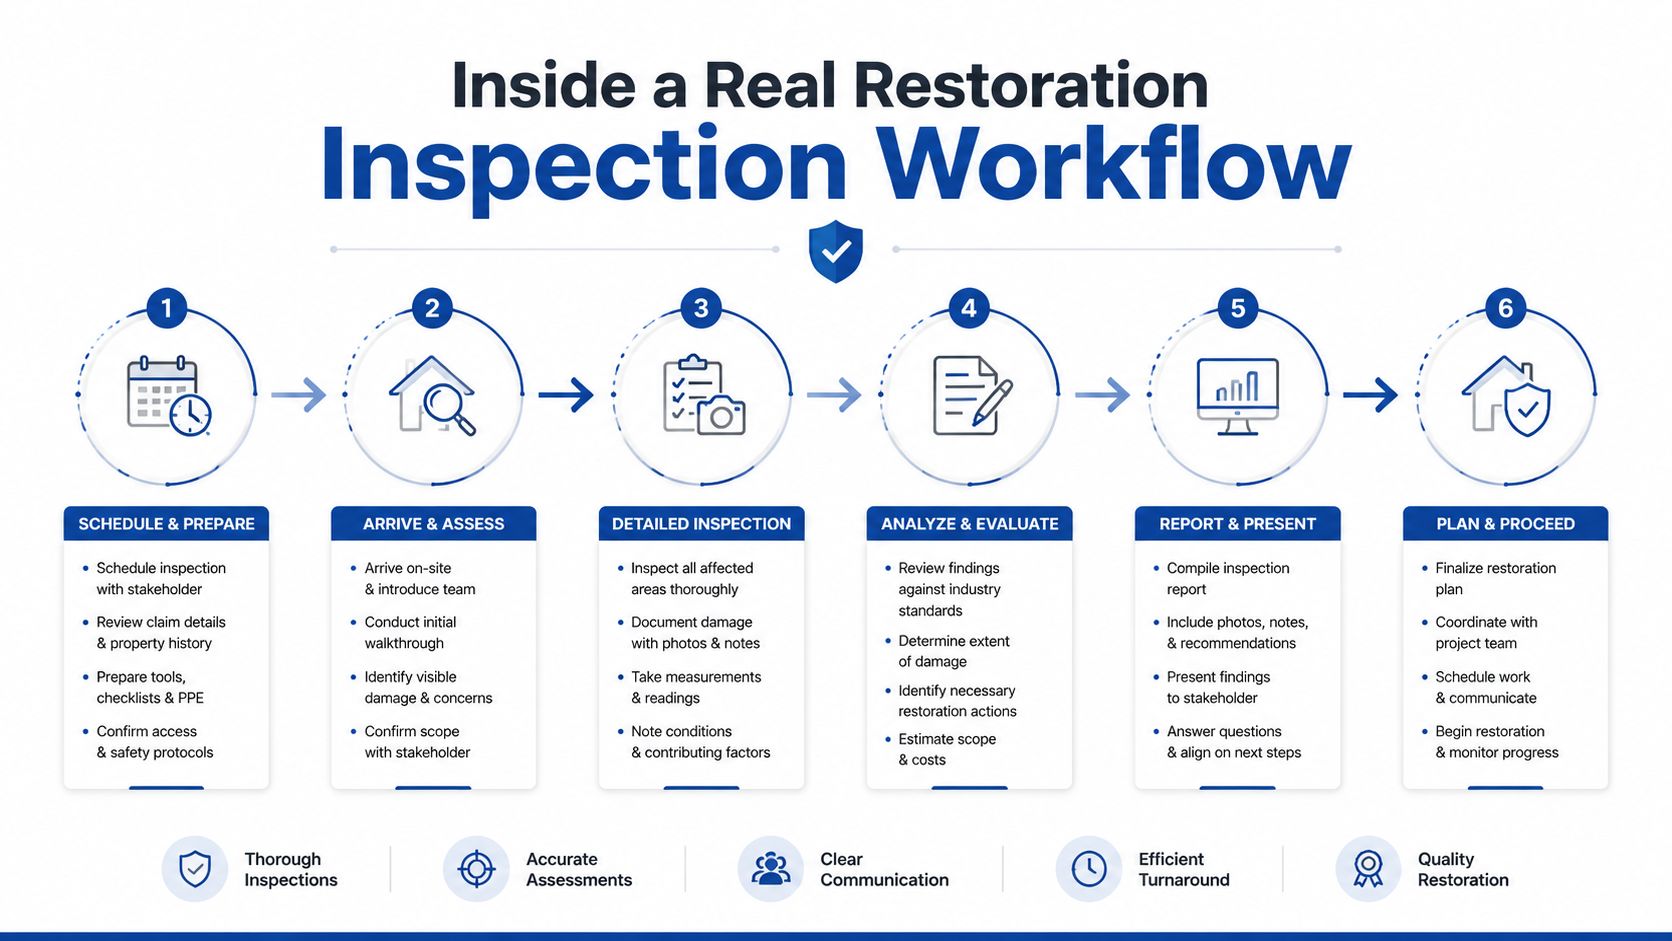
Inside a Real Restoration Inspection Workflow
A careful restoration inspection starts before the camera comes out of the case. The technician checks whether conditions support a useful scan, because the environment can make the difference between a clear reading and a misleading one. In building and water-loss work, reliable scans depend on engineered contrast, not luck.
The site setup matters as much as the scan
Guidance for thermal imaging in water-loss work says the surface-to-background temperature difference should be greater than 10°C, the internal-to-ambient difference should be greater than 5°C for the prior 24 hours, and the surfaces should be free of solar loading, precipitation, and surface moisture during the survey. That means blinds may get closed, the room may be left alone for a period, and the technician may log ambient conditions before scanning begins. The same guidance also stresses recording emissivity, background temperature, distance, and internal and external temperatures, because those variables affect the result and help prevent misreads.
A rushed scan can look confident and still be wrong.
The inspection usually follows a room-by-room rhythm. The technician captures images from multiple angles, looks at ceilings and wall intersections, checks around plumbing fixtures, and compares suspicious areas with nearby surfaces. If a patch changes from one angle to another, that's a warning sign that reflection or surface behavior could be influencing the image.
A thorough report should show more than a few color shots. It should explain where the suspect areas are, what conditions were present, and what got verified with a moisture meter or other follow-up tool. For homeowners comparing vendors, a useful question is whether the company documents environmental conditions and whether it confirms thermal findings with moisture meter readings before it marks an area as affected.
The difference between a solid inspection and a thin one is discipline. Good workflow makes the camera more honest.
Where Thermal Imaging Works and Where It Misleads
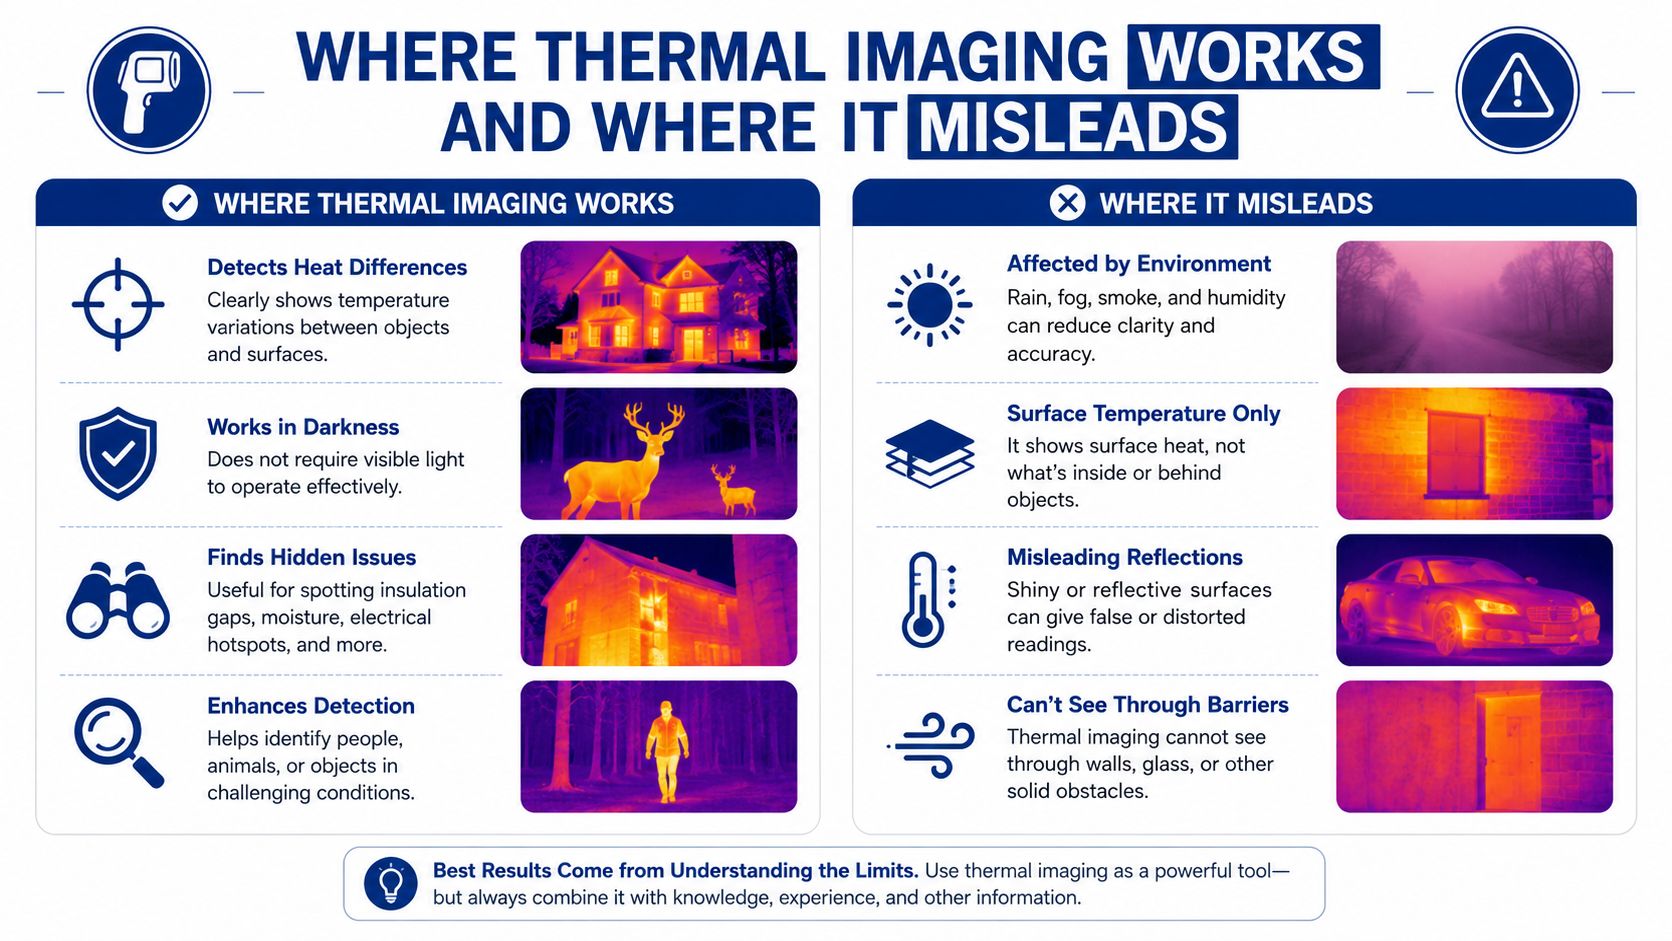
Thermal imaging is good at turning a broad, confusing area into a usable map. A technician can sweep a living room, hallway, or attic access area and spot a temperature trail that points to water moving through drywall, ceiling cavities, or along trim. It also helps when the leak path is not obvious, because the camera can show the spread pattern before the stain becomes visible.
Good screening, not final proof
The strongest use case is mapping. A thermal scan can point to likely wet drywall, cold spots near baseboards, or a hidden cavity that deserves a closer look. It is especially helpful in the first stage of mitigation, when the team needs to decide where to place drying equipment and which materials need immediate attention.
The limits matter just as much. A reflective surface can mimic a moisture pattern. A wall heated by the sun can hide a wetter area by changing the apparent contrast. A humid day can flatten the temperature difference the camera relies on, which makes subtle anomalies harder to trust. That is why a patch that looks wet can disappear when the technician changes angle, or why a cool area is not automatically a leak.
The limitation is not the camera alone. It is physics. Surface emissivity, viewing angle, solar loading, and environmental conditions all influence the image, which is why serious inspections treat the thermal result as one layer of evidence. If the scan points to a suspicious area, the next step is verification, often with moisture meters and, when needed, mold or asbestos testing before demolition or a full drying scope is set.
Good restoration work keeps the camera in its proper role. Thermal imaging shows where to check. It does not tell you to tear out materials by itself.
What Homeowners Should Expect During the Visit
Most homeowners want to know how disruptive the visit will be. In a single-family home, the inspection usually feels more like a focused walkthrough than a full project. The technician will move through the rooms affected by the leak, then inspect adjacent spaces because water rarely stops at the first visible stain.
How to prepare the house
A little preparation helps the camera perform better. Keep blinds closed if the rooms face strong sun, avoid cleaning or wiping suspect surfaces right before the visit, and don't change the thermostat wildly the night before unless the restoration company tells you to. Those small changes can alter surface temperature and blur the clues the technician is trying to read.
The technician may need access to closets, attic hatches, under-sink cabinets, utility rooms, or areas around the water source. If furniture blocks the wall or a rug hides the floor, that can slow the scan or force the inspection to stop short of the suspect zone. A clear path saves time and gives the camera a cleaner view.
Homeowner question to ask: what rooms do you need access to, and what should I leave untouched before you arrive?
After the visit, the company may deliver findings verbally first, then follow with a report or estimate once the images and moisture readings are reviewed. The best teams explain what they found in plain language and tell you which areas need drying, monitoring, or further testing. If the explanation sounds vague, ask them to point out which image led them to the next step and how they verified it.
The goal isn't drama. It's getting enough reliable information to protect the home without over-demolishing it.
Insurance, Documentation, and Inspection Costs
Thermal imaging often matters most after the inspection ends, when the claim process begins. Adjusters want documentation that connects the visible damage, the suspected hidden moisture, and the actions taken to prevent further loss. A clean report with images, notes, and verification details helps that conversation stay focused.
What the paperwork should show
A useful thermal report should identify the affected areas, note the conditions at the time of inspection, and show where the technician confirmed moisture with another tool. It should also explain whether the findings support mitigation, drying, or deeper investigation. For homeowners filing a claim, that kind of documentation can help reduce back-and-forth with the insurer because the report tells a coherent story instead of dropping in a few photos with no context.
For a broader look at claims handling, this guide on home insurance water damage claims is a practical companion. It helps explain why documentation matters before walls come apart and why timing is important when hidden moisture may still be moving.
What changes the cost
| Factor | What It Changes | Why It Matters |
|---|---|---|
| Home size | Time on site and number of rooms scanned | Larger homes usually need more room-by-room documentation |
| Severity of the loss | Depth of inspection and follow-up testing | A bigger loss often means more verification before drying starts |
| Access to affected areas | Ease of scanning | Tight spaces or blocked areas slow the technician down |
| Whether the inspection is bundled | How the visit is billed | Some companies fold it into mitigation, others separate it |
| Documentation detail | Report length and claim support | Better records can make insurer review easier |
A low price can look attractive, but a thin inspection can cost more later if it misses hidden moisture. The better value is the service that documents conditions, verifies suspicious areas, and helps you avoid unnecessary demolition.
Central Texas Storms, Humidity, and Local Inspection Challenges
Georgetown and Austin homes deal with weather that can make thermal work trickier than people expect. Heavy rain, flash flooding, and sticky humidity all affect how much contrast the camera can see, especially when moisture hangs in building materials and in the air at the same time. A room that would scan clearly on a dry day can become less distinct when the environment is saturated.
Why local conditions change the reading
The same wall can behave differently in a humid Central Texas week than it does after a dry front moves through. If the air is already loaded with moisture, the surface temperature differences thermal cameras rely on can get muted, so a skilled inspector may need more setup time or another verification method. Slab-on-grade homes, older construction, and mixed materials also create different thermal responses, which means one house won't behave like the next.
That's where local experience matters. A technician who works these properties regularly knows which surfaces tend to fool a thermal scan, which areas need more angle changes, and when to trust the image less than the meter reading. The result is not more drama, but better judgment.
A Central Texas inspection should feel adapted to the home, not copied from a generic checklist. If the company understands regional storm patterns and common building assemblies, it's more likely to notice when a cool patch is a real moisture trail and when it's just the house reacting to weather.
Choosing the Right Inspection Team and Key Takeaways
The right inspection team explains the science without overselling it. They don't act like a thermal camera sees through drywall, and they don't pretend every color shift is damage. They use the camera to map suspicious areas, then verify those areas with moisture tools and, when needed, other testing.

Questions worth asking before you book
- Do you verify thermal findings with a moisture meter? A yes means the scan isn't being treated as proof by itself.
- Will you document ambient conditions and angles? That's a sign the company understands how environmental factors affect accuracy.
- Can you explain what parts of the home need access before you arrive? Clear prep leads to cleaner scans.
- Do you handle drying, mitigation, and reconstruction if hidden damage is found? That matters when the issue grows beyond a simple inspection.
For Georgetown and Austin homeowners, a local provider can simplify the process because the same team can often handle inspection, mitigation, drying, microbial prevention, and reconstruction under one roof. RestoTek TX offers that end-to-end water-loss workflow, plus emergency response for floods, overflows, and backups, which is useful when the inspection quickly turns into a repair job.
The main takeaway is straightforward. Thermal imaging inspection is a mapping tool, not a magic trick. If you control the environment, verify the findings, and work with a team that knows Central Texas homes, you get a clearer answer and fewer surprises during drying or repairs.
If you think hidden water damage is developing in your home, contact RestoTek TX for a local inspection and mitigation plan. Their team works with thermal imaging, moisture verification, structural drying, and reconstruction, so you can move from uncertainty to a documented next step.