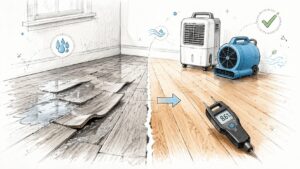
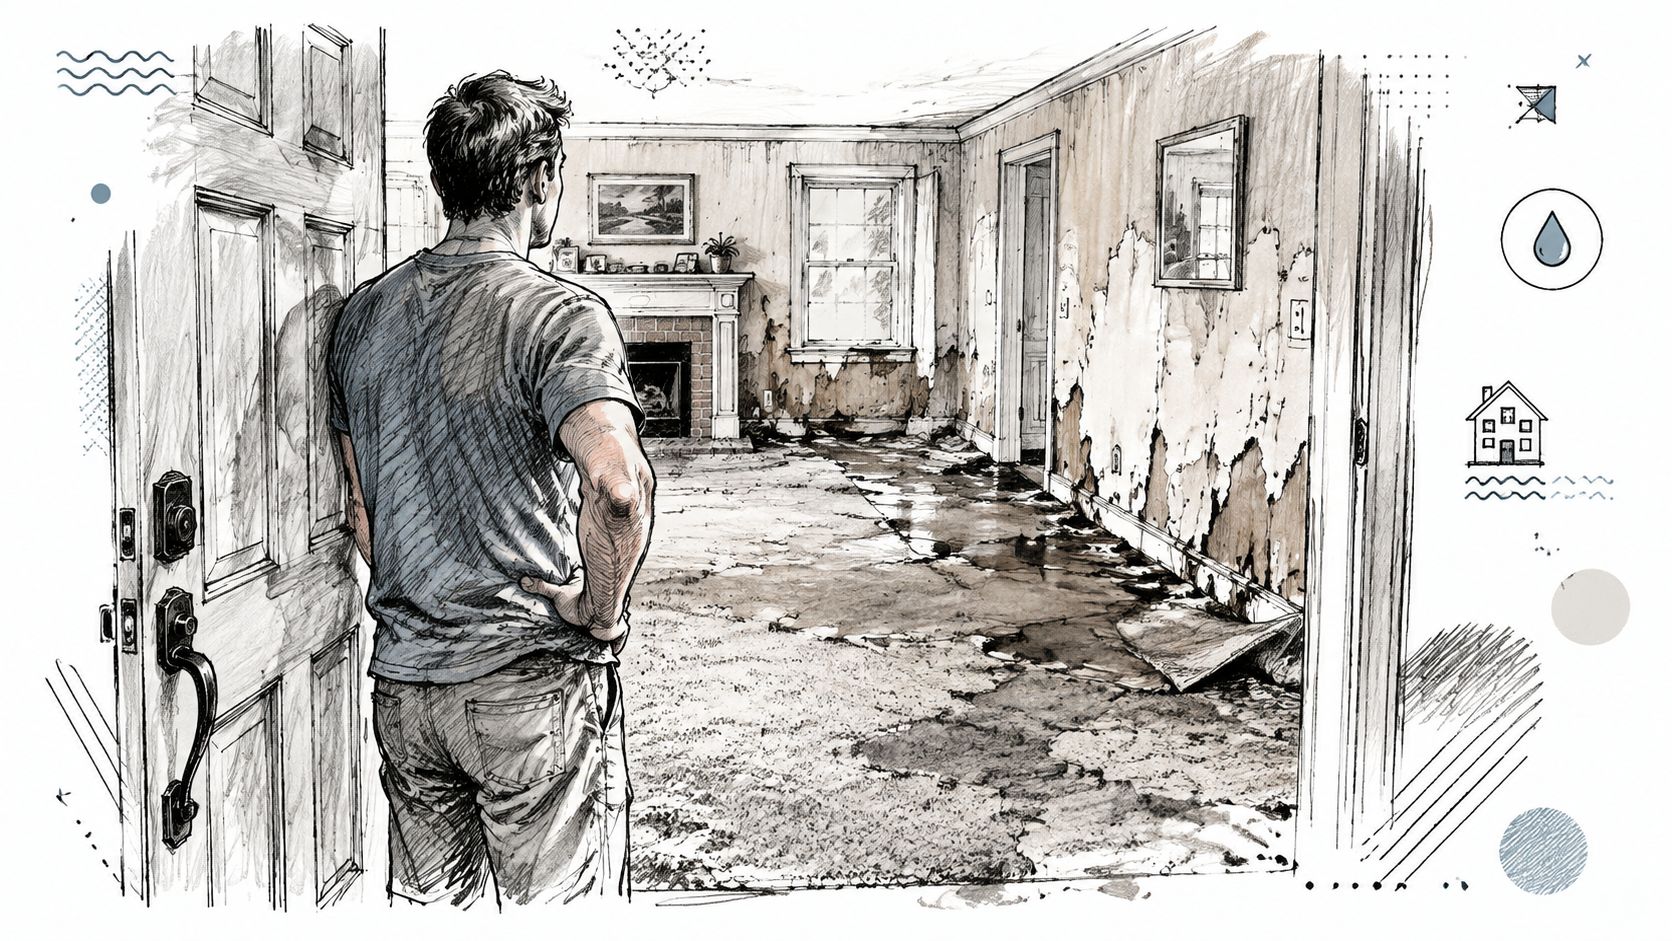
You're standing in a Georgetown home after a flash flood along the San Gabriel. The water has receded, but the baseboards are swollen, the sheetrock is buckled, and the damp carpet smell greets you before the front door closes. A portable dehumidifier is running in the corner, yet the walls still feel cool and wet.
That situation creates a dangerous misconception. A dehumidifier for flood damage removes water vapor from the air, not standing water from the floor or trapped moisture from every wall cavity. Effective restoration combines extraction, controlled airflow, dehumidification, moisture readings, and documentation. The ANSI/IICRC S500 drying framework treats restoration as a measurable process involving moisture assessment, structural drying, and verification, not just placing equipment in a wet room.
Why a Flood-Damaged Home Needs More Than a Fan
What remains after the visible water disappears
The first thing you notice after flooding is usually the waterline. The more serious problem may be behind it. Water wicks into baseboards, drywall paper, framing, carpet padding, and subfloor materials. As those materials release moisture, indoor humidity rises, and the air can feel heavy even after the floor looks clean.
A box fan moves air, but movement alone doesn't remove the water held inside saturated materials. It can accelerate evaporation at a surface while leaving the vapor trapped in the room. If the dehumidifier can't remove moisture as quickly as the fans release it, the room stays humid and the drying front slows.
Floodwater also changes the safety decision. Stormwater, groundwater, and backup water can carry contaminants into porous building materials. Drying those materials without considering contamination can spread particles through the air and leave damaged insulation, padding, or wall coverings in place when removal may be necessary.
Why one household unit often stalls
A store-bought compressor unit can help with light, localized dampness in a warm, contained room. It isn't designed to manage a house with wet carpet pad, saturated drywall, moisture behind cabinets, and water migrating through a subfloor. Its collection tank may also fill and shut the machine off unless you arrange continuous drainage.
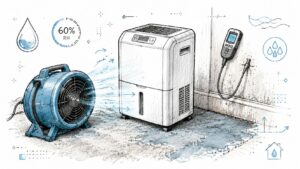
A proper drying setup uses air movers to strip humid air from wet surfaces and a dehumidifier to capture that vapor. Depending on the loss, the crew may also use controlled heat, containment, filtration, and material removal. The National Flood School training material describes equipment deployment, daily monitoring, and dry-standard verification as part of the professional process.
Practical rule: If you can only describe the room as “it feels dry,” you don't yet have proof that the structure is dry.
The time-sensitive issue is hidden moisture. Guidance for post-flood drying warns that serious events may require several days to weeks of continuous drying, with moisture-meter targets used before equipment is removed. A dehumidifier is valuable, but it's one control inside a structural drying system, not a substitute for the system.
How a Structural Drying Plan Works
A flood job can look dry at the surface while moisture remains in walls, flooring, or framing. Professional drying follows a sequence because each stage prepares the building for the next. The IICRC-style structural drying approach starts with information, not equipment.
1. Inspection and moisture mapping
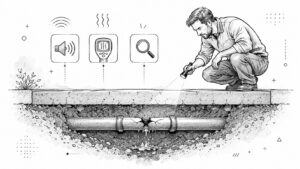
The technician identifies the water source, affected rooms, material types, and safety conditions. Pin meters measure moisture at contact points in materials such as wood. Pinless meters scan broader areas without making holes. Readings are mapped across walls, trim, flooring, and subfloor edges so the crew can separate the visible footprint from the actual wet footprint.
Temperature and humidity readings show whether the environment supports evaporation and whether the selected equipment can keep pace. A room that feels comfortable may still hold enough moisture to delay drying inside assemblies.
2. Extraction before aggressive drying
Pumps, wet vacuums, and weighted carpet extractors remove standing and bound water. A dehumidifier cannot remove pooled water from a floor, and air movers should not spread contaminated water across the property.
Extraction lowers the moisture load before the drying phase. It also prevents equipment from working against water that should have been removed mechanically.
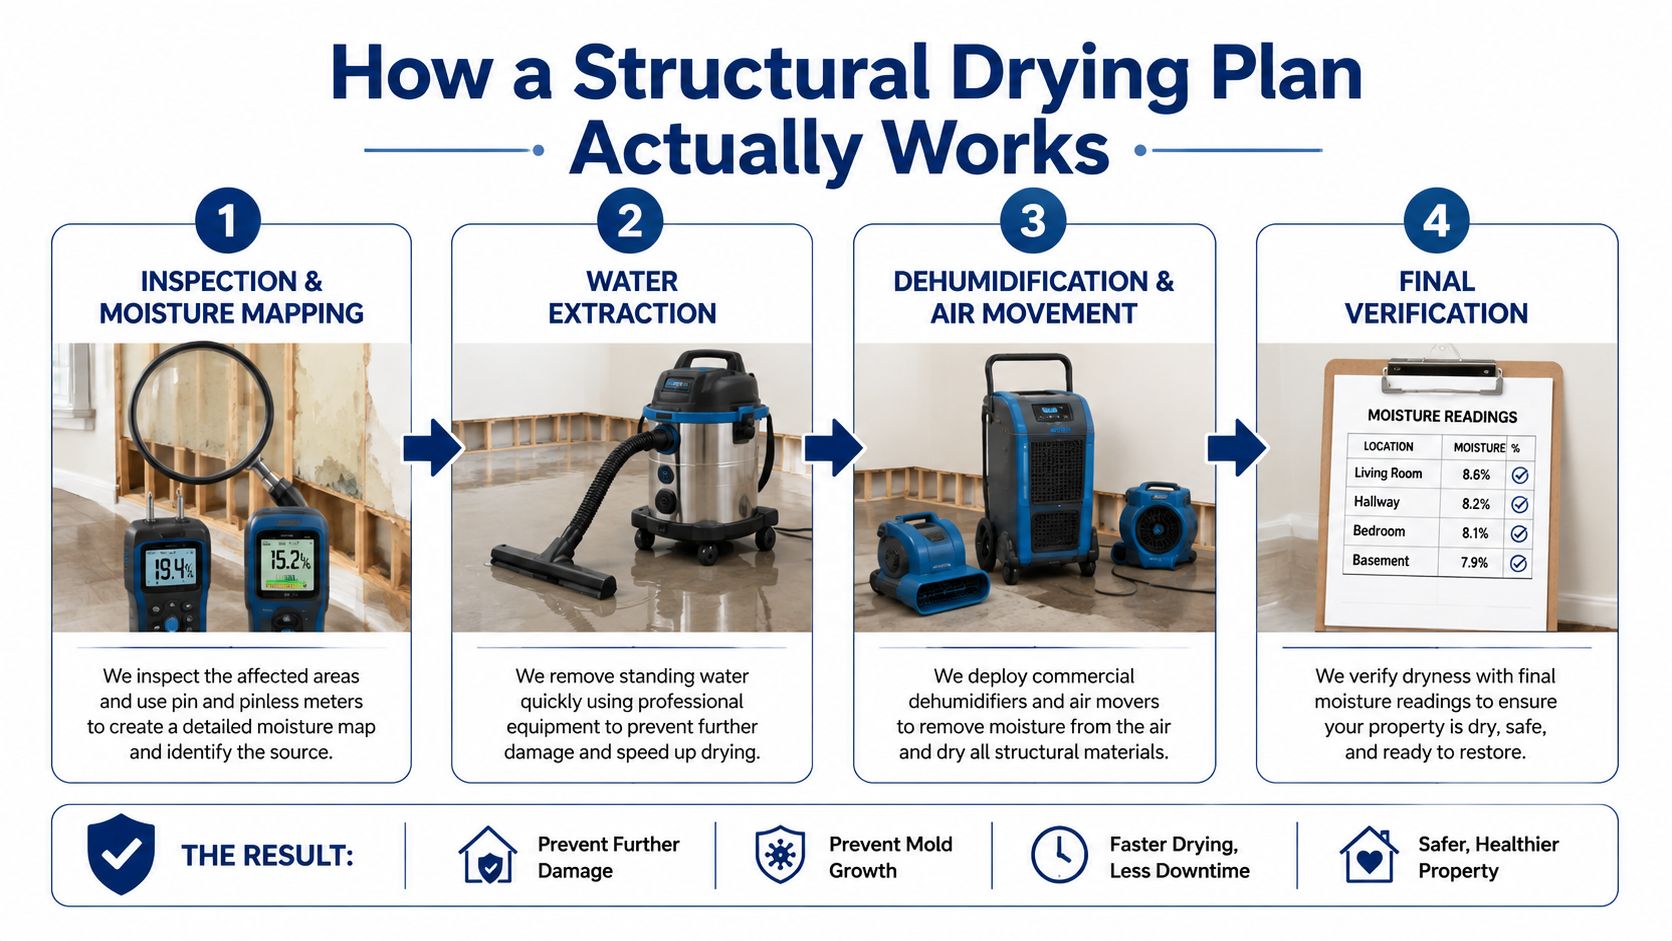
3. Air movement and dehumidification
Air movers push drier room air across wet surfaces, encouraging moisture to leave the materials. The dehumidifier processes that moisture-laden air and removes vapor through condensation or adsorption, depending on the machine. Controlled heat can increase evaporation, but adding heat without enough dehumidification may drive moisture into cooler cavities or nearby rooms.
Placement depends on the loss class, affected materials, and ambient conditions. One industry training guide describes a baseline of roughly one low-grain refrigerant dehumidifier for every three to four air movers, while noting that site conditions determine the final setup. Advanced DRI's explanation of IICRC standards connects equipment choices with water-loss classes and airflow requirements.
4. Verification before removal
Technicians return to compare readings, adjust equipment, and document progress. They may reposition air movers, open selected areas, increase capacity, or change the drying plan when readings stop declining.
The crew removes equipment only when affected materials meet the selected dry standard and the measurements support that decision. Photos, daily logs, and room-by-room readings give the owner and insurer a record of the work.
Skipping extraction leaves excess water in the structure. Skipping monitoring turns the job into guesswork. Each machine has a defined role, and the sequence controls the mold risk.
Choosing the Right Dehumidifier Type for the Job
A homeowner usually encounters compressor units first, but flood restoration involves more than one technology. The correct choice depends on temperature, moisture load, target humidity, contamination, and the materials being dried.
| Type | Best Flood Condition | Temp Range | Typical Capacity (pints/day) | Best Use Case |
|---|---|---|---|---|
| Refrigerant compressor | Warm, humid rooms with a moderate moisture load | Performs best in warm conditions | About 150 to 400+ pints per day for water-damage refrigerant units under favorable conditions, according to this industry equipment guide | Localized clean-water dampness and warm residential spaces |
| Low-grain refrigerant, or LGR | Serious structural drying where lower humidity is needed | Broad professional operating range, subject to site conditions | Capacity varies by model and conditions | Flood losses involving walls, floors, framing, and substantial evaporation |
| Desiccant | Cold rooms or environments where refrigerant performance falls | Effective at lower temperatures | Capacity depends heavily on the model and process conditions | Unheated basements, cold spaces, and specialty drying |
Refrigerant units
Compressor machines cool air across a coil so water condenses and drains away. They're common, accessible, and useful in warm humid rooms. Their output declines as the temperature falls, which makes a household unit a poor choice for a cold, unheated basement.
A printed capacity rating also needs context. Manufacturers test under specified conditions, and a unit won't necessarily remove its advertised amount in a cool, partially dry room packed with wet materials.
LGR units
LGR equipment is a professional workhorse because it can pull the room air to a lower moisture level than a basic household compressor unit. That lower-grain environment supports continued evaporation from framing, drywall, and flooring after the easiest surface moisture has already left.
For contaminated losses, drying equipment may need to operate alongside containment and HEPA air filtration. Dehumidification controls moisture. It doesn't clean floodwater contamination from materials or replace appropriate removal and remediation.
Desiccant units
Desiccants use a moisture-absorbing wheel rather than relying on condensation on a cold coil. They remain effective in lower temperatures and can support specialty drying where a refrigerant machine would ice or lose efficiency. The trade-off is higher equipment cost and greater energy use in many applications.
For a warm clean-water loss, refrigerant or LGR equipment may be practical. For a cold space, desiccant technology deserves serious consideration. For gray or black water, the broader containment and filtration plan matters as much as the dehumidifier type.
Sizing Capacity to the Space and the Severity
Sizing by room area alone is a common mistake. A room's cubic volume, water-loss class, material saturation, temperature, and airflow all affect the moisture load. A lightly damp room and a room with wet padding, drywall, and subfloor can have the same floor area but require very different drying plans.
Start by estimating affected volume:
Length × width × ceiling height = affected cubic feet
A 20-by-20-foot room with 8-foot ceilings contains 3,200 cubic feet. That calculation describes the air volume, not the total water stored in the building materials. Saturated carpet pad, wet drywall, and a damp subfloor add a substantial material load, so the equipment decision can't stop at the room's cubic footage.
A current restoration guide places common refrigerant dehumidifier capacity at about 150 to 400+ pints per day under favorable warm, humid conditions and cites roughly one low-grain refrigerant unit per three to four air movers as a baseline. Those figures are starting points, not guarantees. A professional adjusts the setup using psychrometric readings, including temperature and humidity conditions.
Class changes the equipment decision
The IICRC framework separates water losses by severity and sets different drying expectations. One training source identifies Class 1 losses at 2 to 4 air changes per hour and Class 2 losses at 4 to 6 air changes per hour, as summarized by Advanced DRI's standards guide. A more severe loss generally requires more aggressive airflow, more extraction, and greater dehumidification capacity.
The following table is a planning aid, not a substitute for an on-site calculation. Capacity should be confirmed against actual readings and equipment specifications.
| Affected Volume (cu ft) | Water Class | Recommended Capacity (ppd) | Typical Unit Class |
|---|---|---|---|
| Small, isolated volume | Class 1 | Light capacity matched to the material load | Residential refrigerant |
| Moderate volume with porous materials | Class 2 | Increased capacity with coordinated air movement | LGR or paired professional setup |
| Large or heavily saturated volume | Class 3 | High-capacity, calculated deployment | Multiple LGR units, with filtration and containment as needed |
What shelf ratings miss
A consumer unit advertised at 30 to 50 pints per day can be useful for a small, localized moisture problem, but it may be overwhelmed by a serious flood. Rental-grade LGR machines commonly occupy a substantially higher professional capacity range, but the right number of machines still depends on the affected volume and materials.
Don't assume one unit covers an entire house. Don't ignore wet padding or the wall contribution. And don't compare machines only by pints per day, because grain depression, temperature, and humidity ratio can matter as much as the label.
Placement, Airflow, and Daily Monitoring
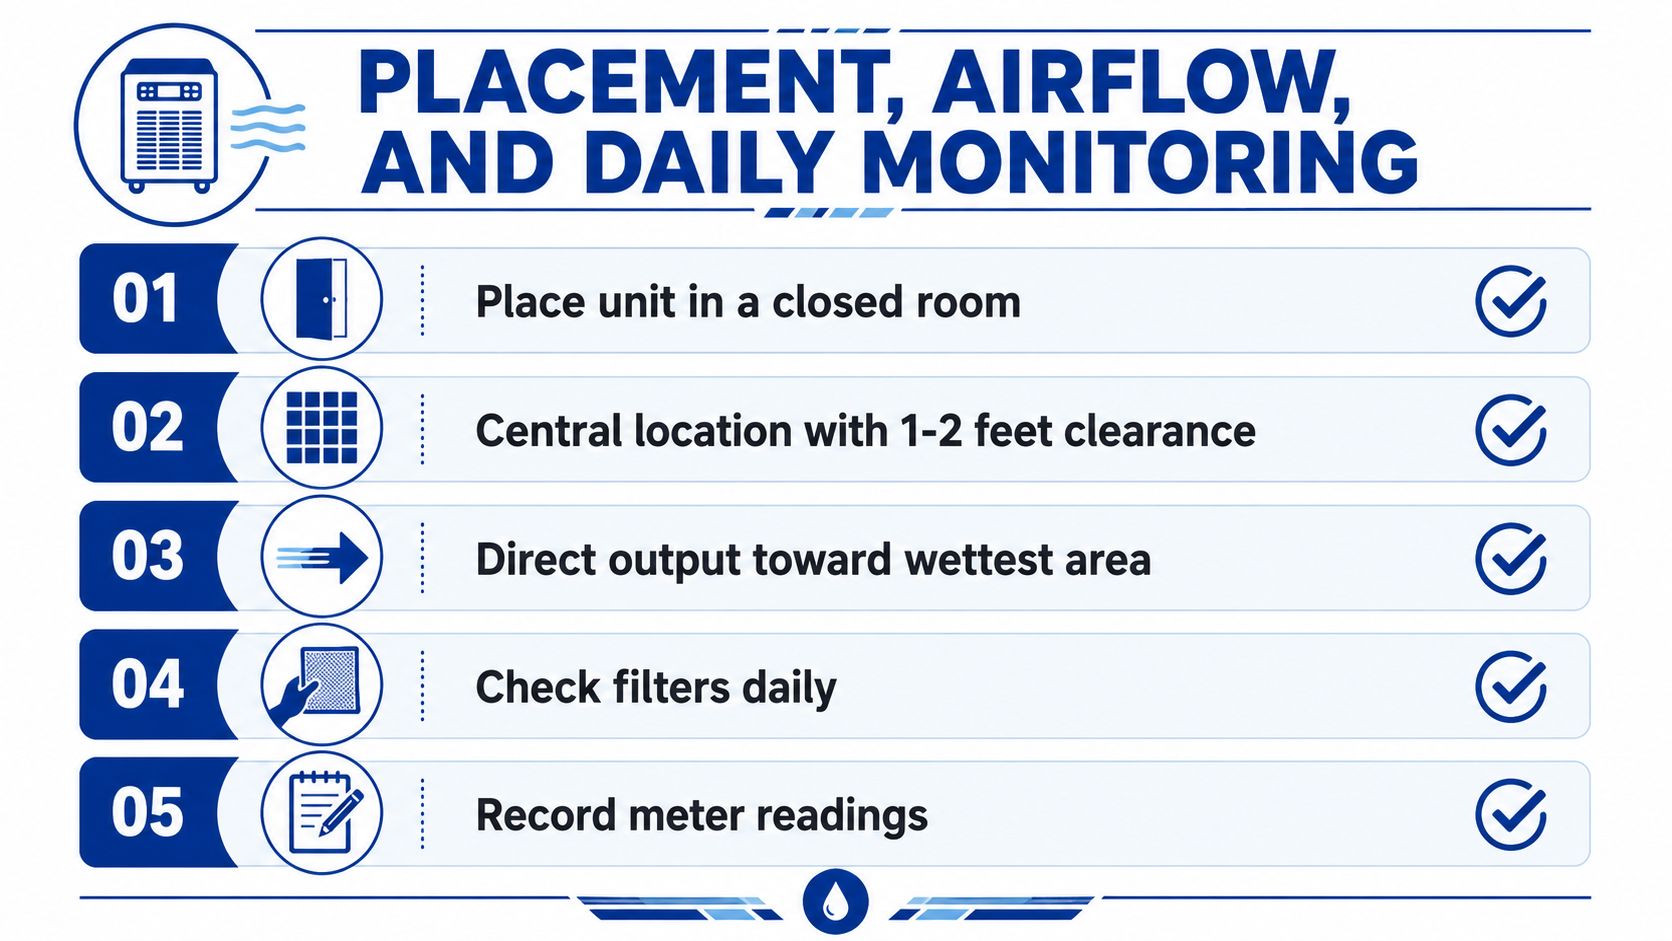
A dehumidifier works best when the room is controlled and the airflow has a clear purpose. Put the unit in the affected interior room, close doors and windows when outdoor air would add humidity, and position it centrally enough to process the room rather than a single corner.
Leave at least 1 to 2 feet of clearance around the intake and discharge, as recommended in practical water-damage drying guidance from Basement Moisture Lab. Keep the machine away from drapes, tight corners, exterior walls, and anything that blocks its airflow. Route the condensate continuously to a suitable drain when possible, because a full tank can stop the machine.
Feed the unit with moving air
Air movers should sweep air across wet floors and lower walls, not just blow toward the dehumidifier from a distance. Their job is to disturb the humid boundary layer sitting against the wet material and replace it with drier room air. The dehumidifier then captures the vapor released into that air.
If a wall reading remains high while the floor reading falls, change the airflow pattern toward the wall. If the whole room's readings stall, the setup may need more capacity, better containment, additional extraction, or a different equipment type.
Build a simple monitoring log
Use a pin-type meter on accessible wood, baseboards, and subfloor areas, and use a thermo-hygrometer for temperature and humidity. Record the room, location, date, time, material, and reading. A useful log also tracks grain depression or other psychrometric indicators where the equipment operator knows how to calculate them.
Check at consistent intervals, such as morning and evening, rather than relying on touch. Compare the same locations so you can see whether readings are falling, holding steady, or rising.
For more guidance on interpreting readings, use this moisture-meter reading guide. If readings stop improving, first confirm that the machine is operating, draining, and receiving unobstructed airflow. Then inspect for hidden moisture, add or reposition air movers, or increase dehumidification capacity.
A running machine proves that electricity is reaching the unit. It doesn't prove that the structure is drying.
Safety, Maintenance, and When DIY Stops Working
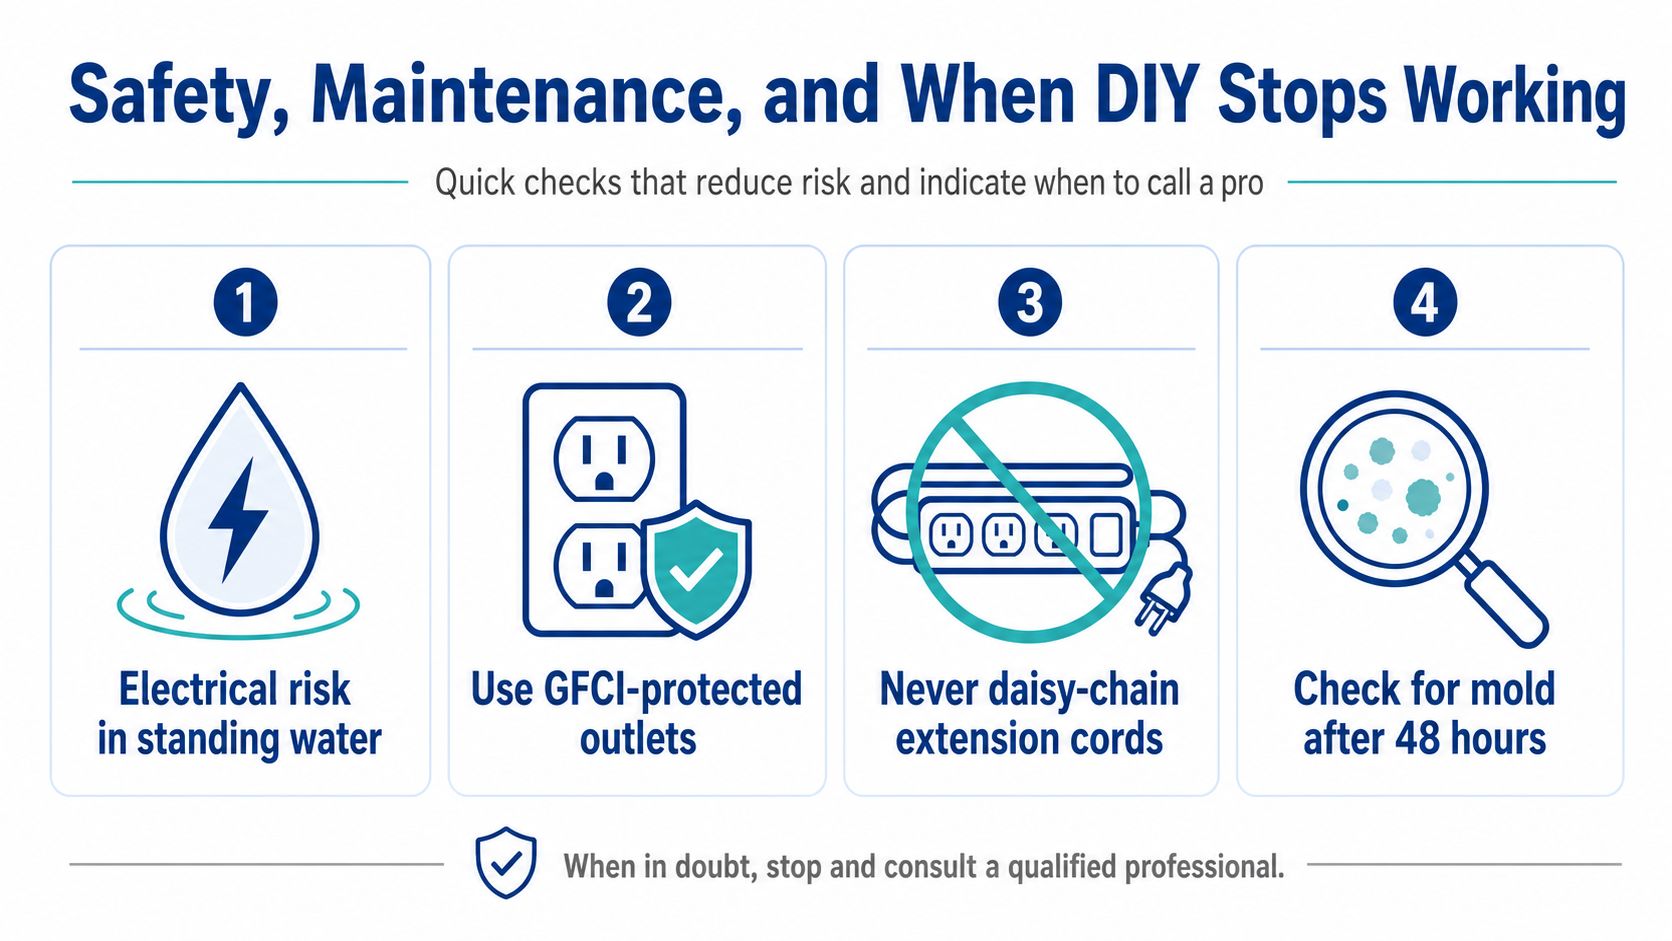
Flood drying puts electricity beside wet materials, contaminated water, and heavy equipment. Keep powered dehumidifiers and air movers out of standing water, and do not handle electrical equipment while standing on wet flooring. Use GFCI-protected outlets, avoid daisy-chaining extension cords, and raise connections away from splash.
Treat questionable floodwater as contaminated. Gloves, eye protection, suitable footwear, and an N95 or better respirator may support limited work, but they do not make extensive contaminated-water cleanup suitable for DIY. Cutting into wet drywall, insulation, or debris can release particles and spread contamination beyond the visible wet area. For microbial-risk checks after drying, follow this guide to preventing mold after water damage.
Keep the machine working
Check the equipment each day:
- Drain continuously: Route condensate to a suitable drain, or empty the tank before the unit shuts off.
- Inspect filters: Clean or replace dirty filters before restricted airflow reduces moisture removal.
- Watch the coil: In a cool room, stop the machine and address icing rather than letting it run without effective dehumidification.
- Check the hose: Look for kinks, loops, or a failed pump that could interrupt drainage.
- Protect the circuit: Stop and reassess if breakers trip repeatedly.
DIY stops making sense when water is contaminated, materials have stayed wet, or the structure fails to respond to the setup. Call a qualified restoration company if visible mold appears, readings remain high after three days of drying, or the affected area exceeds what rental equipment can realistically control. These limits are consistent with the practical guidance in water-damage dehumidifier guidance.
In Georgetown and Austin, RestoTek TX handles inspection, extraction, structural drying, microbial prevention, mold assessment, and reconstruction after water-loss events. Bring in a professional before sealing walls, replacing flooring, or assuming a musty odor will disappear on its own.
Documenting the Dry-Out and Calling the Right Help
Good documentation starts before equipment moves. Photograph waterlines, swollen baseboards, damaged flooring, wet drywall, affected contents, and the equipment placement. Take close-up photos of meter readings on representative drywall, wood, and subfloor locations, and keep the original images with their timestamps when possible.
A daily drying log should identify the date, time, room, reading location, material, temperature, relative humidity, and any psychrometric measurements used by the drying technician. Readings are more useful than a statement such as “the room felt better,” because they show whether moisture is leaving the structure.
What the record should prove
Your file should make the sequence clear:
- Initial condition: Show where water reached and which materials were affected.
- Mitigation steps: Record extraction, equipment installation, material removal, and containment.
- Progress: Compare readings from the same locations over time.
- Completion: Document final readings and the basis for removing equipment.
A homeowner's log can establish a useful timeline. A restoration company may also produce insurer-oriented documentation, including room measurements, equipment details, daily psychrometric records, photographs, and estimating documentation. The formats differ, but the underlying principle is the same: an adjuster needs evidence of the damage, the work performed, and the reason the work was necessary.
Know when to hand off the job
Don't wait for a musty odor to become your first warning. Professional help is appropriate for Category 3 water, a waterline above 24 inches, hardwood cupping across multiple rooms, drywall that remains wet beyond 72 hours, visible microbial growth, or saturated framing and subfloor.
When you call, tell the dispatcher the water source, whether it may contain sewage or storm contamination, when the incident occurred, which rooms are affected, whether power is safe, and what equipment is already running. Send clear photos and meter readings. While waiting, keep people and pets away from unsafe areas, don't close up wet cavities, don't paint or caulk over damaged materials, and don't move contaminated contents through clean rooms.
For insurance and building control: Preserve the evidence before you improve the appearance.
A dehumidifier can support a controlled response, but it can't identify every wet cavity or certify that a flood-damaged structure is dry. The right handoff happens when the readings, material condition, contamination, or scale exceed your ability to manage the process safely.
RestoTek TX provides water extraction, structural drying with commercial dehumidifiers and air movers, moisture assessment, microbial prevention, and reconstruction for flood-damaged properties in Georgetown, Austin, and surrounding Central Texas communities. Visit RestoTek TX to request help and give the team your water source, affected rooms, photos, and current meter readings.