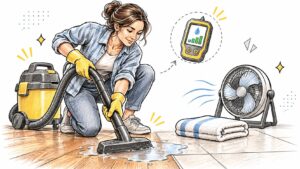
You step into the kitchen and your sock comes up wet. There's water beside the dishwasher, a dark patch along the cabinet base, and no obvious way to tell how far it's spread. Your first instinct is to grab towels, but the important question is whether you're drying just the surface or the flooring underneath it, too.
Knowing how to soak up water from floor surfaces starts with the material, the water source, and the layers below. A small clean-water spill on tile is a different job from soaked carpet padding or water beneath laminate. Remove the puddle promptly, but don't use a dry-looking surface as your finish line.
Water Removal Methods by Floor Type
| Floor type | First removal tool | Drying step | Lift or remove when |
|---|---|---|---|
| Hardwood or engineered wood | Towels, mop, wet-dry vacuum | Fans and dehumidifier; check for cupping | Boards cup, swell, or soften |
| Laminate | Towels, then wet-dry vacuum at seams | Dry joints thoroughly; increase airflow | Seams separate or the core swells |
| Luxury vinyl plank | Towels and wet-dry vacuum at edges | Airflow along edges; expose wet layers where necessary | Planks lift or the subfloor stays damp |
| Ceramic or porcelain tile | Wet-dry vacuum along grout lines | Fans; assess moisture in grout and setting materials | Grout deteriorates or water remains beneath tiles |
| Carpet with pad | Wet-dry vacuum in repeated passes | Lift carpet and pad as needed; dehumidify | Padding cannot be thoroughly cleaned and dried promptly |
| Concrete slab | Squeegee and wet-dry vacuum | Fans; check baseboards and wall bases | Moisture reaches drywall or baseboards |
| Subfloor, plywood or OSB | Expose by lifting flooring; remove accessible water | Dehumidify; monitor with a moisture meter | Soft spots, odor, staining, or persistent dampness appear |
Towels work for shallow spills; extraction works better for pooled water. The Occupational Safety and Health Administration's mold cleanup guidance identifies wet vacuums as equipment designed to collect accumulated water from floors, carpets, and hard surfaces. It cautions against vacuuming porous materials such as gypsum board and against continuing when insufficient liquid remains, which can allow spores to exhaust into indoor air.
Match the method to the assembly
On hardwood and engineered wood, blot first rather than pushing water across more boards. Extract pooling, then use controlled airflow and dehumidification. Don't assume cupped boards need immediate sanding, since the moisture condition needs assessment first; our guide to drying hardwood floors explains that process.
Laminate needs particular attention at its joints. Swollen edges aren't a cleaning problem, and a fan above the floor won't reliably dry a saturated core. With luxury vinyl plank, a water-resistant face doesn't establish that the underlayment or subfloor stayed dry.
Tile presents a similar trap. Extract along grout lines and perimeter joints, not just across the glazed face. Carpet requires a different approach: repeated extraction passes can remove substantial water, but padding may still need exposure or removal.
Practical rule: Choose your first tool by the visible water, then choose your drying method by what's underneath.
After extraction, clean and thoroughly dry the wet vacuum's tank, hose, and attachments before storing them.
Supplies to Have on Hand Before You Start
Gather equipment before walking repeatedly through the wet area. Keep electrical tools, plugs, and extension-cord connections on dry ground.
- Liquid-rated wet-dry vacuum: Check the manual for the correct wet-pickup configuration, including whether the dry filter must be removed or replaced. Start with an empty tank.
- Absorbent towels and microfiber mop: Use these for shallow water, corners, and the final film a vacuum leaves behind.
- Floor squeegee: Choose a clean, nonmarking blade to gather water without scratching the finish.
- Fans and dehumidifier: Fans move air across damp surfaces; the dehumidifier removes moisture from room air.
- Moisture meter: Select a meter suited to the material you're checking. A wood reading and a masonry reading aren't interchangeable.
- Cleaning supplies: Have mild detergent, clean water, a bucket, and clean cloths ready.
- Protective equipment: Keep gloves and eye protection available. Contaminated water or suspected mold requires additional precautions, not heavier gloves.
- Phone camera and notes: Record the source, affected rooms, damaged materials, and changes during drying.
Check the equipment before plugging it in
A household dry-only vacuum isn't a substitute for a wet-dry vacuum. Don't improvise with electrical equipment that has been submerged, damaged, or connected through a wet outlet.
How to Soak Up Standing Water Step by Step
Use this sequence for a small spill from a known clean-water source, not sewage, outdoor floodwater, or unexplained water entering the building. If you can't establish safe access, stay out and arrange help.
Make the area safe before extraction
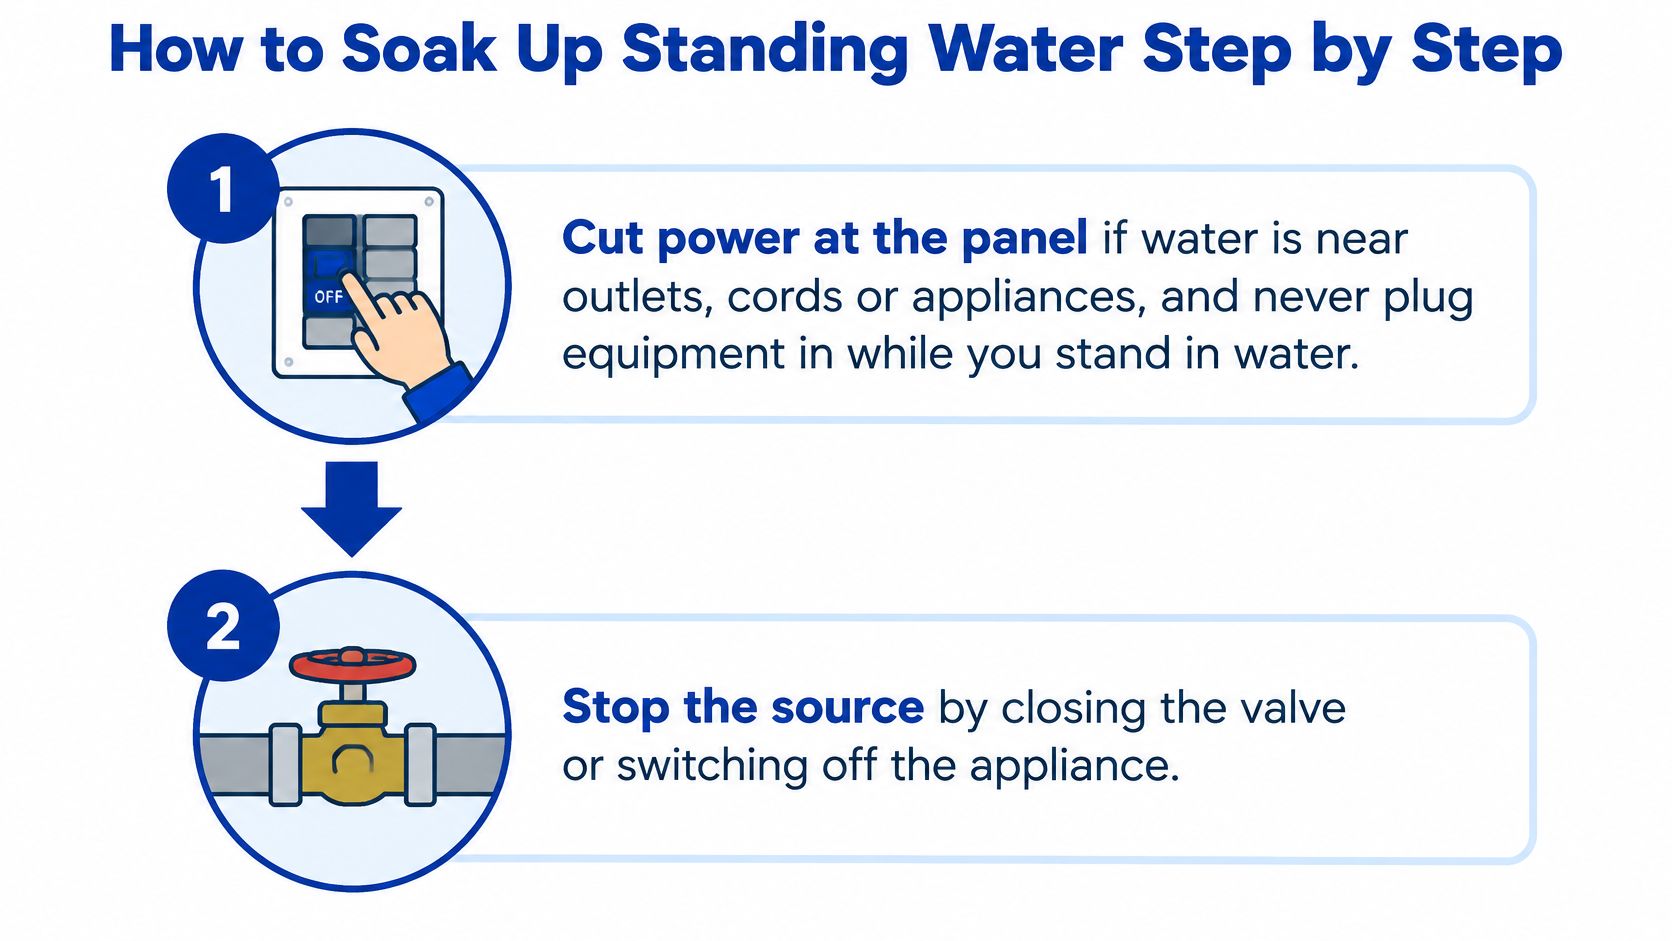
Check electrical hazards from a dry location. If water is near outlets, cords, or appliances, shut off the affected circuit only if you can reach the panel safely. Never enter standing water to reach a breaker, unplug an appliance, or operate electrical equipment.
Stop the water source. Close the fixture supply valve or the main water shutoff when appropriate; switch off a leaking appliance only from a safe, dry location. Extraction won't accomplish much while fresh water continues entering the room.
Move rugs, loose furnishings, and stored items out of the affected area. Separate wet porous items from dry belongings so they don't transfer moisture, and avoid dragging heavy furniture across softened flooring.
Gather water from the perimeter toward a controlled collection point. Use towels or a squeegee to bring it toward the lowest accessible spot, without directing it into another room. This limits the chance of pushing water beneath cabinets, baseboards, or unaffected flooring.
Extract pooled water with the wet-dry vacuum, keeping the machine and electrical connections in a safe, dry position. Move the floor attachment slowly enough to collect water, and empty the tank before it reaches its operating limit.
Clean, then remove residual moisture
Clean exposed hard surfaces with mild detergent and water. Use a damp cloth or mop rather than flooding the floor again, then remove the cleaning solution and wipe dry. Cleaning removes residue, but it doesn't establish that concealed layers are dry.
Set up airflow across the affected floor and use dehumidification when the room remains humid. Open doors or windows only when outdoor conditions help drying; bringing humid air inside can work against the dehumidifier.
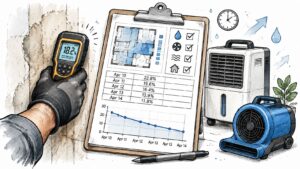
Verify progress rather than judging by touch. Compare affected materials with an unaffected area of the same material, using consistent meter settings and measurement locations. Continue drying until readings approach the dry reference and stop rebounding.
The EPA's water-damage cleanup guidance supports prompt extraction, cleaning, ventilation, and moisture verification, and warns against using fans where visible mold could be spread by airflow. If you uncover growth while moving a rug or opening an edge, stop unrestricted fan use and arrange an assessment.
At the end of extraction, there should be no standing water, no continuing drips, and no loose wet items covering the floor. That's an important checkpoint, not proof that the entire assembly has dried. A lingering damp smell or wet perimeter needs investigation before you put furniture and rugs back.
Hidden Moisture Under Floors You Cannot See
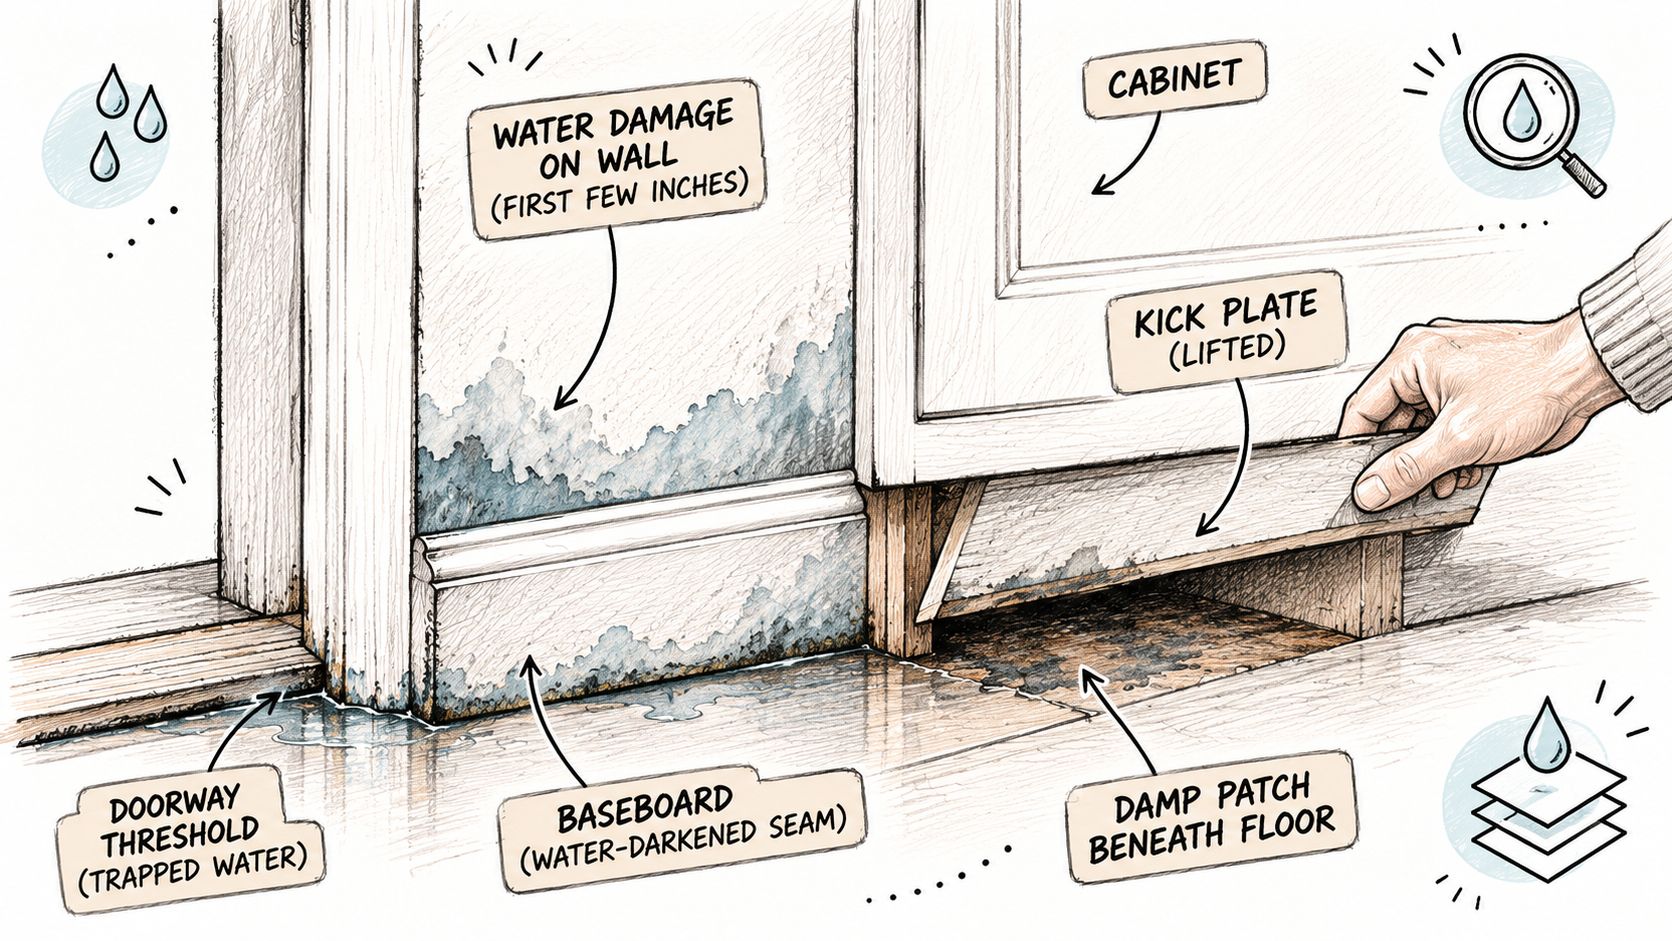
The most misleading result is a floor that feels dry after you've run a fan across it. The finish may be dry while moisture remains in padding, underlayment, adhesive, subfloor joints, or the wall base.
The EPA's flood cleanup infographic notes that complete drying after flooding can take several days to weeks. That's why drying the walking surface and drying the building materials aren't the same task.
Inspect the edges before the center
Begin where the wet area meets walls, doorway transitions, and cabinetry. Look for darkened trim, lifted plank edges, open seams, and staining beneath removable cabinet toe kicks. Lift loose rugs and removable coverings so they can't conceal damp patches.
Check for changes in firmness without forcing or damaging the material. A soft board edge, spongy patch underfoot, or loose tile deserves closer inspection. Don't pry up glued flooring or disturb suspect building materials just to investigate.
Compare readings, not impressions
Use an unaffected area of the same material and construction as your reference. Record the location, meter setting, reading, and time, then return to the same spots during drying.
- Falling readings: Continue controlled drying and confirm that adjacent areas aren't becoming wetter.
- Flat or rising readings: Investigate an ongoing leak, inaccessible moisture, or inadequate drying equipment.
- Conflicting clues: Treat a dry surface with persistent odor or swollen edges as unresolved until assessed.
A basic meter can help identify patterns, but metal fasteners, material density, and measurement depth can complicate interpretation. Professional moisture mapping helps define the affected area when a spot check can't establish where the water traveled.
A dry-looking floor is evidence about its surface, not a certificate for everything underneath it.
In Austin and Georgetown properties, the same visible puddle can involve tile over a slab, engineered wood over underlayment, or carpet over padding. The assembly determines whether drying can happen in place or whether concealed wet layers need exposure.
Drying Timeline and the 24-48 Hour Window
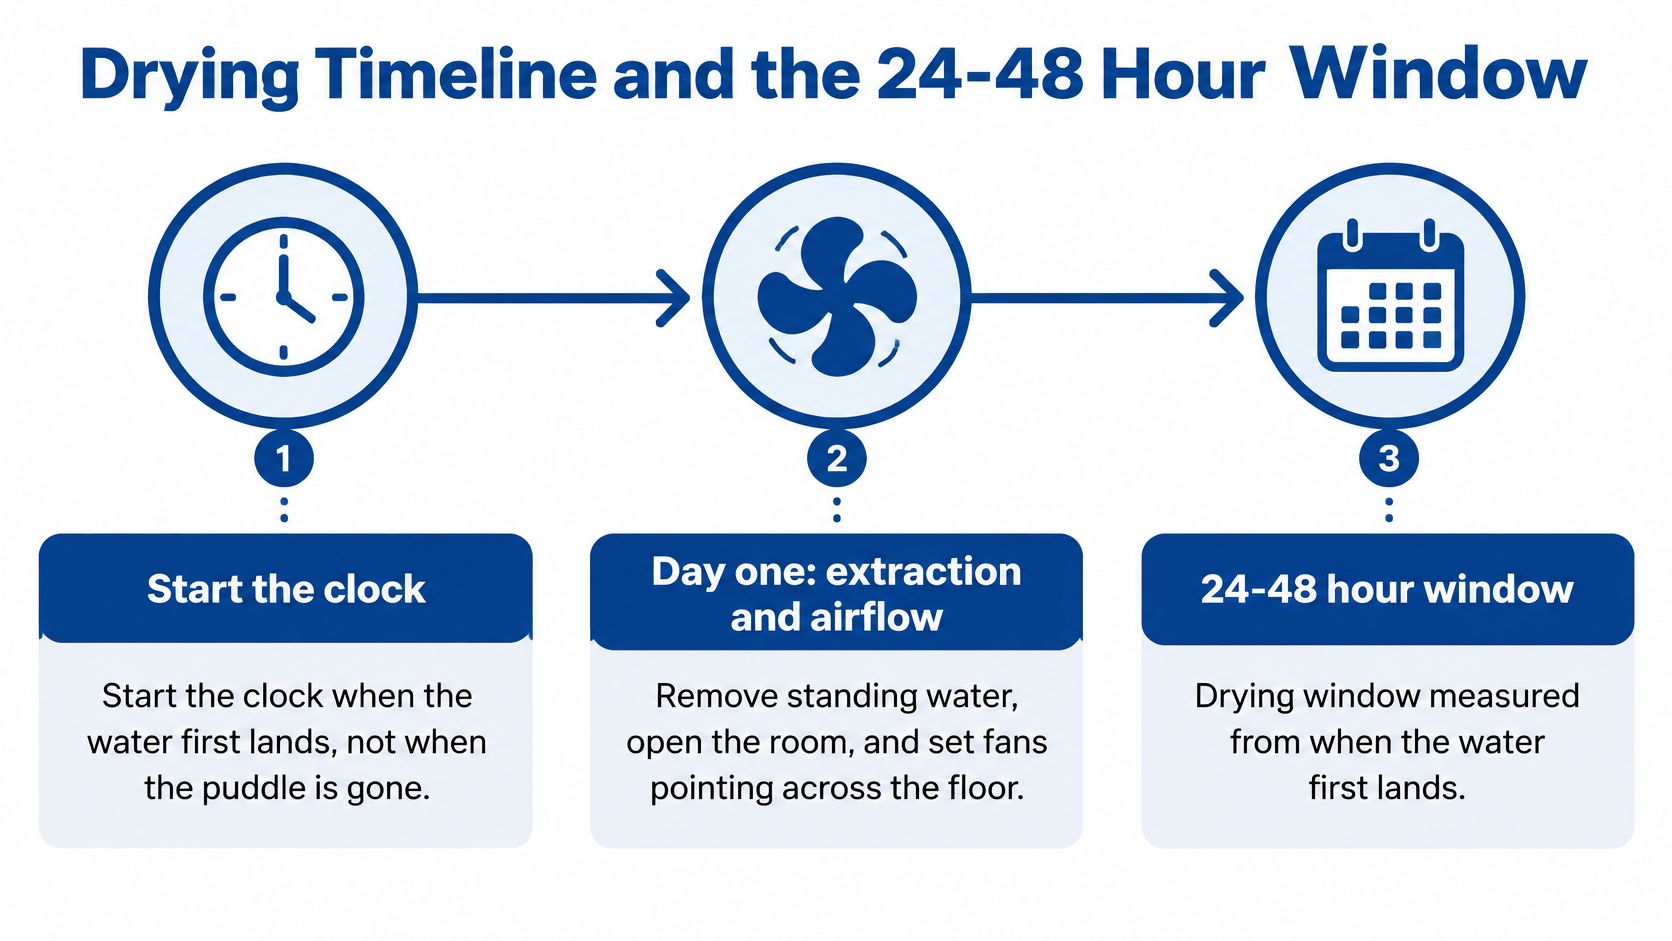
Start the clock when the materials became wet, not when you discovered the leak or finished vacuuming. If the start time is unknown, don't assume the water arrived recently.
The EPA's guide to mold, moisture, and your home recommends drying water-damaged areas and belongings within 24 to 48 hours, explaining that mold won't grow in most cases when wet materials are dried within that period. This is a prevention target, not a guarantee that any particular floor will dry on schedule.
Begin with extraction and a baseline
Remove accessible water immediately, then establish airflow and moisture removal. Record initial readings so you can distinguish genuine improvement from a surface that merely feels less damp.
Don't wait to see whether towels alone will handle water that has entered seams or padding. A small exposed spill may dry readily, while an enclosed floor assembly needs targeted access and equipment.
Use the drying window as a decision point
During the following drying period, check the same locations regularly. If readings stall or rise, change the approach rather than letting the fan run without a plan.
| What you find | What to do |
|---|---|
| Readings approach the unaffected reference | Continue verification before replacing coverings |
| Surface dries but edges remain wet | Investigate the perimeter and concealed layers |
| Odor, swelling, or damp padding persists | Arrange assessment and possible material removal |
| The source starts leaking again | Stop the source before judging drying progress |
There's no reliable rule that every hard floor should be dry by a particular day. Porous materials and concealed spaces can lag behind the exposed surface, and prolonged dampness increases the need for removal rather than another wipe-down.
Moisture control is the objective. A cleaned floor that remains wet underneath hasn't reached it.
When to Stop and Call a Restoration Crew
Sewage, outdoor floodwater, and water from an unknown source are stop signs. So are wet electrical equipment, a sagging ceiling, visible mold, and flooring that feels structurally soft. Don't treat these as larger versions of an ordinary kitchen spill.
Keep people and pets away from contaminated areas. Shut off power only from a safe location, and photograph conditions without entering hazardous water. Gloves, eye protection, and appropriate respiratory protection matter, but protective gear doesn't make an unsafe structure or electrical system safe.
Contaminated materials need more than extraction
The CDC's flood-recovery guidance emphasizes cleaning and drying affected materials and removing porous items that can't be thoroughly cleaned and dried. Contaminated carpet padding and other absorbent layers may need disposal rather than repeated vacuuming.
Hard flooring may be cleanable, but the underlying assembly still needs assessment. Cleaning and disinfection should follow the product label, including compatible surfaces and contact time. Never mix cleaning chemicals.
Don't cover the evidence: Paint, caulk, sealant, and replacement flooring won't correct a wet substrate or an unresolved leak.
Where visible mold is present, containment and qualified remediation take priority over blowing room air across the affected material. Controlled drying requires more than placing a box fan beside the puddle.
Call today when these conditions apply
- The leak won't stop: Water continues entering despite closing the accessible fixture valve.
- Water has reached concealed spaces: Wall bases, cabinet interiors, or the subfloor remain wet or inaccessible.
- The floor changes shape or firmness: Boards swell, seams lift, or walking areas feel soft.
- Drying isn't progressing: Readings remain high, or dampness returns after equipment stops.
- Odors or health concerns persist: A musty or earthy smell returns, or respiratory symptoms improve when you leave the property.
Respiratory symptoms don't establish that mold is the cause. Leave the affected area if it aggravates symptoms, seek medical advice when appropriate, and have the building condition investigated separately.
For a substantial indoor water loss, professional water extraction in Austin addresses both removal and the drying work that follows. Before cleanup, when it's safe, photograph the source, affected rooms, and damaged belongings; keep receipts and a record of actions taken for the insurance claim.
Resolve the source and document uncertainty
At RestoTek TX, we coordinate plumbing repairs with licensed plumbers, ensure the source is resolved, and begin drying and restoration immediately after repairs. That keeps a repaired floor from being exposed to the same unresolved problem.
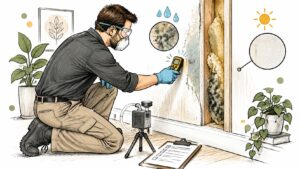
We recommend mold testing when persistent musty odors, recent leaks, past flooding, visible discoloration, or respiratory symptoms that improve outside raise concerns. Testing can help document conditions after water damage, including for insurance purposes; if high mold levels are detected, we guide customers through the next steps, including professional remediation options if required.
A small, known clean-water spill can be a reasonable DIY job when it's fully accessible and dries properly. Stop the water, document the floor, and arrange help promptly if any safety or hidden-moisture warning applies.
RestoTek TX offers water extraction, structural drying, and moisture assessment for wet floors in Austin and Georgetown, with plumbing repair coordination when a leak caused the damage. Visit RestoTek TX to request an assessment if water has reached beneath your flooring or you can't confirm the assembly is drying.