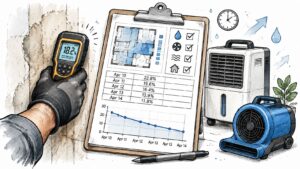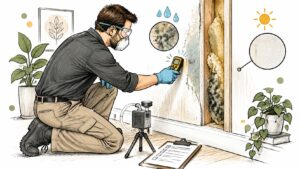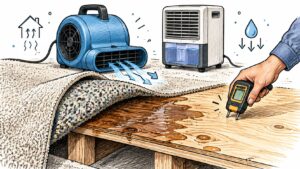
A tidy room can still be too wet to rebuild. Moisture can remain behind cabinets, beneath flooring, or inside wall cavities after exposed surfaces look dry. A water damage drying log is useful only when it connects measurements to those materials and explains why the technician continued drying, changed the setup, or cleared an assembly for the next trade.
What a Water Damage Drying Log Is For
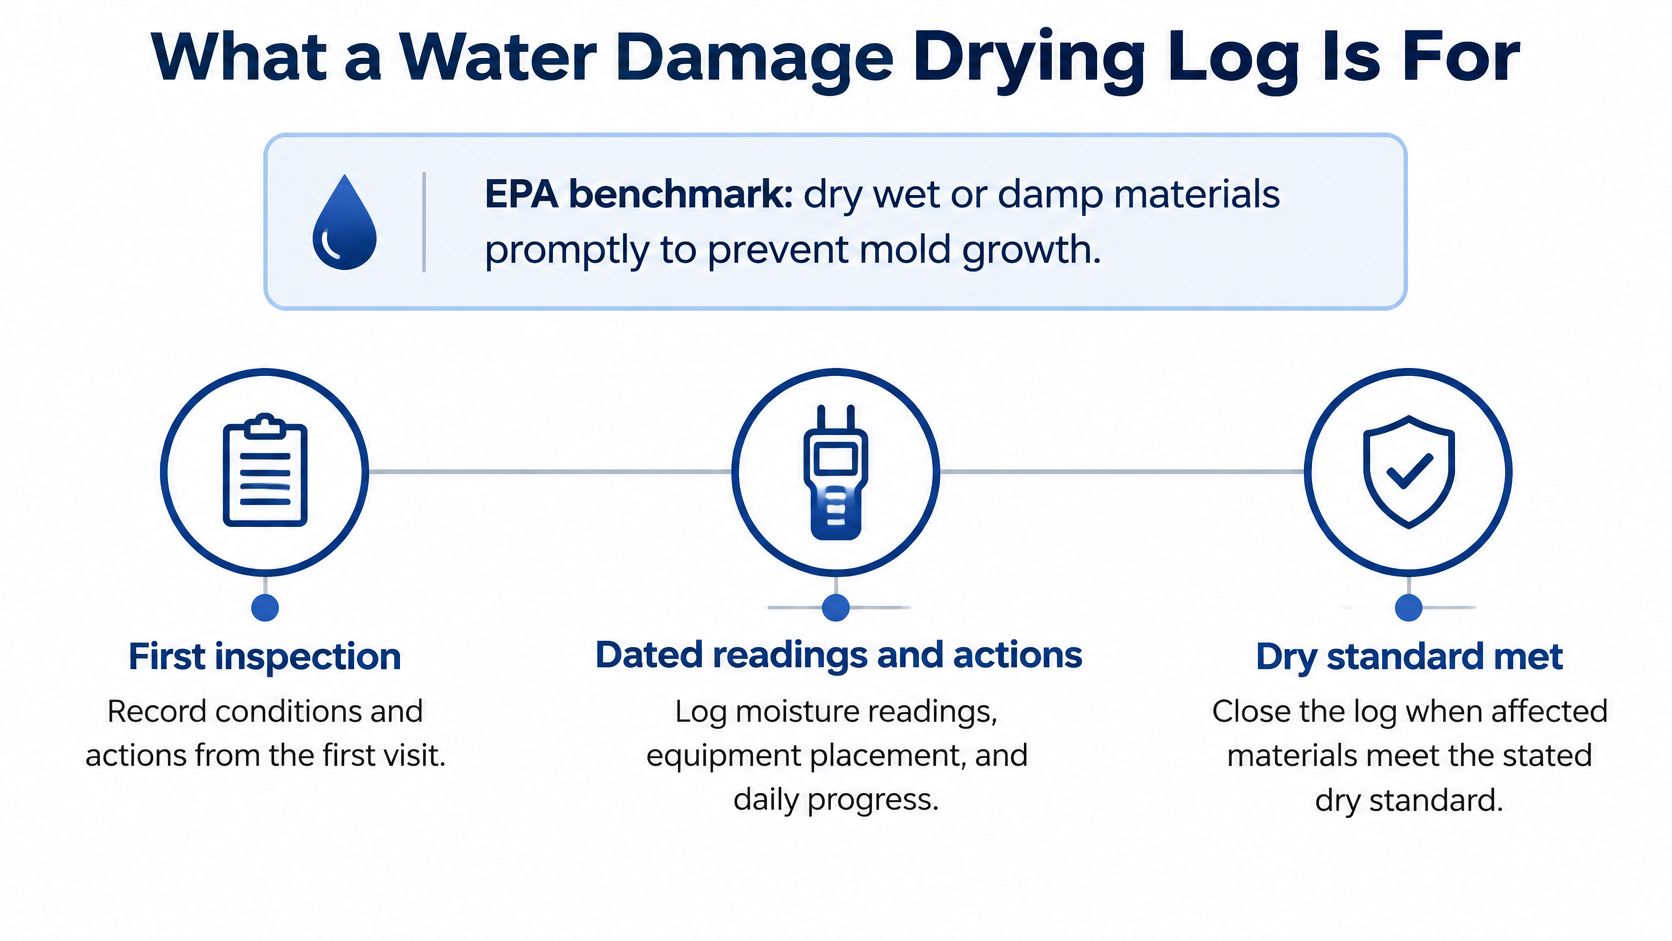
Starting equipment quickly isn't the same as finishing drying quickly. The U.S. Environmental Protection Agency's mold guidance advises drying wet or damp areas and materials within 24–48 hours after a leak or spill because mold won't grow in most cases when drying happens within that window. That makes the record of elapsed time important, not just the date someone removed the fans.
A water damage drying log is a dated record of conditions, measurements, and actions from the first inspection until affected materials meet a stated dry standard. It should begin while the loss is being assessed, before demolition removes evidence of where water traveled.
Say a kitchen supply line leaks into the cabinet base and adjoining wall. The technician needs separate entries for when the owner discovered the loss, when the crew arrived, when extraction began, and when drying equipment started operating. An arrival timestamp alone doesn't establish that active drying began then.
A record for different decisions
The technician uses the log to decide whether the setup is removing moisture from affected assemblies. The owner or property manager uses it to understand progress, access needs, and unresolved areas. An adjuster uses it to reconstruct conditions after drywall, insulation, or flooring is gone.
Those readers need a chronology, not a completion certificate with an unexplained dry checkbox.
Documentation boundary: A drying log supports inspection, cleaning, containment, microbial decisions, and claim review. It doesn't independently establish that a room is safe to rebuild, and it doesn't guarantee insurance coverage.
If drying is delayed, the record should preserve that fact rather than imply the original response solved every concern. Additional inspection or microbial work may be appropriate, depending on the materials and conditions.
Start the field record at the first visit. Preserve what was wet, what was done, and what remained unresolved before anyone closes an opening or replaces a finish.
Fields to Capture on Every Visit
Water damage drying log fields by visit
The entries below are illustrative clipboard examples, not moisture targets or a classification of a particular property.
| Record | When to capture | Why it matters | Example entry |
|---|---|---|---|
| Loss discovery and response times | First visit | Establishes elapsed time before intervention | Owner's discovery time, crew arrival, and extraction start recorded separately |
| Water source | When identified, then updated | Ties the loss to a repair and helps prevent repeat wetting | Supply line under kitchen sink |
| Category and Class | First inspection, revised if scope grows | Records contamination assessment and drying characteristics | Category 2, Class 2, with inspection rationale attached |
| Moisture-map point ID | First visit, same ID every day | Makes readings comparable over time | K-N1, north kitchen wall |
| Material and meter | Every reading | Prevents incompatible scales from being compared | Drywall, pin meter, drywall mode |
| Unaffected reference | First visit, recheck if conditions change | Establishes a material-specific comparison | Hall drywall, same meter and mode, reference recorded |
| Daily material reading | Every monitoring visit | Establishes the trend | K-N1 remains above reference but is falling |
| Temperature, RH, and GPP | Every monitoring visit | Helps assess atmospheric drying conditions | Work-area temperature and RH recorded; indoor GPP falling |
| Equipment count and placement | Setup, each move, removal | Connects environmental change to an action | LGR dehumidifier and air movers identified on room sketch |
| Photos, removals, and dry goal | As they happen, plus final visit | Supports review of scope and completion | Baseboard removed; goal documented against unaffected drywall |
Make each reading traceable
Put the property address, visit date and time, technician name, and claim identifier, if available, at the top of every visit record. A detached page or exported photograph should still be identifiable without relying on its folder name.
For a usable material entry, write something like: kitchen north wall, point K-N1, drywall, pin meter in drywall mode, unaffected hall reference recorded, current reading above reference. Enter the actual displayed values and units on the job form. Don't turn a relative-scale reading into a moisture-content percentage just because the meter displays a number.
Keep the material, meter model, mode, and probe method together. If the technician changes instruments, record the change and establish whether the new readings can be compared with the earlier series.
Use a moisture map to locate those points precisely. A room name isn't enough when one wall contains wet framing, apparently dry drywall, and a concealed cabinet connection.
Keep observations separate from conclusions
The atmosphere block should identify the drying area being measured, not just say indoors. Add an outdoor reading when incoming air or weather may explain changes. Equipment entries should show both location and operating status, since present and running aren't interchangeable.
- Photographs: Tie filenames or captions to the point ID and visit date.
- Removal notes: Identify what disappeared from the assembly and why.
- Drying goals: State the endpoint for each retained material before calling it complete.
An invoice lists charges. Photos show visible conditions. Neither replaces a point-by-point record, and an isolated low reading doesn't establish a reliable trend.
Water Category and Class Entries
Category describes contamination. Class describes the water intrusion and drying characteristics. They answer different questions, so neither should be copied from the other or inferred solely from the room's appearance.
A sanitary supply-line release may begin as clean water. Washing-machine discharge or a toilet overflow containing urine presents different contamination concerns. Sewage and rising outdoor floodwater require a substantially different handling approach.
Write the designation and its basis
Category and Class entries and what to emphasize
| Designation | Plain meaning | Log emphasis |
|---|---|---|
| Category 1 | Water from a sanitary source without substantial contamination | Source, timing, contacted materials, and evidence supporting the assessment |
| Category 2 | Water with significant contamination, often called gray water | Source, affected contents, exposure conditions, and cleaning limits |
| Category 3 | Grossly contaminated water, including sewage or rising floodwater | Contamination assessment, removal decisions, and safety limits |
| Category upgrade | Conditions justify a more contaminated classification | Time of reassessment, changed conditions, and reason |
| Class 1 | Limited water intrusion with relatively little absorption | Defined affected area, representative points, and verified progress |
| Class 2 | More extensive absorption into affected materials | Room map, wall and flooring points, and extraction notes |
| Class 3 | Extensive wetting with a high evaporation load | Overhead assemblies, cavities, and equipment response |
| Class 4 | Water held in dense or low-permeance materials requiring specialty drying | Material-specific methods, concealed conditions, and a potentially slower curve |
Water doesn't remain clean merely because it started in a supply pipe. Contact with contaminants and deterioration of conditions can change the assessment. Record the reason for an upgrade rather than applying an automatic clock-based rule.
Class also needs a written explanation. A higher designation doesn't, by itself, authorize a fixed equipment duration. The technician still has to connect the affected assemblies, atmospheric conditions, and material readings to the drying plan.
Apply the assessment to the building
Consider a Central Texas bathroom supplied by a broken water line. The initial inspection might document Category 1 water and Class 2 wetting, supported by the source and affected materials. If the drywall improves while moisture remains within a mortar bed or concrete assembly, add specialty-drying notes and reassess the plan.
The useful change isn't merely another label. It's a revised record identifying the dense material, the test method, the access limitation, and the evidence needed before proceeding.
For higher contamination categories, explain salvage and cleaning restrictions. For extensive or specialty drying, increase the detail of monitoring rather than assuming more equipment days will solve an inaccessible wet assembly.
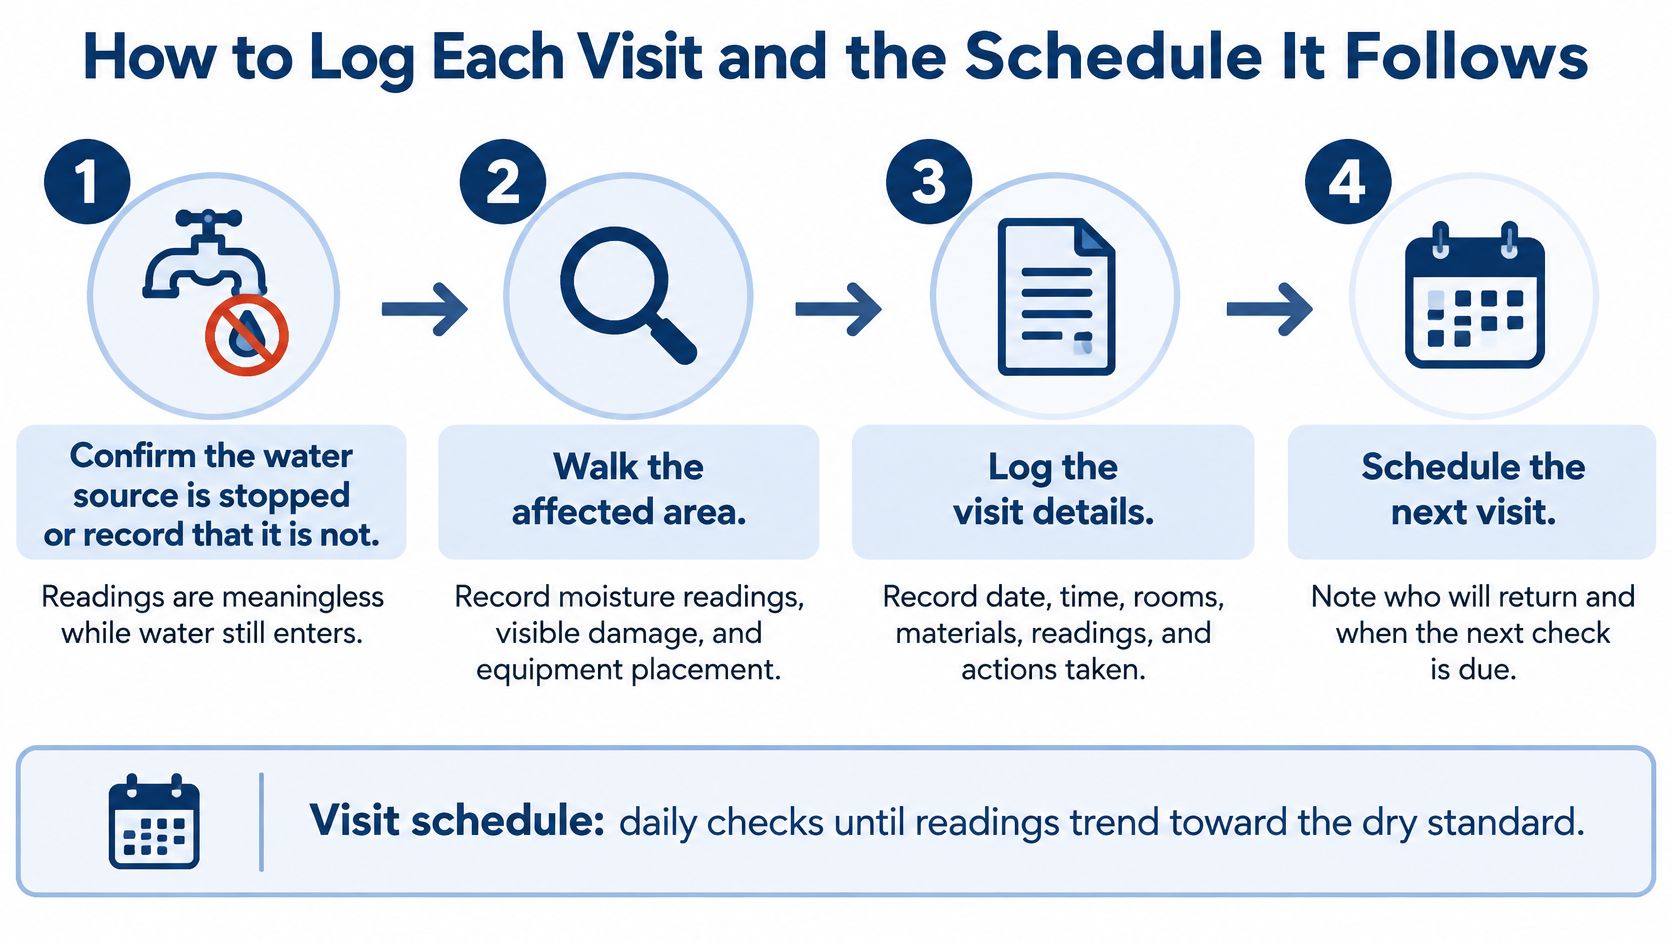
How to Log Each Visit and the Schedule It Follows
A repeatable route through the building produces a more useful log than a fresh search for the wettest spot on every visit. Advanced DRI's explanation of IICRC-aligned documentation identifies fixed monitoring points, unaffected references, daily material and atmospheric readings, equipment records, photographs, and final drying verification as core documentation elements.
Use the same monitoring routine
Begin by confirming the source status. If water is still entering, measurements remain useful for mapping the loss, but they can't establish the performance of an uninterrupted drying period. At RestoTek TX, we coordinate plumbing repairs with licensed plumbers, ensure the source is resolved, and begin drying and restoration immediately after repairs.
Then follow a consistent field routine:
- Read the mapped points: Walk them in the same order, recording material, instrument, mode, depth where relevant, and displayed result.
- Check the reference: Recheck unaffected material where changing conditions could affect the comparison.
- Measure the air: Record temperature, relative humidity, and GPP in each relevant drying area.
- Verify equipment: Identify what's running, switched off, moved, added, or removed.
- Photograph changes: Capture openings, removals, equipment moves, and readings that explain a decision.
- Write the decision: State whether the plan continues or changes, and why.
Don't replace yesterday's point with a wetter location discovered today. Keep the original point and add a new ID. Otherwise, a reader can't tell whether the building became wetter or the technician measured somewhere else.
Fit the routine to the visit
Drying-log timing from first visit to sign-off
| When | Capture now | Decision it supports |
|---|---|---|
| Discovery and first visit | Times, source if known, Category, Class, map, references, extraction, initial equipment | Whether intervention began promptly and the scope is defined |
| Next-day check | Same points, air readings, equipment running or not | Whether the setup is drying the affected assembly |
| Each later day | Trends, moves, removals, and explanations for stalls or increases | Whether to add, move, or retain equipment |
| After a new wet area is found | New point IDs and revised scope or Class if appropriate | Whether the original assessment missed an affected area |
| Final verification | Goal comparison, air conditions, equipment-removal time, photos | Whether retained materials have reached their documented endpoints |
The first visit establishes the baseline before equipment changes the conditions. Record extraction and equipment placement separately, including any delay caused by power, access, or unresolved repairs.
The next-day check is an opportunity to correct the setup. Verify that air reaches the intended surfaces, dehumidifiers are operating, and the drying area hasn't been opened to humid outside air. A technician shouldn't merely copy equipment counts from the previous entry.
Later visits repeat the measurements even when progress seems predictable. Record missing access as missing access, not as an assumed reading. When a material is removed, close its point with a removal note instead of letting it vanish from the record.
Explain the intervention behind the trend
Say the kitchen wall point falls after overnight dehumidification, but the cabinet-base point remains high. The technician opens the wet toe-kick, adjusts airflow, and records the work. At the following visit, the concealed point begins falling too.
That sequence supports a practical decision: the air treatment was helping, but the cabinet assembly needed access. Without the action note, the later improvement has no documented explanation.
A pin meter used in wood isn't interchangeable with a pinless concrete scan. Even readings from the same meter may be incomparable if its material mode changes. Repeatability depends on technique as well as location.
Keep searching for hidden moisture, but don't move the measuring point to make the trend look better.
Treat the early mold-prevention milestone as a timing checkpoint, not an automatic completion deadline. At the final visit, write that the identified materials reached their documented drying goals, then record equipment removal.
A compact verification block makes unresolved points visible:
- Point ID: Location linked to the map.
- Material: Retained assembly being evaluated.
- Reference: Unaffected comparison and written goal.
- Recent readings: The recorded series, with dates and meter details.
- Status: Pass, still drying, removed, or requiring further investigation.
Reading the Air Side of the Log
Grains per pound, or GPP, describes the mass of water vapor relative to the mass of dry air. Relative humidity describes how close the air is to saturation at its current temperature. Heating air can lower RH without removing water, which is why an RH improvement alone doesn't demonstrate dehumidification.
Read indoor GPP alongside outdoor GPP and the operating record. Outdoor air with a greater moisture load can undermine a controlled drying area when doors, windows, or ventilation paths allow it inside.
Compare air progress with material progress
In the kitchen scenario, falling indoor GPP accompanied by falling drywall readings supports the conclusion that the setup is drying both the air and the material. The technician should still check concealed assemblies rather than extend that conclusion to every surface in the room.
Split signals deserve investigation:
- Air improves, material stalls: Check for inaccessible moisture, vapor-resistant layers, wet insulation, cabinet cavities, or an unresolved source.
- Air stays wet, materials stall: Check dehumidifier operation, capacity, drainage, outside-air entry, and the continuing evaporation load.
- RH falls while GPP doesn't: Check whether increased temperature explains the apparent improvement.
A stalled point isn't automatic proof that the dehumidifier is undersized. The problem could be an assembly the dry air can't reach. Likewise, a rising indoor GPP reading doesn't identify an outdoor-air leak without supporting observations.
Watch cold surfaces
Dew point is the temperature at which air becomes saturated and condensation can form. If a surface is colder than the surrounding air's dew point, moving that air across it can produce surface moisture.
Cold concrete therefore needs more than an air mover pointed at it. Check surface conditions, the air's dew point, and whether the drying method fits the assembly.
Air-side verdict: The record should establish that the air was being dried and that affected materials were responding.
That verdict requires both sets of measurements. Favorable room air alone doesn't clear a wet floor, and a falling material point doesn't excuse unexplained atmospheric conditions elsewhere in the drying area.
How to Tell Dry From Only Looking Dry
Can flooring go back? Why is equipment still here when the room looks normal? Does a low pinless reading prove the cavity behind the wall is dry? Each question needs an assembly-specific answer.
CDG's guidance on how adjusters evaluate water-damage claims emphasizes material readings, reference conditions, and documentation supporting completion. The practical pass rule is a repeatable trend reaching the written material-specific goal, not a clean-looking room or an isolated low result.
Match the method to the material
What a moisture reading proves by material
| Material | Usual check | Passes when | Does not prove |
|---|---|---|---|
| Drywall | Pin or pinless reading at a marked face point | Repeated readings reach the documented drywall goal | That concealed insulation or the cavity is dry |
| Wood framing or subfloor | Pin meter with appropriate settings and consistent depth | Moisture content meets the goal established against comparable unaffected wood | That another material's reading uses the same scale |
| Concrete, mortar, plaster, or stone | Material-appropriate comparative scan or specified in-situ test | The relevant method meets its documented endpoint | Absolute moisture content from a wood-scale percentage |
| Carpet and cushion | Surface checks plus underside access or removal inspection | Retained assembly meets its goal and contamination assessment permits salvage | That a dry surface means clean or dry cushion |
| Cabinetry and toe-kicks | Measurements inside concealed areas | Concealed retained materials meet their goals | That an exposed wall reading represents the cabinet base |
Wood readings may require species and temperature considerations. A comparative drywall scale shouldn't be treated as an absolute percentage of water in the sheet. Our explanation of moisture meter readings helps distinguish those displays before they enter a completion decision.
Concrete needs particular care before flooring installation. A restoration scan can help locate wet areas, but the flooring system may require a specific substrate test and acceptance criterion. Matching a nearby scan isn't a substitute for that installation requirement.
Resolve conflicting results before reconstruction
Consider a living room where the drywall has reached its reference but the subfloor remains substantially above comparable unaffected wood. That's a partial pass, not a room-wide release. Continue appropriate drying or investigation at the floor, and defer installation over that unresolved assembly.
A stronger completion record shows repeated readings at the written goals, suitable air conditions, and a final verification note before equipment removal. The note should identify the assemblies checked rather than declare the entire property dry.
Meeting a drying goal supports reconstruction sequencing. It isn't a mold test, a structural assessment, or an insurance coverage decision. Where concealed conditions remain uncertain, record that limitation and resolve it before closing the assembly.
Exceptions That Change the Drying Curve
An adjuster or property manager reviewing extra equipment time needs to know what interrupted progress, not just that readings stayed high. Water Mitigation Hub's drying-log guidance highlights equipment failures, power interruptions, access limits, newly discovered moisture, and changes in conditions as important context for the record.
Record the interruption, not an excuse
A useful exception entry identifies the start and end time, the person reporting or authorizing the change, the affected equipment and point IDs, and the corrective action. If the duration isn't known, say so. Don't manufacture a precise interval after the fact.
Capture exceptions such as:
- Power loss: Outage, tripped breaker, or disconnected equipment.
- Equipment failure: Fault observed, unit affected, and replacement or repair.
- Occupant shutdown: Reason, known duration, and communication about consequences.
- Restricted access: Locked rooms, security restrictions, pets, or unavailable occupants.
- Scope change: Newly discovered wet materials or additional openings.
- Environmental change: Rain, outside-air entry, or changed indoor operating conditions.
Record whether the event extended drying or changed the plan. Added equipment time needs a connection to conditions, not an unsupported statement that weather caused a delay.
Compare a documented spike with an unexplained stall
Consider a hypothetical Austin-area storm during drying. Outdoor GPP rises, indoor GPP also increases, and a mapped concrete point reads higher. The technician checks incoming-air paths and equipment performance, changes the setup, and documents that the following readings fall.
That record supports a causal explanation, provided the observations and timestamps align. Weather alone doesn't establish why the concrete reading changed.
Now consider equipment unplugged for a gathering, with no shutdown entry. The next visit shows little improvement, but nobody can establish how long the machines were off. The extra time may be real, yet the file can't clearly separate necessary drying from an undocumented interruption.
A useful exception note lets a stranger identify what happened, how long it lasted, and which readings it helps explain.
Separate plumbing work from the effective drying interval too. If a leak remains active or repair work exposes additional wet material, identify those conditions explicitly. Central Texas heat and storm conditions belong in the record when they affect measured indoor conditions, not as a generic explanation added to every job.
Records That Belong With the Log
A drying log should travel with the records needed to interpret it. That matters when a plumber stops the leak, a mitigation crew dries the structure, and another contractor handles reconstruction.
The moisture map explains point IDs and affected boundaries. Equipment sketches or placement photos explain where air movement and dehumidification were applied. The photo set should preserve initial conditions, opened cavities, material removals, and final checks using the same location identifiers as the log.
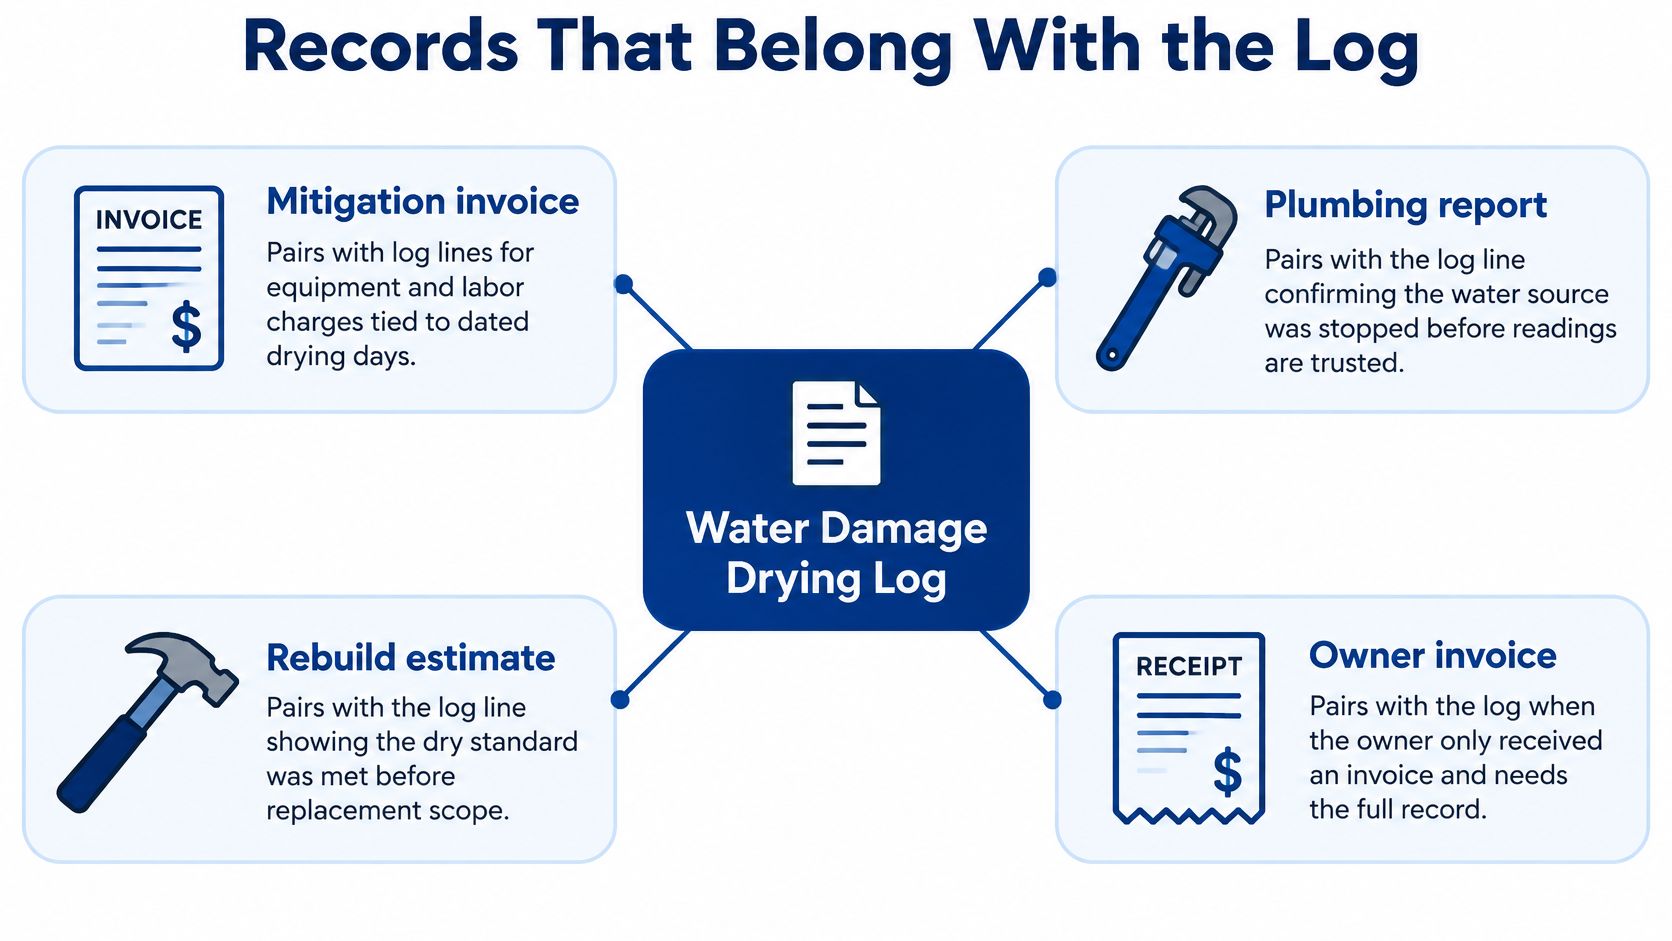
Pair each document with the entry it explains
| Companion record | Log entry it supports |
|---|---|
| Plumbing or leak-detection report | Source identification and confirmation that water entry stopped |
| Equipment-placement sketch | Setup, movement, and room-specific atmospheric changes |
| Removal and disposal notes | Closure of points where affected materials were removed |
| Dated photo index | Observed conditions, access openings, and final verification |
| Microbial inspection or testing report | Separate concerns involving growth, odors, or contamination |
| Estimate and invoice | Scope, labor, and equipment charges associated with dated work |
| Reconstruction requirements | Additional checks needed before finishes are installed |
A deleted monitoring point needs an explanation. If wet drywall was removed, the file should show that removal rather than imply the drywall reached its goal. Replacement material and exposed framing should be identified separately where further monitoring is needed.
Cross-check the handoff
Compare billed equipment days with setup, operating, and removal entries. Confirm that removed materials have supporting photographs and that the final page identifies which retained assemblies met which goals.
Microbial records deserve their own place in the package. A musty odor, visible discoloration, or testing result can require further assessment even after selected materials meet drying goals. Testing documents conditions; it doesn't remove mold or dry the building.
For a landlord, owner, or incoming reconstruction contractor, a consolidated PDF or export is easier to review than scattered messages. Keep technician names, timestamps, meter details, exception notes, and supporting files together. Preserve the original records as well, particularly if the exported package compresses photographs or omits attachments.
Submit the Log With the Claim File
Request the complete drying packet, not only the invoice. Send it with the claim number and ask the insurer how the assigned adjuster wants documents uploaded or delivered. Keep the submitted version and any later supplements identifiable so reviewers aren't comparing conflicting copies.
Before sending, review the file for unresolved decisions:
- Chronology: Discovery, response, extraction, source repair, and equipment operation are distinguishable.
- Scope: Category, Class, affected rooms, and later additions have an explanation.
- Completion: Retained affected assemblies have a documented endpoint or remain clearly open.
- Additional time: Interruptions and extended equipment use have supporting notes.
- Handoff: Reconstruction limitations and separate microbial concerns are visible.
Keep claim review separate from building decisions
The packet helps the adjuster evaluate the loss and drying duration. It doesn't determine coverage, deductibles, or payment. RestoTek TX has experience working alongside insurance claims, and our insurance claim process guidance explains how restoration documentation fits that work.
Don't close a wall or reinstall flooring merely because the claim packet has been submitted. If readings conflict, resolve the affected assembly's open points first. If odors, discoloration, or health symptoms remain, address microbial assessment separately from the dry-standard decision, and seek medical advice for health concerns.
Ask for the record at the first visit
For Georgetown, Austin, and nearby Central Texas properties, documentation is easier to preserve while work is happening than to reconstruct after demolition. We work customers through the restoration process, including losses involving a line backup or sink overflow, and provide structural drying services in Austin.
Tell the project lead at the first visit that you want the moisture map, daily readings, equipment record, indexed photographs, exception notes, and final dry-standard page. Keep a copy for any contractor who later handles reconstruction. The handoff should leave that contractor with clear building conditions, not a guess based on an empty room.
RestoTek TX offers water-damage assessment, structural drying, plumbing coordination, and reconstruction for properties in Georgetown, Austin, and surrounding Central Texas communities. Visit RestoTek TX to discuss your loss and ask how moisture readings, equipment records, and final drying verification will support your next steps.