You've just found water running from a dishwasher, supply line, or overflowing sink across the hardwood. The surface may look manageable after a quick pass with towels, but water can remain inside the boards, beneath the flooring, and in the subfloor long after the visible sheen disappears. In Central Texas, indoor humidity can also slow the final stage of drying, making a floor look ready before its moisture readings have stabilized.
The safest answer to how to dry hardwood floors isn't “turn on the biggest fan.” It's a controlled sequence: stop the source, remove water, create measured airflow, dehumidify the space, and verify the drying curve with moisture meters. That approach protects the wood from the secondary damage caused by excessive heat, premature sanding, and uneven evaporation.
What Happens When Hardwood Floors Get Wet
A dishwasher overflow in a Georgetown home can look minor at first. Water spreads under rugs, reaches the edges of boards, and works downward through joints and finish breaks. The homeowner wipes the surface, runs a fan, and sees a dry-looking floor by the next morning. Underneath, the board and subfloor may still be holding moisture.
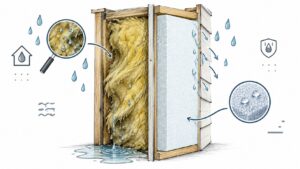
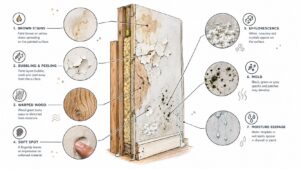
Hardwood is hygroscopic, so it exchanges moisture with the surrounding environment. As boards absorb water, they swell. Uneven absorption can lift the edges into a cupped shape, while later drying conditions can create crowning, where the center rises above the edges. Severe saturation can also produce buckling, finish damage, staining, or pressure between boards.
Practical rule: A dry-looking finish is an observation, not a clearance decision.
Timing matters because damp building materials create conditions where microbial growth can become a concern. The EPA's commonly cited guidance is to dry water-damaged materials within 24 to 48 hours whenever possible, as summarized in this hardwood drying timeline and water-damage guide. Light surface moisture may take roughly 24 to 48 hours to address, while more serious hardwood saturation can require 7 to 14 days, and severe events may take several weeks, according to the same industry reference.
The floor's appearance often changes before its internal moisture equalizes. Cupping may remain temporarily, then improve as the board dries from different directions. Sanding during that unstable period can remove material from a board that later changes shape again.
A homeowner may safely handle a small, clean spill when the source is stopped, no electrical hazard exists, and water hasn't migrated under large areas of flooring or into walls. Call for professional help when water has reached the subfloor, cabinets, walls, or insulation, when readings remain high, or when the source involves contaminated backup water. The workflow below gives you a controlled way to stabilize the floor without turning a manageable loss into permanent deformation.
Immediate Actions to Protect Your Hardwood Floors
Speed matters, but rushing the wrong action can spread water or create uneven drying. Work in this order.
-
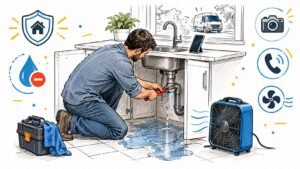
Stop the source. Close the fixture shutoff or main water supply if necessary. Don't begin with fans while water is still entering the room.
-
Make the area electrically safe. Keep cords, fans, and dehumidifiers away from standing water. If water has reached outlets, power strips, appliances, or electrical equipment, leave the area and have the electrical hazard assessed.
-
Remove surface water. Use towels, a mop, or a wet/dry vacuum rated for water removal. Extraction is more useful than repeated wiping because it removes water from joints and low areas instead of redistributing it.
-
Clear trapped coverings. Roll up rugs, runners, mats, and damp furniture pads. Wet fabric holds moisture against the finish and can transfer dye or rust from furniture feet.
-
Lift or move contents carefully. Carry furniture when possible. Dragging it can scratch swollen boards and push water into seams. Place protective material under clean, dry furniture only after the wet area has been addressed.
-
Expose the floor perimeter. Remove loose items near baseboards and floor vents. Don't pry trim or flooring unless you understand what lies behind it, because unnecessary removal can damage finishes and conceal the original water path.
-
Protect unaffected rooms. Keep foot traffic limited, and avoid spreading wet towels or equipment through dry areas. Close doors strategically once controlled drying equipment is operating.
For immediate household safety steps after a leak or overflow, use this guide to what to do immediately after water damage in your Central Texas home.
Don't turn up the thermostat or aim a high-output heater at the boards. Direct heat can dry the finish and upper wood faster than the core, increasing stress across the board. The immediate objective is a stable, accessible floor ready for measured extraction and gradual evaporation.
How to Set Up Proper Drying Equipment and Airflow
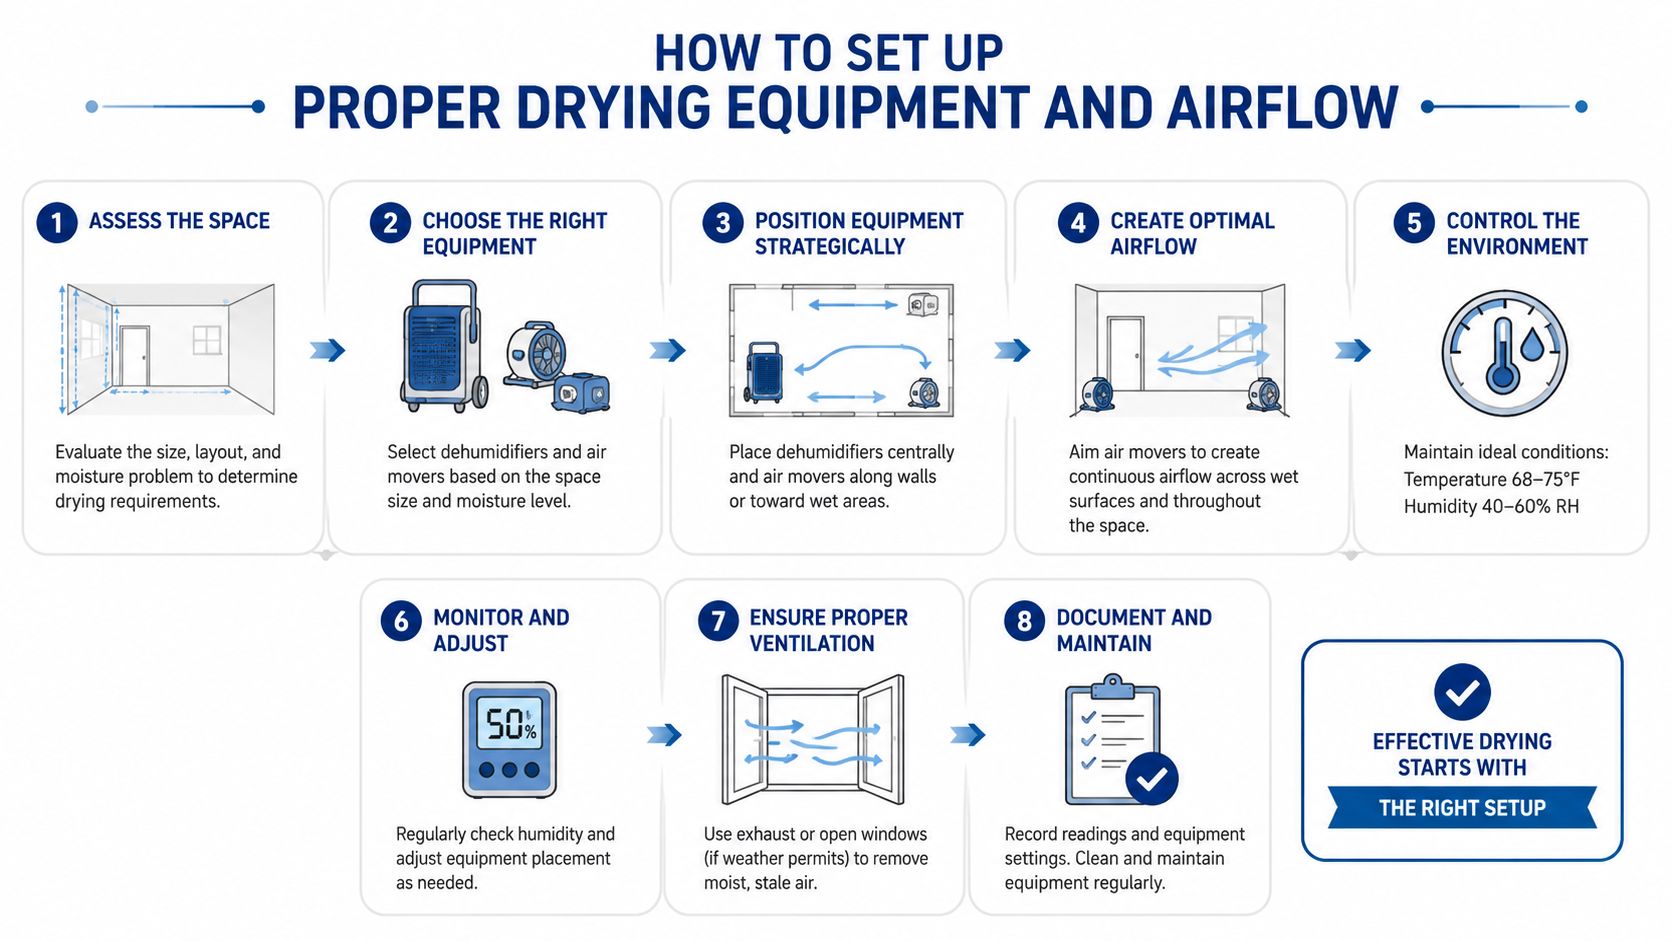
Once standing water is gone, drying becomes an equipment and control problem. Fans alone move moisture into the air, but they don't remove that moisture from the room. A dehumidifier without air movement may also leave damp pockets around board edges and beneath furniture.
Start with extraction, not evaporation
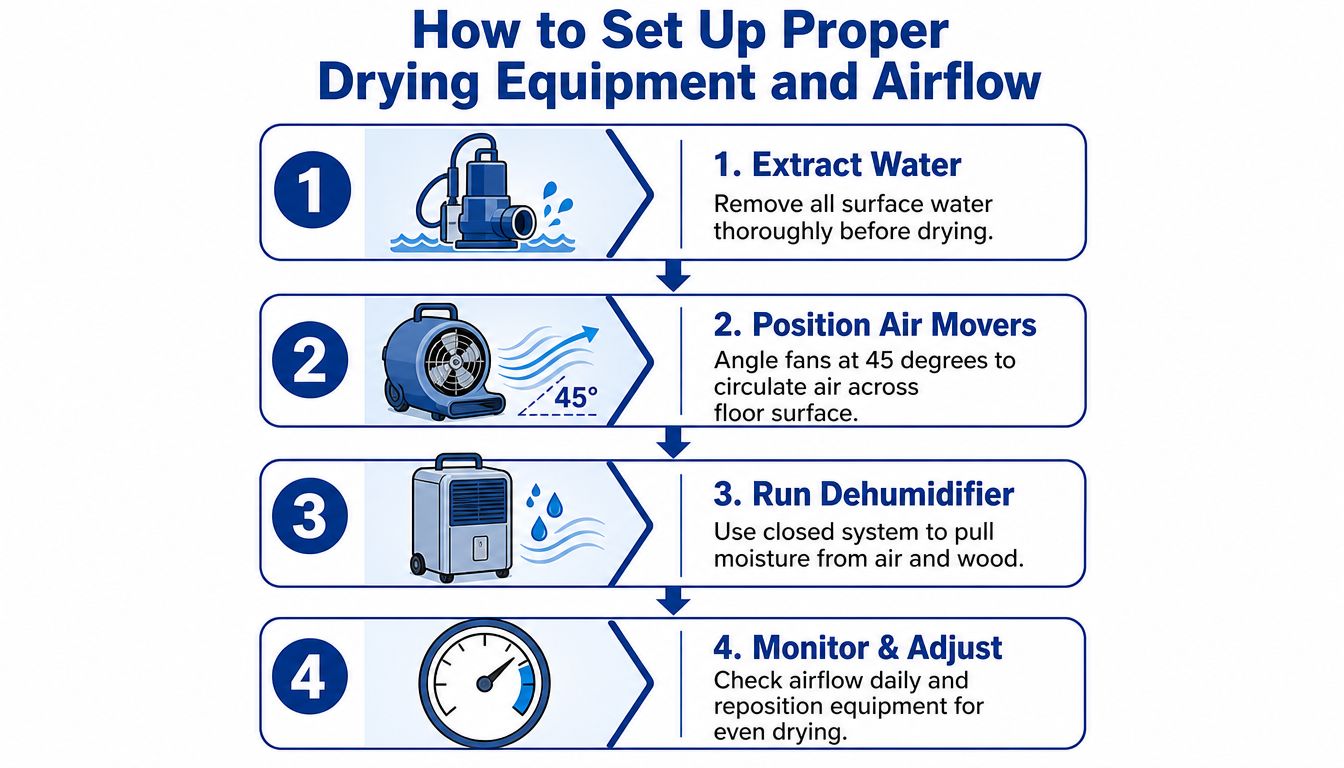
For serious saturation, restoration guidance recommends floor extraction mats with a tight seal connected to a truckmount or portable extractor. Run the mat system in 15 to 30 minute intervals before transitioning to dehumidification and air movement, as described in this hardwood floor water-mitigation procedure.
The mat creates suction across a defined section of flooring. It's more controlled than placing a fan over a cupped board, and it helps remove moisture before the room's drying equipment has to handle it.
Build a controlled drying chamber
After extraction, position air movers so air travels across the floor surface rather than blasting one small area. Angling the airflow across the boards encourages even evaporation and helps prevent a dry strip beside a fan with wetter wood farther away.
Use LGR or desiccant dehumidifiers to pull evaporated moisture from the air. Keep the drying area as enclosed as practical, with doors and openings managed so the equipment can condition the affected space instead of constantly processing humid outdoor air. In Central Texas, opening windows during a humid weather event can work against the dehumidifier.
A practical setup includes:
- Extraction mats: Seal them tightly and move them methodically across affected sections.
- Air movers: Angle them across the surface, repositioning as needed to avoid isolated drying.
- Dehumidifiers: Select equipment appropriate to the affected volume and keep the drying chamber controlled.
- Documentation: Record equipment placement and moisture readings so you can see whether the curve is improving.
This isn't a race to make the surface feel dry. Gradual airflow reduces the chance of over-drying the top layer while the interior remains swollen. Guidance on structural drying in Central Texas after water intrusion also emphasizes coordinated air movement and dehumidification rather than a single piece of equipment doing all the work.
How to Monitor Moisture and Know When Floors Are Dry
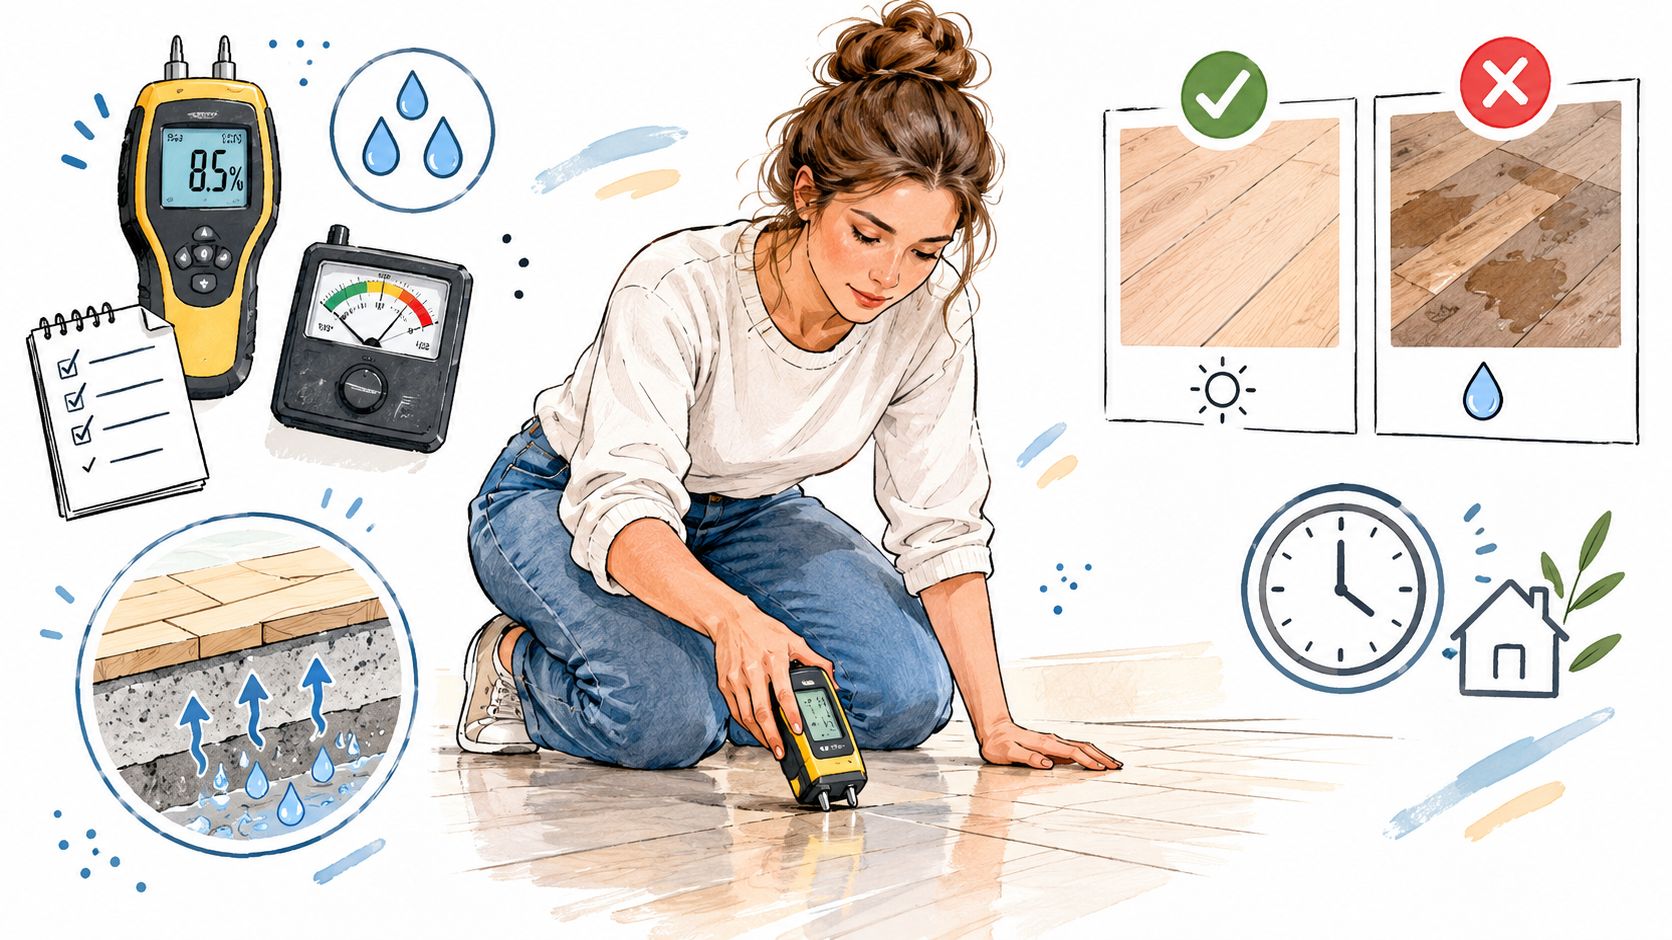
A floor can look dry by evening and still be too wet to sand or refinish. Surface appearance shows cupping, staining, or finish changes, but it cannot confirm whether the board core or subfloor has reached a stable condition. Moisture meters provide that verification.
A non-invasive meter scans without putting holes in the finish. It helps map larger areas and locate moisture boundaries. For a closer explanation of how readings work, see this moisture meter reading guide. A pin meter measures at the probe location and gives more direct information at selected points, although the pins can leave small marks. Choose based on the finish, board construction, access, and documentation needed.
Track a drying curve
Take readings at least every 24 hours. Use the same locations or a documented grid so each reading can be compared with the last one. Check unaffected flooring in the same home as a reference for normal conditions. Log the room, board location, meter type, reading, date, and indoor conditions.
The pattern matters more than one low reading. A steady decline shows that drying is progressing. A stalled or reversing reading can indicate trapped moisture, changing indoor humidity, or a wetter subfloor beneath an apparently dry surface.
For indoor hardwood, commonly cited targets fall around 6% to 9% moisture content, with drier climates often closer to 6% and humid climates closer to 9%, according to this wood moisture content guidance. Some flooring references use 6% to 8% as a practical benchmark for kiln-dried hardwood delivered or acclimated for indoor use. Use these ranges as regional guidance, not as an automatic release number for every species, floor, or subfloor.
Account for Texas humidity
Central Texas humidity can slow the drying curve and make readings appear stuck. Indoor relative humidity and equilibrium moisture content affect how wood behaves, so a floor may look improved while moisture remains in the boards or subfloor. It can also swell again when indoor conditions become more humid.
Check multiple quadrants, edges, seams, and board locations, then compare affected flooring with unaffected areas. The floor and subfloor should be reasonably close in moisture condition before repairs proceed. Photograph final readings and repeat checks over time instead of relying on one inspection. This wood moisture content reference tool provides more detail on wood moisture and environmental conditions.
Do not sand, coat, or refinish until readings have stabilized and the wood has had time to equalize with the home. The drying curve, supported by repeat measurements, determines readiness more reliably than the calendar.
Common Mistakes That Damage Hardwood Floors While Drying
The most damaging drying setup is often the one that feels fastest. A powerful fan, a space heater, and a single meter reading can make the surface seem ready while moisture remains deeper in the assembly.
Mistake one, using aggressive heat
Heat accelerates evaporation at the surface. If the board core and underside release moisture more slowly, the upper layer can shrink first. Aggressive airflow or heat may over-dry the surface and increase splitting or checking, which is why gradual airflow and daily verification are preferred in this hardwood moisture guidance.
Use air movement across the floor with dehumidification instead. Adjust equipment when one area is drying much faster than surrounding boards.
Mistake two, sanding a cupped floor too early
Cupping can tempt homeowners to sand immediately. That's risky because the board may still be drying internally. If the surface dries faster than the core, premature sanding can contribute to crowning as the remaining moisture moves through the wood.
Wait for stable readings and environmental equalization before deciding whether sanding is necessary. A board that looks uneven today may change as its moisture profile settles.
Mistake three, checking one convenient spot
One reading near the doorway can't represent a room with wet edges, seams, cabinets, and different board locations. Water migration is rarely perfectly uniform.
Map the room instead:
- Sample boundaries: Check visibly affected areas and transition points into unaffected flooring.
- Compare locations: Include board centers, edges, and areas near walls or fixtures where access allows.
- Log the change: Look for a consistent downward trend, not just one acceptable result.
- Recheck after equipment removal: A later change can reveal that the assembly wasn't stable.
Mistake four, ignoring indoor conditions
A floor can dry from standing-water exposure and still remain unstable in a humid home. Keep the environment controlled, watch for stalled readings, and investigate the subfloor when the surface refuses to settle. The correct process is slower than panic drying, but it avoids turning temporary cupping into permanent repair work.
When to Call a Professional Restoration Team in Central Texas
DIY drying becomes a poor trade-off when you can't identify the full water path or verify the result. Persistent readings, moisture in the subfloor or walls, musty odors, widespread cupping, and water under cabinets are all reasons to escalate. Contaminated backup water and any electrical concern also require professional judgment rather than household cleanup.
A restoration team adds more than larger fans. Technicians can map moisture across defined areas, extract water with appropriate equipment, control evaporation with air movers and dehumidifiers, check hidden assemblies, and document the readings needed to guide repair decisions. They can also coordinate leak detection, microbial prevention, deodorization, and reconstruction when drying alone won't resolve the damage.
For Georgetown and Austin homeowners, RestoTek TX provides inspection and assessment, water extraction, structural drying, leak detection, microbial prevention, and reconstruction, with 24/7 response and family-operated guidance from Joan and Josh Garza. The practical advantage of an end-to-end provider is continuity, the same loss can be assessed, stabilized, dried, and repaired without treating each stage as an unrelated problem.
Ask for help when the drying curve stalls, not only when the boards buckle. Early instrumented assessment gives you better information about what can be dried, what needs removal, and whether refinishing should wait.
RestoTek TX can inspect the affected area, extract water, dry the hardwood and subfloor with controlled equipment, and coordinate repairs when needed. Visit RestoTek TX to request a no-cost estimate and get guidance for water-damaged flooring in Georgetown, Austin, or nearby Central Texas communities.