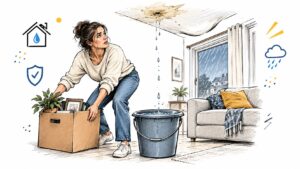
Rain is tapping against your Georgetown home when you notice water dripping beside a ceiling light. You reach for a bucket, then spot a bulge in the drywall. If you're searching “leak in roof what to do,” start by stepping back, not climbing up. Your priorities are to protect people, contain water safely, and preserve a clear record while you arrange source control and drying.
Act Safely During an Active Roof Leak
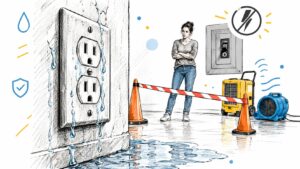
A wet ceiling near electricity is a safety problem before it's a cleanup problem. Move people and pets out of the affected room. Don't reach for the light switch, touch the fixture, or stand beneath a sagging section to inspect it.
FEMA's guidance on cleaning and making repairs calls for checking damaged properties for electrical hazards, sagging ceilings, and unstable floors before entering. Apply that caution inside your home, too. A room that was usable earlier may no longer be safe.
Check Each Area Before Taking Action
- Affected room: Look from the doorway for bulging drywall, falling material, water near fixtures, and an unobstructed exit. Keep everyone away from questionable ceilings.
- Electrical panel: Shut off the affected circuit only if you can reach and operate the panel from a dry, safe location. If you're unsure, keep clear and call qualified electrical help.
- Adjacent rooms: Move valuables away from wet walls and floors where you can do so without crossing the hazard zone.
- Attic access: Leave it closed if investigating would expose you to wet wiring, unstable materials, or an unsafe ceiling.
- Exterior: Stay off the roof during active weather and whenever the surface is wet or unstable.
Place a container beneath a drip only after you've established that the area is safe. A bucket isn't worth walking beneath a bulging ceiling.
Stopping further damage doesn't mean you need to investigate the source yourself.
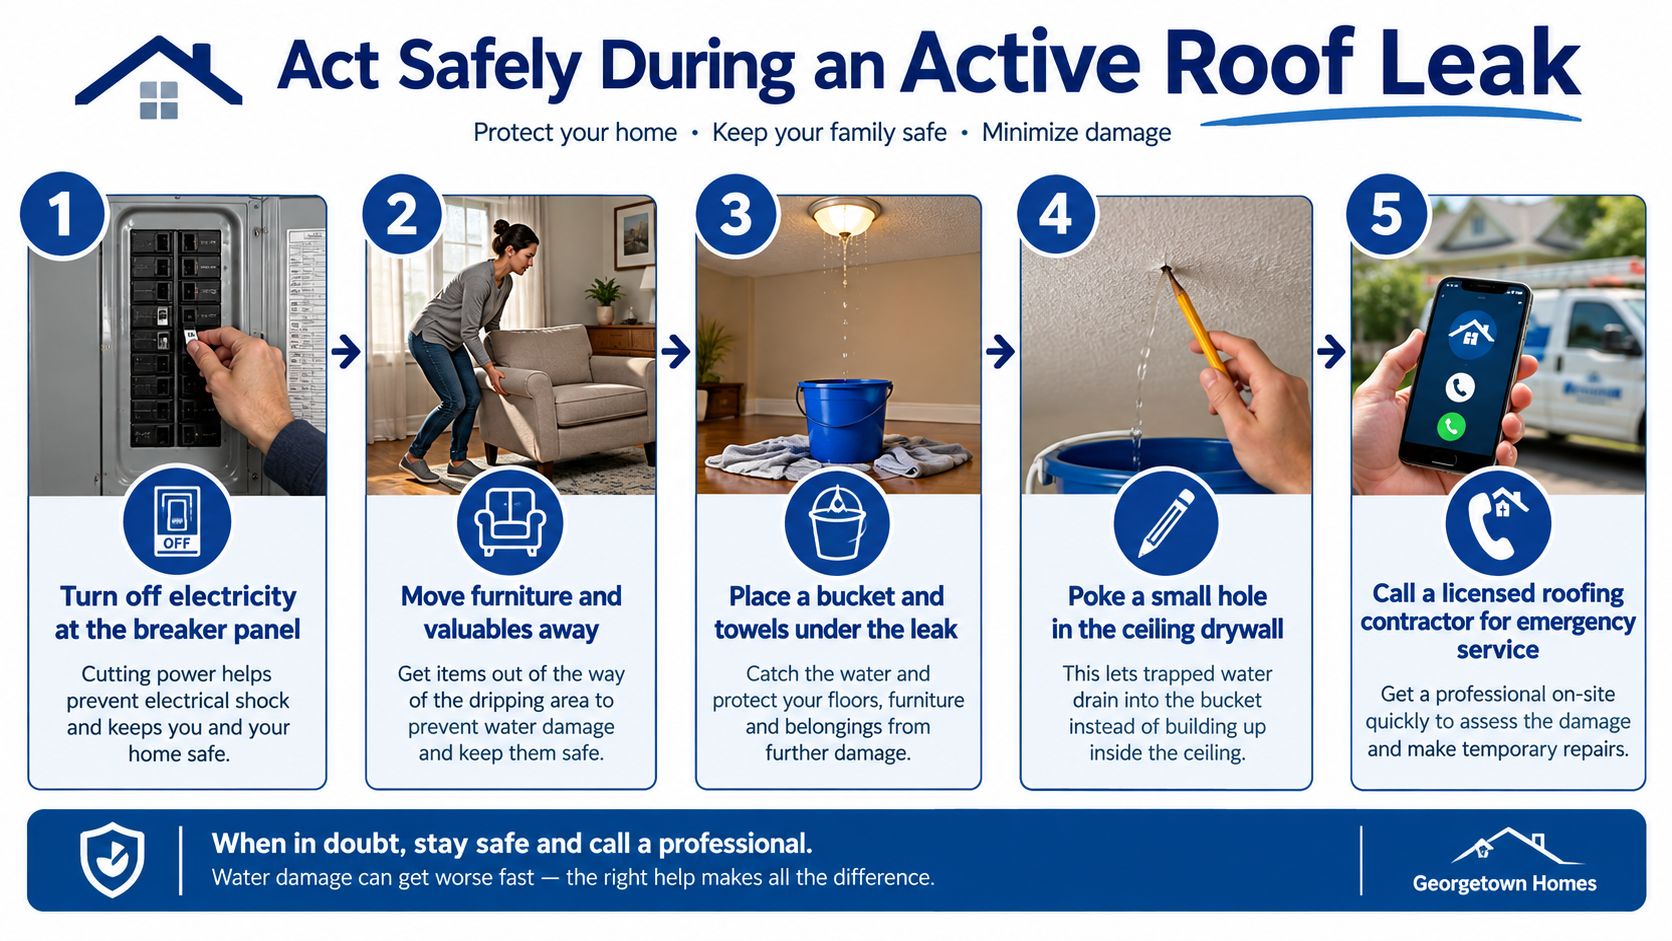
Don't puncture a bulging ceiling yourself, even if an illustrated checklist suggests it. Keep the room clear and let qualified responders assess controlled drainage. If you can't isolate an electrical hazard safely, stop containment work and keep people away until the hazard has been addressed.
Contain Water and Protect Belongings
Containment should create a manageable wet zone, not send you repeatedly through an unsafe room. Once you've cleared the safety checks, place a stable bucket or plastic bin beneath accessible drips. Use towels around the container to catch splashes, keeping the walking route clear.
Move documents, artwork, rugs, and portable belongings into a dry room. Move furniture instead of covering it when that's practical. If a large item must stay, protect it from overhead drips without concealing wet material that still needs assessment.
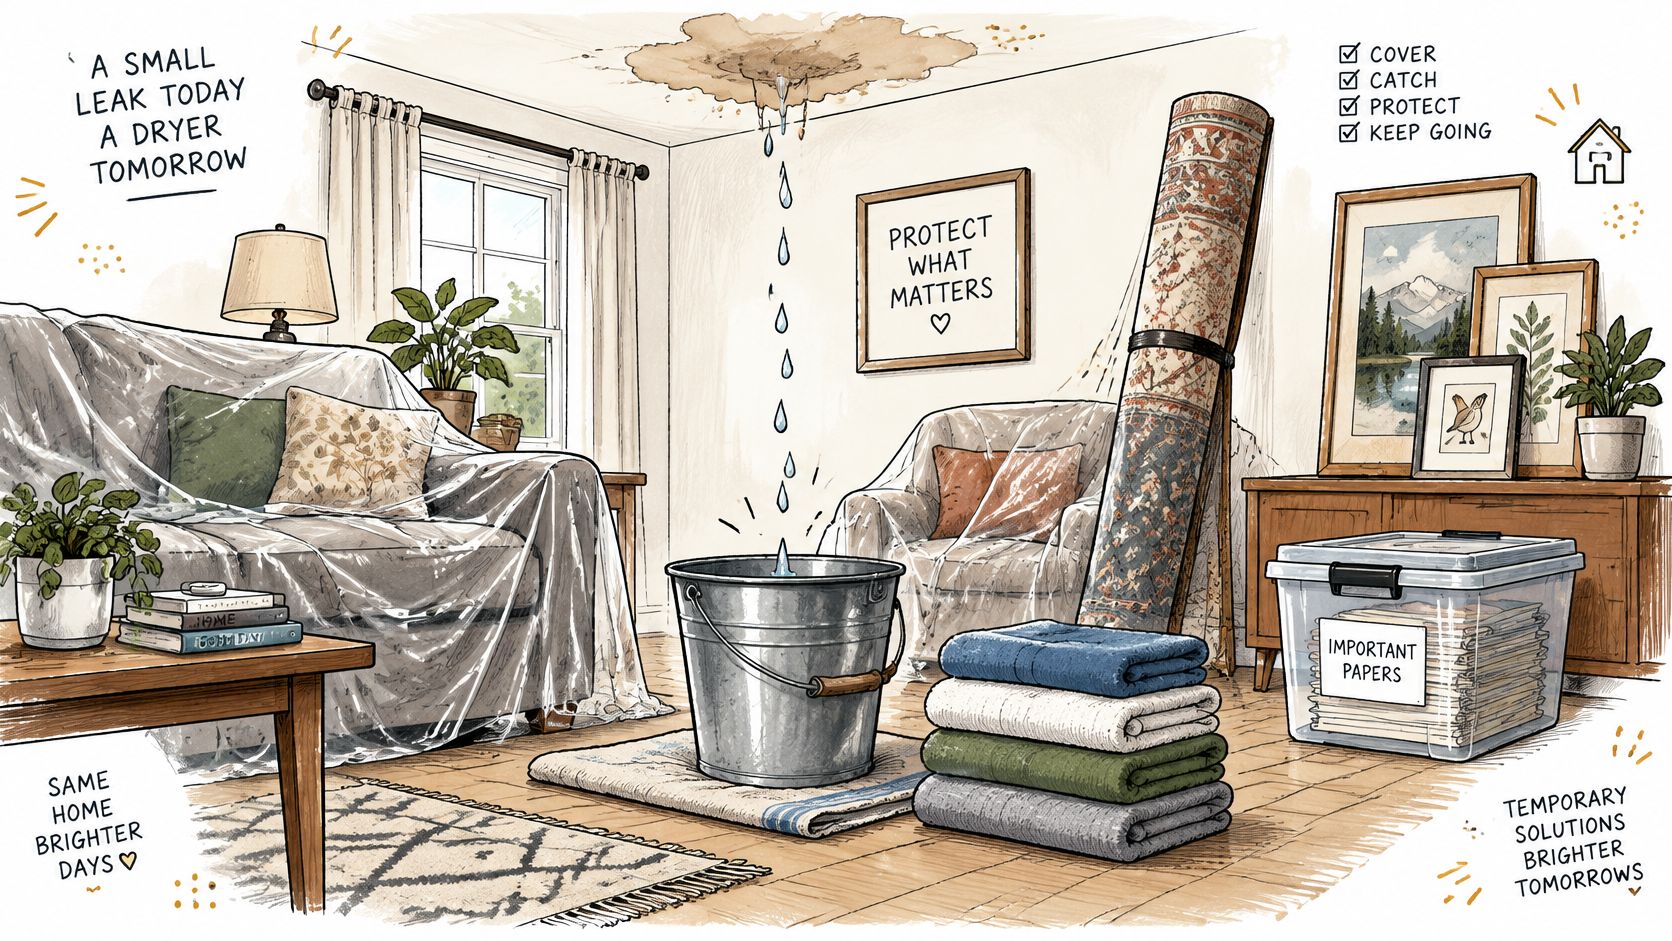
Keep Cleanup Controlled
- Contents: Separate dry belongings from affected items. Don't relocate wet rugs onto another finished floor and create another area that needs attention.
- Appliances: Leave equipment alone if water has reached its wiring, plug, or outlet. Have electrical safety established before moving or operating it.
- Containers: Empty them before they overflow, but only while access remains safe. If the drip spreads beyond the collection area, request help rather than building an obstacle course.
- Existing ceiling openings: Collect water below an opening without attaching a makeshift funnel to weak drywall. Don't enlarge the hole, disturb suspect materials, or redirect water toward another cavity.
Repeated wiping can make a room look better without resolving the wet building materials. The EPA's explanation of moisture and mold makes the underlying priority clear: repair the moisture source, rather than treating only its visible effects.
Containment rule: A dry-looking floor isn't proof that the ceiling, wall, or insulation above it is dry.
Don't automatically switch on a fan. First establish that the water is clean; airflow around sewage or polluted floodwater can spread hazards. Leave suspected contamination and potentially asbestos-containing materials to trained personnel, and tell the response team about those concerns before cleanup begins.
Make Only Safe Temporary Roof Repairs
Your safest temporary roof measure may be arranging professional covering while you protect the interior. You don't need to climb up to make useful progress. From a sheltered ground-level location, photograph visible displaced roofing materials and identify which rooms lie beneath the affected area.
Give the roofer a precise description: where water appeared, whether it's still entering, and whether there are interior hazards. Ask whether emergency covering is appropriate and what must happen before the crew can access the roof safely. Don't assume a temporary covering can be installed during any weather.
Separate Homeowner Tasks From Roof Work
| Safe preparation | Work for qualified personnel |
|---|---|
| Photograph visible exterior damage from the ground | Access and assess the roof surface |
| Identify affected rooms and clear safe access routes | Install and secure temporary roof covering |
| Record when the leak started or changed | Evaluate flashing, seams, drainage, and penetrations |
| Protect accessible belongings indoors | Select and perform compatible temporary repairs |
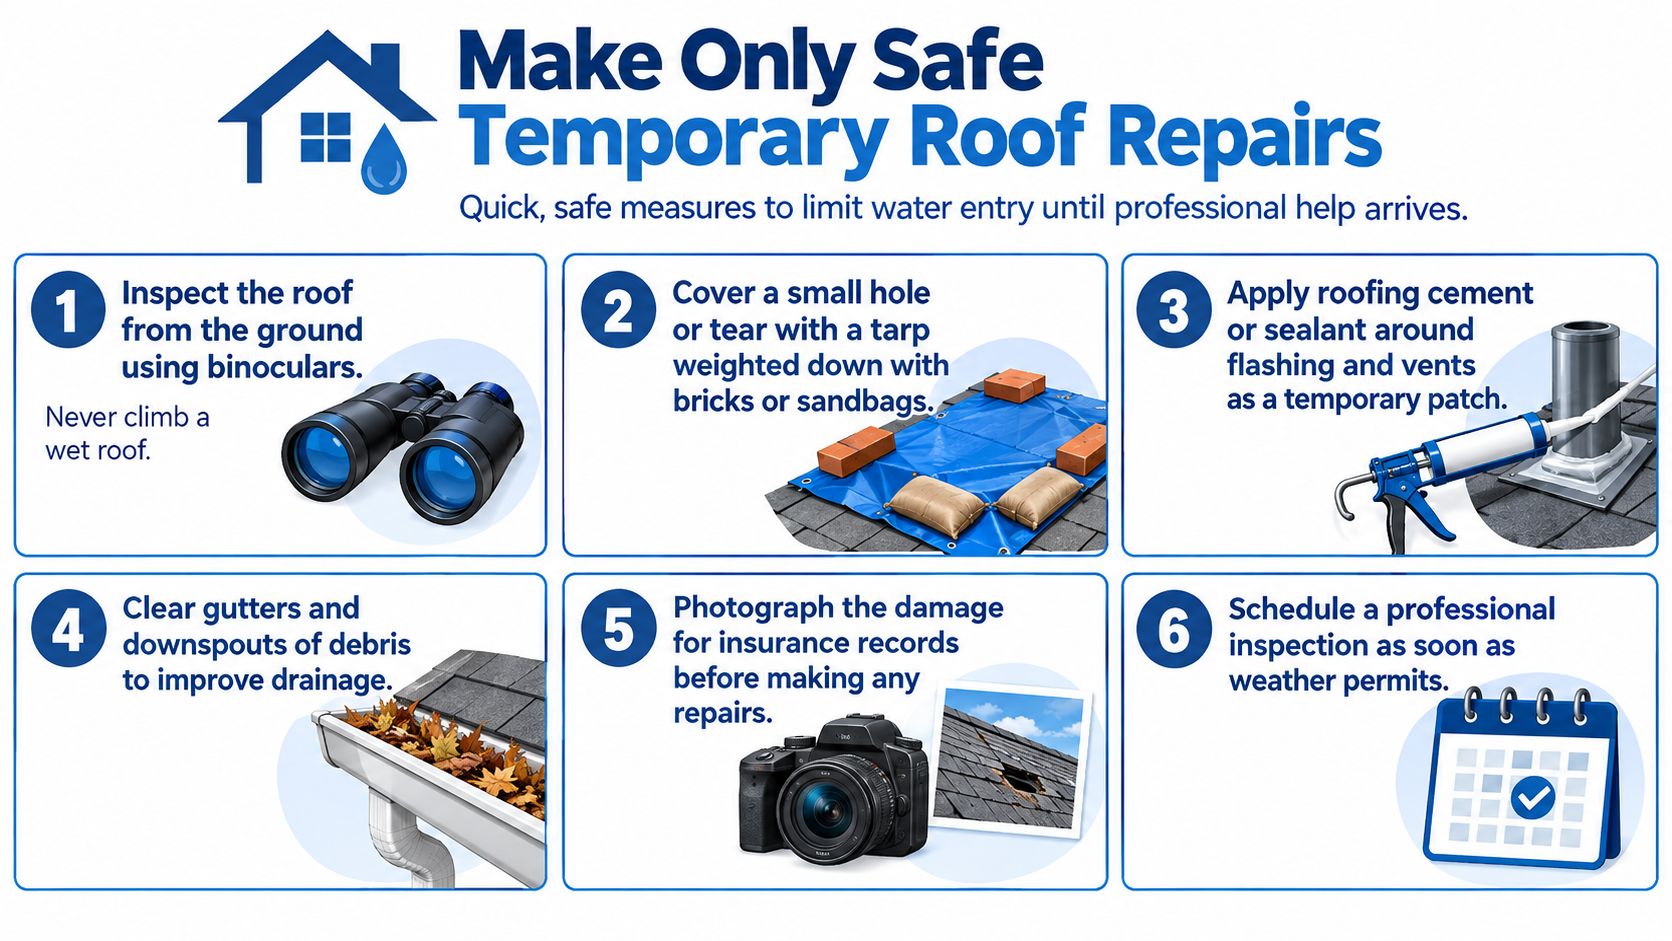
Treat the roof-access tasks in the illustration as contractor work, not instructions to climb, place loose weights on a roof, or apply sealant yourself. Don't improvise a tarp installation with bricks or attempt gutter work during the emergency.
A patch over the first apparent opening isn't a diagnosis. The actual defect may involve a flashing transition, membrane seam, drainage detail, or another part of the roof assembly. Ask the contractor what the temporary measure addresses and what remains unresolved.
A tarp is reasonable mitigation when qualified personnel can install it safely and it can limit additional entry. It's inadequate when water continues entering elsewhere or the underlying assembly still needs repair. Request a permanent-repair plan, but keep that decision separate from the immediate need to stabilize the property.
Trace the Leak Beyond the Ceiling Stain
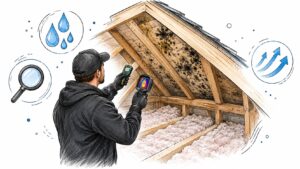
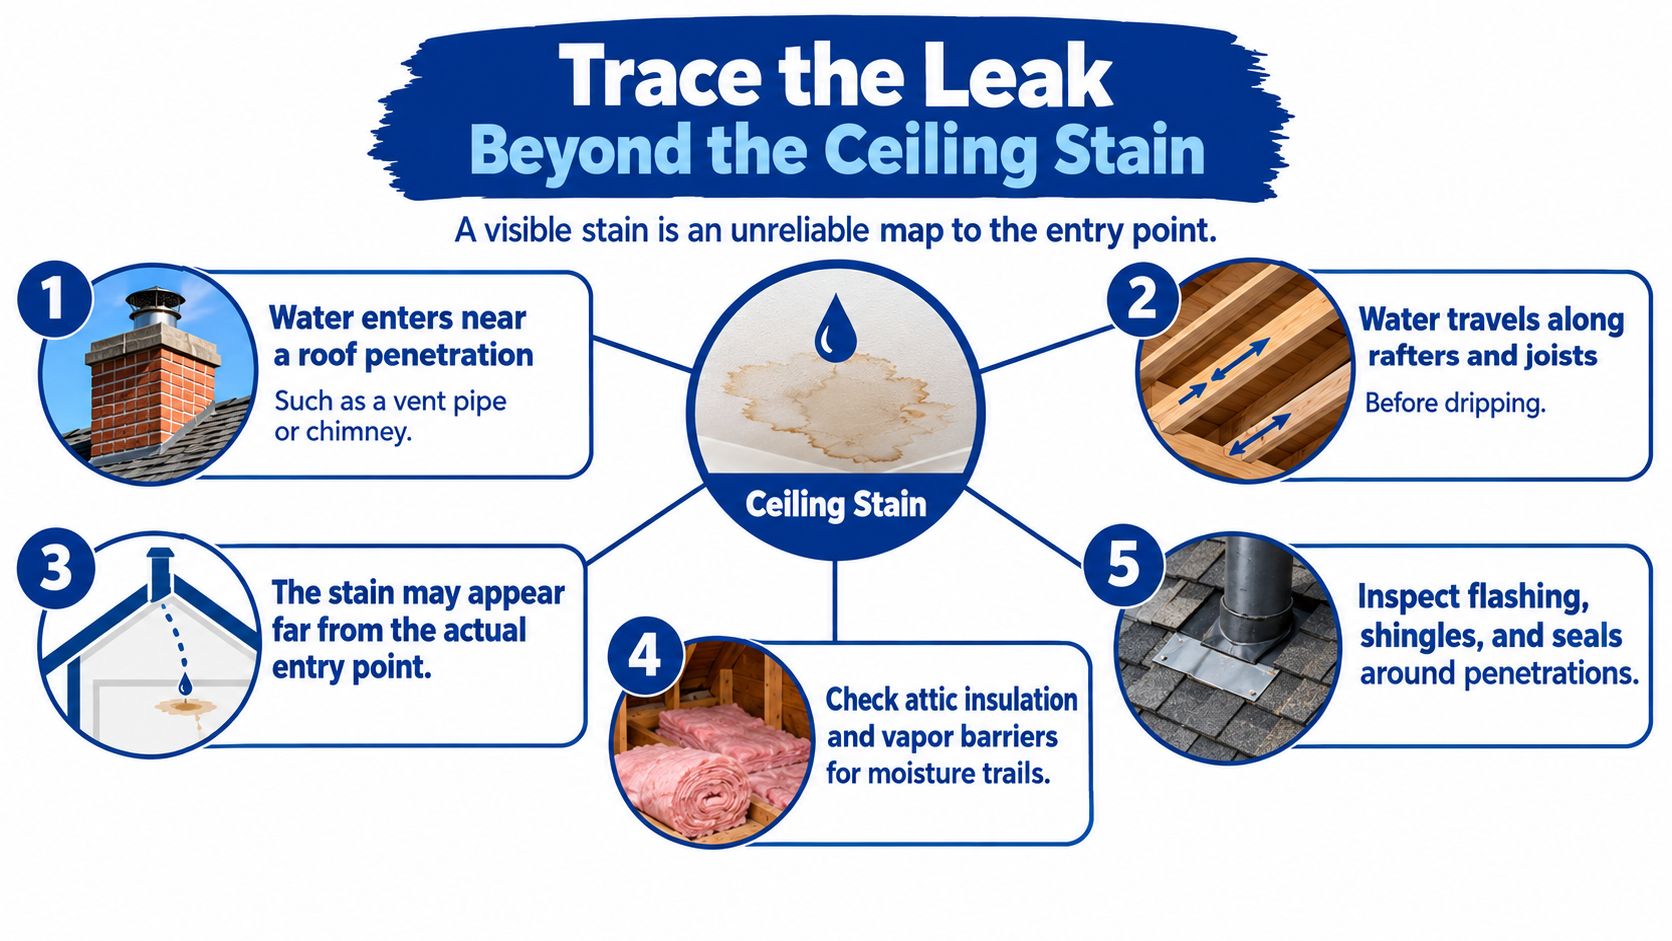
The stain tells you where water became visible, not necessarily where it entered. For example, water can enter around a roof penetration, follow decking or framing, and emerge through drywall elsewhere. Patching directly above the stain may leave the actual opening untouched.
The National Roofing Contractors Association's leak-investigation guidance recommends thorough examination by qualified investigators using accepted ASTM-based procedures to validate the repair location. That's a stronger basis for repair than selecting the nearest suspicious spot.
Build a Useful Observation Record
You can help the investigator without opening the roof or entering the attic. Record what you can observe from safe, accessible locations:
- Timing: Note whether dripping begins during rain, continues afterward, or appears to follow plumbing use.
- Interior pattern: Photograph the stain's outline and identify nearby walls, fixtures, or ceiling openings.
- Exterior context: Identify visible skylights, vents, wall transitions, and roof equipment without climbing.
- Changes: Record whether the affected area expands or appears in another room.
A contractor may need to examine equipment curbs, perimeter flashings, seams, drains, and scuppers, depending on the roof. Those are inspection targets, not proof of a particular failure. Avoid presenting a suspected cause as confirmed when speaking with the roofer or insurer.
Useful distinction: Homeowners preserve observations. Qualified investigators confirm the source.
Guidance on locating roof leaks can help you understand that investigation, but don't turn the process into an attic expedition. Moisture trails in insulation or framing should be assessed only where access is safe. Ask for findings that distinguish the entry point, the water's path, and the materials affected, so the repair and drying teams can work from the same information.
Dry the Area and Limit Hidden Damage
Stopping the drip doesn't finish the job. The EPA's mold and moisture guide advises drying wet building materials and furnishings within 24–48 hours, because prompt drying prevents mold growth in most cases. The same guidance makes clear that this isn't a guarantee, and materials remaining wet beyond 48 hours may need more extensive evaluation or remediation.
Start the drying assessment while source-control work is being arranged. Tell the restoration team when you first noticed the leak and whether the area may have been wet before that. Don't reset the timeline to the moment someone placed a tarp.
Match Drying to the Affected Material
| Material | Appropriate response |
|---|---|
| Carpet and backing | Assess for water extraction and drying, including the material beneath |
| Wood | Begin prompt drying with controlled ventilation and dehumidification |
| Drywall and wall cavities | Determine whether access is needed to dry concealed spaces |
| Insulation and layered flooring | Assess hidden moisture and whether drying, removal, or replacement is appropriate |
Don't judge completion by touch alone. Ask the restoration professional to take moisture measurements and explain how they'll verify drying in the affected assembly. A surface that looks normal doesn't answer whether a concealed cavity remains wet.
For walls, review how to dry wet drywall before agreeing to cosmetic repairs. Don't repaint a stain or close an opened wall until the drying assessment supports it.
Check Before Closing the Area
- Source control: Confirm whether water entry has stopped or remains temporarily managed.
- Material assessment: Identify wet finishes, contents, flooring, and concealed spaces.
- Water condition: Establish whether contamination changes the cleanup approach.
- Drying verification: Request documented checks rather than relying on appearance.
- Unresolved concerns: Report persistent odors or new staining without trying to diagnose mold visually.
Call a restoration professional when insulation is saturated, several materials are wet, concealed cavities are involved, or you can't establish that drying is progressing. Odors and suspected microbial growth also warrant assessment. A household fan and a dehumidifier may be useful tools under suitable conditions, but owning them isn't the same as having a verified drying plan.
Document Damage and Notify Your Insurer
You don't have to choose between preventing damage and preserving an insurance claim. Report the loss promptly, document what you can safely, and keep a record of essential temporary measures. Don't wait for a claim decision while accessible water continues damaging the property.
The NAIC's homeowners insurance guidance says roof and plumbing-leak damage is typically covered, but policy terms and circumstances determine coverage. It also recommends documenting damaged property and making essential temporary repairs to prevent additional damage. Don't interpret general guidance as approval of your particular claim.
Create a Dated Evidence File
Use a phone folder and a simple written log. Keep the original photographs and videos, and label rooms clearly so someone who hasn't visited can understand the loss.
- Conditions at discovery: Record the date, weather, first visible water, and affected areas.
- Building damage: Capture ceilings, walls, flooring, and any safely visible insulation or openings.
- Contents: Photograph affected furniture, rugs, documents, and other belongings before relocating them when safe.
- Actions and expenses: Save receipts, emergency-service records, temporary-repair details, and communications.
- Property history: Preserve relevant maintenance records and note any earlier leak concerns accurately.
For landlords and property managers, identify each affected unit or room separately. Include who reported the problem and when access became available. Keep tenants' observations distinct from findings confirmed by a contractor.
Keep Mitigation Separate From Permanent Replacement
Emergency extraction, safe temporary covering, and necessary stabilization address the immediate loss. Permanent rebuilding is a different decision. Ask the insurer what documentation and inspection it needs before unnecessary demolition or replacement, without delaying work required for safety or damage control.
Review the home insurance water damage claim process to prepare focused questions about documentation and next steps. Request written direction when the insurer provides instructions affecting repair decisions.
Gradual deterioration and deferred maintenance may be treated differently from sudden storm damage. Record the facts rather than assuming automatic coverage or automatic denial. Your evidence file should explain what happened, what you observed, and what you did, not argue for a cause that hasn't been confirmed.
Know When Professional Restoration Is Needed
A contained drip in an otherwise safe room may allow limited homeowner action. Water near electrical components, unstable ceilings, or inaccessible wet materials changes that decision. Stop DIY work when the next useful step requires entering a hazard or opening the building assembly.
Different professionals may handle different parts of the loss. A qualified roofer addresses the roof failure, an electrician evaluates affected electrical components, and a restoration team assesses moisture and damaged materials. Ask who is responsible for each unresolved task rather than assuming that someone else has covered it.
Match the Response to the Condition
| Condition | Recommended response |
|---|---|
| Electrical or structural danger | Keep people clear and obtain qualified emergency help |
| Active or expanding water entry | Arrange source control and professional containment |
| Wet cavities or several affected materials | Request moisture assessment, extraction, and targeted drying |
| Persistent odors or microbial concerns | Obtain documented assessment rather than treating the smell alone |
| Damaged finishes or structural components | Plan repair or reconstruction after stabilization and drying |
For homeowners, that means knowing when to stop moving buckets and start coordinating help. For property managers and small-business operators, it also means identifying affected rooms, restricting unsafe access, and assigning a contact who can communicate with occupants, contractors, and the insurer.
Ask What Completion Will Look Like
Before authorizing restoration, ask how the team will identify hidden moisture, select drying methods, and document progress. Clarify whether the estimate covers mitigation only or also includes rebuilding. If microbial concerns or suspect building materials affect the work, ask how those conditions will be assessed before disturbance.
Keep the closeout standard practical: the source has been addressed, affected materials have been evaluated, drying has been verified, and necessary repairs have been identified. A fresh coat of paint isn't a substitute for those outcomes.
Use this action checklist when stress makes decisions harder:
- Protect people: Keep occupants away from unsafe areas.
- Control water safely: Limit additional entry without hazardous investigation.
- Preserve the record: Keep photographs, observations, communications, and receipts.
- Verify drying: Require attention to concealed materials, not just visible surfaces.
- Escalate appropriately: Bring in qualified help when hazards or hidden damage exceed safe containment.
The right response isn't the most aggressive DIY repair. It's the safest sequence that gets the property stabilized, assessed, dried, and properly repaired.
For roof-leak damage in Georgetown, Austin, and surrounding Central Texas communities, RestoTek TX is a family-owned option offering emergency response, leak detection, water extraction, structural drying, microbial prevention, and reconstruction. Visit the website to request a no-cost estimate or emergency help, and describe where water is entering, which rooms are affected, and any electrical or ceiling hazards you've observed.