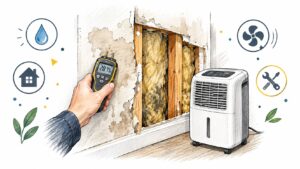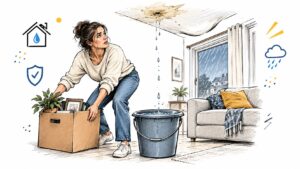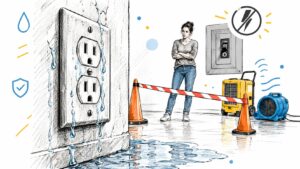
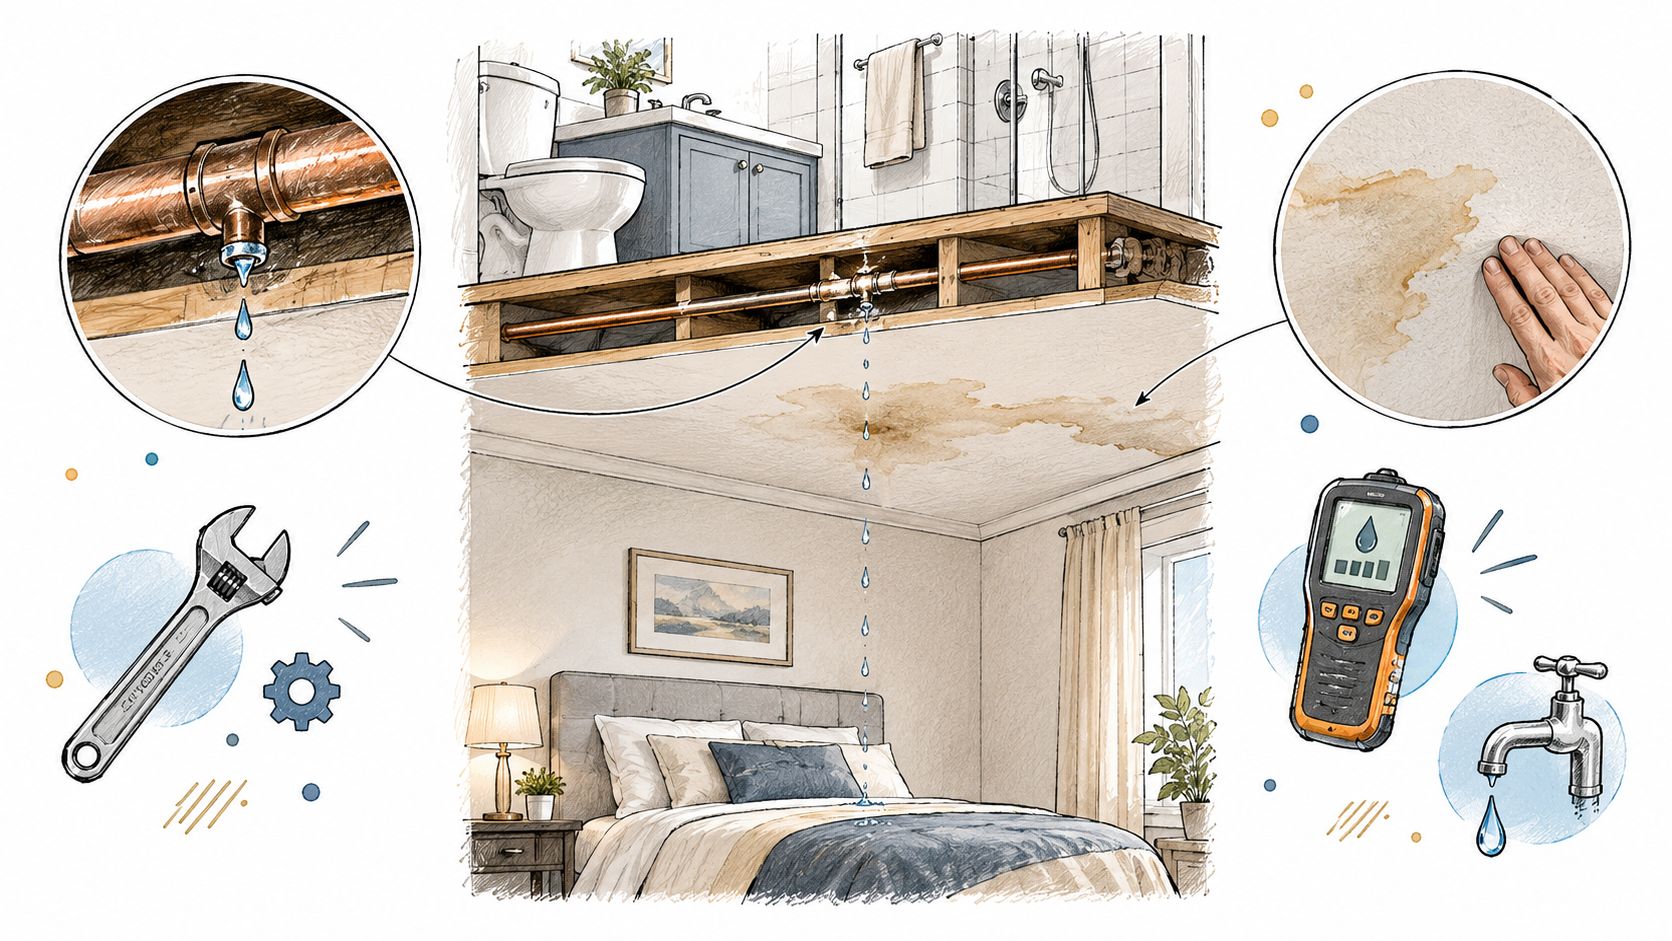
You notice a stain spreading across the bedroom ceiling beneath an upstairs bathroom. The paint still feels firm, and you're hoping a fan and fresh paint will solve it. Before you touch either, find out where the water came from and whether it's still entering the wall. Water damage on drywall is a moisture problem first and a finish problem second.
Begin With a Safer Water Damage Response
Consider an upstairs supply-line leak that leaves a ceiling stain extending toward the bedroom wall. Treat that as an active water-loss problem until someone confirms otherwise, not as a painting project. Move people and belongings away from the affected area, and don't stand beneath visibly sagging ceiling material.
Your immediate priorities are people, electrical safety, and source control. Stay out of standing water near outlets, cords, or electrical equipment. If reaching a shutoff or electrical panel requires entering a wet or otherwise unsafe area, get qualified help instead.
Establish what happened before choosing equipment
A recently discovered supply-line leak calls for a different response than sewage backing into a room or floodwater entering from outdoors. Don't assume water is clean because it looks clear, and don't assume the discovery time is when the leak began.
Record the information that will guide the response:
- Source and duration: Identify the likely entry point, when you discovered it, and whether the actual start time is known.
- Contamination concerns: Flag sewage, backups, floodwater, or an uncertain source before anyone starts moving air.
- Wall condition: Note swelling, damaged seams, suspected growth, and areas that need closer inspection.
Drywall must be evaluated as an assembly. Water can migrate through the gypsum core, paper facing, seams, fastener locations, and the cavity behind the panel, so the visible stain doesn't establish the full affected area.
The EPA's mold and moisture guidance identifies 24–48 hours as an important drying window: mold generally won't grow when wet materials are dried promptly within that period, but the agency explicitly cautions that this isn't a guarantee. Temperature, humidity, contamination, and retained moisture still matter.
Practical rule: Act quickly to preserve repair options, but never use appearance alone to declare the wall dry.
Inspect the Drywall and Find Hidden Moisture
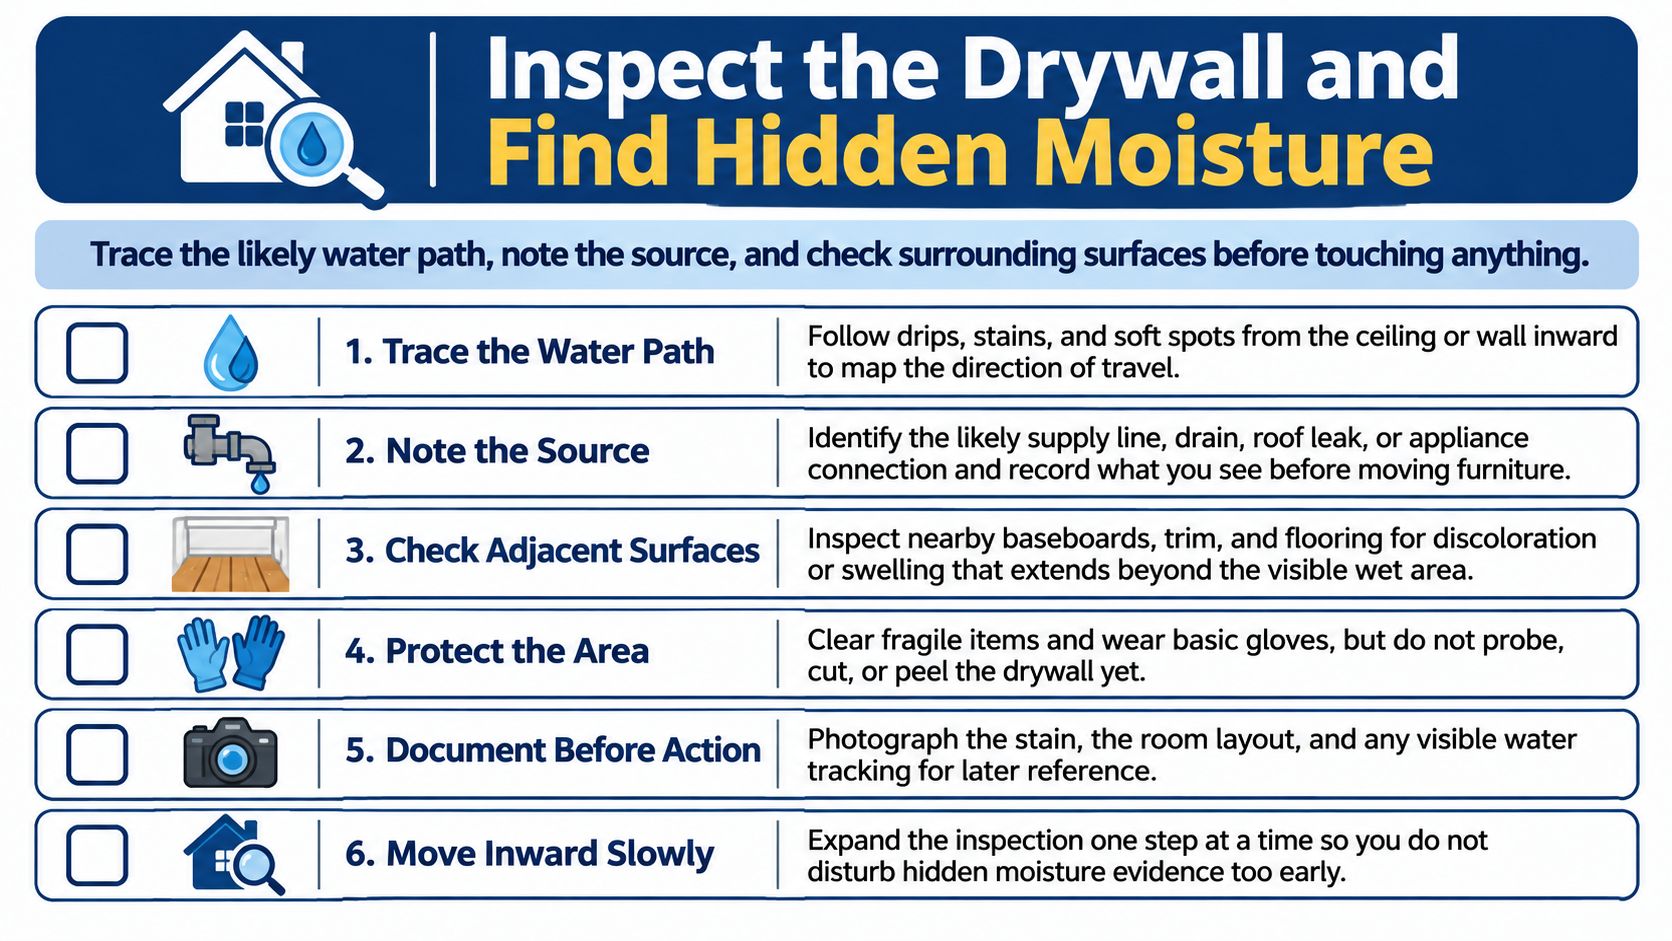
Inspect beyond the stain before disturbing the drywall. Start at the room entrance, photograph the overall scene, and follow the apparent water path toward the affected wall or ceiling. Keep your initial observations intact rather than immediately peeling paint, removing trim, or cutting an opening.
Compare the damaged area with its surroundings
Look at ceiling edges, wall intersections, seams, fastener locations, baseboards, and nearby flooring. Photograph changes in texture or shape, not just discoloration. Record musty odors as observations requiring investigation, not as proof of a particular mold problem.
Use a consistent inspection record:
- Surface changes: Mark peeling paint, rippling coverings, cracked tape, swelling, and softness without pressing or probing questionable material.
- Adjacent materials: Check nearby trim and finishes so the assessment doesn't stop at the most obvious stain.
- Access limitations: Identify cabinets, fixtures, or enclosed cavities that prevent inspection.
- Uncertainty: Distinguish what you can see from what you suspect, especially when the leak's duration is unknown.
The EPA's worker guidance on water-damaged porous materials identifies drywall as porous and difficult to clean completely when water or mold penetrates it. It also identifies rippling wall coverings, cracked tape, and peeling paint as warning signs and emphasizes checking concealed surfaces, including the back of drywall.
Use measurements to establish the boundary
For landlords, property managers, and commercial operators, ask for a documented moisture map, not merely a verbal assessment. Have the evaluator identify measurement locations on photographs or a room sketch so later readings can be compared with the original locations.
A moisture meter should support a broader assessment of the wall assembly. Compare affected locations with appropriate unaffected reference areas, and ask what the readings establish about the panel versus what remains unknown inside the cavity. This guide to detecting moisture in walls can help you prepare questions before an inspection.
The useful outcome is a condition record that connects the suspected source, visible symptoms, measurement locations, and inaccessible areas. Ask the evaluator to explain whether that evidence supports drying in place, selective access, replacement, or additional environmental investigation. Don't authorize testing without understanding which decision its results would change.
Choose Between Drying and Drywall Replacement
Don't replace every stained panel automatically, and don't retain every panel that still looks straight. Choose the response based on the water source, exposure history, physical condition, and ability to reach concealed moisture.
A prompt response to a known clean-water leak offers a reasonable opportunity to retain sound drywall. A wall exposed to contaminated water, with swollen board or failed seams, needs a more conservative scope. These aren't interchangeable situations.
Compare the available response paths
Drywall response decision guide
| Response Path | Supporting Conditions | What To Verify | Likely Next Action |
|---|---|---|---|
| Retain and dry | Early clean-water event, intact seams, no obvious swelling, no identified microbial growth | Whether drying can reach affected layers and the cavity | Controlled drying with documented monitoring |
| Selective opening | Localized damage, inaccessible moisture, uncertain cavity conditions, or a damaged section | Extent of concealed wetting and condition of surrounding materials | Controlled access followed by reassessment |
| Remove and replace | Contamination, swelling, seam failure, prolonged wetting, retained moisture, or microbial involvement | Removal boundaries and condition of materials left behind | Controlled removal, appropriate cleaning, drying, and reconstruction |
For retention, the EPA's condition criteria are specific: no obvious swelling and intact seams, with cavity ventilation when feasible. The EPA's water-damage cleanup table supports retaining drywall only under those conditions; otherwise, removal and replacement is the appropriate path.
Selective opening is useful when the visible panel doesn't answer the important questions. For example, a localized ceiling stain may justify access to inspect the cavity rather than immediate removal of the entire ceiling. Have qualified personnel choose the opening location and method, particularly when concealed services or suspect building materials may be present.
Treat elapsed time as evidence, not a verdict
The EPA worker guidance cited earlier recommends removal and replacement as a general rule when porous materials remain wet beyond its response benchmark. That's a strong reason to escalate the assessment, not a stopwatch-based guarantee that every panel becomes unsalvageable at the same moment.
An unknown start time also matters. A stain discovered this morning could reflect a recent event or an older concealed leak, so don't classify it as an early loss without supporting evidence.
Keep sound material only when you can justify both its condition and the drying method. Remove damaged material because the evidence supports removal, not because the stain looks alarming.
Ask the contractor to identify what stays, what opens, and what comes out, with a reason for each. This keeps selective access from becoming unnecessary demolition while preventing cosmetic repairs over unresolved damage.
Dry the Wall Assembly and Verify Progress
A wet wall in a vacant rental may have been damp for days before anyone spots the stain. In a recently discovered clean-water leak, prompt, controlled drying may preserve sound drywall. The response depends on when the wall became wet, what the water contained, and whether moisture is trapped behind the surface.
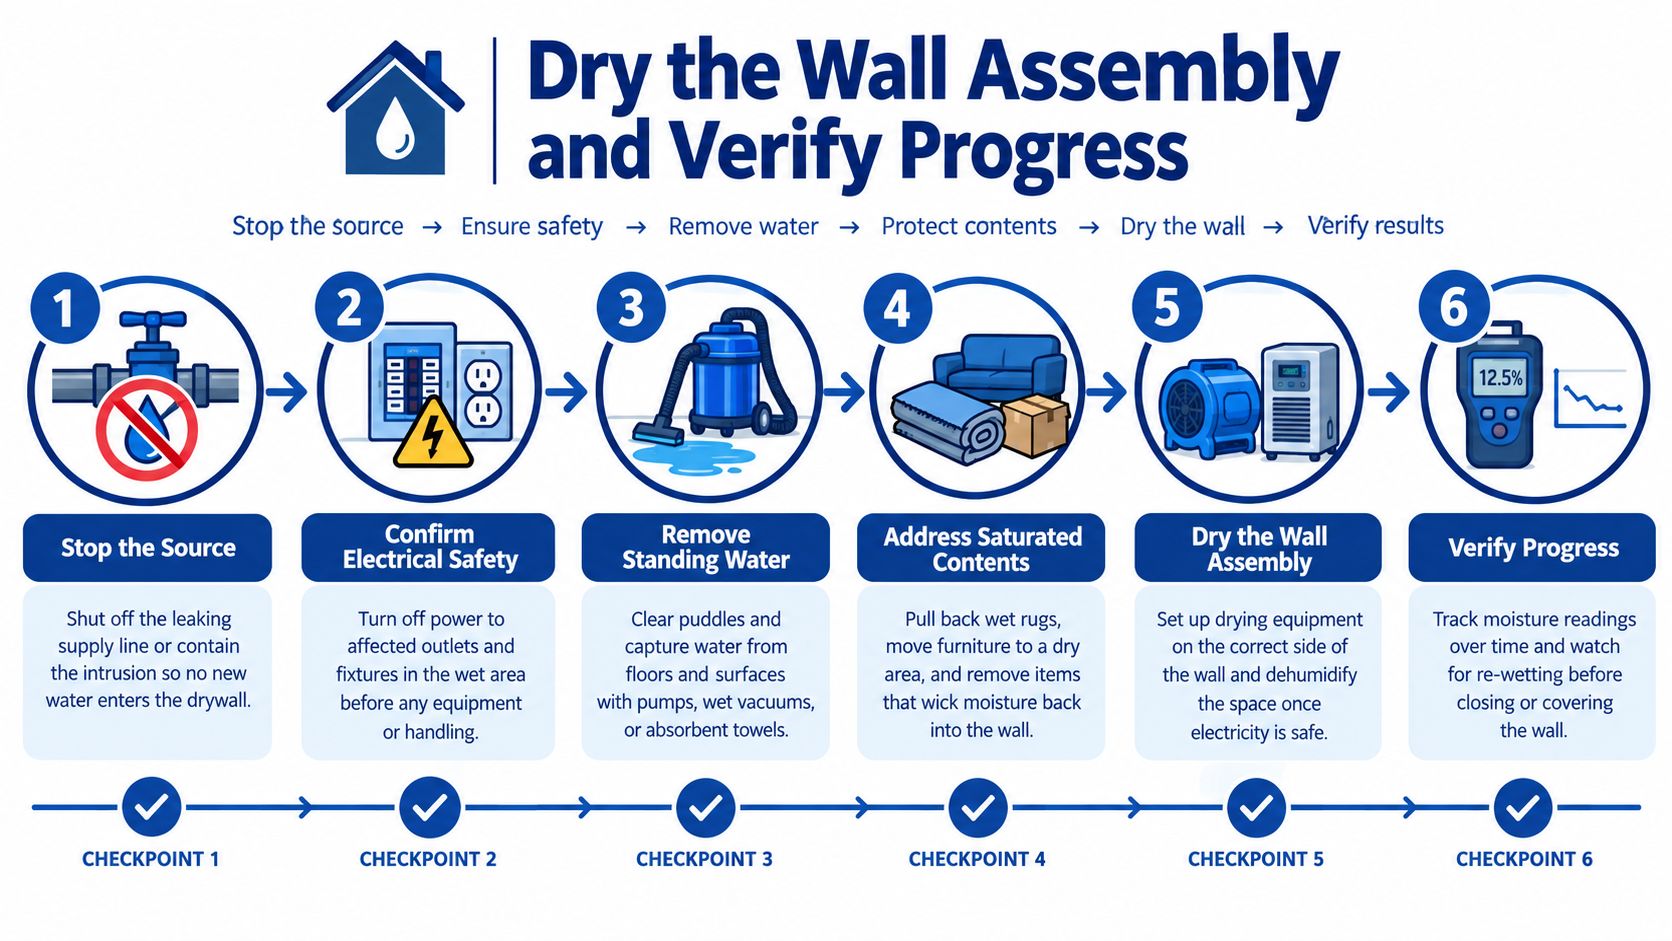
First, stop the leak and remove standing water. Wet furniture or contents pressed against the wall can slow drying, so move them away if it is safe. Check whether insulation or other materials inside the cavity are holding moisture. Drying the painted face alone won't resolve a damp wall assembly.
The EPA's worker guidance uses a 24-to-48-hour response window for drying wet materials to help limit mold growth. Treat that as a prompt to act, not a guarantee that drywall will remain sound if equipment runs for a set period. If the water source is uncertain, the wall was wet for an unknown length of time, or the cavity remains damp, ask a restoration professional to reassess before continuing with surface drying.
For suitable clean-water damage, use equipment with a clear purpose: extraction to remove accessible water, dehumidification to remove moisture from indoor air, and targeted air movement to support drying. More airflow is not always safer. Blowing air at a closed wall can move moisture into adjoining areas without drying the cavity; disturbing contaminated material can also spread pollutants.
Where moisture is trapped, a professional may recommend a limited opening to improve access and determine whether the assembly is drying. Ask the contractor to explain how moisture will leave the wall and what readings will show that the approach is working.
A useful progress log identifies repeatable measurement locations on the affected wall and nearby materials, along with readings and equipment changes. If readings stop improving, request a revised assessment rather than extending equipment rental without explanation. The remedy may be a different setup, more access, or removal of material that cannot be dried adequately.
Close the wall only after the retained materials have been checked and the leak repair is complete. Ask for a written summary of the final readings, the areas assessed, and any concealed sections that could not be measured.
Manage Mold Risk Without Spreading Contamination
A bathroom supply line leaks overnight. If the water is clean and the drywall is still sound, controlled drying may be appropriate. If the leak went unnoticed for days, visible mold has appeared, or the water came from a sewage backup, running a fan can spread contamination rather than solve the problem.
The EPA recommends drying wet materials within 24 to 48 hours to help prevent mold growth. That window is a response target, not proof that a wall is dry or safe to keep. Moisture trapped behind intact drywall can persist after the surface feels dry.
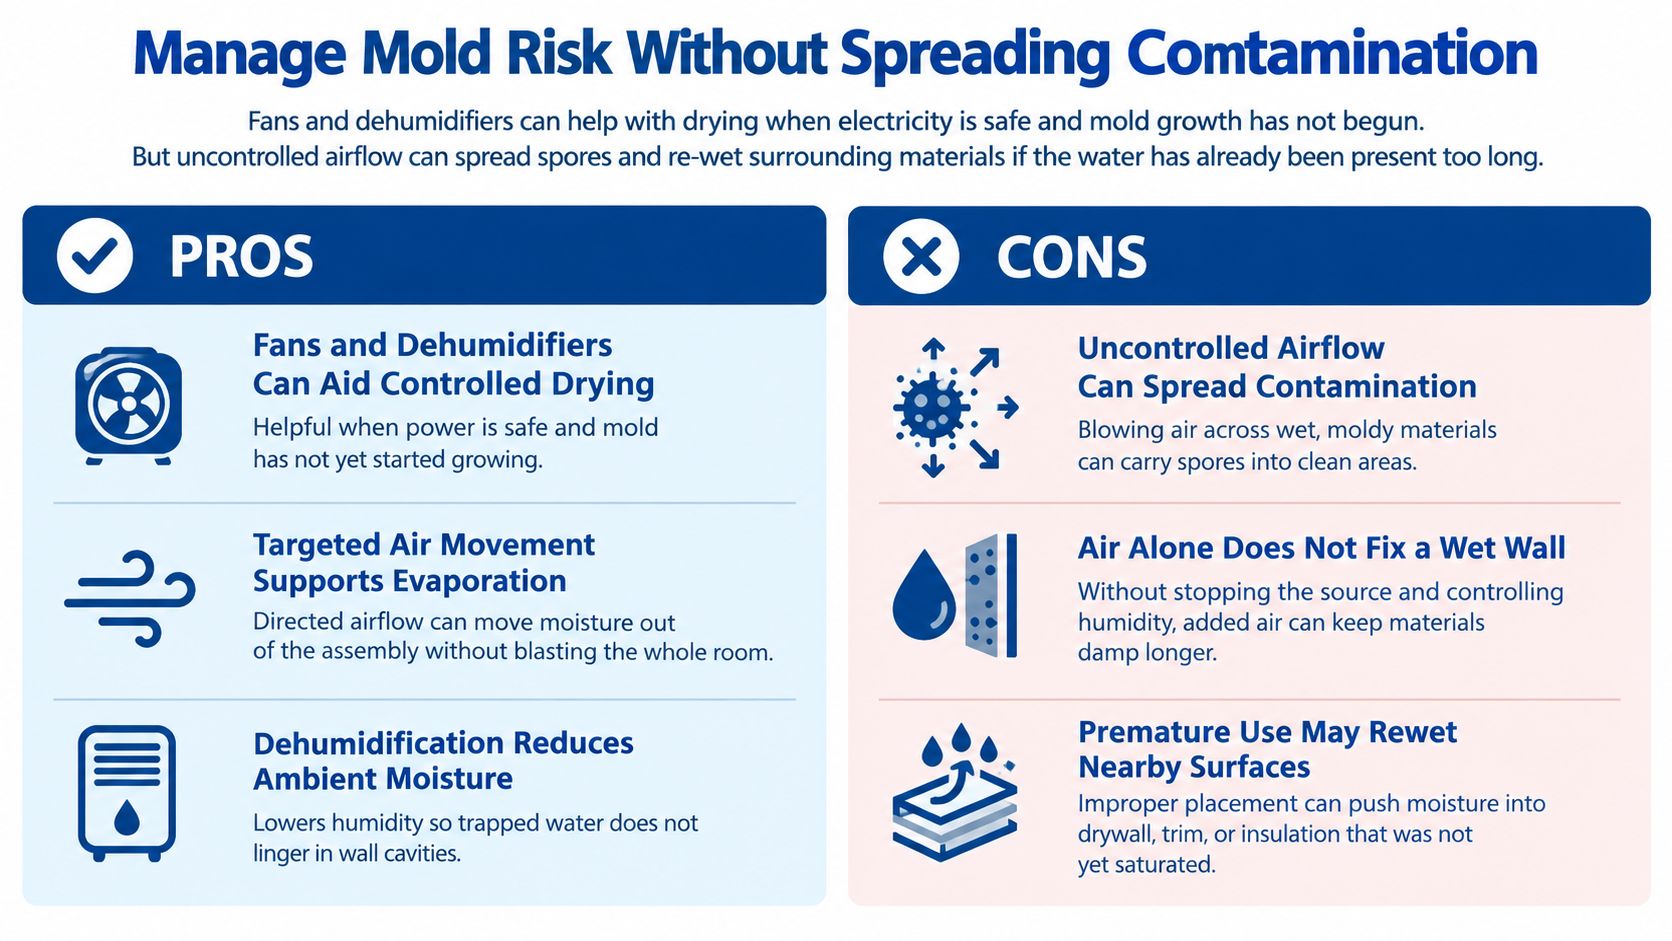
Use air movement only when the water source and wall condition support it. The CDC's mold guidance advises against using fans where mold is present because they can spread spores. A musty odor, visible growth, prolonged wetness, or uncertainty about the water source calls for a more cautious response.
Sewage, floodwater, and other contaminated sources change the decision. Porous drywall may need controlled removal even after it dries. Keep occupants away from affected areas, and ask a qualified restoration professional to explain how workers will contain dust and debris before opening or removing material.
Paint or caulk cannot correct a leak, clean contaminated drywall, or establish that the wall cavity is safe. Address the moisture source and decide whether the affected material can remain before restoring the finish.
For steps to reduce future mold risk, see this guide to preventing mold after water damage. Use it for prevention, not as a substitute for assessing suspected contamination.
Document the Loss and Plan the Repair
A bedroom ceiling leak starts as a small stain, but opening the wall reveals wet insulation beyond the proposed repair area. Record both the initial condition and what changed after inspection. Clear documentation helps property owners, contractors, and insurers understand why the repair scope grew.
Separate observations from recommendations. Note when the leak was discovered, what the water source was, and what you could see before work began. Keep dated photos, inspection findings, estimates, invoices, and written decisions together. Label readings and moisture maps with their locations and dates so they can be compared over time.
If access reveals more damage, ask the contractor to document the newly observed area and revise the scope before reconstruction. The updated estimate should identify added work, work no longer needed, and the reason for each change. Keep it with the original estimate to preserve the decision history.
For insurance communication, follow your policy's reporting instructions and ask the insurer which records it requires. Describe observed conditions separately from a contractor's conclusions, and retain all correspondence. This guide to the insurance claim process can help you prepare for those conversations, though coverage depends on your policy.
Before repair begins, get a written handoff from mitigation. It should state what was removed, what remains, which conditions still need verification, and what finishes or fixtures need rebuilding. Choose one provider to coordinate inspection, drying, and reconstruction, or assign clear responsibility for each handoff when using separate specialists.
Use a Clear Decision Path From Damage to Drywall Repair
The safest response to water damage on drywall is urgent without being indiscriminate. Move promptly, but make each decision answerable to the observed conditions rather than the size or color of a stain.
Match the next action to the evidence
Use this decision path when organizing help:
- Make the area safe: Control access, address electrical concerns, and stop ongoing water entry.
- Establish the loss history: Identify the source, contamination concerns, and what's known about duration.
- Assess the assembly: Combine visible condition, measurements, and any necessary access.
- Choose a justified scope: Retain, selectively open, or replace according to the criteria above.
- Verify before rebuilding: Keep the drying record and repair documentation together.
Bring in professional restoration help for persistent concealed moisture, suspected contamination or mold, controlled demolition, or damage extending beyond cosmetic drywall repair. Ask for an explanation of the proposed scope and the evidence needed to authorize reconstruction.
For Georgetown, Austin, and surrounding Central Texas communities, local emergency coordination may be especially important when you need inspection and stabilization before permanent repairs can begin. The family-owned business operated by Joan and Josh Garza offers round-the-clock emergency response and no-cost estimate requests, with services extending from assessment through rebuilding.
Respond with urgency, decide with evidence, and keep removal controlled. A successful drywall repair begins with a defensible moisture assessment, not a fresh coat of paint.
RestoTek TX offers water damage inspection, mitigation, structural drying, microbial prevention and deodorization, and reconstruction services. If you're dealing with wet drywall or uncertain wall-cavity conditions, visit RestoTek TX to request a no-cost estimate and discuss the appropriate inspection, drying, or replacement scope.