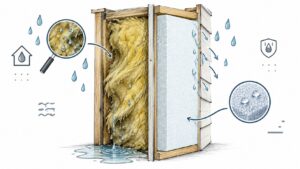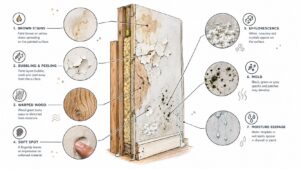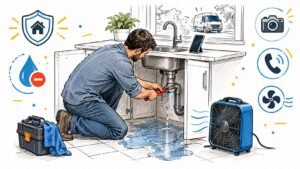
You come home to water creeping out from beneath the dishwasher, a soaked carpet edge, or a hallway floor reflecting the ceiling light. The first instinct is usually to grab towels and start saving whatever looks salvageable. That's understandable, but a wet floor is an assembly, not just a finished surface. Water may already be sitting in carpet pad, beneath laminate, between hardwood and subfloor, or in the joints around tile.
Move quickly, but put safety before salvage. Water damage is one of the most common homeowner loss categories in the United States. From 2019 to 2023, about 1 in every 67 insured homeowners filed a water damage or freezing claim each year, and those claims represented 22.6% of homeowners insurance claims, according to Triple-I-based water damage reporting. The right first moves can limit how far the moisture travels and preserve evidence for the insurance process.
The First Hour After Water Hits Your Floor
A homeowner in Georgetown calls after finding standing water across the kitchen and hallway. The dishwasher is still running, the lower cabinets are wet, and the hardwood looks intact. At first glance, it seems like a cleanup job. On arrival, a restoration technician treats it as an active electrical, plumbing, and structural safety problem.
Start with the source and the power
If water has reached outlets, appliances, floor-level wiring, or an electrical panel area, shut off power to the affected rooms at the breaker if you can do so without stepping into water or handling wet equipment. If there's any doubt, leave the area and call an electrician or emergency responder. A wet vacuum, fan, or extension cord doesn't belong in standing water.
Next, stop the supply. Close the dishwasher valve, toilet valve, washing-machine valve, or the home's main shutoff, depending on the source. If the water is coming from above, look for ceiling sag, dripping light fixtures, or an active leak from an upstairs bathroom. Don't stand beneath a visibly bulging ceiling.
Before moving furniture or pulling up materials, document the scene:
- Photograph the source: Capture the failed hose, overflow, appliance, or opening before it's repaired.
- Record the water depth: Place a ruler beside the water and take a phone photo showing the measurement.
- Map the spread: Photograph room transitions, baseboards, cabinets, carpet edges, and visible staining.
- Save damaged components: Keep the failed supply line, valve, or fitting if it's safe to remove and store.
Practical rule: If you can see water on top of the floor, assume there's more moisture below it until testing proves otherwise.
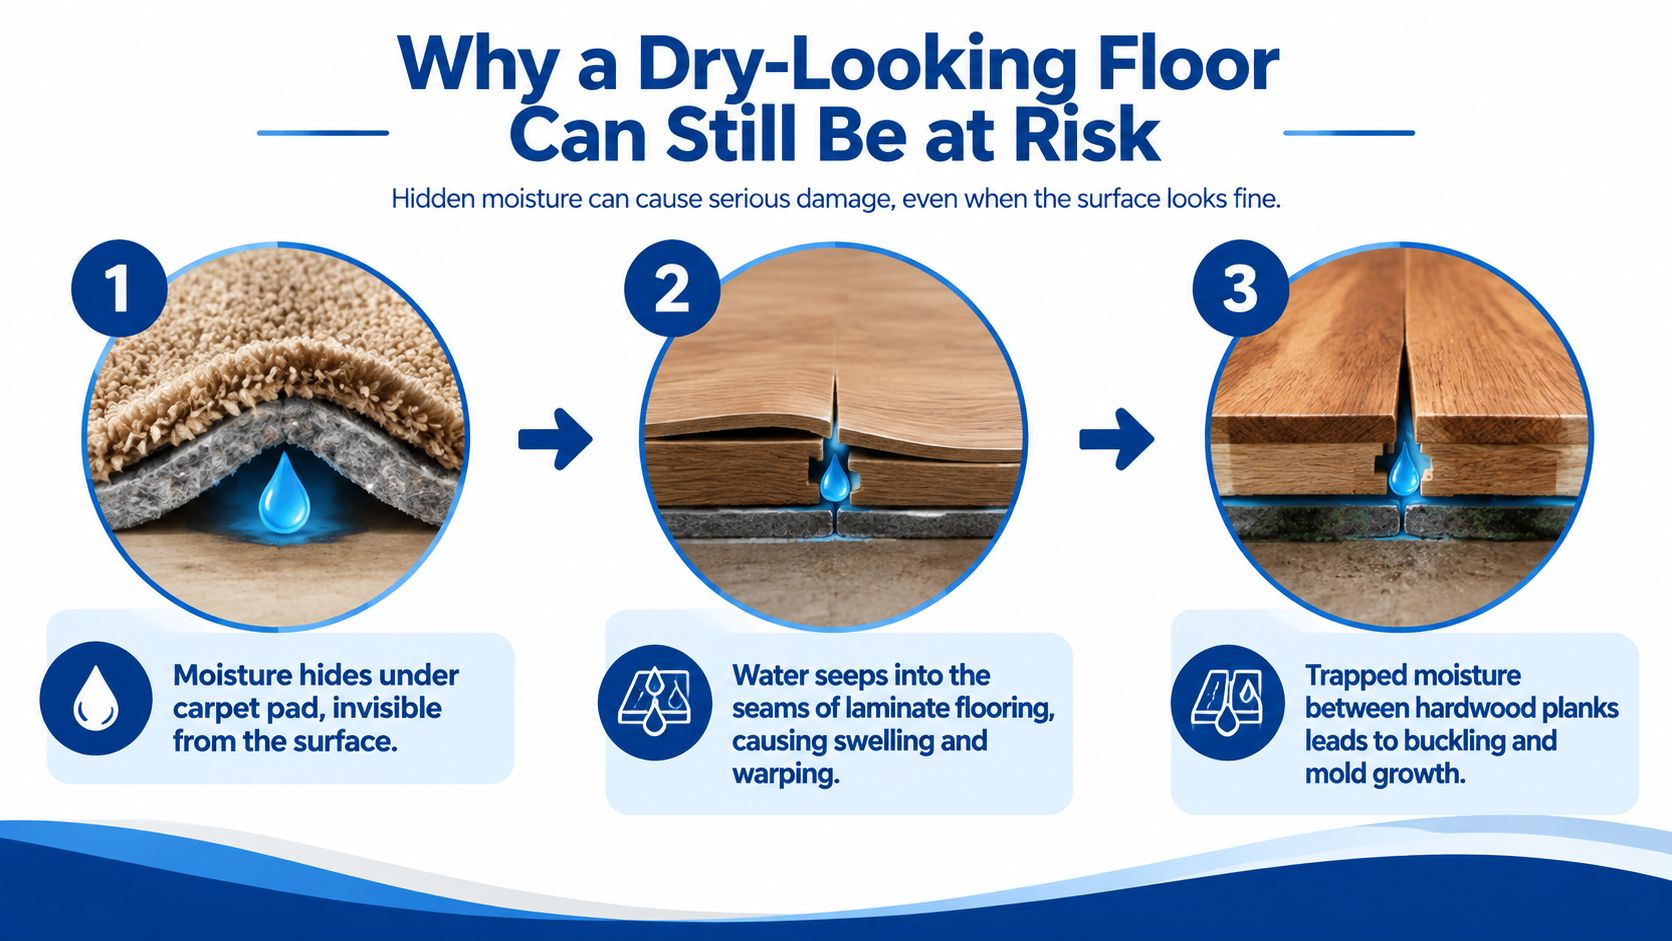
The first hour matters because wood begins responding before a homeowner sees dramatic distortion. Hardwood may cup as moisture enters the plank and leaves through the upper surface. Carpet may look like a small wet patch while the pad underneath holds a much larger reservoir. Laminate can take water through its seams and swell at the fiberboard core, even when the top wear layer still looks normal.
Use these immediate water damage steps for a Central Texas home as a safety-oriented reference, but don't confuse quick surface cleanup with complete mitigation. The visible puddle tells you where water is showing. It doesn't tell you how far the floor assembly has been affected.
Extracting Water and Structurally Drying the Room
Drying works best as a sequence. Extraction removes liquid water first. Air movement then pulls moisture from materials, while dehumidification removes that moisture from the room. Skipping the extraction step and relying on household fans often leaves the floor surface cooler and drier than the layers underneath.
Extract before you circulate air
For carpet, technicians lift the carpet from the tack strip, inspect the pad, and use weighted extraction or a truck-mounted system to pull water from both materials. The pad's condition often determines whether the carpet can be cleaned and reset or whether the pad needs removal. A fan placed over saturated carpet without extraction can move moisture into walls and adjacent rooms.
Hardwood needs a different approach. A technician may use floor mats, weighted extraction tools, or a wood-floor drying system that draws moisture through controlled contact with the planks. The objective isn't to blast the surface. It's to create a drying path through the floor while limiting unnecessary movement, splitting, or finish damage.
Concrete and subfloors require testing before equipment placement. A professional records moisture meter readings at the finished surface and deeper substrate, checks wet-bulb conditions, and tracks the room's temperature and humidity. A pinless meter can help map a broad area, while pin meters provide more targeted readings in wood. Neither replaces a complete inspection of the assembly.
Place equipment for the assembly
Air movers are positioned to create a controlled circulation pattern, often at right angles to walls so air sweeps across surfaces rather than blowing at one wet spot. Low-grain refrigerant, or LGR, dehumidifiers lower the room's moisture load and keep evaporation moving. When the wet assembly reaches the subfloor or wall cavities, technicians may use containment and negative air to control the movement of contaminated air and particulates.
A drying log should show changing readings, not just a note that equipment was installed. Hardwood readings are compared with an unaffected control area in the same building. Concrete requires a more specific verification process. Structural drying guidance for Central Texas properties explains why equipment selection and measurement have to match the material.
Residential floors often dry within a normal service window when extraction starts promptly, but the exact duration depends on the water category, material, temperature, humidity, and concealed cavities. Equipment comes out when readings demonstrate stabilization, not when the floor feels dry under bare feet.
Salvage or Replace by Floor Type
The right question isn't “Is the floor waterproof?” It's “Which layer absorbed water, what kind of water was it, and can every affected layer be cleaned and dried?” A porcelain tile may survive direct contact while its grout, thinset, or wood underlayment remains wet. A waterproof vinyl plank may look perfect while trapping moisture against a slab or subfloor.
| Floor Type | Clean Water Response | Salvage Threshold | Replace Trigger |
|---|---|---|---|
| Solid hardwood | Can absorb moisture, cup, or crown, but may respond to controlled drying | Moisture content is decreasing and approaches an unaffected control area | Cracking, delamination, persistent distortion, or contamination |
| Engineered hardwood | Top layer may remain intact while layers separate | Stable readings and intact bonding after drying | Layer separation, swelling, or failed finish |
| Laminate | Seams can admit water into the fiberboard core | Limited surface exposure with no core swelling | Swollen edges, peaked seams, or wet underlayment |
| Ceramic or porcelain tile | Tile itself usually tolerates water well | Tile remains bonded and the substrate dries | Debonded tile, failed thinset, saturated wood substrate, or damaged grout assembly |
| Sheet vinyl | Surface may resist water, while adhesive and substrate retain it | Substrate is dry and adhesive remains sound | Loose seams, adhesive failure, trapped moisture, or damaged subfloor |
| Carpet and pad | Carpet can sometimes be cleaned after a clean-water loss, but pad holds moisture | Pad and subfloor can be extracted, cleaned, and dried promptly | Sewage or outdoor flood exposure, persistent saturation, or contaminated backing |
| Concrete slab | Concrete stores moisture and releases it slowly | Moisture testing meets the flooring manufacturer's installation requirements | Excess vapor, failed adhesive, or flooring that cannot be safely reset |
Solid hardwood is often a candidate for drying in place when the boards are cupped but not cracked or separated. Don't sand cupped wood while it's wet. Let the assembly stabilize first, then evaluate whether the shape returns sufficiently for refinishing. A hardwood floor water damage repair guide can help explain the difference between cosmetic distortion and material failure.
Laminate is less forgiving because its fiberboard core swells when water enters the seams. Pulling the affected boards may be necessary to inspect the underlayment and subfloor. Tile presents the opposite trap. The tile face may look unchanged while moisture remains below it, so a clean-looking surface isn't proof that the installation is ready to keep.
For hardwood, one restoration benchmark considers drying sufficient when moisture content is still decreasing, affected wood is within 2.5% of a measured control point, and the HVAC system can maintain stable normal room conditions, as described in water damage restoration guidance for wood floors. For concrete, use ASTM-based testing rather than a surface-only check. That includes in-situ relative humidity under ASTM F2170, calcium-chloride vapor-emission testing under ASTM F1869, and preliminary electronic meter testing under ASTM F2659, as outlined by concrete moisture testing guidance.
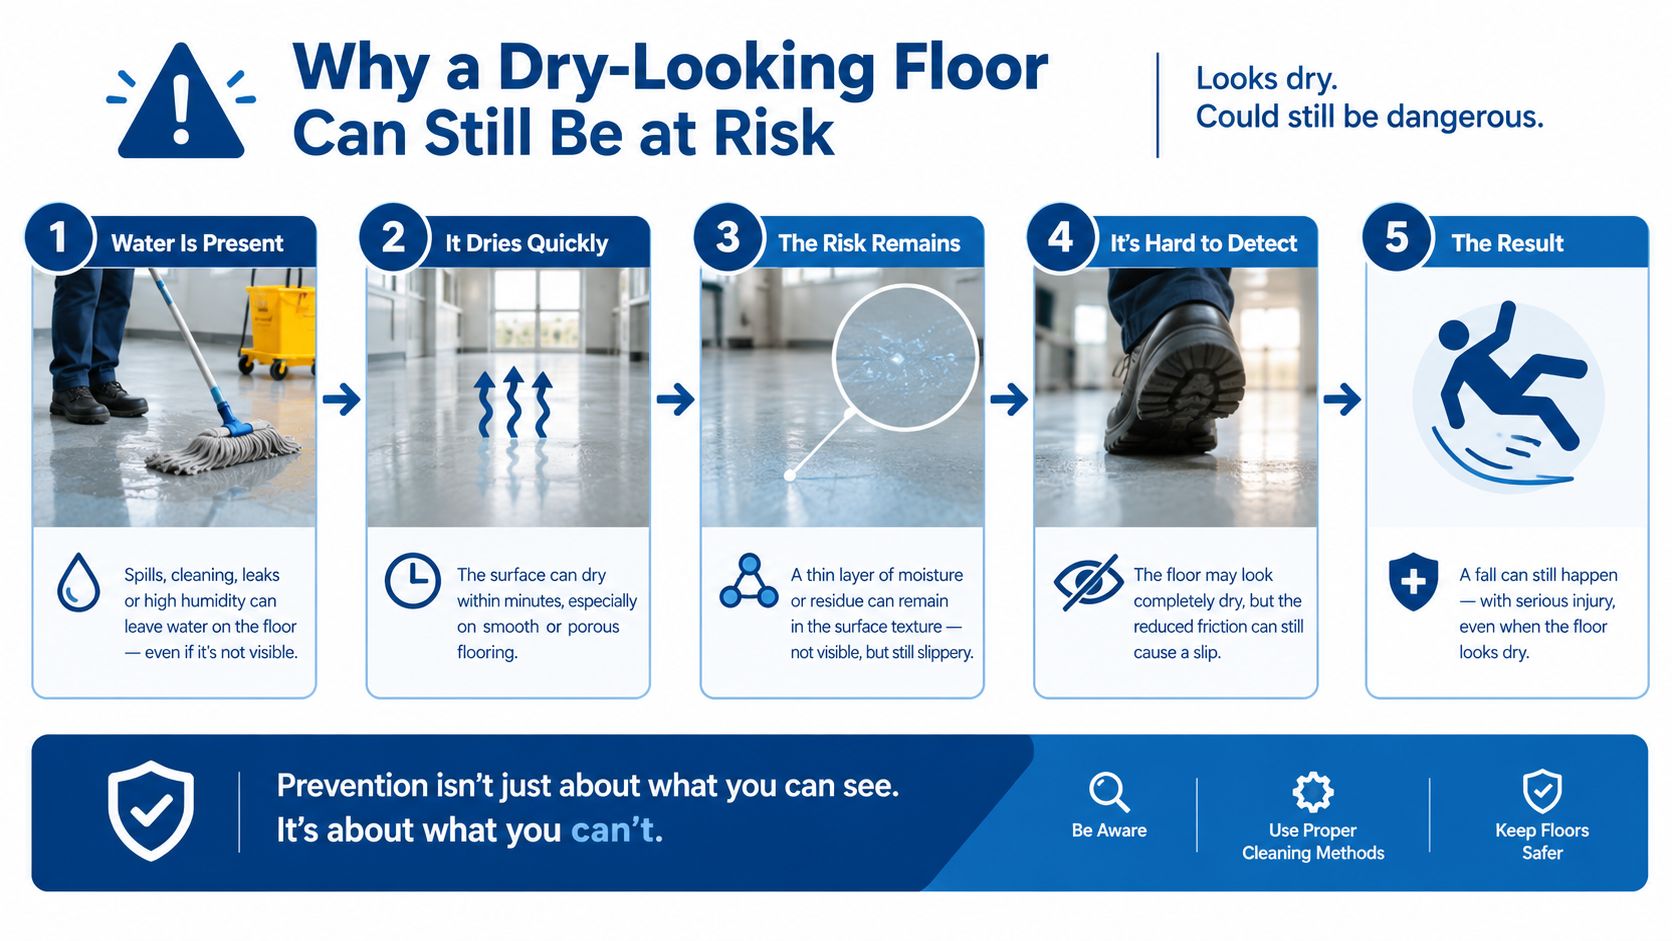
Why a Dry-Looking Floor Can Still Be at Risk
A floor can be dry to the touch and wet where it matters. Carpet pad compresses against the subfloor and hides moisture below the fibers. Laminate seams can hold water inside the core. Hardwood can look nearly normal on top while the underside and subfloor remain damp. Tile can conceal moisture in thinset, mortar beds, grout, or the material beneath the tile.
That's why visual inspection is only the opening step. A restoration technician compares the affected area with unaffected control points, tests the subfloor, checks the edges and transitions, and inspects places where air can't circulate. The relevant question isn't whether the finish feels dry. It's whether the entire assembly has reached a stable condition.
What moisture does between layers
Trapped moisture can damage adhesives, swell OSB, distort wood, and support microbial growth. It can also migrate sideways beneath floating floors and under baseboards. A homeowner may shut off the fans after the puddle disappears, then notice odor, renewed cupping, loose flooring, or staining later.
The practical risk is greatest in warm, humid Central Texas conditions because the room air may already hold substantial moisture. Dehumidification has to create a drying environment, while readings confirm that the subfloor is responding. Guidance on hidden water damage in floors and building cavities emphasizes why surface appearance can't substitute for inspection and testing.
How professionals verify dry-down
A careful technician records readings at repeat visits rather than pulling equipment after a single visual check. The schedule depends on the loss, but the logic remains consistent:
- Initial inspection: Establish affected zones, control points, material type, and safety conditions.
- Early drying check: Confirm that extraction and equipment are lowering readings rather than warming the room.
- Follow-up verification: Compare the same locations with the original readings and inspect hidden edges, seams, and transitions.
- Final review: Confirm stable readings, normal room conditions, and no remaining wet cavities before reset or reconstruction.
For concrete slabs, in-situ probes commonly need a 48 to 72 hour equilibrium period with drying equipment off before the reading is interpreted, according to ASTM-oriented concrete moisture testing information. Many resilient-flooring specifications use 75% relative humidity or lower as an acceptable installation threshold in typical cases, but the flooring manufacturer's requirement controls.
Costs, Timelines, and Insurance Documentation
Floor losses rarely have one clean price because the visible finish is only one part of the work. The final scope may include source repair, extraction, removal of pad or flooring, drying equipment, antimicrobial treatment, subfloor repair, cleaning, and reconstruction. A small leak can become a larger claim if moisture remains beneath a surface that looked reusable.
National figures show why the assembly matters. From 2019 to 2023, the average paid water damage or freezing claim was about $15,400, while summaries of restoration costs for uninsured or partially covered events commonly place national costs around $1,384 to $6,384, as reported in water damage loss data based on Triple-I and related sources. Those figures aren't a quote for your home. They're a reminder that scope, coverage, and hidden damage can change the financial picture quickly.
Build the claim record before cleanup changes the scene
Take photos and video before moving furniture, removing flooring, or running equipment. Show the source, affected rooms, water line, damaged edges, and any visible swelling. Keep the failed hose, valve, appliance part, or plumber's report when possible.
Your documentation folder should include:
- A room-by-room inventory: List flooring type, approximate affected area, pad, trim, cabinets, and contents.
- Time-stamped readings: Record meter type, location, reading, and whether the point is affected or a control.
- A written mitigation scope: Ask the restoration contractor to describe extraction, removal, drying, cleaning, and monitoring separately.
- Receipts and reports: Save emergency service invoices, plumbing invoices, equipment logs, photos, and communications with the carrier.
- Repair estimates: Make sure the reconstruction scope identifies the flooring assembly and subfloor work, not just “replace floor.”
An adjuster can't evaluate evidence that was never documented. Keep the claim focused on cause, affected materials, necessary mitigation, and verified conditions rather than promising that a particular floor must be replaced.
| Service Phase | Category 1 Clean | Category 2 Gray | Category 3 Blackwater |
|---|---|---|---|
| Initial response | Source control, documentation, extraction, and inspection | Containment, extraction, and assessment of affected materials | Safety isolation, contamination control, removal planning, and professional response |
| Drying or removal decision | Salvage may be possible when materials respond to drying | Porous or affected materials may require more extensive removal | Porous flooring and pad commonly face replacement because cleaning limits are stricter |
| Timeline | Often the shortest path when discovered promptly | Longer because affected assemblies need closer evaluation | Demolition, cleaning, drying, and reconstruction can extend substantially |
| Insurance record | Photos, readings, receipts, and drying logs | Add contamination details and disposal documentation | Add source documentation, protective measures, disposal records, and cleaning scope |
FEMA and the National Flood Insurance Program estimate that 1 inch of water can cause up to $25,000 in damage in a typical home, including floors, drywall, insulation, furniture, and belongings, according to the water damage statistics reference. That estimate explains why documenting the water line and affected floor assembly matters even when the visible damage appears limited.
Knowing When to Call a Local Restoration Pro
A small, clean-water spill may be manageable if you can safely isolate the source and reach every wet layer. A shop vacuum and household fan can help with a limited surface event, but they don't tell you whether the pad, subfloor, adhesive, or slab is still wet.
A reasonable DIY boundary
Consider handling initial cleanup yourself only when all of these conditions are true:
- Limited spread: Standing water is less than an inch deep and confined to a small area under 20 square feet.
- Clean source: The water came from a clean supply line, not a toilet backup, drain, storm surge, or outside flood.
- Accessible assembly: You can lift or inspect the affected carpet edge, transition, or removable flooring without damaging more material.
- No visible movement: Hardwood isn't cupped, laminate seams aren't swollen, and the subfloor doesn't feel soft.
- Measured condition: A suitable moisture meter doesn't show a subfloor reading above 16%, using the DIY threshold supplied for this decision framework.
That last point requires caution. A meter reading is only useful when the device is appropriate for the material and compared with an unaffected location. A quick surface scan can miss moisture below a floor, especially over concrete or beneath layered finishes.
Stop when the assembly exceeds your reach
Call a restoration professional when water has been present longer than 24 to 48 hours, reached walls or baseboards, caused cupping or swelling, produced a musty odor, involved sewage, or entered from outside. Those conditions suggest that the job may require controlled demolition, contamination procedures, targeted drying, or documentation beyond household cleanup.
A Central Texas crew may begin with truck-mounted extraction, floor inspection, moisture mapping, and equipment placement. For hardwood, injection drying mats can provide a controlled path through the flooring. If contaminated materials or microbial concerns are present, technicians may use containment barriers, negative air, cleaning, and antimicrobial treatment as appropriate. The crew should also provide readings, photographs, equipment logs, and a written scope that supports the insurance file.
Concrete slab construction creates its own challenge. Water can spread beneath flooring without producing obvious surface damage, and humid outdoor conditions can slow the movement of moisture from the slab and subfloor. A local provider familiar with Georgetown, Austin, and surrounding Williamson County homes can evaluate those construction details instead of treating every water damage floor as a carpet cleanup.
RestoTek TX provides inspection, extraction, structural drying, microbial prevention, and reconstruction services for water-loss events in Georgetown and Austin. A prompt call is especially useful when the source is active, the water category is uncertain, or the floor looks dry but the assembly hasn't been tested.
If water has reached your floor, RestoTek TX can inspect the assembly, extract standing water, set up structural drying, document readings, and coordinate repairs from mitigation through reconstruction. Visit RestoTek TX to request help for a water intrusion in Georgetown, Austin, or the surrounding Central Texas area.