You notice the puddle before breakfast, or you hear a faint hiss from the utility room and walk in to find water creeping across the floor. A water heater leak starts like a plumbing problem, then becomes a floor, drywall, and cleanup problem fast. The unit may still be making hot water, but the house is already telling you something else is wrong.
What a Leaking Water Heater Actually Means for Your Home
A leaking water heater rarely stays confined to the spot you can see. Water runs under the tank, into the seam where flooring meets baseboard, and sometimes into wall cavities before anyone notices more than a wet patch on the slab or subfloor. That's why a small-looking leak can turn into a building issue, not just an appliance issue.
The first thing to understand is where the water goes
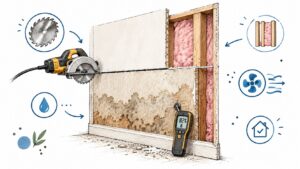
A few cups of water on a utility room floor can wick into trim and underlayment, then sit there long after the surface looks dry. If the leak has reached drywall or the edge of carpet, the visible puddle is usually the smallest part of the problem. Moisture can keep moving after the heater is shut down, especially if the flooring is laminate, vinyl plank, or anything layered over a substrate.
Practical rule: treat the floor around a leaking heater like a splash zone, not a finish line. If the water had time to spread, assume hidden moisture until you verify otherwise.
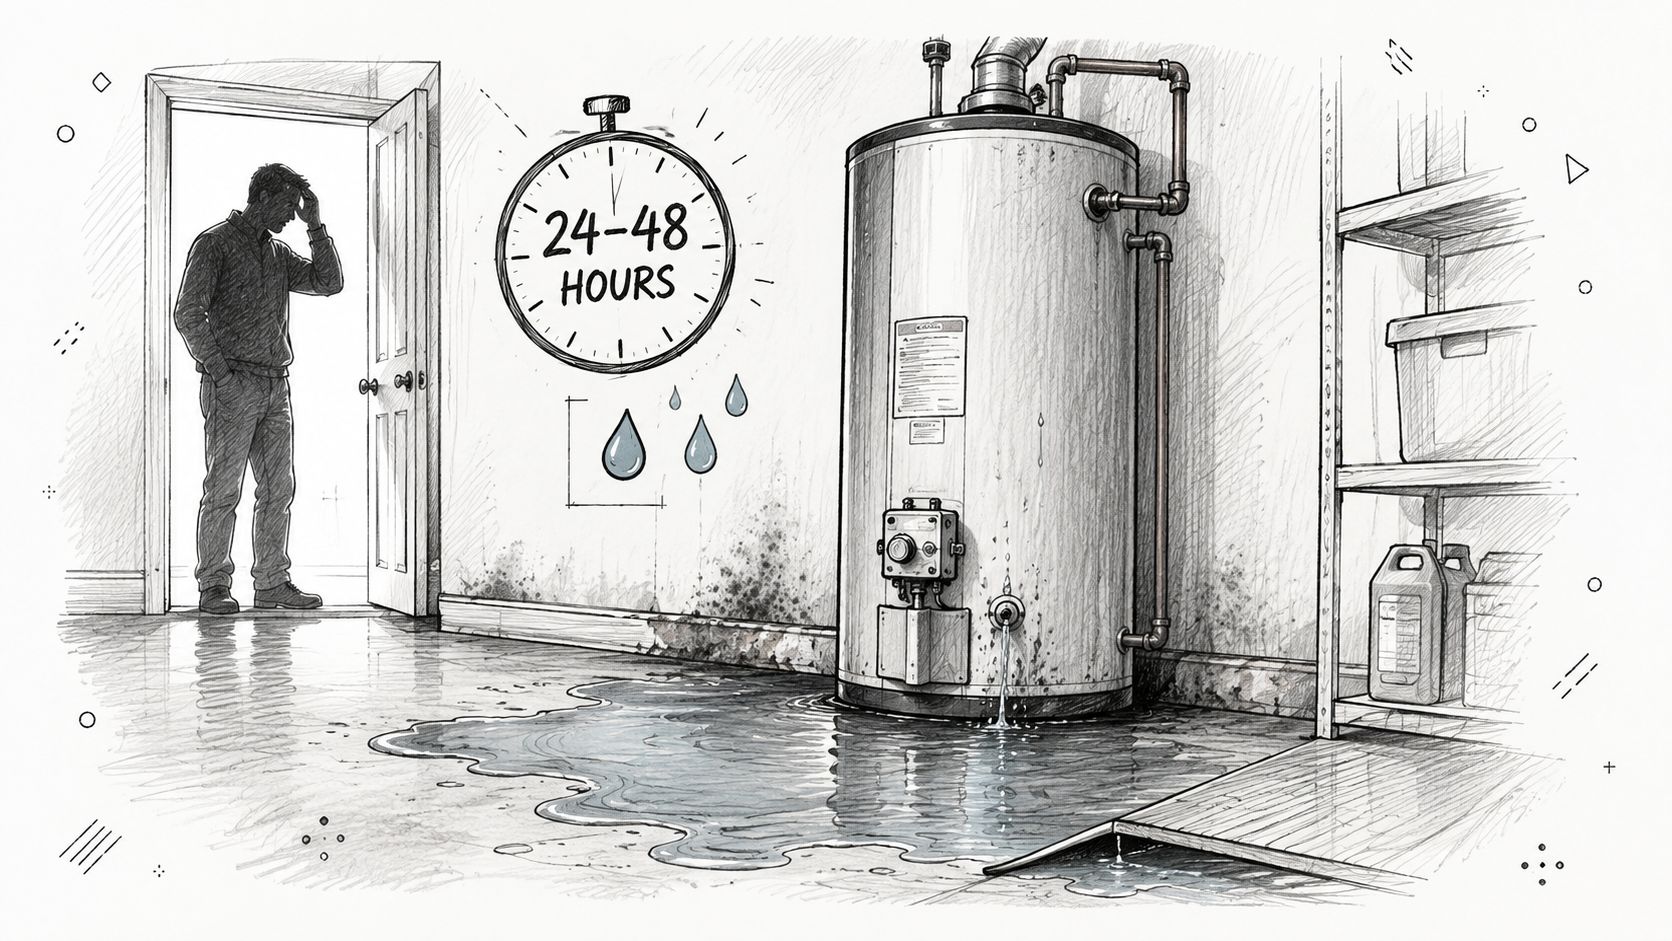
The restoration timeline matters here. One industry guide lays out Day 1 as emergency extraction, moisture mapping, and equipment placement, Days 2 to 4 as daily monitoring and repositioning of drying equipment, Days 4 to 7 as drying verification and clearance, and Weeks 2 to 4 as reconstruction, including drywall repair, flooring replacement, painting, and final inspection. The same source says rapid response within 24 hours helps reduce damage severity and lower mold risk, which is exactly why a slow drip deserves the same urgency as a sudden burst. restoration timeline guide
Slow leaks are the ones that fool people
A tank can leak for a while without making much noise. If the water is warm, it may evaporate on contact with heated surfaces and leave almost no obvious trail until the wood swells or the base of the cabinet stains. By the time someone notices odor, warped flooring, or a rusty line down the side of the tank, the leak has often been active longer than they thought.
The right mindset is simple. A water heater leak repair is sometimes a plumbing fix, but the home still needs damage control if water has already escaped. That's the difference between stopping the source and protecting the structure.
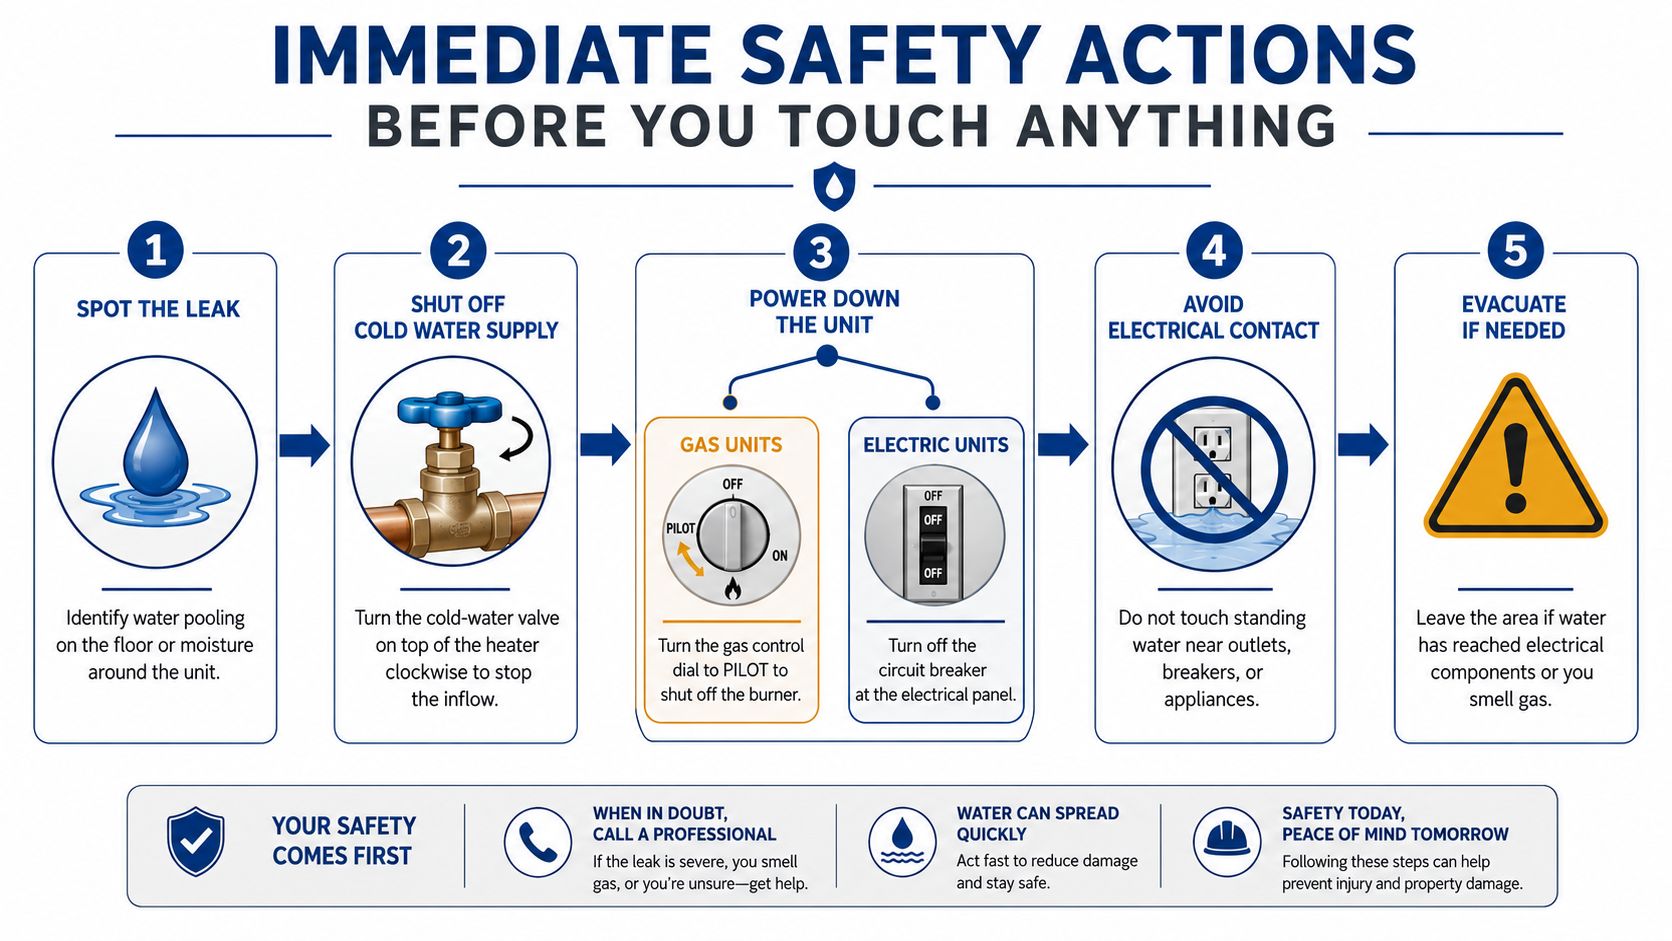
Immediate Safety Actions Before You Touch Anything
The first minutes matter more than the diagnosis. If the heater is leaking, stop the water flow, cut power in the right way for the appliance, and keep yourself out of standing water near electrical components. If you smell gas, leave the area and don't keep investigating the unit.
For a gas heater, turn the gas control to Pilot or the shutoff position if the unit has one, then close the cold-water supply valve feeding the tank. For an electric heater, switch off the breaker that serves the heater before you touch any water around the base. The order matters because you want to eliminate heat and incoming water before you start moving hoses, buckets, or tools.
Shut off the water first if the leak is active
Most homeowners can find the cold-water shutoff at the top of the heater and turn it clockwise. If that valve is stiff, don't force it so hard that you break the handle or the fitting. If the leak is strong and you can't stop the feed at the tank, close the home's main water shutoff and deal with the heater second.
If water is already around receptacles, a power strip, or a breaker panel, treat the area as unsafe until electricity is isolated.
Do not stand in water while reaching for switches, and don't assume a puddle is harmless just because it's shallow. Electric shock risk comes from contact and pathway, not depth. If the leak has moved toward appliances or outlets, get people out of the room before you keep working.
A lot of homeowners want to start unscrewing parts right away. Skip that impulse. First, stop pressure, stop heat, and make the area safe, then move on to diagnosis.
If you need a broader emergency checklist for water losses in the home, this first 24 hours guide aligns with the same containment mindset.
Identifying the Leak Source
A water heater usually leaks from one of four places, and the location tells you a lot about the repair. A tank-body leak points to internal failure, while a valve or fitting leak usually comes from a seal, connection, or pressure problem. The goal is to look closely enough that you do not waste time fixing the wrong part. If you want a tighter method for sorting out the source, this leak detection guide shows the same basic approach contractors use in the field.
Tank body versus fittings
A leak from the tank body usually shows up as rust streaking, moisture on the shell, or water coming from a seam or from behind the insulation. That points to a failed tank in most cases. Once the steel shell is compromised, repair is rarely worth the time, and replacement becomes the practical choice.
The cold-water inlet and hot-water outlet fittings are repair territory when the leak starts at a threaded joint, union, or connection above the tank. Those leaks often look like water running down from the top fittings and pooling where the tank meets the floor. A wrench, fresh seal, or corrected connection can fix those cases if the fitting itself is not corroded through.
The valves tell their own story
The T&P valve is the safety valve for temperature and pressure. Expert repair guidance says to test that valve first, and if lifting and releasing the lever does not stop continuous discharge, the valve should be replaced. Persistent discharge can also point to excess pressure or thermal expansion in a closed plumbing system, which means the valve may be reacting to a pressure-management problem instead of failing on its own. T&P and pressure-management guidance
The drain valve at the bottom is a common minor-leak point. Sediment buildup or a worn washer can keep it from sealing, so a slow drip there is often repairable by tightening or replacing the valve. A leak from the tank's bottom seam is different. When water appears at the seam or behind the insulation, the tank is usually telling you the lining or shell has failed.
If you are unsure which point is active, dry the outside of the heater, wait a few minutes, and watch where the first fresh droplet forms. That is usually the source, not the place where water finally landed.
Containing the Damage and Starting the Drying Process
Once the heater is safe, the building takes priority. Water sitting on the floor is easy to see, but the primary concern is what's already seeped under trim, into flooring edges, and into any wall material touching the leak path. The faster you remove standing water and start air movement, the less likely the damage is to spread.
Start with small, controlled removal
Use towels, a wet vac, or a mop and bucket. Don't dump extra water around the heater to “wash” the area clean. If cardboard, paper storage, rugs, or loose baseboards are soaked, pull them out so they're not trapping moisture against the floor or wall.
Open windows if weather allows, and run fans to move air across wet surfaces. The goal is not to make everything feel dry in ten minutes. The goal is to prevent stagnant moisture from sitting in a closed room.
Useful benchmark: if water has traveled into wall cavities or under flooring, the cleanup isn't finished when the visible puddle is gone.
The earlier timeline matters here too. Rapid response within 24 hours helps reduce damage severity and mold risk, which is why this stage isn't optional even when the plumber has already fixed the leak source. structural drying guidance
Know what you can handle and what you can't
A homeowner can usually mop, towel, ventilate, and remove obvious wet contents. Once water gets under flooring, behind baseboards, or into drywall, drying equipment and moisture measurement matter more than elbow grease. That's where extraction and structural drying protect the finish materials from lingering saturation.
If the leak was slow and the area smells musty, don't wait for the odor to “air out.” Odor often means moisture has been sitting long enough to change what's happening inside the assembly. Dry the structure, not just the surface.
Repair or Replace How to Decide
A leaking water heater forces a simple decision, but the clues are mechanical, not emotional. A valve that weeps at the connection can often be repaired. A tank that leaks through the seam or from the shell usually points to failure inside the unit. The key question is whether the problem sits in a fitting, a pressure control, or the tank itself.
What usually gets repaired
| Leak source | Likely cause | Typical action | Rough cost |
|---|---|---|---|
| T&P valve | Valve not sealing or pressure-management problem | Test, then replace the valve if discharge continues | Minor fitting work by a plumber often falls in the low hundreds, and parts are usually inexpensive |
| Cold or hot fittings | Loose joint, worn seal, or connection failure | Tighten, reseal, or replace fitting as needed | Minor fitting work by a plumber often falls in the low hundreds, and parts are usually inexpensive |
| Drain valve | Sediment buildup or worn washer | Tighten or replace the valve | Minor fitting work by a plumber often falls in the low hundreds, and parts are usually inexpensive |
A leaking T&P valve is one of the more common repair calls. If the valve itself is sound, the discharge may be tied to excess pressure, temperature control problems, or a valve that no longer seals cleanly. Fittings on the cold or hot side can also fail without warning, especially if the joint has loosened or the seal has aged out. A drain valve can drip for the same reason, or because sediment has built up around the washer and seat.
These are the leaks I usually see that still give you a repair path. The unit may need a new valve, a reseal, or a simple connection correction. The key is that the tank body is still intact.
What usually gets replaced
| Leak source | Likely cause | Typical action | Rough cost |
|---|---|---|---|
| Tank body or bottom seam | Internal corrosion or shell failure | Replace the heater | Full tank replacement often lands in the national range for labor, a new unit, haul-away, and permit |
| Behind insulation | Hidden tank failure | Replace the heater | Full tank replacement often lands in the national range for labor, a new unit, haul-away, and permit |
Once the leak comes from the tank body or the bottom seam, repair stops being practical. Corrosion inside the shell means the metal has already been compromised. A leak behind the insulation usually tells the same story, because the water has found a path out of the tank itself before it ever reaches a fitting you can tighten.
That is the point where replacement saves time and avoids a second loss. A patched external symptom on a failing tank rarely buys much. It may stop the drip for a short period, but it does not restore the shell.
The gray zone is timing, not theory
A slow leak at a fitting can sometimes be stabilized long enough to schedule replacement or make a clean repair. That does not make the leak harmless. It only means the plumbing issue may be manageable while the building still needs drying and monitoring.
Age, sediment, and service history still matter, especially if the tank has already shown rust, noise, or repeated discharge at the T&P valve. Those clues point to a unit that has been under stress for a while. If the heater has crossed into corrosion at the tank itself, repairing a small outside symptom only delays the failure. The better choice is the one that stops the water now and keeps you from spending money on a shell that is already done.
When to Call a Restoration or Plumbing Professional
A plumber can fix the leak and leave the home still wet. That's the point where restoration takes over. If the water moved beyond the utility room, soaked drywall, warped flooring, or left a musty smell, the building needs more than a shutoff and a replacement part.
Call restoration when the water is no longer local
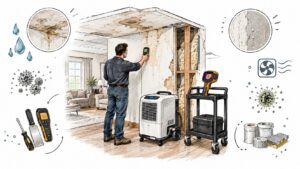
Any leak that reached adjacent rooms, baseboards, cabinets, or flooring seams is worth professional mitigation. The same goes for leaks that sat for hours before discovery, because hidden moisture has time to work into materials you can't see. A restoration crew brings moisture meters, drying equipment, and a plan for what needs to be opened, monitored, or rebuilt.
In Central Texas, indoor water loss can get worse when heavy rain or flash-flood conditions already push humidity and groundwater pressure up. That makes fast extraction and drying even more important in Georgetown and Austin homes.
RestoTek TX handles inspection, water extraction, mitigation, structural drying, leak detection, microbial prevention, and reconstruction for water-loss events in Georgetown and Austin. That full-cycle approach matters when one contractor needs to move from finding the leak to drying the structure and then rebuilding what the water damaged. In a loss like this, the important question is not just who can swap the failed part, but who can keep the rest of the house from deteriorating after the part is fixed.
Watch the signs that you've crossed into building damage
Warped flooring, swollen trim, discolored drywall, and persistent odor all point to material impact. If the leak was slow enough that you didn't catch it right away, assume the materials near the heater need inspection. Plumbing repair stops the source. Restoration protects the rest.
That's why the decision line is simple. If moisture has reached structure, don't stop at the plumber.
Documentation and Insurance Tips Before the Drying Starts
Take photos before anything gets moved, even if the room looks messy. Capture the heater, the floor, the surrounding walls, and the path the water took. Then make a quick written log with the shutoff time, who you called, and what they found.
Keep any invoice, estimate, or moisture report together in one folder. If a restoration company gives a no-cost estimate, save it with the rest of the paperwork so the scope is easier to explain later. Moisture readings and dry-out documentation help show what was affected and what had to be repaired.
A simple incident checklist
- Photograph the leak area before cleanup starts.
- Record the shutoff time for water, gas, or electrical power.
- Save plumber and restoration contacts with dates and notes.
- Keep damaged-item photos if trim, flooring, or drywall were affected.
- Store estimates and moisture documentation in one file for insurance.
Use that list as the short version of the job: shut down, identify, contain, decide, document, restore. If you're in Georgetown or Austin and the leak has already spread beyond the heater itself, RestoTek TX can inspect the loss, extract standing water, dry the structure, and handle the rebuild after the plumbing issue is corrected. Visit RestoTek TX to request help and move the repair from the appliance to the home before hidden moisture turns into a second problem.