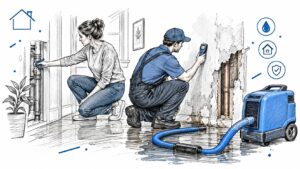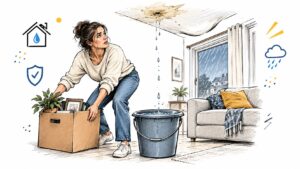
You hear water behind the bathroom wall, then notice it spreading into the hallway. A supply line has failed in your Georgetown or Austin home, and you're trying to decide what needs attention before the plumber arrives. Burst pipe water damage repair starts with making the scene safe, but it ends only when the affected building materials are ready to repair.
When a Burst Pipe Hits a Central Texas Home
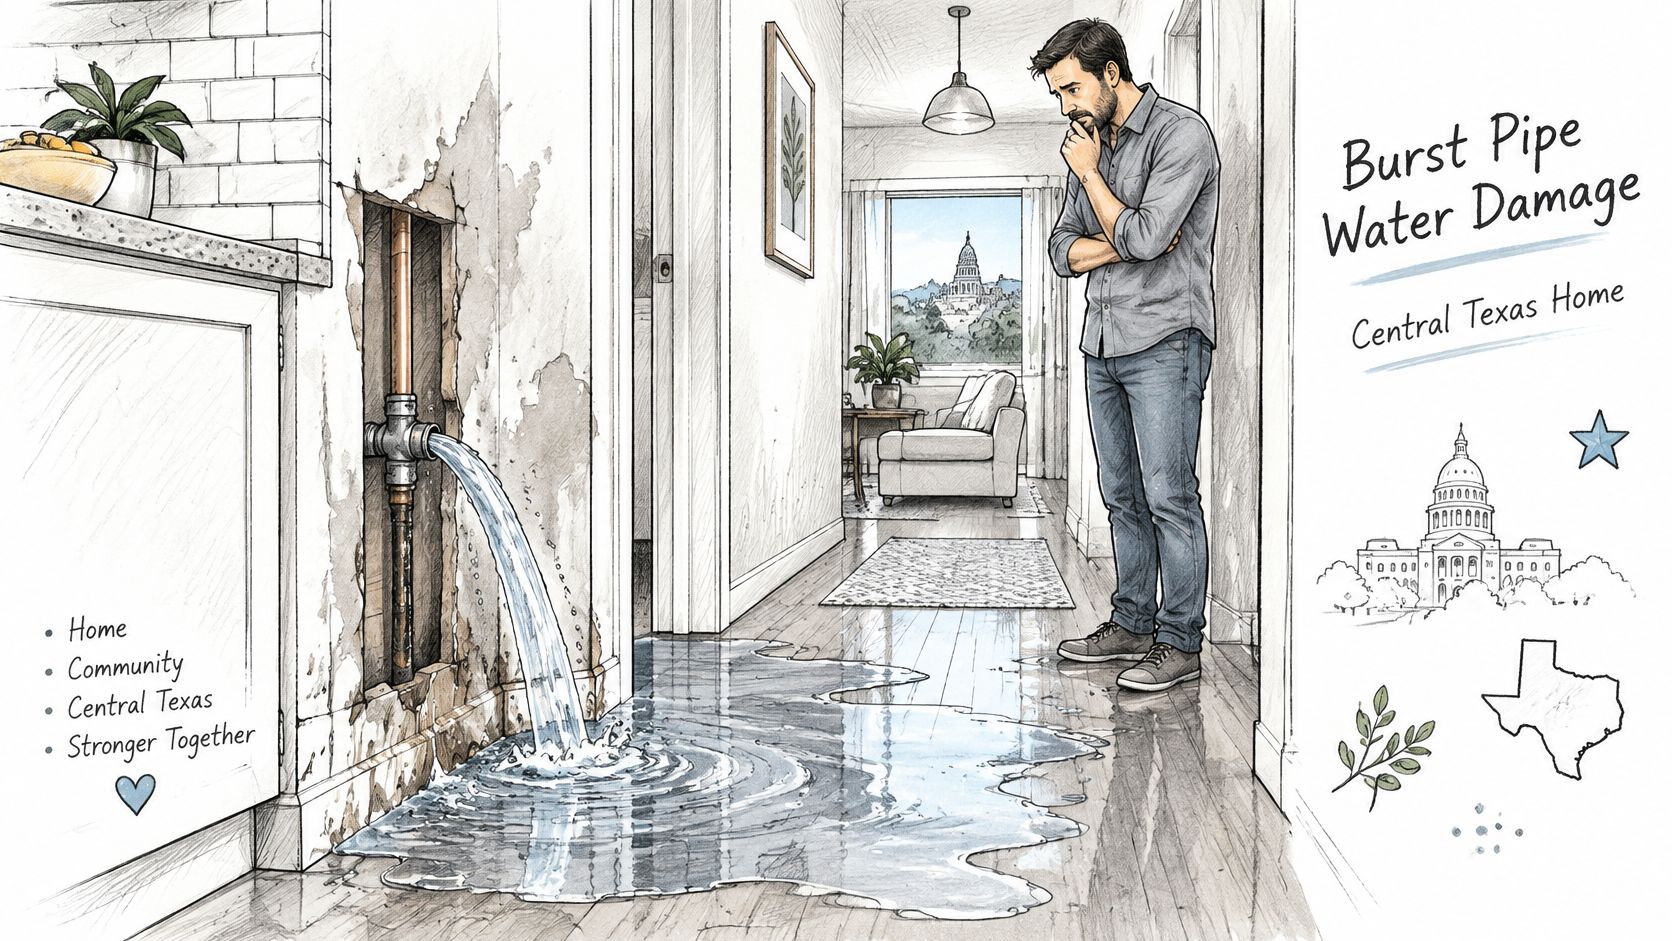
Consider a supply-line failure behind a vanity. Water collects inside the cabinet, reaches the baseboard, and spreads beneath the adjoining floor. By the time someone notices the puddle, the affected area may extend beyond what's visible from the doorway.
That's an illustrative situation, not a documented customer loss. It shows why a broken plumbing component and a water-damaged building require different kinds of work. A plumber can stop the release without resolving everything the water reached.
A plumbing repair isn't the whole repair
Water can migrate through porous finishes, flooring systems, insulation, and concealed cavities. Leaking or condensing pipes inside walls and pipe chases are recognized moisture sources, so replacing wet finishes without correcting the source leaves the underlying problem unresolved.
For a homeowner, the useful distinction is source repair versus building recovery. The source repair stops the leak. Building recovery addresses standing water, concealed moisture, affected contents, and materials that need drying or replacement.
A Central Texas response shouldn't depend on whether freezing weather occurred. If a fixture connection or supply line fails during an ordinary evening, the immediate question is still where the water went. The same applies to a rental between tenants or a small office discovered wet before opening.
Respond quickly without declaring an early finish
The EPA's guide to mold and moisture advises drying wet areas and belongings within 24–48 hours because mold generally won't grow in most cases when drying is completed within that window, while emphasizing that moisture control is essential and hidden wetness or contamination can still allow growth.
Practical rule: Treat the prevention window as a reason to act promptly, not as permission to rebuild automatically when the clock runs out.
The broad order is straightforward: isolate the source, remove standing water, locate concealed moisture, and dry affected materials with appropriate air movement and dehumidification. Finish repairs come after verification, not just after the room looks better.
That distinction helps keep the job proportionate. Not every wet room needs extensive demolition, but neither a repaired pipe nor a clean floor settles the condition of the wall or floor assembly. The restoration scope should follow the evidence.
Shut Off Water and Make the Area Safe
Keep people out of the affected area before trying to save finishes. Move children, pets, tenants, and customers away from standing water. If water is near electrical equipment, don't enter it to investigate the leak.
Wet outlets, appliances, cords, and electrical panels require caution, not careful mopping around them. Shut off affected circuits only if you can reach a dry panel by a dry route and operate it safely. If the panel or access route is wet, stay clear and contact an electrician or the utility for assistance.
Stop the supply without entering a hazard
If the failed fixture has an accessible shutoff in a safe, dry location, close it. If water continues flowing, or the failure is behind a wall where the fixture valve won't isolate it, close the property's main water valve.
Don't force an unfamiliar or stuck valve. If you can't identify or safely operate the shutoff, contact the water utility or an emergency plumber. Tell them whether water is actively flowing and whether the suspected failure is in a wall, beneath the slab, or near electrical equipment.
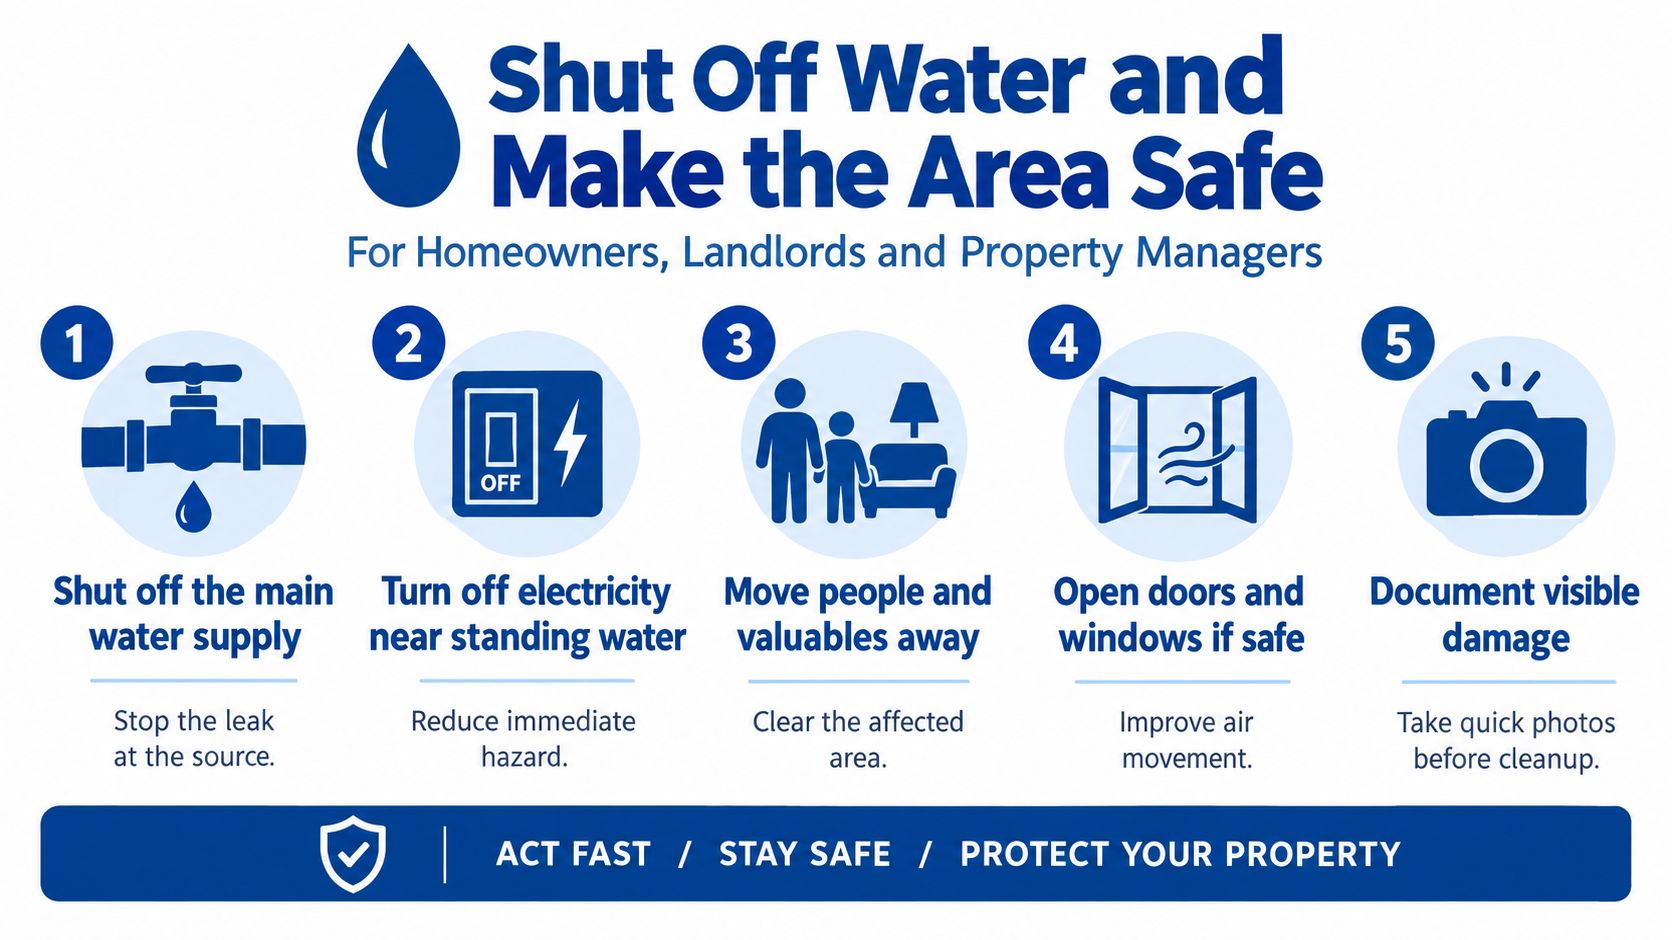
Treat the infographic as a reminder, not permission to approach wet electrical components. Opening windows is also conditional, not an automatic drying measure. Don't open the house to rain or assume outdoor air will help the later controlled-drying setup.
Contain what you can safely reach
Once the source is isolated and access is safe, limit further spread without dismantling the room.
- Use towels or a temporary barrier: Place them along a dry-side threshold to contain a small remaining spread. Don't block your exit or cross suspect water to do it.
- Move vulnerable belongings: Relocate photographs, papers, and safely accessible electronics to a dry area. Leave plugged-in equipment alone until electrical safety is established.
- Preserve the visible condition: Take quick photographs from a safe position before moving items or changing the room.
Don't plug fans, extension cords, chargers, or household vacuums into outlets near the wet area. A dry-looking receptacle doesn't establish that the surrounding electrical system is safe.
Avoid pulling baseboards, lifting flooring, or opening the wall just to find the break. Those decisions belong with the plumbing and restoration assessment, especially when concealed services or older building materials may be involved.
After-hours losses in Austin and Georgetown can leave an owner waiting while a plumber arranges access to a slab line, chase, or exterior wall. Your immediate objective is a stable scene: people clear, water isolated where possible, and no improvised electrical or demolition work. You don't need to solve the entire loss before help arrives.
Extract Standing Water and Dry the Structure
Professional drying should begin with an assessment, not with someone unloading fans. The crew needs to understand the water source, contamination concerns, affected materials, and likely migration routes before choosing equipment or deciding what can remain.
The ANSI/IICRC S500 water-damage restoration framework organizes this work around loss assessment, water categorization, drying principles, structural and contents considerations, monitoring, and final inspection. That provides a useful basis for evaluating whether a proposed job is documented restoration or water removal.
Extract first, then establish the drying plan
Water classification affects handling and salvage decisions. A crew shouldn't assume every room can receive the same treatment just because the release began at a supply line. Assessment must account for contamination and the condition of materials encountered along the way.
Extraction equipment removes standing water and recoverable water from affected surfaces and materials. This is different from evaporation. Leaving removable water in place gives the drying equipment unnecessary work and leaves the crew without a clear view of the remaining condition.
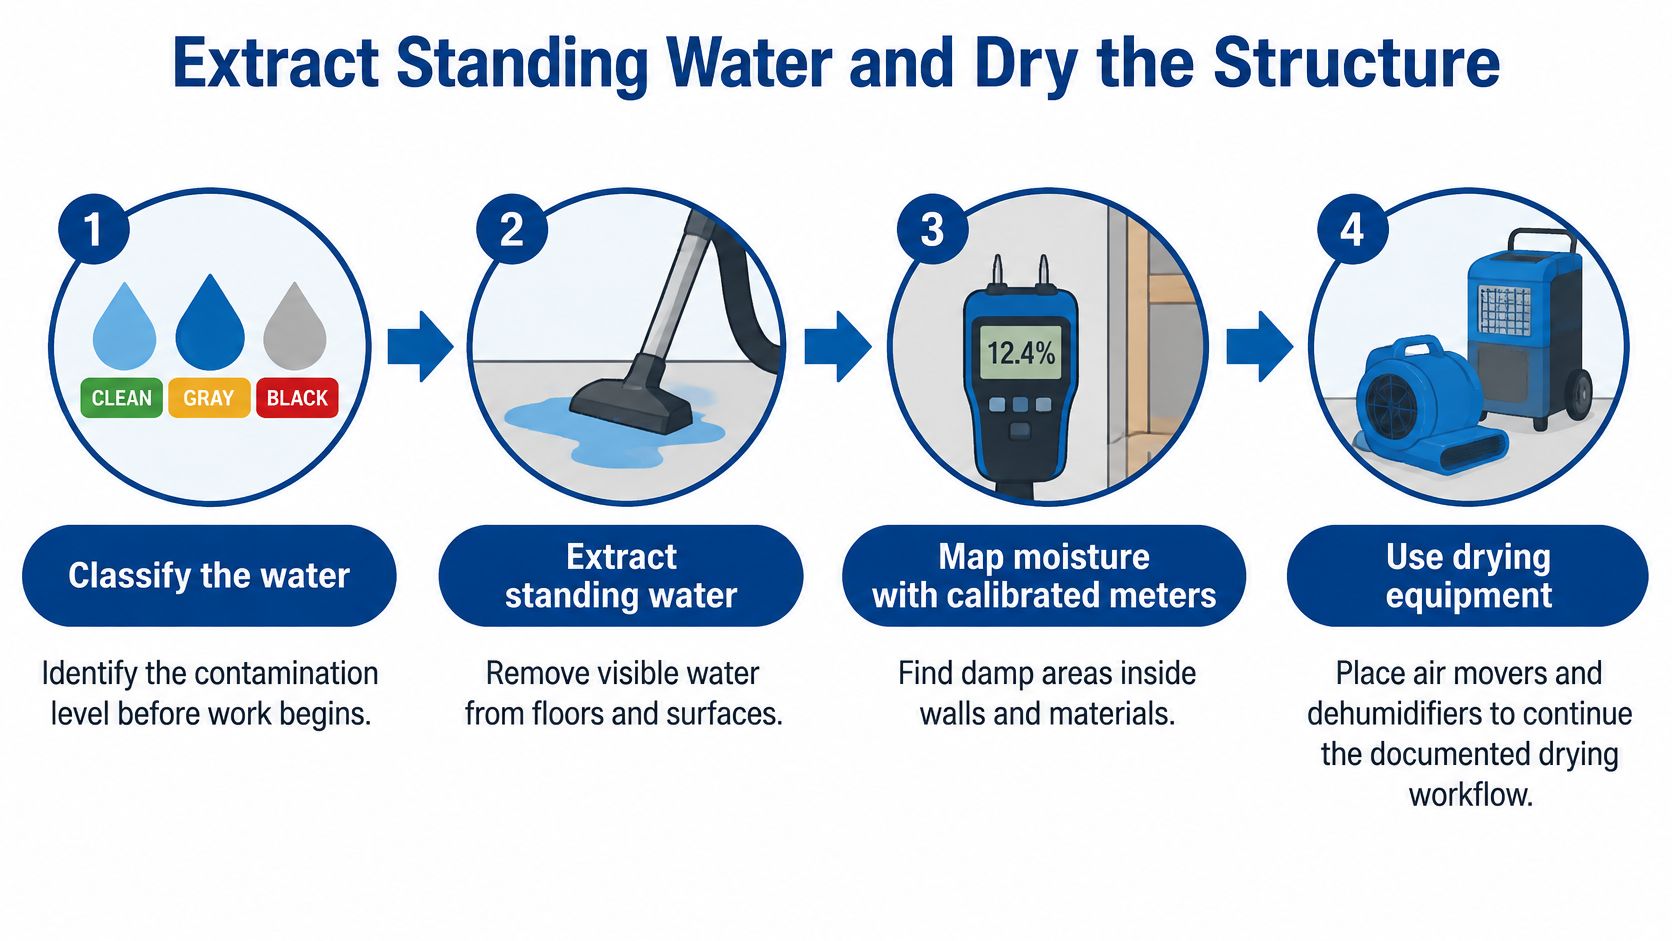
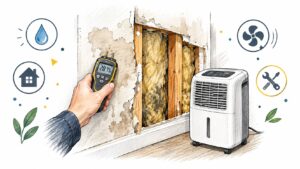
Technicians then use calibrated moisture meters to map affected materials. Thermal imaging can help identify areas that warrant investigation, but it supplements direct moisture assessment rather than replacing it. A temperature pattern alone doesn't settle whether a material is wet.
Air movers and dehumidifiers serve different purposes. Air movement supports evaporation at affected surfaces; dehumidification removes moisture from the drying environment. Placement should reflect the actual wet materials and accessible drying paths, not just available floor space.
Expect a job file, not an equipment count
A homeowner or property manager should be able to ask what the crew is drying, how they're measuring progress, and what condition will allow equipment removal.
- Initial assessment: Affected locations, starting moisture readings, and the basis for the proposed scope.
- Equipment layout: Where air movers and dehumidifiers were placed and which areas they serve.
- Daily monitoring: Material readings and relevant air-condition measurements, including temperature and humidity.
- Material decisions: What was removed, what remained, and why.
- Completion records: Final readings tied to an appropriate dry standard.
Daily measurements should guide adjustments. If an area isn't progressing, the crew should investigate access, equipment placement, trapped moisture, or the suitability of retaining the material. Continuing the same setup without checking its results isn't a defensible drying plan.
Ask what changed in the readings, not just how long the machines have been running.
Inaccessible cavities and layered flooring deserve particular attention. Excessive heat isn't a shortcut either; it can damage hardwood or accelerate material movement before the assembly is dry.
This workflow applies to homes, rentals, offices, and small commercial properties throughout the Austin–Georgetown area. The scope changes with contamination, duration, material type, and concealed wetting. The need for a documented endpoint doesn't.
Check Cavities Before You Call It Dry
A dry surface doesn't prove a dry assembly. Drywall facing, insulation, framing, flooring, and subflooring don't necessarily release moisture at the same rate. A room can look ready for paint while an inaccessible layer still needs attention.
The prevention benchmark discussed earlier is therefore not a universal completion deadline. Drying depends on materials, assembly design, trapped water, ventilation, and indoor humidity. A calendar can tell you how long the loss has been underway; it can't tell you what remains inside the wall.
Different materials need different decisions
Building-science research on bio-based materials tested 14 materials under flooding, leaking-pipe, and high-humidity conditions, finding that some dried quickly, wood-fiber insulation became moldy after about one week of simulated leaking, and other materials remained mold-free for months.
Those findings aren't a drying timetable for your house. They demonstrate why a single deadline can't establish the condition of different materials. Gaps and interfaces inside assemblies also deserve investigation because concealed spaces can retain water or provide a path beyond the visible damage.
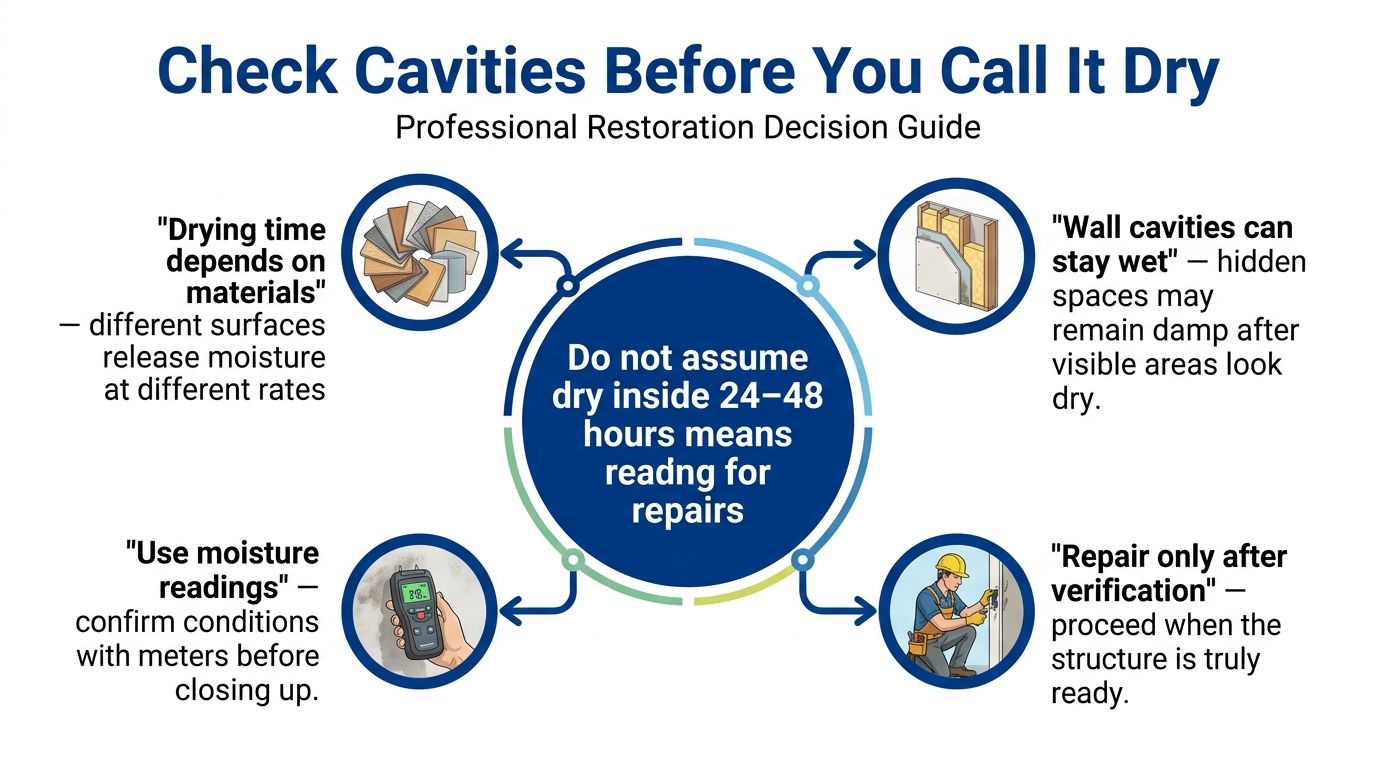
Fans alone don't answer that problem. They may move air across an exposed surface while leaving a closed insulation bay largely unaffected. Without moisture removal and a suitable drying path, air circulation can redistribute moisture rather than resolve the wet assembly.
Let the location determine the next action
A useful moisture-mapping assessment connects readings to identifiable locations. “The bedroom is dry” is less useful than a record showing the condition of the affected wall base, adjacent framing, and flooring assembly.
- Repeat a reading when an area looks improved but its material condition remains uncertain.
- Inspect a cavity when the water path enters a closed wall, insulation bay, or inaccessible channel.
- Create targeted access when inspection or drying can't reach the affected material through existing openings.
- Consider removal when contamination, deterioration, or persistent wetness makes reliable retention doubtful.
Humidity control matters alongside those decisions. The EPA's building-moisture guidance recommends indoor relative humidity generally below 60%, ideally 30%–50% when feasible, and notes that porous materials wet for more than 48 hours may need removal and replacement in some circumstances rather than ordinary drying.
Before reconstruction: Require documented moisture targets by material and location, not a general statement that the house feels dry.
Targeted opening has a trade-off: it creates a repair, but it can resolve uncertainty that surface inspection cannot. Unnecessary demolition wastes salvageable finishes. Closing a known wet cavity conceals an unresolved problem. The right choice follows inspection and measurements.
Document the Loss for an Insurance Claim
The water damage and the failed pipe are separate coverage questions. Ask about resulting damage to walls, floors, and belongings independently from the cost of repairing the plumbing component. Don't accept a general answer about “burst-pipe coverage” as a decision on every part of the job.
The distinction between a sudden release and a gradual leak also matters. Corrosion, neglect, repeated seepage, or maintenance history can become dispute points. A useful burst-pipe coverage discussion separates resulting damage from source repair, but your policy language and the facts of your loss govern the actual decision.
Preserve the sequence of events
Start with what you know. Record when you discovered the water, when someone isolated the supply, and what was visible at that time. Don't guess how long a concealed leak existed or describe every stained surface as newly damaged.
Photograph the source if it's safely accessible, then capture wide room views and close-ups. Record damaged belongings before moving or discarding them. Ask the plumber to document findings and distinguish observed conditions from suspected causes.
Keep the records together:
- Source evidence: Photographs, video, plumber findings, and any safely retained failed component.
- Damage evidence: A contents inventory, affected-room photographs, and moisture documentation.
- Work evidence: Estimates, authorizations, invoices, removal records, and completion reports.
Emergency extraction and permanent reconstruction are different decisions. Necessary mitigation may need to proceed before an adjuster finishes inspecting, but that doesn't justify undocumented demolition. Photograph what must be removed and record why it couldn't remain.
What to Clarify After a Burst Pipe
| Item in question | Decision to clarify | Evidence to keep |
|---|---|---|
| Damaged walls, floors, and contents | How does the policy address resulting damage from this release? | Room photographs, contents list, moisture records |
| Failed pipe or connection | Is source repair treated separately from resulting damage? | Plumber findings, source photographs, itemized invoice |
| Wall or slab access | How will necessary access and restoration be evaluated? | Access photographs, proposed scope, repair records |
| Possible long-term leakage | Which observed facts support the cause and duration assessment? | Maintenance records, plumber observations, discovery timeline |
| Emergency mitigation | What documentation and authorizations does the insurer require? | Work authorization, equipment records, invoices |
| Reconstruction | Which repairs are agreed, and which remain under review? | Written scope, estimates, final drying documentation |
For Austin and Georgetown losses, avoid describing the cause as freezing unless the evidence supports it. Ask the plumbing professional to assess relevant conditions such as age, material, pressure, soil, temperature, precipitation, and delivery conditions rather than selecting a cause from a seasonal checklist.
Reviewing the insurance claim process can help organize communication, but it doesn't establish coverage. Keep unresolved items in writing and ask the adjuster to identify the policy provisions behind a decision. A clear file supports review without overstating what happened or promising payment.
Choose Repair Help and Take the Next Step
The right repair arrangement depends on what remains uncertain, not just how much floor is visibly wet. A contained release on fully accessible materials presents a different decision from water entering a wall or layered floor.
Owners generally face a choice between limited self-stabilization, separate trade contractors, and a provider that coordinates mitigation through reconstruction. Each can be appropriate when its limits are clear.
Match the help to the scope
Limited stabilization and observation may fit a small, clean release when every affected surface is accessible and no concealed assembly is involved. The practical limit is your ability to verify what got wet. If the water path disappears under flooring or behind cabinetry, observation alone doesn't resolve the uncertainty.
Separate plumbing, mitigation, and rebuild contractors allow you to choose specialists for distinct tasks. The trade-off is coordination. Someone needs to manage access, pass findings between crews, confirm readiness for reconstruction, and prevent gaps between each contractor's scope.
A full-cycle local crew can manage those handoffs under a shared project scope. That can be useful when the property needs both drying and substantial finish repair, or when a landlord or business operator can't manage multiple separate schedules.
Ask about responsibility, not just availability
Before authorizing work, establish who owns each decision.
- Scope and exclusions: Ask what the estimate includes and which work requires a separate authorization.
- Concealed damage: Confirm how newly discovered conditions will be documented and discussed.
- Testing questions: Ask whether microbial concerns or possible asbestos-containing materials need assessment before disturbance.
- Rebuild handoff: Identify who confirms that affected areas are ready for replacement materials.
A water damage restoration technician should be able to explain the proposed work in terms of your building, not just provide a list of machines. Ask who will communicate changes and who remains responsible if plumbing access enlarges the restoration scope.
One local option is the family-operated Georgetown and Austin firm led by Joan and Josh Garza. Its services span inspection, extraction, mitigation, structural drying, leak-related plumbing, microbial prevention, deodorization, testing where needed, and reconstruction. It offers around-the-clock emergency response and no-cost estimates.
Full-cycle help is worth considering when cavities remain unverified, odors or microbial concerns are present, older materials raise testing questions, or disruption affects tenants and business operations. Don't order replacement finishes merely to get the project moving. Resolve the remaining uncertainty on site before committing to work that could conceal it.
RestoTek TX offers burst-pipe assessment, extraction, structural drying, and reconstruction for Georgetown and Austin properties. If water is still moving or concealed moisture hasn't been verified, visit RestoTek TX to request an on-site assessment and no-cost estimate before closing walls or ordering finishes.