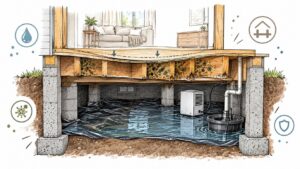
A musty smell appears upstairs after a hard rain. The hallway floor feels slightly spongy, a door no longer closes cleanly, or a window sticks even though nobody can see water inside the house. Many Georgetown and Austin homeowners first notice crawl space water damage through these indirect clues, not through a dramatic pool of water beneath the floor.
That's because a crawl space can look dry while the wood, insulation, soil, and air remain damp. Crawl space water damage isn't only a flooding problem. It's often a persistent building-science problem involving drainage, vapor movement, air leakage, and humidity. The right response starts by finding out where the moisture comes from, how long it has remained, and whether the structure has actually dried.
What Crawl Space Water Damage Looks Like
After a night of heavy rain, you notice a faint mildew odor near the living-room return vent. By breakfast, the hallway floor feels softer than usual. Nothing appears wet, so you open a few windows and expect the smell to fade.
That response can postpone the diagnosis. A crawl space lies directly below the living area, so moisture there can affect subflooring, floor joists, sill plates, insulation, and indoor air before the upstairs finishes show damage. A small plumbing leak can keep soil damp for an extended period. Rainwater can seep through a foundation wall, while humid air can condense on cool wood and metal. Each condition may exist without a visible puddle.
A flooded basement usually provides an obvious warning. A crawl space can function like a damp closet beneath the house, holding standing water, wet soil, or humid air for days or weeks. Insulation may conceal the framing, making a quick visual inspection misleading. The space can look dry while moisture continues moving through soil, air, and building materials.
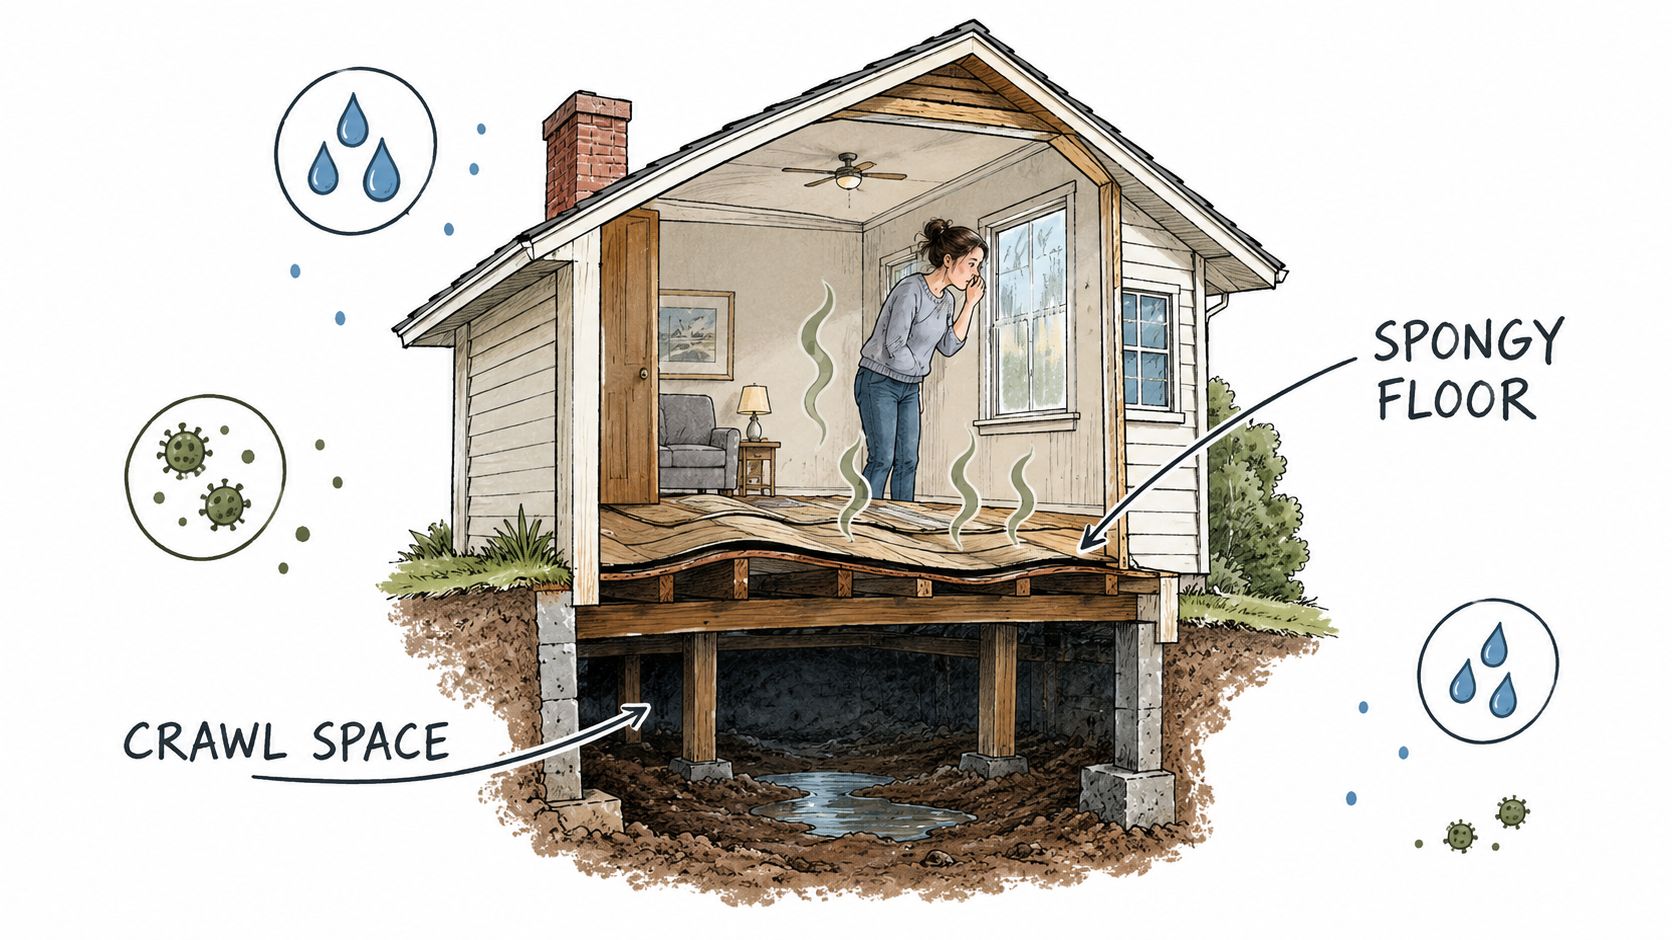
Three forms of moisture damage
Standing water is the clearest condition. It can result from a failed plumbing connection, storm runoff, groundwater movement, or a backup. The visible pool is only part of the problem. Wood and insulation can absorb water and remain damp after the surface has dried.
Seepage appears as damp soil, staining, or moisture along the foundation edge. Poor grading and drainage can direct water toward the house, leaving the soil wet after the weather clears. Research from the U.S. Forest Products Laboratory associates crawl-space moisture with poor drainage or grading, where standing water and wet soil raise humidity beneath the home. The Norwegian housing moisture study found moisture problems in 41.5% of crawl spaces, although crawl spaces existed in only 4% of inspected homes.
High humidity is harder to see and often lasts longer. Wood can swell, fasteners can rust, and insulation can hold moisture against framing. Mold may develop behind insulation or beneath the subfloor. The same study found wet crawl spaces remained above 70% relative humidity for 79% of the time and above 80% for 39% of the time. Humidity readings therefore provide information that appearance alone cannot.
Practical rule: A dry floor upstairs does not prove that the crawl space is dry. It shows only that water has not visibly reached the finished surface.
Inspect for rotting sill plates, warped joists, sagging floors, compressed insulation, and mold behind insulation or near the subfloor. These conditions show that moisture has affected materials, not merely appeared temporarily. A proper assessment should measure material moisture and air humidity, then identify the source, rather than relying on a quick visual check.
How Crawl Space Moisture Damage Forms
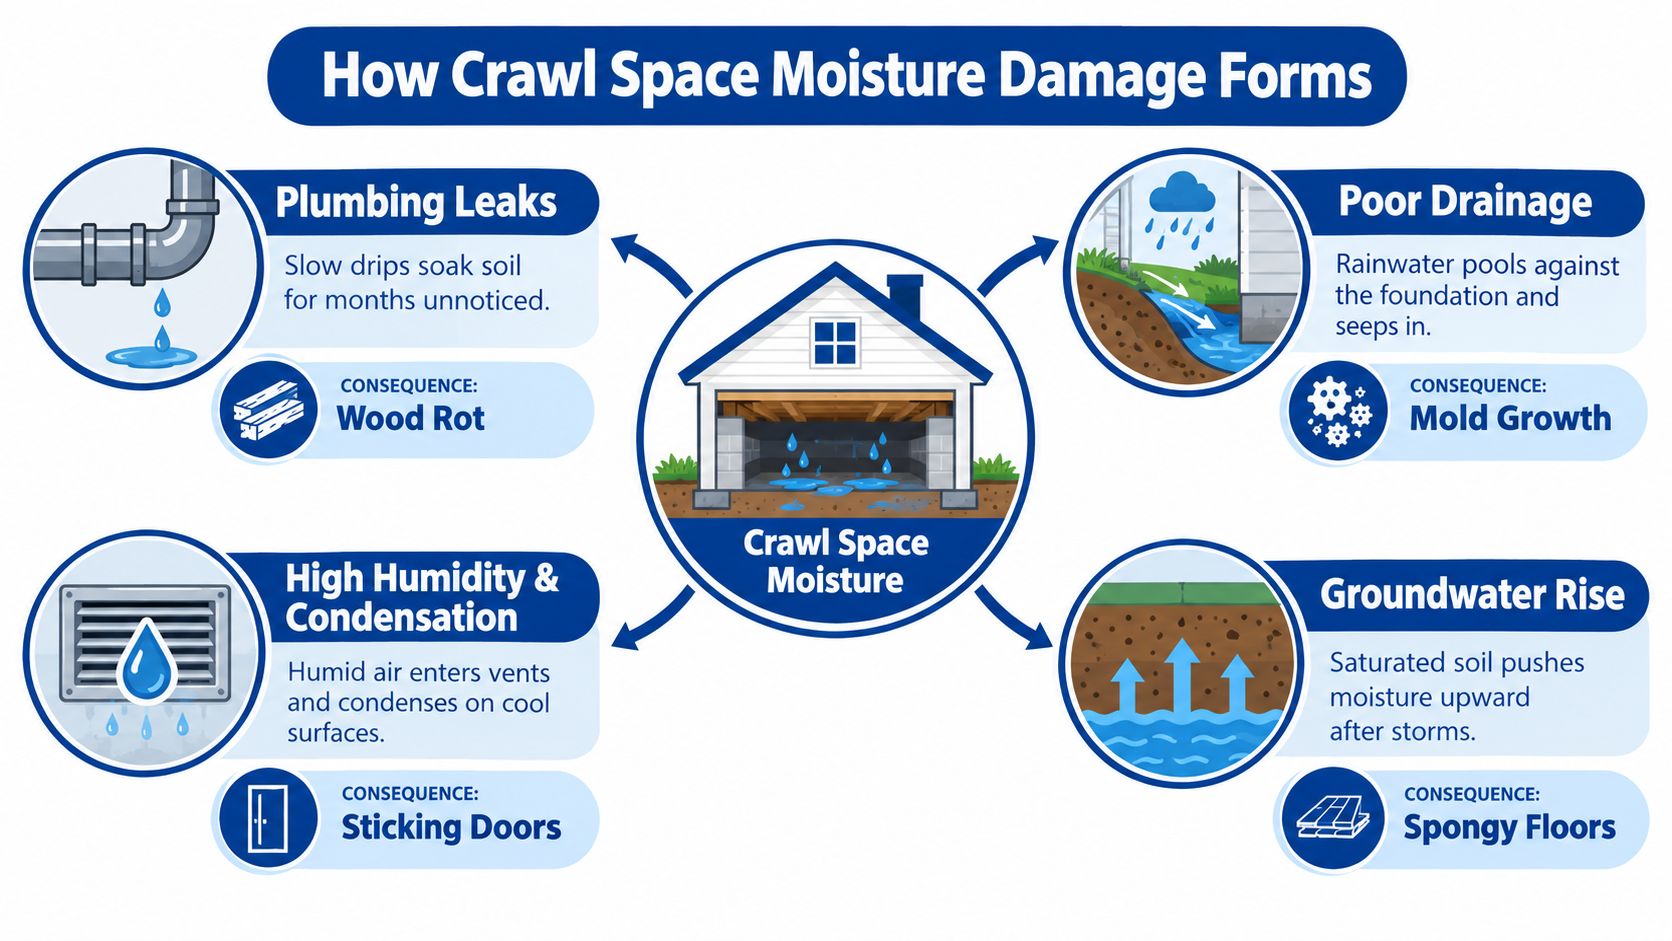
Crawl space moisture usually develops through a chain of events rather than one isolated cause. A leaking pipe wets the soil. Wet soil releases vapor. Poorly positioned vents or gaps allow humid air to circulate. Cool framing then absorbs moisture or collects condensation. By the time a homeowner smells mildew, the source may be several steps removed from the visible symptom.
The common sources include plumbing leaks, storm runoff, high groundwater, poor grading, clogged or badly directed downspouts, and vapor rising from exposed soil. Some events leave standing water. Others create a damp environment that never looks flooded.
Why the air matters as much as the water
Think of an unsealed crawl space as a greenhouse with a dirt floor. Sunlight warms the ground outside, water evaporates from damp soil beneath the house, and the enclosed air holds that moisture around the framing. Vents may exchange air, but ventilation doesn't automatically remove moisture in a humid climate. It can introduce more humid outdoor air instead.
The key control point is relative humidity. EPA-linked building-science guidance and NC State Extension identify below 60% relative humidity as the control threshold, with 30% to 50% as the preferred operating range, as summarized in this crawl-space mold guidance. Sustained humidity above that threshold gives organic materials such as subflooring, joists, and sill plates more opportunity to absorb moisture and support mold growth.
Air leakage can carry the problem upstairs. Warm air in the house tends to rise, and replacement air can enter through openings in the lower part of the building. Gaps around plumbing, ductwork, vents, and access doors can pull crawl-space air toward the living area. This stack effect helps explain why a homeowner may smell a crawl-space problem indoors even when the floor surface looks normal.
Why ground covers and sealing change the outcome
A ground cover separates the indoor crawl-space air from damp soil. In monitored crawl spaces, plastic ground cover reduced the soil-moisture load by an average of 93%, according to the sealed crawl-space research. That doesn't repair a leaking pipe or stop water entering through a foundation, but it removes a major continuing source of vapor.
Sealing, a properly installed vapor barrier, and dehumidification often outperform simple ventilation in humid conditions. Exterior drainage may still be necessary, especially where runoff or groundwater enters, but pumping out water without controlling the source leaves the same moisture cycle in place.
The practical sequence is straightforward:
- Find liquid water: Check plumbing, foundation edges, grading, downspouts, and sump equipment.
- Block soil vapor: Use a continuous ground vapor barrier that limits evaporation from exposed soil.
- Control air movement: Seal openings and manage crawl-space humidity rather than assuming vents will solve it.
- Measure the result: Test ambient relative humidity and the moisture content of wood after corrective work.
Repair is source control. Drying the surface is only one action in a larger process.
Signs Your Crawl Space Needs Immediate Inspection
Start upstairs, because the first evidence may be inside the living space. A persistent musty odor, unexplained indoor humidity, visible mold near baseboards, or a floor that feels bouncy can all justify further investigation. A sticking door or window can also signal movement or swelling, although those symptoms can have other causes and shouldn't be treated as proof of crawl-space damage by themselves.
Then inspect the crawl-space entrance and the area around it. Don't enter if there is standing water, exposed wiring, sewage, unstable framing, or any condition you can't safely assess. A flashlight, a moisture meter, and photographs from a safe position can provide useful information without turning a suspected water loss into a personal safety incident.
What to look for from a safe position
- Water and wet materials: Look for pooling, muddy soil, water marks, soaked insulation, or a vapor barrier that has separated or filled with water.
- Condensation: Droplets on pipes, ducts, nails, or metal connectors indicate that humid air is meeting a cooler surface.
- Wood deterioration: Darkened wood, soft spots, fungal growth, crushed edges, or sagging members deserve prompt attention.
- Metal corrosion: Rust on fasteners, hangers, or support components can show that moisture has remained present.
- Air and odor changes: Strong musty odors or odors associated with sewage require source-specific evaluation, not just deodorizer.
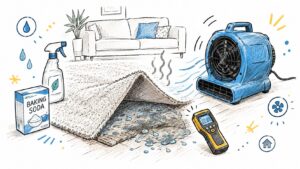
Visual inspection has limits. A surface may feel dry while the center of a joist or the edge of a subfloor remains wet. A pin-type moisture meter can compare readings in affected wood with readings from a visibly dry area, while a hygrometer can track the crawl-space air. Professionals also use moisture mapping to identify patterns rather than relying on one reading.
Don't use a fan as your only test. Air movement can make a surface feel dry without proving that the framing has reached a safe dry baseline.
Timing matters after a wetting event. Industry and extension guidance treats the first 24 to 48 hours as the critical remediation window, because wet structural materials can support mold growth quickly when moisture remains available. The crawl-space restoration guidance for North Carolina homes explains why extraction, targeted dehumidification, and moisture mapping are more useful than waiting for visible drying. The operational goal is generally to return wood to roughly 12% to 15% moisture content, or the local dry standard for that assembly.
Call for urgent help when sewage entered the space, wiring may be wet, a leak is still active, floors are sagging, or moisture keeps returning after cleanup. For a broader indoor checklist, review these signs of hidden water damage in a Georgetown home. If hidden moisture is suspected, prioritize instrumented moisture mapping over visual guesses.
The Professional Water Damage Restoration Process
A proper restoration job follows the moisture, not the homeowner's first assumption about its source. The team should establish what happened, document affected materials, remove water, dry the structure, address contamination risks, and only then decide what needs rebuilding.
1. Inspection and documentation
The first decision is whether the space is safe to enter and whether the water is clean, contaminated, or from an unknown source. The technician identifies active leaks, drainage paths, affected rooms, insulation, framing, and floor assemblies. Moisture readings create a map that can be compared during drying.
Documentation also matters for property owners managing an insurance claim. Photographs, source information, moisture readings, removed materials, and drying records can show what was affected and why specific work was necessary.
2. Extraction and removal
Standing water is removed with pumps, wet vacuums, or other extraction equipment suited to the loss. Technicians may remove saturated insulation, damaged debris, and compromised vapor-barrier sections when those materials cannot be dried effectively in place.
Extraction reduces the immediate water load, but it doesn't finish the job. Water can remain in wood, joints, subfloor edges, soil, and concealed cavities.
3. Mitigation and structural drying
Mitigation stops additional damage while drying begins. Technicians may correct the active source, isolate affected areas, remove materials that hold water, and position air movers and dehumidifiers to move moisture out of the assembly.
Sight is a poor drying gauge. A joist can look normal while retaining enough moisture to support mold or decay. Historical monitoring by Oak Ridge National Laboratory found that conditioned crawl spaces had more stable temperatures, lower relative humidity, and lower wood moisture content than vented crawl spaces. In that study, wood moisture content stayed below 13% in all cases, well below the 20% or higher level the researchers associated with conditions needed to induce mold or decay, as reported in the Oak Ridge crawl-space study.
Technicians take repeated readings from framing and subfloor assemblies. Equipment remains in place until readings reach the agreed dry standard, not until the air merely feels comfortable.
4. Microbial prevention and odor treatment
Microbial prevention depends first on removing the moisture source and drying affected materials. Deodorization addresses persistent odors, but it can't substitute for extraction or structural drying.
If visible growth, unusual contamination, or extensive affected materials are present, testing may help define the work. Mold testing can document microbial presence and support a remediation scope. Asbestos testing may be required before disturbing certain building materials. The correct decision depends on the property's age, materials, water source, and observed conditions.
5. Repair and prevention
Reconstruction follows drying. Replacing subflooring, repairing joists, reinstalling insulation, sealing the crawl space, improving drainage, or adding a vapor barrier before moisture control is complete risks trapping the problem inside the rebuilt assembly.
A complete closeout should identify the source, show that wet materials reached their target, describe removed and retained materials, and document prevention work. The finished space should be evaluated as a system. A new vapor barrier won't compensate for a leaking supply line, and a repaired downspout won't solve humidity rising through uncovered soil.
Central Texas Rain, Drainage, and Prevention Tips
A crawl space in Georgetown or Austin has to handle more than one kind of water event. Intense thunderstorms can send runoff toward a foundation, while repeated humid weather can keep soil and air damp after the visible rain has ended. Flash flooding can overwhelm a drainage route that appeared adequate during ordinary weather.
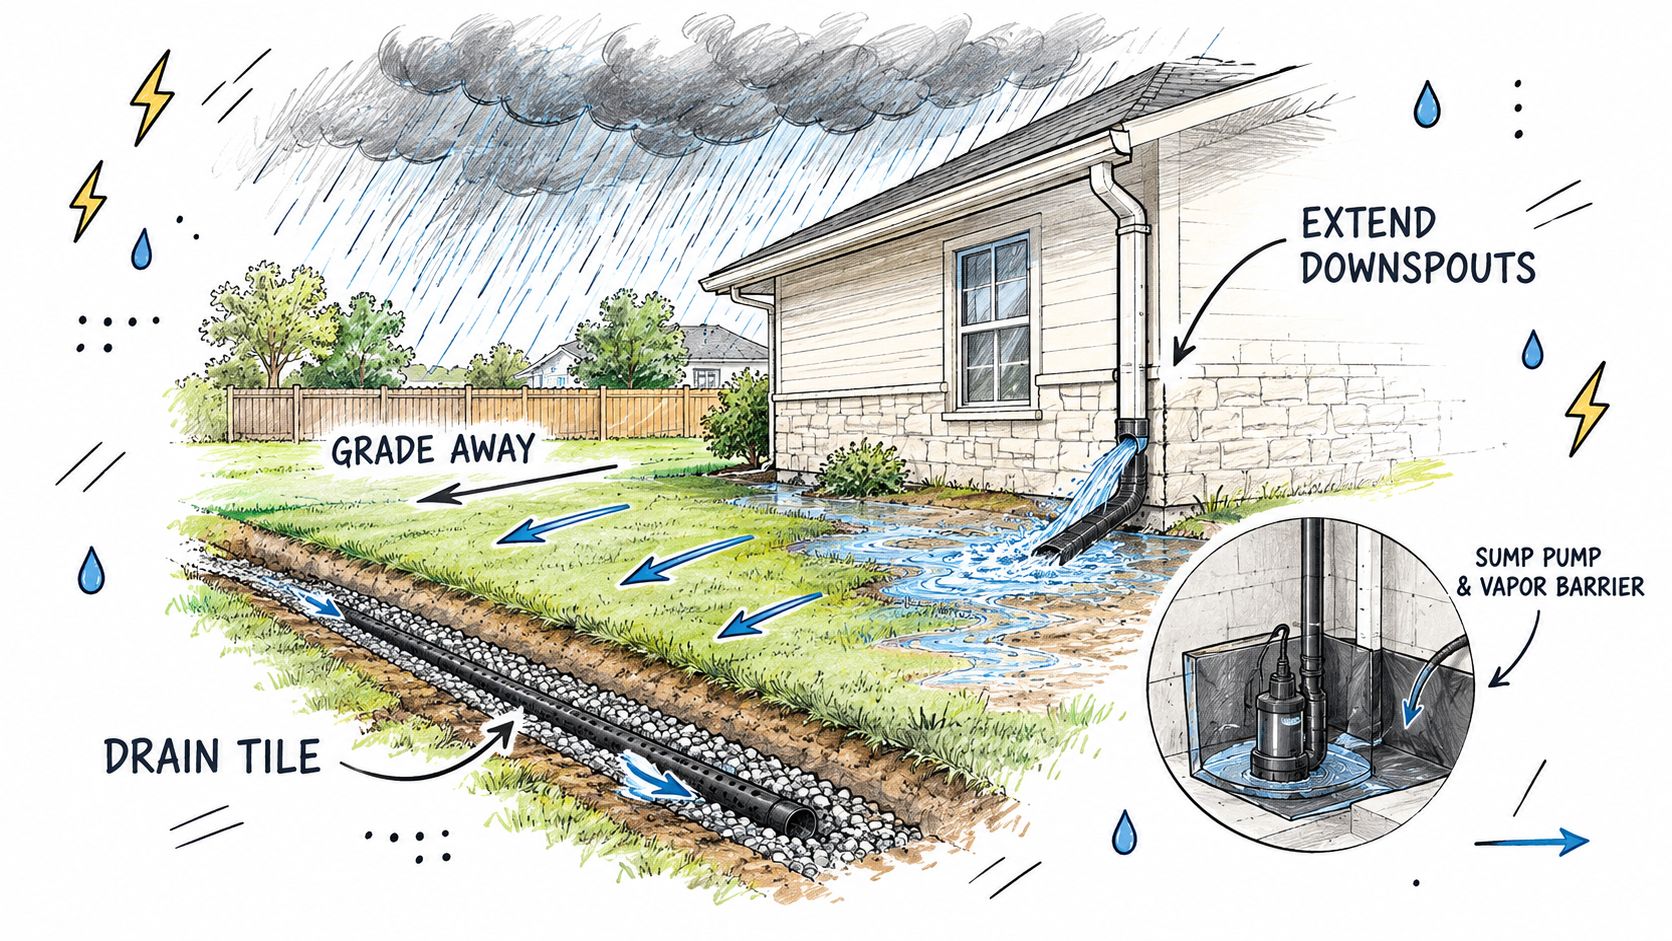
Start outside. Walk the roofline and foundation after rain, then inspect the same areas when the ground has dried. Overflowing gutters, clogged outlets, short downspouts, and low areas beside the foundation can all direct water toward the crawl space. Positive grading should move surface water away from the house rather than allowing it to collect at the perimeter.
Central Texas soils can also shift as their moisture condition changes. That movement may affect drainage paths, foundation edges, and the fit of doors or floors over time. Older homes may have vent arrangements that admit humid outdoor air without controlling the moisture already entering from soil or drainage failures.
Match the remedy to the moisture source
Exterior drainage comes first when rainwater runs toward the foundation, gutters discharge beside the house, or soil slopes inward. Extend downspouts to a suitable discharge area, clear obstructions, and correct grading where practical. A drainage contractor or foundation professional may be needed when water enters through below-grade walls or when the site requires a designed collection system.
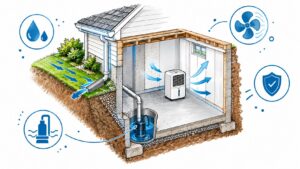
Interior drainage has a role when water still reaches the space after surface flow has been managed. A sump pump, discharge line, and backup plan should be evaluated as a complete system. Test the pump before storm season, confirm that its discharge doesn't return toward the foundation, and investigate why water is reaching the pit in the first place.
Sealing and a vapor barrier fit persistent humidity problems where the soil remains damp, the space has recurring odors, or vents provide no reliable humidity control. Encapsulation may include a sealed ground barrier, sealed walls and vents, and dehumidification. Read this guide to an encapsulated crawl space before comparing proposals, because the term can describe different scopes of work.
Use this decision sequence:
- Does water enter after rain? Inspect grading, gutters, downspouts, foundation edges, and exterior drainage.
- Does the soil remain damp without visible flooding? Evaluate the ground barrier, air leakage, and humidity control.
- Does the space flood or depend on a sump pump? Check the pump, discharge route, power protection, and drainage design.
- Is wood already affected? Arrange moisture mapping and structural assessment before sealing or rebuilding.
Prevention means managing the whole moisture pathway. A cosmetic dry-out may hide a continuing source, while a coordinated drainage and humidity plan protects the floor system from repeated exposure.
When to Call a 24/7 Restoration Professional
Call a restoration professional promptly when water is active, the source is unknown, sewage has entered the crawl space, wiring may be exposed, insulation is saturated, or floors are sagging. Repeated moisture also deserves professional attention, even if each individual event seems minor. Hidden wetting can affect framing and indoor air quality after the visible water disappears.
DIY cleanup may work for a small, clean, fully accessible spill with no structural impact. Crawl space water damage often requires equipment and measurements that homeowners don't have, including high-capacity extraction, dehumidification, air movement, moisture mapping, and documented drying records. A professional can also coordinate leak detection, microbial prevention, testing, and reconstruction when the loss involves more than water removal.
A family-operated local provider with experience in Georgetown and Austin can assess the source, stabilize the property, and explain which work belongs to a plumber, drainage contractor, inspector, or restoration crew. Guidance on why immediate water damage cleanup matters in Georgetown can help you decide how quickly to act after a loss.
Don't wait for a stronger odor, a softer floor, or visible mold to confirm what moisture readings could reveal earlier.
If crawl space water damage has left standing water, damp framing, odors, or recurring humidity beneath your home, RestoTek TX offers inspection, extraction, structural drying, microbial prevention, and reconstruction services for Georgetown, Austin, and surrounding Central Texas properties. Contact the team for prompt guidance and a clear plan that addresses both the immediate water and the source that keeps bringing it back.