You pull back a rug and find a dark patch spreading across the hardwood. The room smells faintly musty. Your first reaction is usually to grab bleach, scrub hard, and hope the stain disappears.
That approach can make the floor look cleaner while leaving the actual problem underneath. Mold on hardwood is a moisture problem first and a cleaning problem second. The deciding question isn't whether the boards look dry. It's whether the wood and subfloor have dried below the moisture range that supports fungal growth.
The U.S. Environmental Protection Agency recommends controlling moisture, cleaning hard surfaces with detergent and water, and drying them completely. For wood, the agency advises removing moisture immediately and using dehumidifiers, fans, and gentle heat with great care around hardwood floors. EPA mold-cleanup guidance supports the basic rule for every floor: remove the water source, clean without soaking the wood, and verify that drying is complete.
Spotting the First Signs of Mold on Hardwood
You move the sofa, lift the rug, or slide an appliance away from the wall, and there it is. The patch may look black, green, white, or olive. It may have a fuzzy texture, sit in plank seams, or appear as cloudy discoloration inside the grain. Sometimes the only warning is a musty smell that gets stronger near an exterior door, kitchen sink, bathroom wall, or AC supply vent.
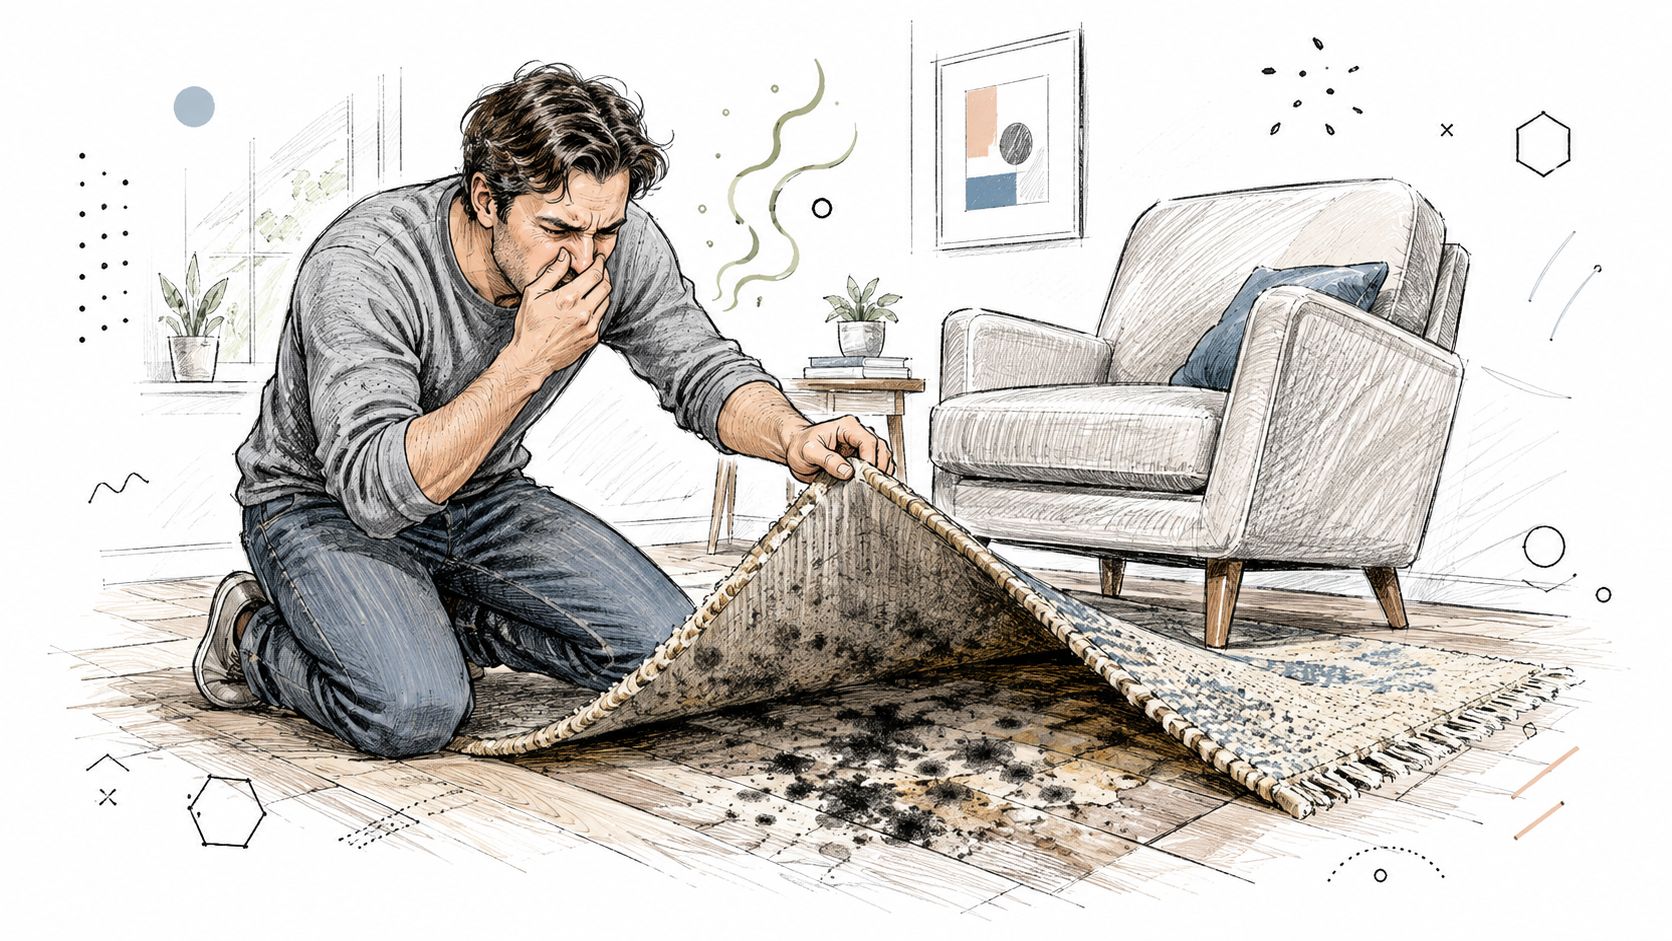
The usual homeowner response is fast and physical. You spray the spot, scrub until the color fades, put the rug back, and move on. Some people ignore it because the patch looks small. Neither reaction answers the important questions: Where did the moisture come from, and is the growth only on the finish or inside the floor assembly?
Separate dirt from active growth
Start by leaving the area alone for a moment. Photograph it, note its location, and inspect the pattern. Surface grime usually follows foot traffic, furniture movement, or tracked dirt. Mold tends to cluster where moisture collects, especially along seams, edges, baseboards, and places with poor airflow.
Look for these combinations:
- Color and texture: Dark, green, white, or olive spots with a fuzzy or powdery appearance deserve attention.
- Odor and location: A persistent earthy smell near plumbing, doors, vents, or exterior walls points toward moisture-related growth.
- Spread pattern: Irregular groups that extend from a seam or edge are more concerning than a uniform mark in the finish.
- Nearby evidence: Check baseboards, drywall, trim, vents, and the underside of nearby furniture for staining or dampness.
A dark mark isn't automatically mold. It could be dirt, a water stain, finish discoloration, or a natural variation in the wood. Don't sand or soak it just to find out. If the area is accompanied by odor, soft wood, warped boards, or signs of water, treat it as a moisture investigation. Learn more about how growth can remain concealed in this guide to hidden mold in a home.
Reading the Floor Before You Touch It
A hardwood floor can look dry while its seams, underside, or subfloor remains wet. Treat the visible patch as evidence of a moisture problem, not a cleaning target. Check the wood before applying liquid or sealing the finish.
Take readings across the affected area
Use a pin or pinless moisture meter made for wood. Set it to the correct wood reference setting and follow the manufacturer's instructions. Measure the center of the affected patch, nearby seams, board edges, and several feet beyond the visible damage. Take comparison readings from sound flooring elsewhere in the room. For a practical guide to interpreting moisture-meter readings, compare patterns across the room rather than trusting one measurement.
The working threshold is 20% wood moisture content. USDA Forest Service guidance identifies moisture below 20% as inhibiting decay fungi, while Building America moisture-management guidance identifies wood above 20% as able to support wood-rotting fungi. Drying should begin promptly. The EPA's mold-cleanup guidance recommends drying wet materials within 48 hours when possible to limit further growth.
| Moisture Content | What It Means | Homeowner Response |
|---|---|---|
| Below 20% | The wood is below the commonly used fungal-growth range, although staining can remain. | Find the moisture source, clean carefully if the area is small, and continue monitoring. |
| Around or above 20% | The wood remains wet enough to support fungal activity and hidden growth. | Stop cosmetic cleaning. Start structural drying and inspect seams and the subfloor. |
| Persistently elevated after drying | Moisture may be entering from below, beside, or within the building assembly. | Call a qualified professional to trace the source and assess whether the flooring can be saved. |
These readings do not identify mold or determine its species. They show whether the wood is staying wet enough for the problem to continue. A low reading also does not erase staining or prove that concealed materials are dry.
Check movement, odor, and transfer
Walk slowly across the boards. Cupping, crowning, plank gaps, buckling, soft spots, or a spongy feel indicate that moisture may have reached beyond the finish. Press a dry paper towel against the area. If it picks up moisture, do not clean, sand, or seal the floor yet.
Ventilate the room, then check the odor again. A musty smell that remains after ventilation points to moisture or contamination below the visible surface. A small visible patch with high readings is not a small job. Stop surface treatment, remove the moisture, and call for professional assessment if readings remain high or the subfloor appears involved.
Safe DIY Cleanup for Small Affected Areas
A small mold spot on a hardwood floor is a DIY job only when the moisture source is stopped, the wood is below 20% moisture content, and the subfloor and wall base show no signs of involvement. Keep the affected area under roughly 10 square feet. The EPA uses that size as a practical cutoff for limited cleanup, with the process focused on stopping moisture, cleaning hard surfaces, and drying them fully. See the EPA's basic mold-cleanup steps before starting.
The floor must be dry enough to clean safely, not merely bright enough to look clean. Bleaching a stain while the boards remain wet solves the visible part and leaves the cause in place.
Prepare the room
Move rugs, baskets, and furniture out of the work area. Lift items instead of dragging them across the floor, and bag or isolate anything visibly contaminated. Close interior doors, seal the room with plastic sheeting, and use an exhaust fan that vents outdoors. Wear an N95 respirator, gloves, and eye protection. A loose dust mask is not adequate.
Gather the following:
- HEPA vacuum: Use it before wet cleaning and again after the surface dries.
- Microfiber cloths: Use disposable cloths, or bag used cloths immediately.
- Mild detergent or hardwood-safe cleaner: Choose a product that does not require soaking.
- Fans and a dehumidifier: Dry the boards and lower the moisture in the surrounding air.
- Moisture meter: Check the affected boards and nearby flooring before refinishing.
Clean with minimal liquid
Start with dry removal. Pass the HEPA vacuum over the affected boards and adjacent floor, keeping the nozzle close without grinding it into the finish. A soft brush can loosen dried surface material. Do not use a standard vacuum. It can send fine particles back into the room.
Put mild detergent and water on a microfiber cloth, never directly on the floor. Wring the cloth almost dry and clean small sections. Work in sections about three feet square so water does not sit on the wood for more than a minute. This limits seepage into seams and reduces the chance of cupping. The Georgia Extension mold-removal guidance also stresses cleaning affected materials and drying them promptly.
Wipe with the grain and rotate to a clean part of the cloth often. Stop immediately if liquid gathers between boards. Once the surface is dry to the touch, make a second HEPA vacuum pass. Run the fans and dehumidifier, and keep the room isolated while the floor dries.
Practical rule: A clean-looking floor is not finished until moisture readings show that the wood is dry.
Check the boards and surrounding area again after 24 to 48 hours. Do not refinish, caulk, or reseal until readings remain stable and the odor and visible growth are gone. If the floor stays wet after drying, or the subfloor appears involved, stop DIY work and call a qualified remediation professional.
Cleaning Methods That Can Make It Worse
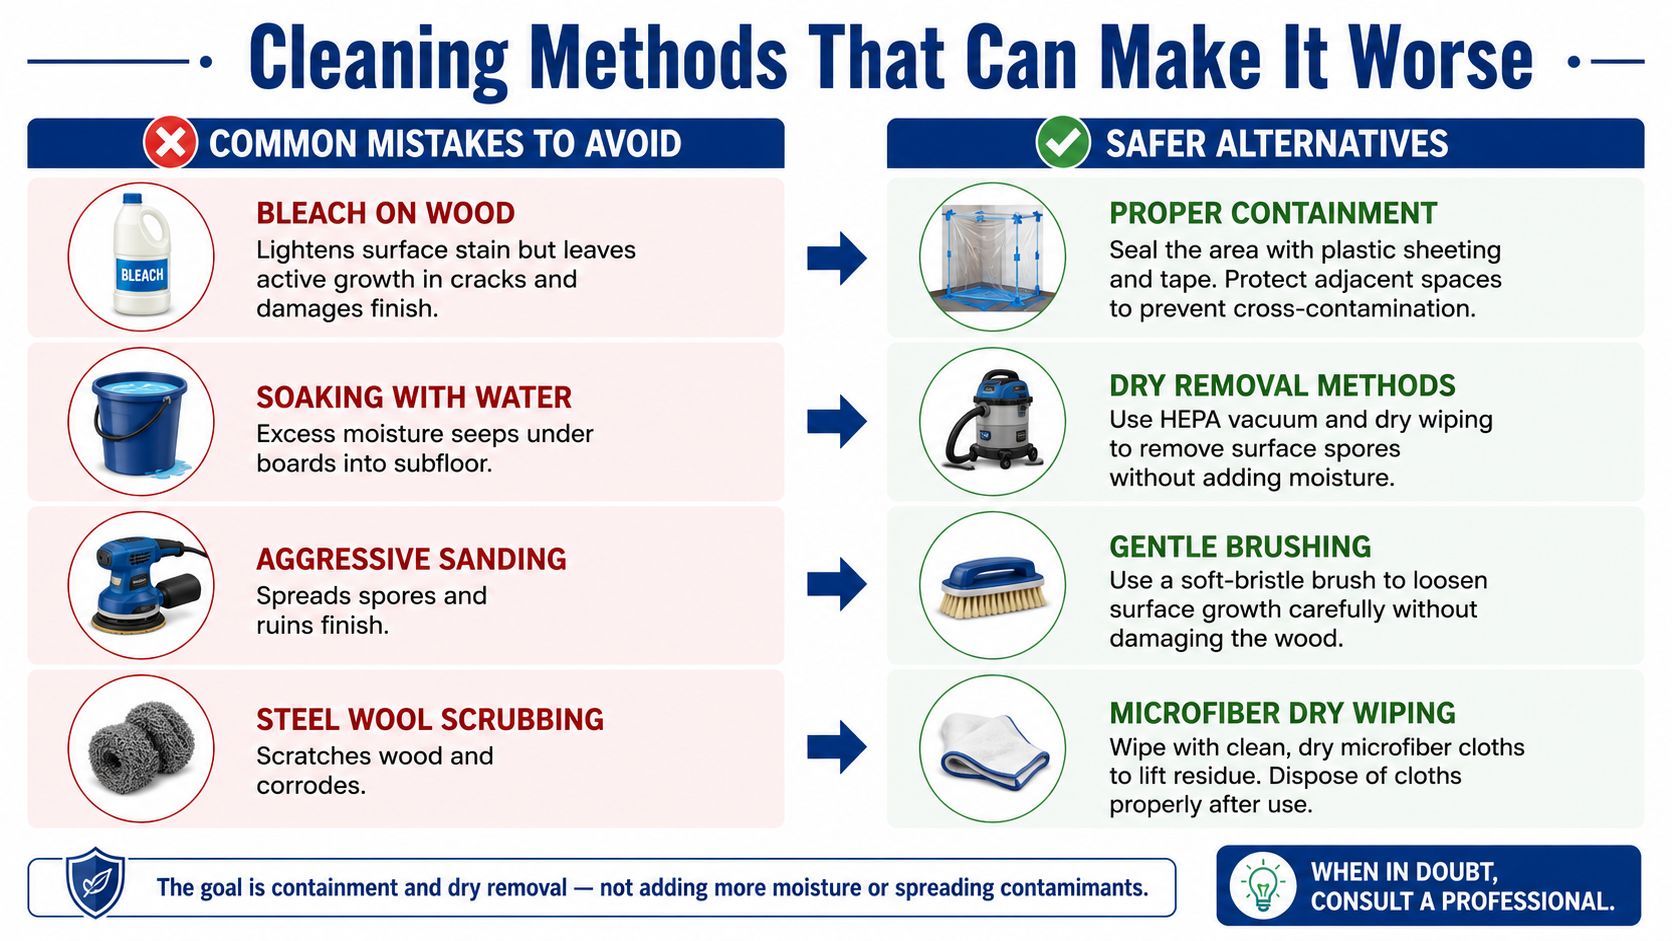
Bleach is the wrong first move for hardwood. It may lighten a surface stain, but it doesn't solve growth hidden in cracks, beneath boards, or in the subfloor. It can also damage the finish, corrode metal fasteners, and create dangerous fumes if it contacts ammonia or acidic cleaners.
Why aggressive cleaning fails
Hardwood isn't bathroom tile. Water can travel through seams, plank edges, nail holes, and damaged finish. Heavy scrubbing pushes contamination and moisture deeper into those openings. Pressure washing is worse. It drives water into the floor assembly, can worsen cupping, and spreads contaminated droplets beyond the original patch.
Sanding has a separate problem. If mold is active, sanding can aerosolize spores and distribute them through the room. It can also scratch the floor or remove more finish than the repair requires. Sanding may have a place after the material is dry and the contamination is controlled, but it isn't a safe discovery method.
Vinegar, hydrogen peroxide, and homemade bleach mixtures aren't automatic solutions either. Their effectiveness depends on the product concentration, contact time, surface condition, and how far contamination has penetrated. A liquid that kills or lightens something on the surface may still fail in a porous seam or damp subfloor.
Use a decision rule, not a favorite chemical
Before any cleaner touches the floor, answer four questions:
- Is the water source fixed? Repair the leaking appliance, pipe, roof, HVAC component, or exterior opening first.
- Is the wood dry enough? Measure the boards and surrounding floor. Readings at or above 20% require drying and further assessment, not cosmetic treatment. The National Research Council of Canada's wood-moisture reference describes the historical relationship between high moisture, fiber saturation, and fungal activity.
- Is the contamination isolated? A patch that reaches seams, baseboards, walls, or more than roughly 10 square feet is outside a sensible DIY cleanup.
- Is the floor structurally sound? Buckling, separating, soft boards, deep discoloration, or recurring odor indicate a deeper moisture problem.
Never seal over damp wood or hidden growth. Paint, polyurethane, caulk, and replacement flooring can trap moisture and make later access more difficult. The EPA's remediation checklist emphasizes source control, cleaning, drying, and verification in that order. The EPA mold-remediation course chapter explains why moisture correction must come before closing the assembly.
Know when to stop
Stop work and call a qualified mold remediation company when:
- The area is extensive: The affected space is larger than roughly 10 square feet or extends into multiple rooms.
- The assembly is involved: Mold or moisture reaches the subfloor, underlayment, wall base, crawlspace, or HVAC pathway.
- The floor is changing shape: Boards buckle, cup severely, separate, feel soft, or show deep discoloration.
- The problem returns: Growth or odor comes back after cleaning and drying.
- The water was contaminated: Sewage, a backup, or contaminated floodwater requires controlled handling.
- Health concerns are present: Someone in the home has asthma, allergies, or immune sensitivities.
- The source is uncertain: You can't explain why the readings remain high.
A professional can trace concealed moisture, establish containment, determine whether boards can be salvaged, and coordinate drying with repairs. If a plumbing, roof, HVAC, or appliance failure caused the damage, photograph and document the source before restoration changes the scene.
What Professional Mold Remediation Actually Involves
Professional remediation isn't a stronger spray bottle. It is a controlled process that separates source correction, containment, material decisions, cleaning, drying, and reconstruction.
The contractor should begin by identifying where water entered, how far it traveled, and which materials remain wet. Moisture meters are standard tools. Thermal imaging or other non-destructive methods may help locate wet flooring, baseboards, walls, and subfloor areas that aren't visible from above.
Containment comes before disturbance
If contamination is contained, the crew may create a negative-pressure work zone, close off HVAC pathways, install barriers, and use protective equipment. The purpose is simple, keep spores and contaminated dust from traveling into clean rooms while workers remove or clean affected materials.
Porous or structurally compromised boards may need removal and sealed disposal. Appearance alone doesn't justify saving a plank that remains contaminated or has lost its structural integrity. The remaining floor assembly can then be cleaned with methods selected for the wood, finish, and substrate.
Drying is measured, not guessed
Commercial air movers and dehumidifiers remove moisture from the floor system. A competent crew records readings during the process and confirms that materials reach established drying targets and remain stable. They shouldn't tell you the job is complete because the top of the floor feels dry.
Depending on the scope, work may include subfloor repair, board replacement, sanding, refinishing, or reconstruction. Air or surface sampling may be appropriate when the scope, health concerns, or a dispute about contamination calls for independent verification, but testing doesn't replace source correction.
Before approving payment, request:
- Inspection findings: Ask what was wet, contaminated, or structurally damaged.
- Moisture readings: Get locations, readings, and dates.
- Drying documentation: Request equipment information and a drying log.
- Photographs: Confirm that concealed areas and removed materials are documented.
- Removal records: Ask what was discarded and why.
- Final criteria: Understand how the contractor will determine that remediation is complete.
Remediation shouldn't begin while active water intrusion continues. Fix the source, dry the structure, then decide which flooring can remain.
Documenting the Damage for Insurance and Records
Treat the first discovery as evidence. Photograph the room before moving furniture or applying cleaner. Take wide images that show the affected location, then close-ups of discoloration, seams, warping, baseboards, and any visible water source.
Include the moisture meter display in photographs when possible, with the date visible in the frame. Record where each reading came from so a later inspector can compare the same points rather than relying on memory.
Build a dated moisture record
Use a simple log with:
- Location: Room, board, seam, baseboard, or subfloor access point.
- Wood moisture content: Record the reading and meter setting.
- Indoor conditions: Note ambient humidity and temperature.
- Drying activity: List fans, dehumidifiers, extraction, or repairs.
- Visible changes: Describe odor, staining, swelling, or regrowth.
A single reading is a snapshot. A dated sequence shows whether the floor is drying or whether moisture keeps returning.
Keep estimates, invoices, laboratory reports, material receipts, photographs, and contractor scopes in one folder arranged by date. Save digital copies in a second location. If boards or trim are removed, photograph them before disposal and retain the contractor's description of the material condition.
Keep insurance conversations factual
Notify your insurance carrier promptly and request the claim number in writing. Describe what you observed, when you found it, and what water source you identified. Don't speculate about hidden damage or promise that a repair will solve the problem before an inspection.
Give the adjuster the photo set, moisture log, source documentation, and contractor scope of work. Clear records help distinguish emergency mitigation from reconstruction and reduce arguments about what was present before work began. Keep the file for future repairs, property records, and any later-discovered damage.
Preventing Mold After the Cleanup in Central Texas
Central Texas homes can look dry after a storm or overflow while moisture remains beneath trim, inside wall cavities, or between hardwood boards and the subfloor. Judge the cleanup by wood moisture readings and drying progress, not by a clean-looking surface. Bleaching visible staining without removing trapped moisture sets the floor up for repeat growth.
Control indoor moisture
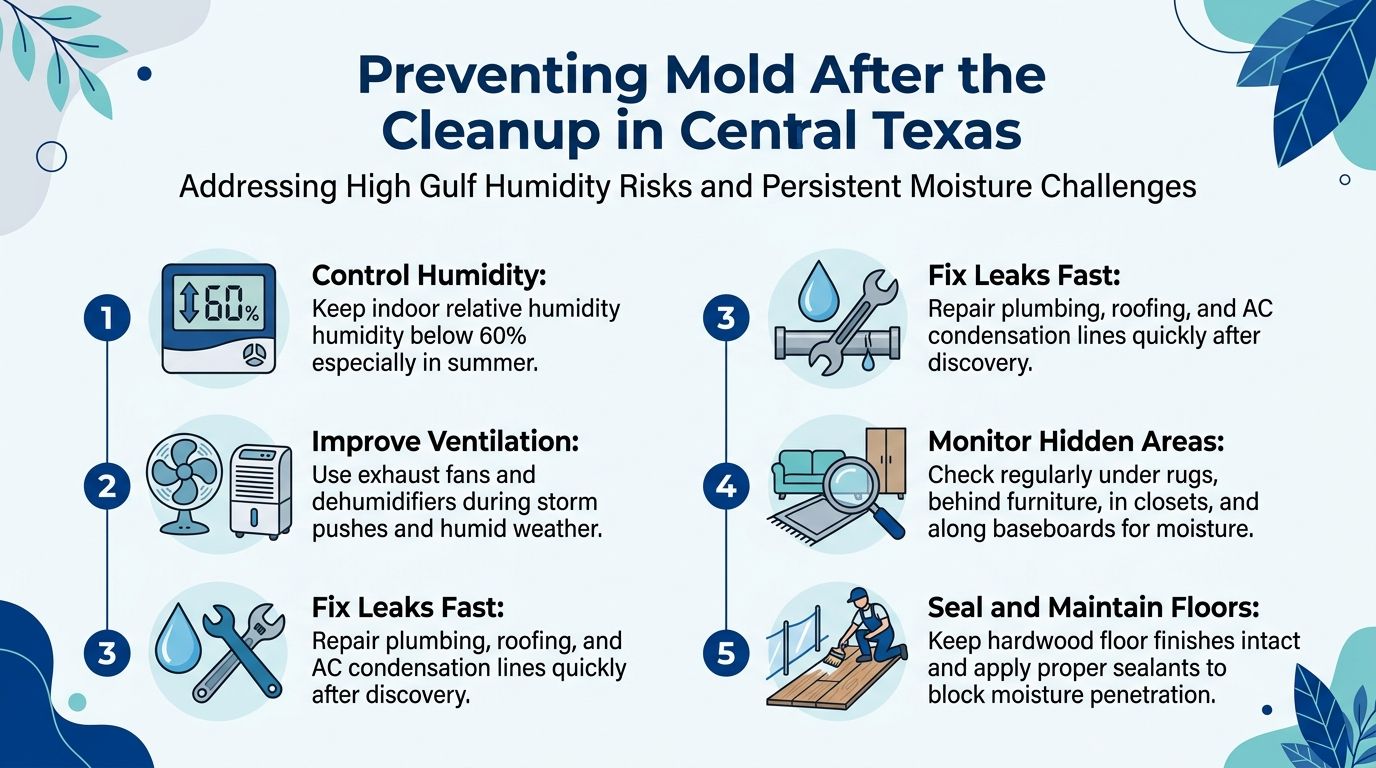
Keep a calibrated hygrometer in the main living area and watch for sustained humidity. Keep indoor relative humidity below 60%, especially during hot, humid weather. Use HVAC dehumidification, exhaust fans, or a standalone dehumidifier when the air stays damp.
Inspect AC condensate pans and drain lines during cooling season. The pan should remain level, the drain should flow freely, and water should stay away from nearby flooring. A small leak can repeatedly wet a wall edge or floor seam without creating a visible puddle.
Respond quickly after storms and leaks
After flash flooding, heavy rain, or a plumbing failure, inspect the wall-floor edge instead of trusting appearance. Remove baseboards where water entered, start controlled air movement, and check moisture in the boards and subfloor. The recognized 48-hour drying milestone gives you a clear reason to act quickly on materials that are not visibly moldy.
Use this checklist after any water event:
- Find the source: Repair plumbing, roofing, appliance, drainage, or HVAC failures.
- Expose trapped areas: Check under rugs, furniture, baseboards, and thresholds.
- Move air safely: Use fans and dehumidification without spreading contaminated dust.
- Measure the floor: Compare affected boards with dry areas rather than relying on touch.
- Protect the finish: Keep hardwood coatings intact and replace damaged sealant after drying.
- Recheck problem locations: Monitor affected boards during the first year.
For more practical prevention steps, read RestoTek TX's mold-prevention advice after water damage. A returning musty odor, fresh staining, or floor movement means the moisture problem is still active. Stop cleaning and arrange an inspection instead of repeating the same failed treatment.
RestoTek TX can inspect hardwood-floor moisture, trace water sources, coordinate drying, and assess suspected microbial contamination before you decide whether boards need removal or replacement. If a leak, overflow, backup, or storm leaves your Georgetown or Austin home with damp flooring or a recurring musty odor, visit RestoTek TX to request inspection, mitigation, mold remediation, or reconstruction help.