Most homeowners pay $175 to $400 for a standard residential leak detection visit, though the full range can run from $75 to $2,000 depending on where the leak is, how hard it is to access, and what equipment the technician needs. If you're in Georgetown or Austin staring at a water spot, a warped baseboard, or a bill that suddenly doesn't make sense, that wide range is exactly why the process can feel confusing.
A hidden leak puts people on edge for good reason. You don't just worry about the plumber's invoice. You worry about the floor, the cabinet, the drywall, the smell, and whether the damage has been spreading longer than you think. In Central Texas, I've seen homeowners lose more sleep over uncertainty than over the actual repair.
The good news is that leak detection is usually a very defined service. A pro comes out, investigates, uses the right tools, and narrows the problem to a specific location or system. Once you understand what affects the price, the estimate gets much easier to read and the next steps get a lot less intimidating.
How Much to Find a Hidden Water Leak
When a ceiling stain appears out of nowhere or the water bill jumps without an obvious cause, the first question is always the same. What does it cost just to find the leak?
For a typical residential inspection, leak detection services cost $175 to $400 nationally, and the broader range is $75 to $2,000 depending on complexity and technology, according to this national leak detection cost guide. That lower end usually applies to simpler situations. The upper end tends to show up when the leak is buried, intermittent, under concrete, or tied to a more specialized testing method.
What you're paying for
Leak detection isn't the same thing as repair. It's the investigation phase.
A competent technician is trying to answer a few specific questions:
- Where is the leak starting. Not just where the water shows up.
- What system is involved. Supply line, drain line, fixture connection, slab line, roof penetration, or exterior water line.
- How invasive the next step needs to be. Sometimes it's a small drywall opening. Sometimes it means coordinating with plumbing and drying crews.
Practical rule: The cheaper visit isn't always the better value if it ends with guesswork, unnecessary demo, or “we think it's somewhere over here.”
Why Georgetown and Austin homeowners feel the difference
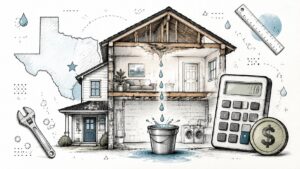
National averages help, but they don't tell you much about a specific home in Central Texas. A newer suburban house with accessible plumbing is one thing. An older home with layered repairs, tile surrounds, foundation movement, or tight crawl access is another.
If you want a good primer on how the process works before you schedule service, this explanation of what leak detection is and how it works gives the basic framework homeowners need.
What matters most at this stage is speed and accuracy. If water is actively affecting drywall, flooring, cabinets, or insulation, every day of delay can make the restoration side more complicated.
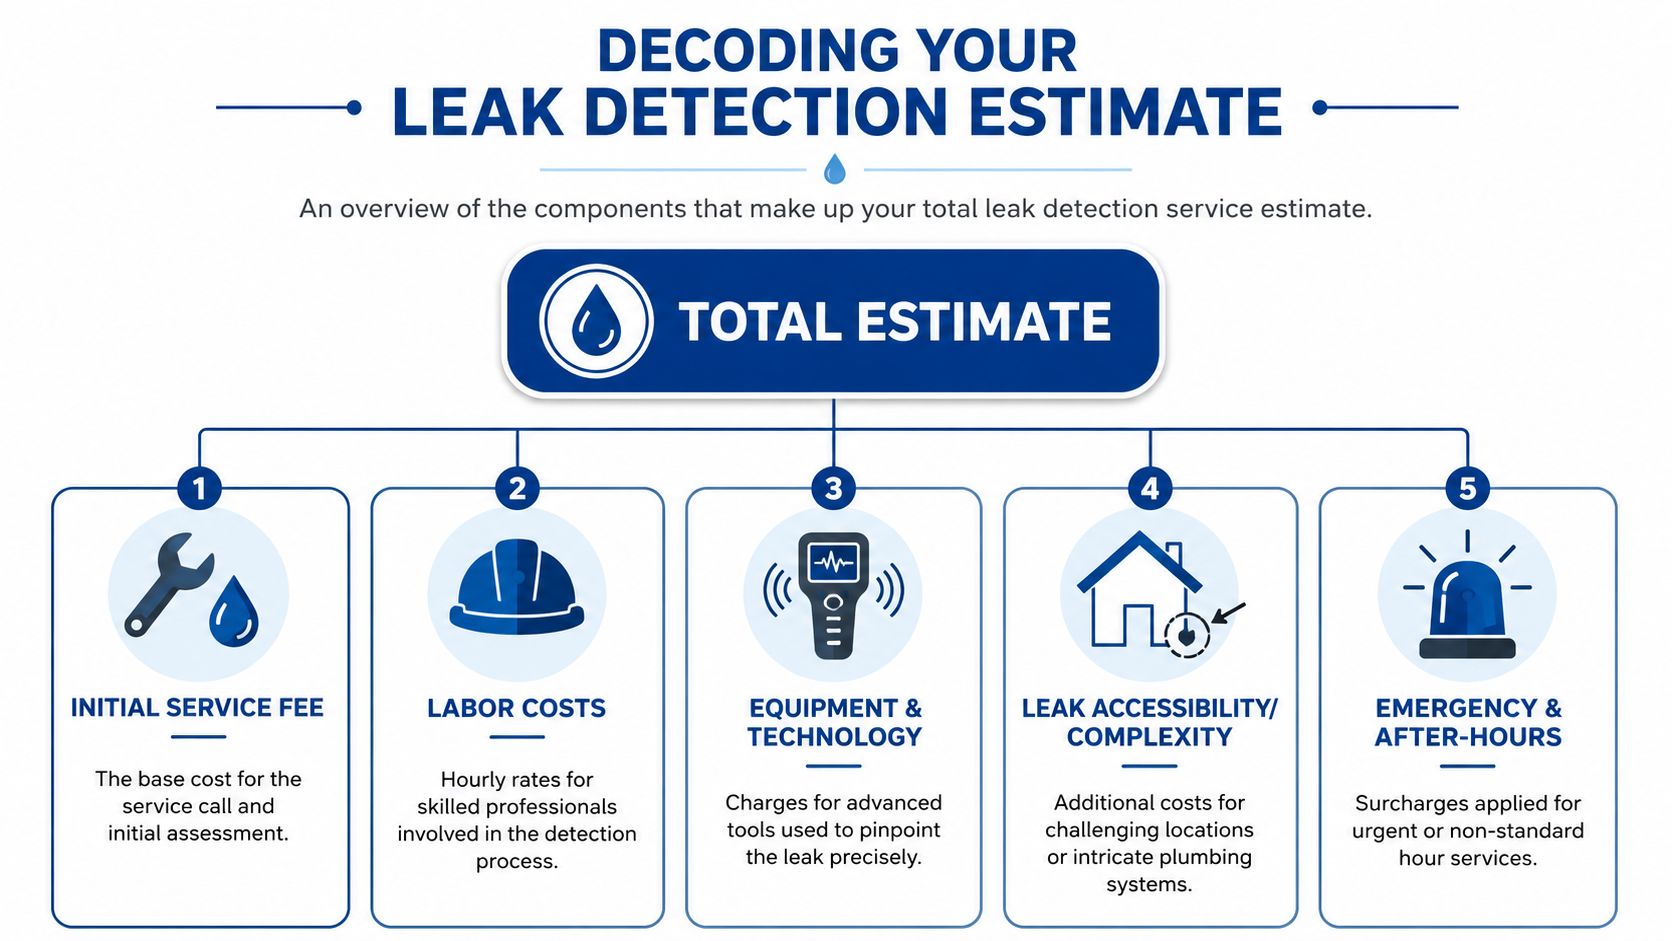
Decoding Your Leak Detection Estimate
Most estimates make more sense if you read them like a car repair bill. There's the service call. There's the trained labor. Then there are the tools and tests needed to confirm the diagnosis.
The base visit and diagnostic work
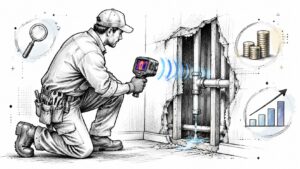
A leak detection invoice usually starts with the initial visit itself. This visit involves the technician showing up, interviewing the homeowner, tracing symptoms, checking visible plumbing, and using baseline tools such as moisture meters or thermal imaging where appropriate.
The estimate may not always separate every line item neatly, but the work usually falls into a few buckets:
| Estimate component | What it usually covers |
|---|---|
| Service call | Travel, arrival, initial inspection, basic diagnosis |
| Technician labor | Time spent tracing the issue and confirming likely source |
| Testing method | Camera inspection, thermal work, hydrostatic testing, or other specialized procedure |
| Access difficulty | Extra time when the leak is behind finishes, under slabs, or in hard-to-reach areas |
| Urgency premium | Added charge for same-day, after-hours, or emergency response |
The specialized tests that can raise the price
When a leak doesn't reveal itself through basic inspection, the estimate may include a more specific method. For homeowners facing particular scenarios, Yelp's leak detection cost overview notes that hydrostatic testing typically costs $250 to $500, video camera inspections range from $150 to $500, and thermographic imaging runs $300 to $500.
Those aren't random add-ons. Each one answers a different question.
- Hydrostatic testing helps verify whether a pipe system holds pressure.
- Video inspection lets the technician visually inspect inside a line.
- Thermographic imaging helps identify temperature differences that can point to hidden moisture.
A good estimate should tell you what the contractor is trying to rule in or rule out. If the quote just lists equipment without explaining the reason, ask.
For homeowners trying to think past detection and into the full financial picture, a water damage repair cost calculator can help frame what often comes next after the leak is found.
Key Factors That Influence the Final Price
Two houses can show the same symptom and get very different estimates. A small stain over a hallway ceiling may trace back to a simple supply-line issue. A similar stain in a slab home can turn into a longer search because the water traveled before it showed itself.

Location changes everything
Price usually follows difficulty. A leak detection pricing breakdown notes that slab leaks beneath concrete foundations can exceed $800, while hidden kitchen wall leaks often cost much less to locate.
That spread makes sense in the field. Under-slab work often takes more time to isolate, and the visible clue is rarely sitting right over the failed pipe. Hard finishes also raise the stakes. Tile, stone, wood flooring, custom cabinets, and tight wall cavities all limit access and increase the care needed during testing.
In Central Texas, that trade-off shows up constantly in slab-on-grade homes.
The main variables homeowners should watch
A solid estimate usually reflects four things:
- Where the leak is suspected: Wall, ceiling, slab, exterior line, shower assembly, or roof-related moisture all point to different testing paths.
- What the technician has to work around: Drywall is simpler than tile surrounds, hardwood, masonry, or built-ins that cannot be disturbed casually.
- How consistent the leak is: A steady leak is often easier to trace than one that only appears during showers, appliance cycles, irrigation runs, or heavy rain.
- What comes after detection: If wet materials are already involved, it helps to compare the detection charge with the broader home water damage repair cost factors so you can budget for drying, demolition, and repair instead of treating the search as the whole job.
Emergency timing adds cost
Urgent service usually costs more, especially after hours or on a same-day dispatch. The added charge reflects schedule disruption and the fact that active leaks often require faster decision-making on containment, drying, and material protection.
That is usually money well spent when water is still entering the home, cabinets are swelling, flooring is taking on moisture, or there is any safety concern around electrical areas.
On the first call, ask two direct questions. Can you find the source, and can you assess what needs to be dried or protected right now?
Remember, locating the leak is only part of protecting the house. In many Georgetown and Austin jobs, detection is the first decision point, not the finish line. A contractor who can connect the search, the moisture assessment, and the restoration plan helps keep costs from spreading across multiple vendors and multiple visits.
Cost Scenarios in Georgetown and Austin
National figures are useful for orientation, but homeowners in Georgetown and Austin tend to think in house-specific terms. What does this mean for a slab home in a subdivision? What about a shower leak in an older property with layered finishes?
The chart below gives localized example ranges for common residential situations.
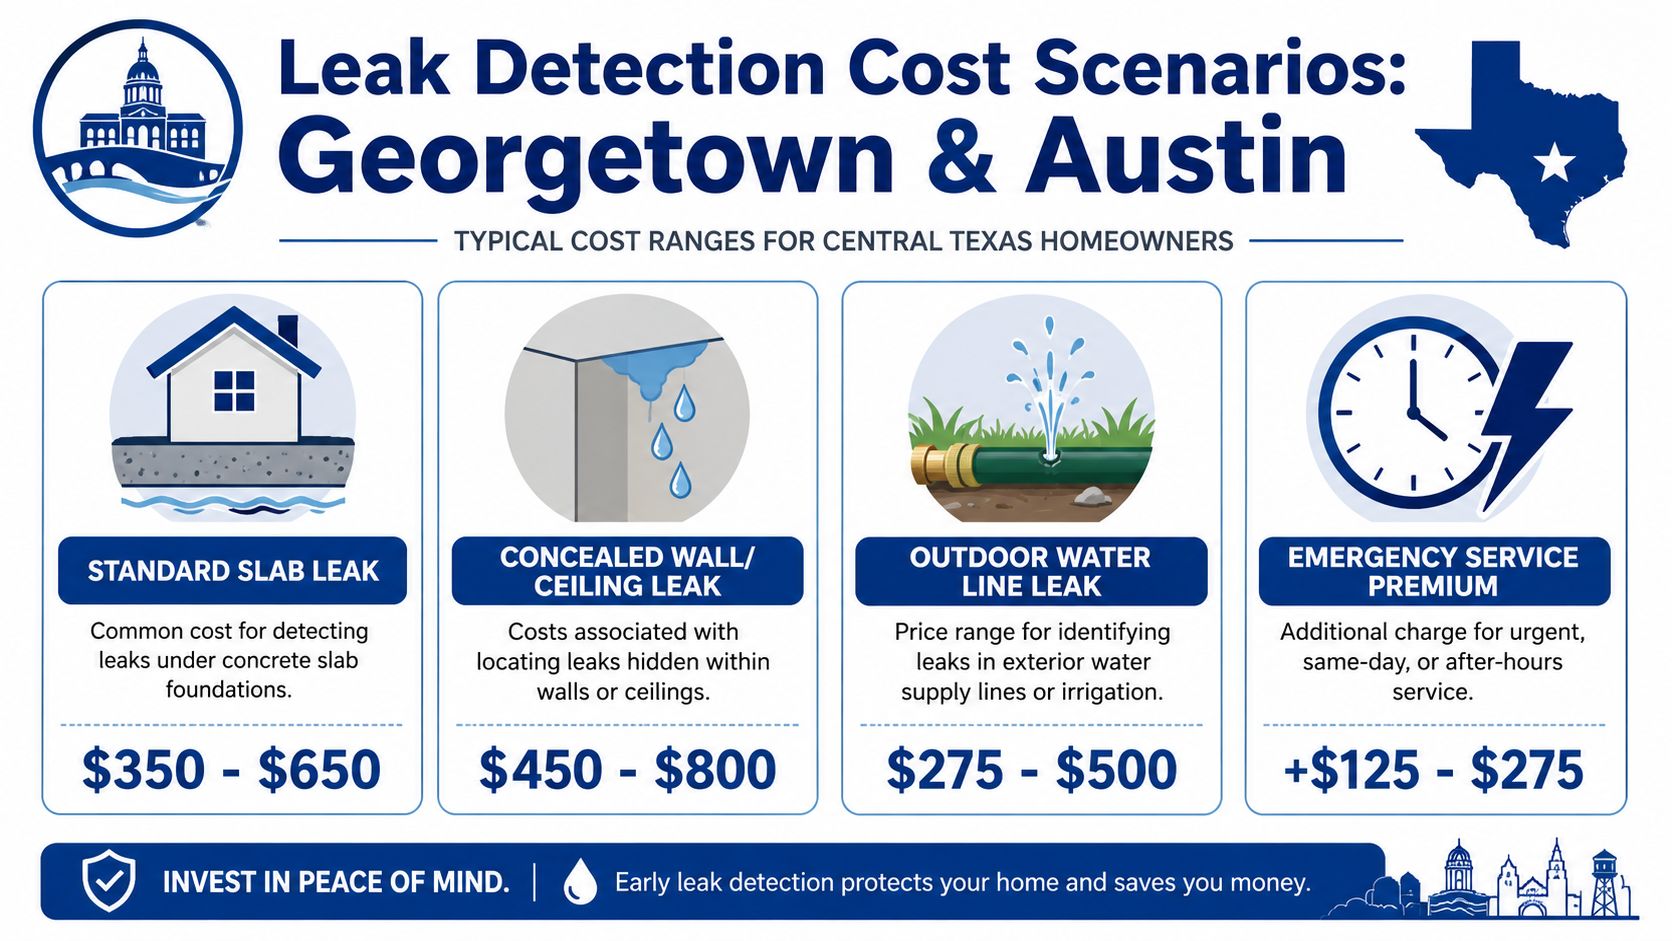
Scenario one under-slab plumbing in a suburban home
A homeowner in Georgetown notices warm spots on the floor, a steady rise in the water bill, and no visible dripping anywhere inside. In a slab-on-grade home, that often points the investigation toward a buried line.
In this kind of case, the price usually lands above a simple wall leak because the technician may need acoustic tools, pressure testing, and more time isolating where the line is failing. The search is slower because the visible symptoms rarely sit directly above the break.
Scenario two shower or wall leak in an older home
An older Austin or central Georgetown property may show peeling paint near a bathroom, soft trim outside the shower, or staining on the ceiling below. These jobs can look simple at first but get complicated when prior remodels changed plumbing routes or stacked layers of tile, waterproofing, and patchwork repairs.
The detection visit may involve checking fixture penetrations, supply lines, drain assembly behavior, and moisture spread through adjacent materials. Sometimes the leak source is not the place with the worst stain.
Scenario three exterior line or irrigation-related moisture
A soggy side yard, foundation-adjacent wet soil, or unexplained moisture near a hose bib can point to an exterior water line issue. Those jobs can be less invasive indoors, but they still depend on tracing line path, confirming pressure loss, and distinguishing irrigation problems from domestic supply leaks.
If you're trying to understand the broader local budget beyond the detection visit itself, this guide to home water damage repair costs helps show how restoration costs can separate from the initial diagnostic work.
In Central Texas homes, the leak search often matters most when several possible causes overlap. Slab movement, shower use patterns, exterior grading, and previous repairs can all muddy the picture.
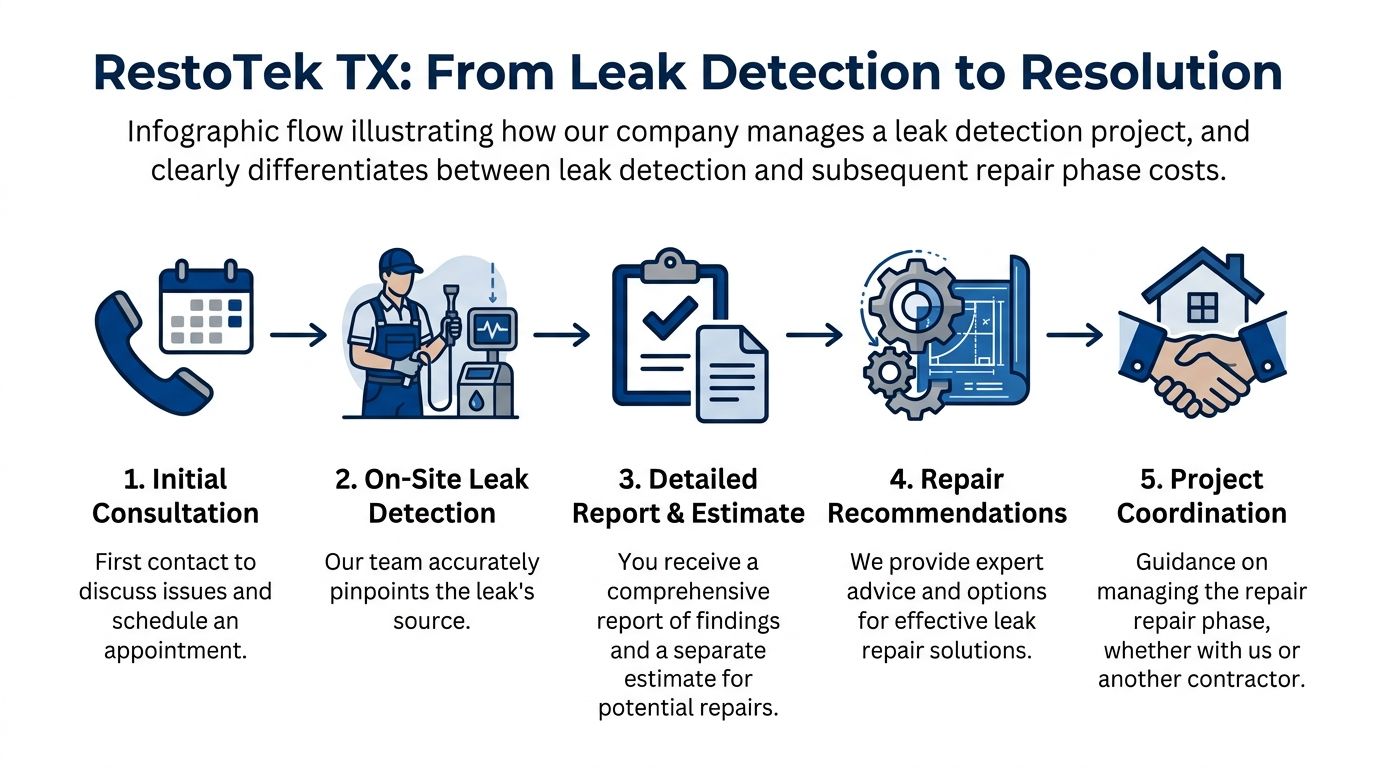
How RestoTek TX Manages Your Project and Costs
Homeowners often hear “leak detection” and assume that price includes the whole fix. It usually doesn't. Detection is the step where the contractor identifies the source. Repair, drying, cleanup, and reconstruction are separate scopes of work.
That distinction matters because it protects you from vague pricing. A serious company should be able to tell you, first, what it costs to find the problem and, second, what it will take to stabilize and restore the affected area.
Detection is one line. Restoration is another
A complete water-loss project often involves several moving parts after the leak is found:
- Stopping the source: A plumber or qualified repair crew corrects the failed line, fitting, fixture, or penetration.
- Mitigation: Wet materials get evaluated, protected, and, when needed, removed to prevent further damage.
- Structural drying: Air movers, dehumidification, and moisture monitoring bring the structure back toward dry standards.
- Rebuild work: Drywall, trim, paint, flooring, cabinets, or tile may need repair or replacement.
That's why a low detection price can still become an expensive project overall. Often, the cost driver is the spread of water, not the detective work required to find the source.
Why one accountable partner helps
When one company can coordinate the process from inspection through drying and reconstruction, the homeowner usually gets clearer communication and less finger-pointing. You don't want the detector blaming the plumber, the plumber blaming the mitigation crew, and nobody taking ownership of documentation.
A full-service restoration team can also help with the practical details that matter during a claim or large repair:
| Project stage | What good coordination looks like |
|---|---|
| Initial assessment | Clear findings, moisture mapping, and explanation of likely source |
| Immediate mitigation | Quick action to limit spread into nearby finishes and contents |
| Documentation | Photos, readings, notes, and itemized scope that supports decision-making |
| Reconstruction planning | Defined repair path after drying and access work are complete |
The easiest water loss to manage is the one with a clean paper trail. Good documentation won't stop the leak, but it makes every next step easier.
For worried homeowners, that end-to-end approach also cuts down on delay. Once the source is confirmed, the same team can move into stabilization instead of leaving you to coordinate three separate trades while materials continue absorbing moisture.
Frequently Asked Questions About Leak Detection
Is leak detection covered by homeowners insurance
Sometimes. Coverage usually turns on the cause of the leak and the kind of damage it created.
In real claims, carriers often look for a sudden and accidental event tied to covered damage. The diagnostic visit may be treated differently from tear-out, drying, or reconstruction. A slow leak under a sink is often handled differently from a supply line break inside a wall.
Call your carrier early. Ask what photos, readings, and invoices they want, then keep every report from the first visit forward. That paper trail helps whether the answer is yes, no, or only partially.
Can I find a hidden leak myself
You can often confirm that something is wrong. Finding the exact source is a different job.
A homeowner can watch the water meter, shut off fixtures one at a time, check for warm or damp spots, and use a basic moisture alarm or smart monitor for early warning. Those tools are useful for screening. They do not tell you with much confidence whether the leak is in a supply line, drain line, slab, shower pan, or behind exterior cladding.
I tell Central Texas homeowners to use DIY checks to narrow the problem, not to make the final call. Cutting the wrong wall or floor usually costs more than the detection visit you were trying to avoid.
What should happen right after the leak is located
Speed matters once the source is confirmed.
First, stop the leak or isolate the affected line. Next, check how far the water traveled into drywall, insulation, flooring, cabinets, or trim. After that, build a repair plan that separates plumbing access and repair from drying, cleaning, and reconstruction.
That sequence matters because detection is only the first step. In Georgetown and Austin homes, I regularly see small leak locations tied to broader moisture spread, especially around bathrooms, kitchens, exterior walls, and slab-adjacent finishes. A clean detection report should lead straight into moisture mapping, drying decisions, and a realistic scope of repair.
A calm response usually saves money.
If you're dealing with a suspected hidden leak in Georgetown, Austin, or nearby Central Texas communities, RestoTek TX can help you move from uncertainty to a clear plan. Joan and Josh Garza's family-operated team handles inspection, mitigation, structural drying, microbial prevention, and reconstruction, so you're not left coordinating separate trades after the leak is found.