A ceiling stain after a Gulf storm is the kind of thing that makes homeowners start looking straight up and guessing. In Austin and Georgetown, that guess is usually wrong. Locating roof leaks means tracing water backward through the building, because the spot where the stain appears inside is often far from the place where the roof envelope failed.
Why the Ceiling Stain Is Rarely the Leak Source
A homeowner calls after a storm, points to a brown mark in the living room, and assumes the leak sits right above it. On Central Texas roofs, that's rarely how it works. Water can move along framing, insulation, and underlayment before it ever reaches drywall, so the visible stain is usually a symptom, not the breach.
That's why a source-to-symptom mindset matters more than chasing the stain with a drill or opening the ceiling first. Roof geometry changes the path. Rafters, trusses, and low points can redirect water sideways, and a small defect at a flashing edge or penetration can show up feet away indoors.
A practical leak search starts with the interior evidence, then moves outward in a controlled way. That sequence keeps you from missing the entry point and helps avoid unnecessary damage to sound materials. It also fits the way Central Texas storms behave, with wind-driven rain exposing weak points that may stay hidden on calmer days.
Practical rule: If the interior stain is your starting point, it should never be your final answer.
Starting the Investigation Inside the Attic
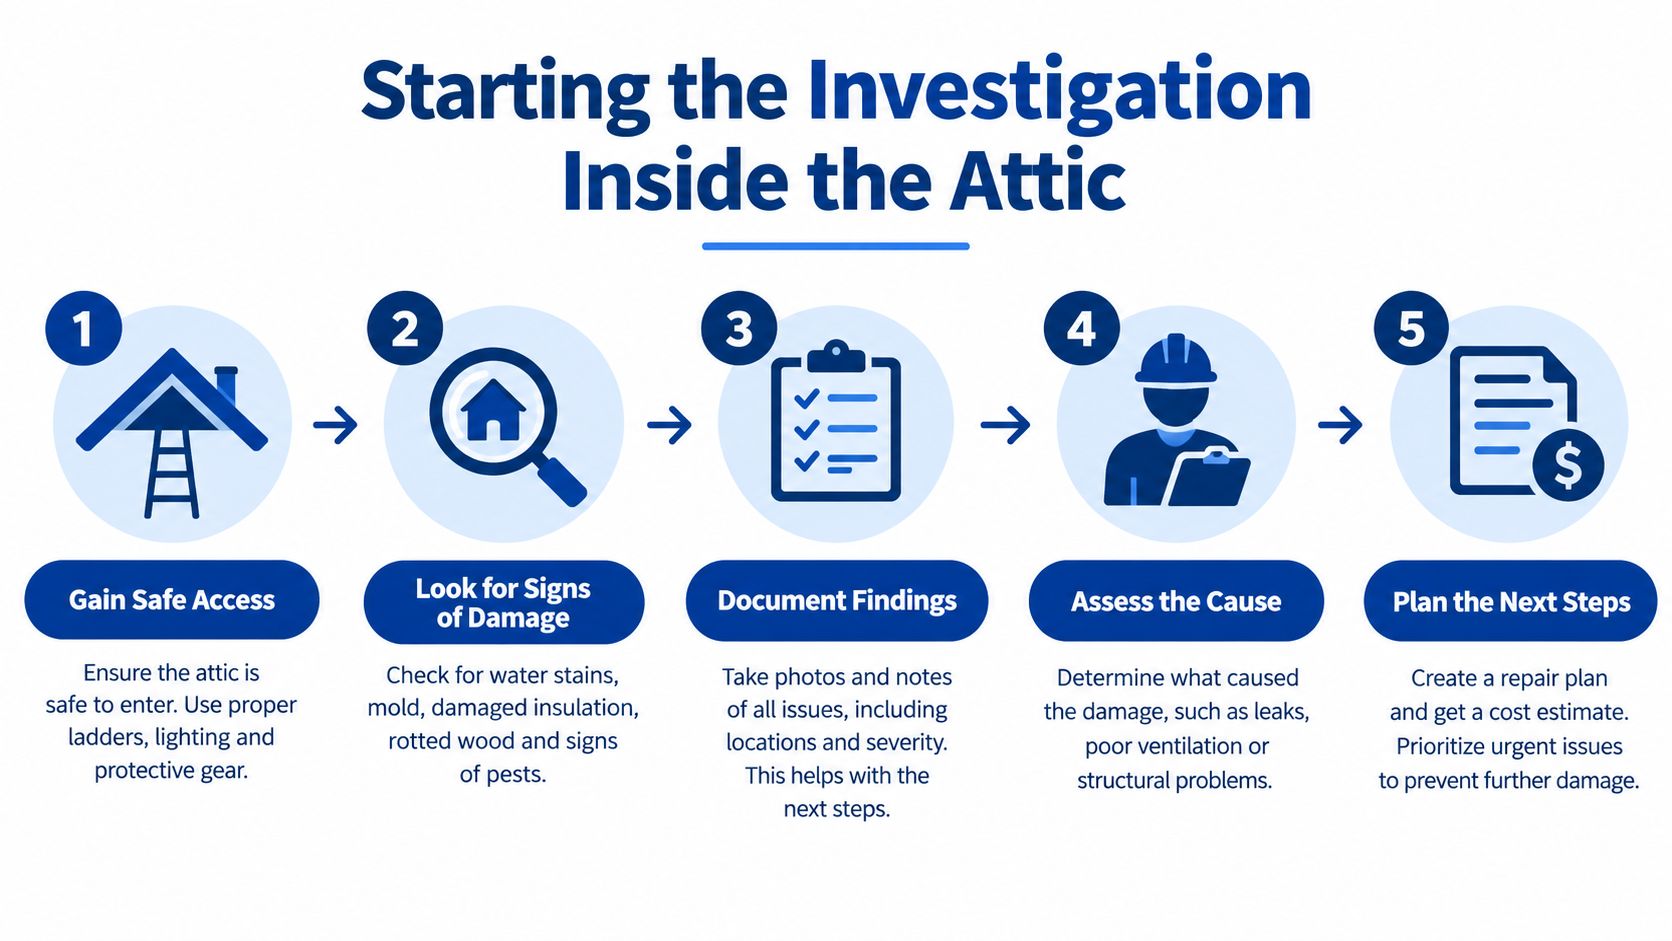
Start with a flashlight, a clear route, and a habit of writing down what you see. Document every drip, stain, and damp patch from fixed reference points like chimneys, vents, ridge lines, and gable walls. That makes it possible to project the marks back onto the roof plan later instead of relying on memory after you've crawled out of a hot attic.
What the attic usually tells you first
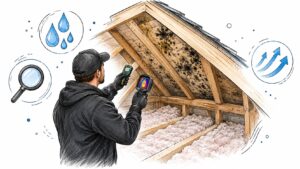
Wet insulation is one of the clearest clues because it compresses and darkens where water has settled. Look for staining on the roof deck, water tracks on rafters or truss members, and any daylight showing through the roof boards. If you see fungal growth or a musty area that gets worse after rain, limit disturbance until a professional can assess it.
Trace every mark upslope. Water almost always travels farther than the homeowner expects before it shows itself.
A few safety habits matter here. Stay on framing members, watch for nails protruding through the deck, and don't step where the decking flexes. If the attic is cramped, hot, or visibly contaminated, it's better to stop than to turn a leak search into a fall or exposure problem.
The attic also helps separate one leak from several. A single ceiling stain can hide more than one intrusion path, especially after a storm with wind shifts or varying rain intensity. That's why photos, measurements, and a slow sweep are more useful than a quick look and a guess. For a broader overview of leak detection in the field, see RestoTek TX's leak detection overview.
Inspecting the Roof Surface for Likely Failure Points
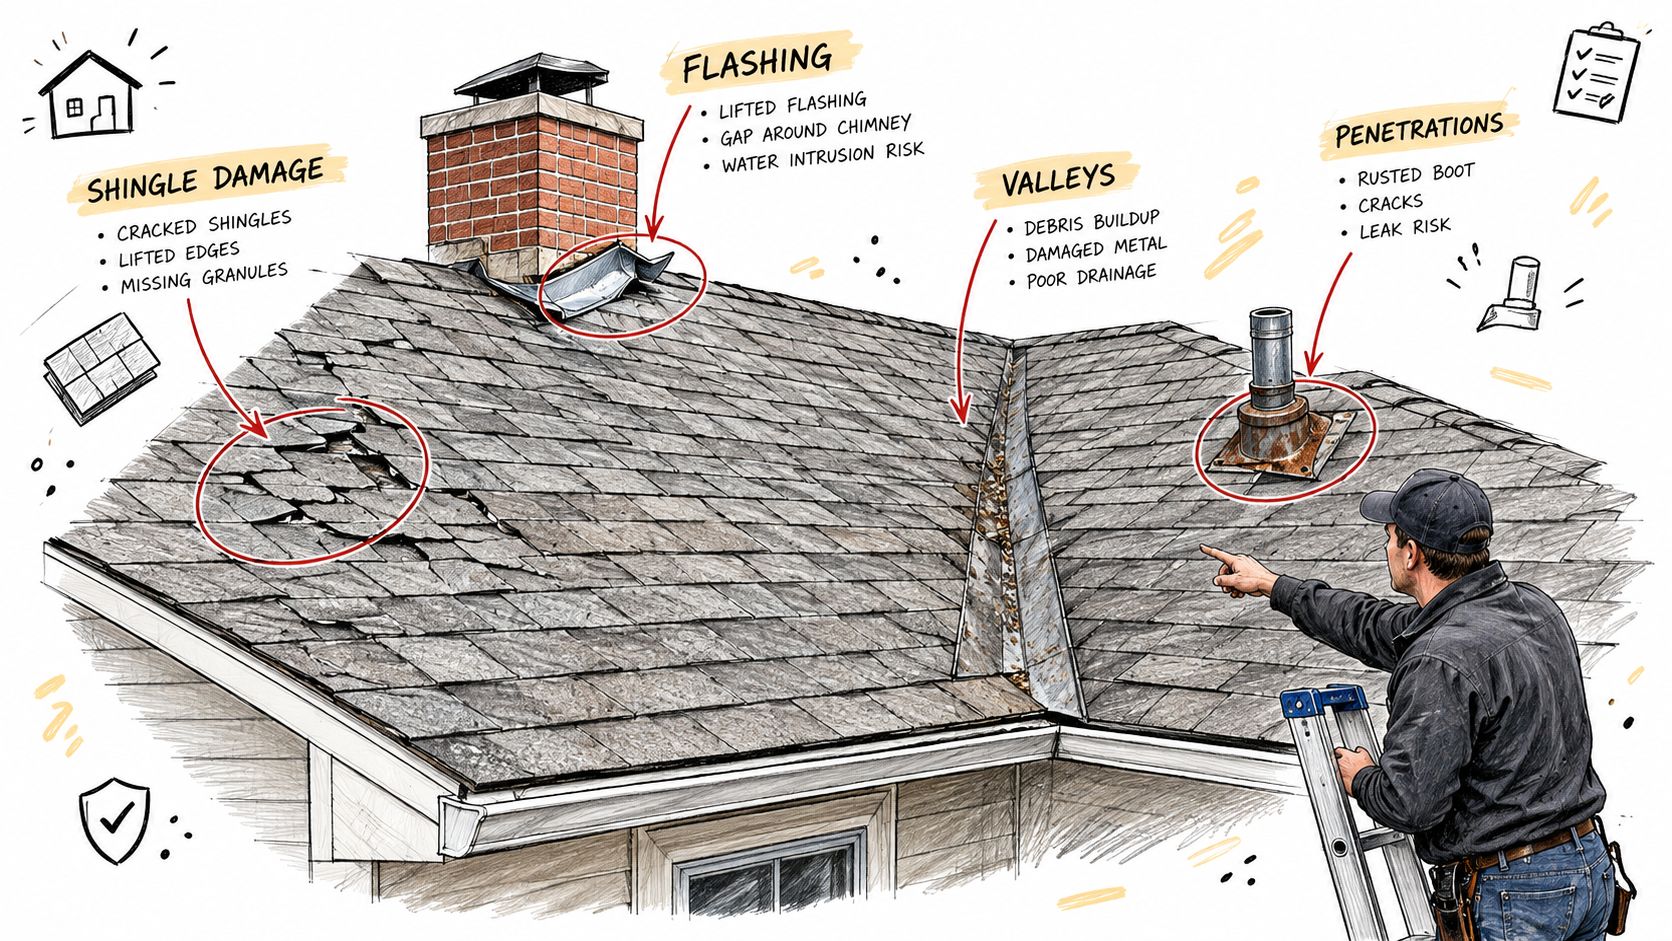
Once the attic clues narrow the search, move to the roof surface and inspect it in a disciplined order. Start with penetrations, because anything that breaks the roof's continuous surface is a natural weak point. Plumbing vents, attic vents, satellite mounts, and exhaust terminations deserve close attention, especially if a boot collar is cracked, split, or pulled away from the pipe.
The details that usually fail first
Flashing is the next place I look. Chimneys, skylights, and wall transitions often leak where metal meets masonry or where sealant has dried out at a counterflashing joint. Valleys deserve their own pass because they carry a lot of water, and a little debris or a lifted shingle edge can change where that water goes.
Roof-to-wall transitions on dormers and additions are easy to overlook because they don't always look dramatic from the ground. They're not dramatic until they are. A rusted flashing edge, a missing shingle, or a patch that looks tired and brittle can be enough to start intermittent intrusion during a heavy storm.
- Penetrations: Check vent boots, pipe collars, and satellite mounts for splits, loose fasteners, or dried sealant.
- Flashing joints: Look for separation at chimneys, skylights, and wall intersections where metal meets another surface.
- Valleys and edges: Watch for lifted shingles, debris buildup, and signs that water is backing up or channeling sideways.
- Roof-to-wall transitions: Inspect dormers, additions, and sidewalls where small gaps often hide behind trim or step flashing.
Access matters too. Use a stable ladder, wear soft-soled shoes, and stay off wet or algae-covered surfaces. If the slope is steep enough to make you uneasy, it probably deserves a harness or a professional set of eyes instead.
Controlled Water Testing and Professional Verification
When visual checks don't settle it, a controlled hose test is the next honest step. The key is patience and isolation. Start at the lowest suspected zone, spray one area at a time, and give it roughly 10 minutes before moving upslope. A second person should stay in the attic the entire time and call out the first sign of moisture.
Flooding multiple areas at once destroys diagnostic value. You end up with water everywhere and no clue which section mattered.
If the test still doesn't pinpoint the breach, the problem may need professional verification. Infrared thermography is useful when the roof has a strong thermal cycle and the indoor-outdoor temperature difference is meaningful, but it maps wet insulation, not the exact opening. Moisture meters can confirm suspect areas, and electronic leak detection can locate membrane discontinuities on low-slope systems rather than just showing where water collected.
Low-voltage electronic leak detection wets the membrane and uses the roof deck as part of the electrical field, while high-voltage testing works on a dry, exposed membrane and looks for a spark at discontinuities. That difference matters on membrane roofs, where the breach and the wet area are not always the same thing. The result is a tighter repair scope, but only if the technician uses the right method for the roof type.
For broader thermal and envelope work, RestoTek TX offers thermal imaging leak detection, moisture-meter confirmation, and structural inspection as part of its leak-finding services. On low-slope roofs, that layered approach is often more useful than any single tool. For a deeper look at thermal work, see RestoTek TX's thermal imaging leak detection page.
Why Infrared and Moisture Meters Alone Can Mislead You
A thermal camera is not a magic leak detector. It sees surface temperature patterns, not water itself, so it's really showing you where materials are behaving differently because of retained heat, evaporation, insulation changes, or moisture movement. That's useful, but it's not the same as proving the exact penetration.
The same caution applies to spot moisture meters. They give readings at the points you test, which is helpful for confirmation, but they still only sample the roof surface or assembly in a few locations. On larger roofs, that leaves gaps between readings, and water can travel laterally beneath roofing materials before it appears anywhere obvious.
Why a normal scan doesn't clear the roof
A clean scan doesn't automatically mean there's no leak. It can mean the roof was scanned under the wrong weather conditions, too soon after rainfall, or on a surface that masked the thermal pattern. Reflective membranes, shading, rooftop equipment, and recent rain can all hide the signal that would have been clearer at dusk or under a stronger thermal cycle.
That's why intermittent leaks in Central Texas are frustrating. A roof may leak only during a specific wind direction or during a storm intense enough to push water through a small opening. If the inspection happens on a dry, convenient afternoon, the roof can look fine even though it failed during the last storm.
A normal thermal image tells you to keep investigating. It doesn't prove the roof is innocent.
The practical answer is to treat infrared and moisture mapping as part of a sequence, not a verdict. Document the weather, inspect the roof surface, confirm wet areas where possible, and test again when conditions support a reliable reading. For that reason, locating roof leaks is often less about owning a camera and more about knowing when the camera can't tell the full story.
Temporary Fixes and When to Call a Restoration Pro
Once you've narrowed the source, the goal is to limit damage without making the roof harder to repair. A small flashing gap can sometimes be sealed temporarily with roofing sealant, and a damaged section can be covered with a tarp that extends past the ridge so wind-driven rain can't get under it easily. Inside, buckets and plastic sheeting can protect flooring and contents while the roof issue gets addressed.
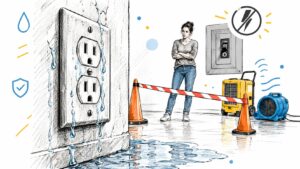
If you're dealing with active dripping, saturated insulation, or water that's reaching electrical fixtures, stop the DIY approach there. The same goes for visible mold, repeated staining after rain, or any leak that keeps returning after a patch. At that point, you're no longer just dealing with a roof problem, you're dealing with water damage inside the structure.
| Leak Situation | Safe Homeowner Action | Call a Pro When |
|---|---|---|
| Small, visible flashing gap | Apply a temporary roofing sealant if the area is safely reachable | The gap keeps opening, or the roof slope makes access risky |
| Torn or missing roof covering | Tarp the area so it extends beyond the ridge | You can't secure the tarp safely, or the damage is widespread |
| Drip appearing inside | Place a bucket and protect nearby finishes with plastic sheeting | The drip continues, spreads, or reaches electrical components |
| Wet insulation or repeated staining | Document the area and avoid disturbing it further | Moisture returns after every rain, or mold is visible |
In Austin and Georgetown, that often means more than a quick patch. If the leak has already affected drywall, insulation, or air quality, a restoration crew can handle inspection, drying, microbial prevention, and reconstruction under one roof. That's the point where repair and restoration stop being separate jobs.
Building a Repeatable Inspection Habit and Documentation Kit
The best leak response is the one you can repeat after the next storm without starting from scratch. Use the same source-to-symptom process every time, photograph stains with a tape measure in frame, and note rainfall timing and wind direction in a simple log. Those details help when you're comparing storms, talking with an adjuster, or deciding whether the problem is getting worse.
Save the notes, even when the leak seems minor. A stain that appears only after a hard west wind tells a different story than one that shows up after every rain, and that difference matters when you're trying to prove pattern, not just presence. For a simple progress log and documentation workflow, keep RestoTek TX's progress documentation guide handy.
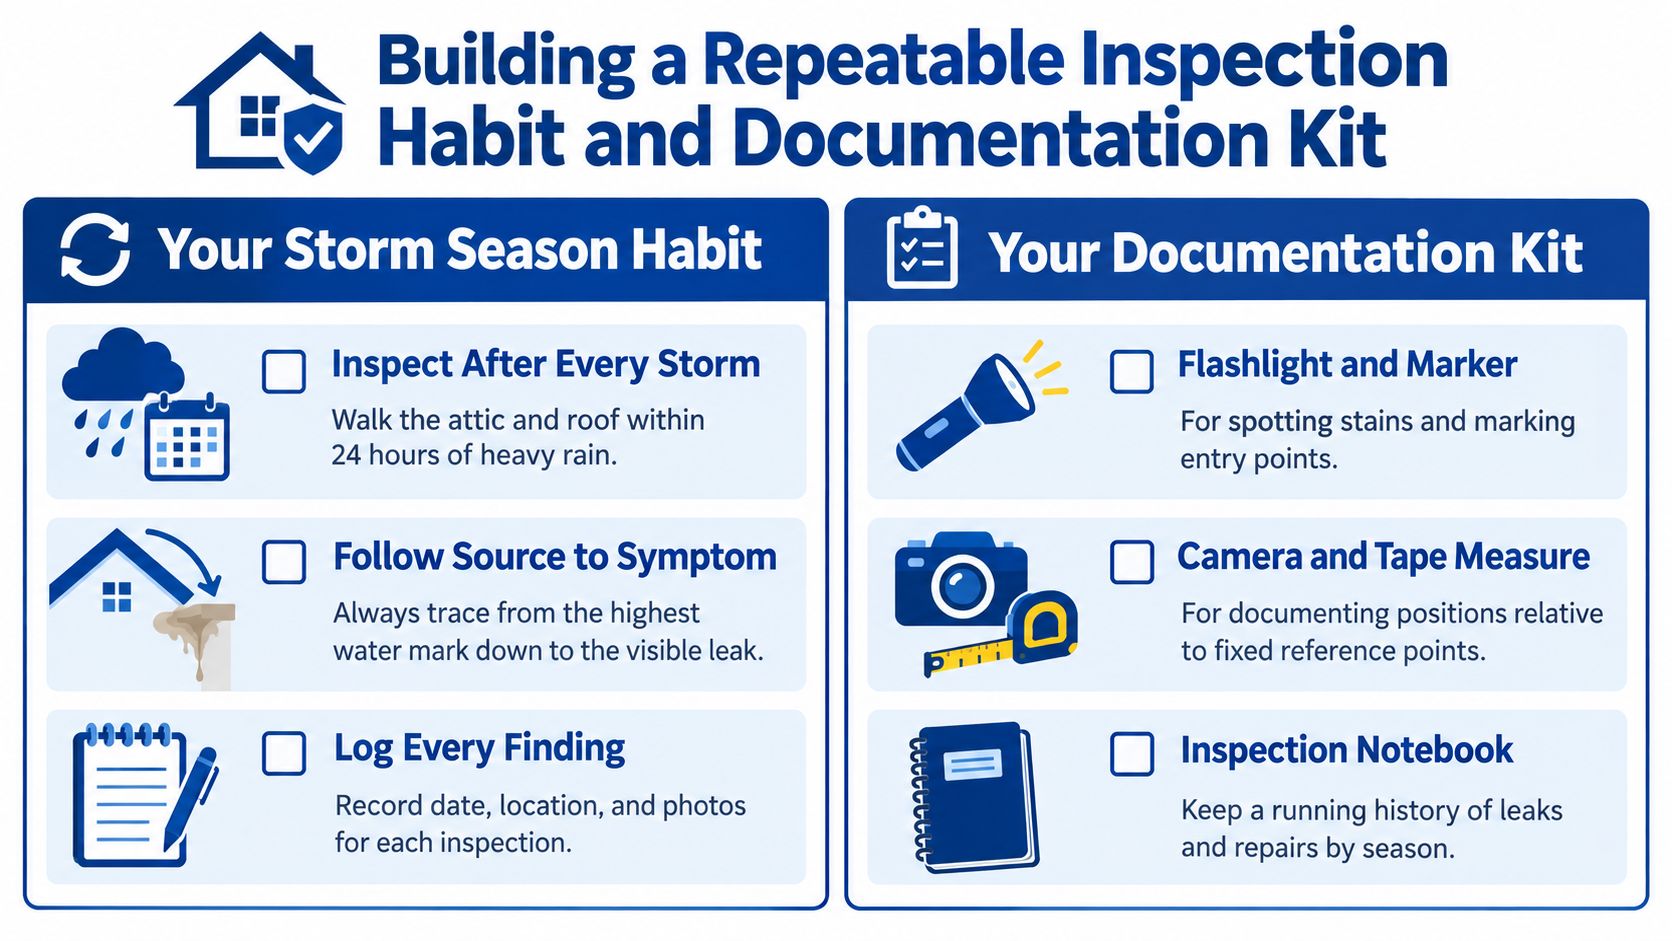
Keep this kit ready
- Flashlight and marker: Use them to see stains clearly and mark suspected entry points.
- Camera and tape measure: Capture the stain's position relative to fixed points like vents or chimneys.
- Inspection notebook: Keep a running history of each leak, repair, and storm event.
- Tarp: Use it for temporary coverage when the roof needs immediate protection.
- Moisture meter if available: Confirm suspect areas instead of guessing from the surface.
- Roofer contact information: Save it before the next storm, not after the ceiling starts dripping.
When you treat roof leaks as a traceable path instead of a mystery stain, you make better decisions faster. That usually means less demolition, less guesswork, and a cleaner repair scope when the storm rolls through again. If your attic already has signs of moisture, or you want a structured leak investigation in Austin or Georgetown, visit RestoTek TX and get the next step handled before the damage spreads.