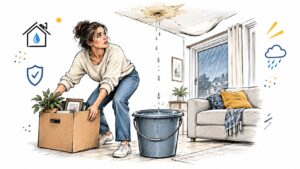
You wake up in a Georgetown home and find the baseboard swollen, the paint dull, and a dark watermark climbing the wall. Maybe a failed water heater ran unnoticed overnight. Maybe a supply line split behind a cabinet. Either way, the important decision isn't how to dry wet drywall. It's whether the wall should be dried in place, opened to expose the cavity, or removed before hidden moisture creates a larger problem.
Drywall can look dry while its gypsum core, paper facing, insulation, and framing remain wet. Professional drying guidance commonly uses a three-to-five-day drying window with active air movement and dehumidification, while a moisture reading above 12% is a practical sign that drywall still needs drying rather than repair (restoration guidance on drying drywall). The clock starts when water reaches the paper, and your first response determines how much of the wall can be saved.
What Wet Drywall Means in Your Home
A damp lower edge, spongy baseboard, or matte, chalky paint can understate the problem. Water may have moved through the paper face into the gypsum core, while insulation inside the cavity holds more moisture than the room-facing surface. A fan can dry the face and leave the cavity wet.
Drywall is porous. Its paper can wrinkle, soften, or separate, and the gypsum can lose strength or turn crumbly. Check the wall before deciding whether to dry it in place, open it, or remove it.
Practical rule: A dry-looking surface does not prove the wall is ready for repair. Check the core and cavity.
Identify the water before choosing the method
The source determines how much of the wall may be salvageable:
- Clean water from a supply line may allow drying in place when the drywall remains firm, seams hold, and the cavity can be reached or ventilated.
- Gray water from an appliance or contaminated indoor source creates a sanitation concern and may make removal the safer choice.
- Black or category 3 water, including sewage or floodwater, is outside normal DIY drying. Porous drywall exposed to it generally requires controlled removal and containment.
Water also travels beyond the visible stain. Capillary wicking moves moisture upward and sideways through the paper and core. The lower edge can remain wet where it meets flooring or a damp subfloor. A small mark does not guarantee a small loss.
The wall has three possible outcomes
A clean-water loss caught quickly may be dryable in place. Trapped moisture may require selective openings so air can reach the cavity. Swelling, softness, contamination, or prolonged wetting usually points to removal rather than continued drying.
Use a moisture meter to verify progress instead of judging by touch or appearance. Restoration guidance commonly treats building materials as dry when readings return to roughly 12% to 15% moisture content, with the appropriate target depending on the material, standard, and indoor conditions (industry drying guidance for building materials). Compare readings from the wet area with an unaffected section of the same wall, and record both locations as drying continues.
The practical decision is simple: firm drywall with falling readings can stay in place, while damaged material or a cavity that will not dry needs to be opened. If readings remain high despite controlled airflow and dehumidification, stop treating the surface alone and reassess the wall assembly.
First Hour Safety and Source Control
The first hour isn't about putting a fan in the room. It's about stopping the source, removing immediate hazards, documenting the loss, and getting water away from materials that are still absorbing it.
Follow the safe order
- Stop the water. Close the fixture supply valve or the home's main shutoff if the leak is ongoing. If an appliance caused the loss, disconnect it only when you can do so safely.
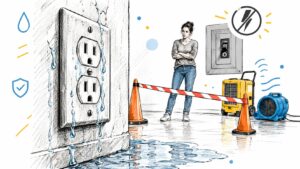
- Treat electricity as a separate hazard. If water has reached outlets, switch plates, appliances, or cords, shut off the affected circuit at the panel only if you can reach it without standing in water. Don't enter a wet area with electrical uncertainty.
- Document before moving contents. Photograph the wall, baseboard, flooring, furniture, cabinets, and the water source. Include wide room views and close-ups. These images help establish what existed before cleanup.
- Remove loose wet contents. Take out wet rugs, paper goods, and portable items that can be moved safely. Bag contaminated materials separately and don't carry sewage-soaked items through clean rooms.
Standing water, contaminated water, and unstable ceiling material change the answer immediately. Leave the area and call a restoration professional if water is deeper than a shoe, if sewage or outdoor floodwater entered the room, or if ceiling drywall is bulging or sagging.
Extract before you dry
Use a wet-dry vacuum or shop vac for accessible standing water. Don't use a standard household vacuum, and don't run electrical equipment where the power supply or cord could contact water.
Pulling the baseboard is often the highest-value early move on a wet wall, provided the work is safe and you can preserve the trim for documentation. Removing it exposes the lower drywall edge, reveals the wet boundary, and gives air a path toward the wall cavity. If the baseboard is swollen or contaminated, photograph it before bagging it.
Leave built-in cabinets, flooring, and other damaged property in place when removal could affect an insurance inspection or cause additional damage. Photograph first, then ask the adjuster or restoration contractor what should be discarded, cleaned, or protected.
Measuring Moisture the Right Way
A wall can feel dry and still hold water in its gypsum core. Paint, wallpaper, trim, or insulation can slow evaporation while the surface appears normal. Staining and swelling show where damage occurred, but they do not prove the drywall is ready to close.
A pin-type meter presses probes into the material and helps compare moisture at the surface, lower edge, and other suspect areas. The holes may be undesirable on a finished wall. A pinless meter scans across the surface without puncturing it, making it useful for mapping a larger area. Both tools work best when compared with an unaffected section of the same wall, not treated as an absolute verdict.
Establish a dry baseline first
Test an unaffected section in the same room, using drywall with similar paint and construction. Record that reading as your local baseline. Then map the damaged wall from the floor upward, taking readings across the stain, above it, beside it, and near the lower edge.
Use a simple grid. Mark locations with painter's tape and record the date, time, meter type, and reading. Check seams, corners, outlets, soft areas, and places where readings differ from the baseline. If moisture remains high, keep tracing the wet area and consider whether the cavity also needs access.
For practical meter setup and interpretation, use this moisture meter reading guide.
Moisture Reading Targets for Drywall
| Condition | Pin Meter (%MC) | Pinless Meter (%MC) | Action |
|---|---|---|---|
| Unaffected comparison area | Establish the room baseline | Establish the room baseline | Use as the local reference |
| Drying range | Above the unaffected baseline | Above the unaffected baseline | Continue controlled drying and log readings |
| Common gypsum dry standard | About 12% to 15% | About 12% to 15%, interpreted against the baseline | Confirm repeated readings before rebuilding |
| Still wet | Over 12% where the meter is reliable | Elevated compared with unaffected drywall | Continue drying or investigate the cavity |
The 12% to 15% gypsum target is a practical reference from industry drying guidance, but the reading can vary with the reference standard and indoor conditions. There is no single universal industry threshold for acceptable free moisture in wallboard, and meters may not reliably decide whether a gypsum panel is suitable for reuse (moisture remediation guidance).
Repeat readings after the wall has had time to dry. A falling trend toward the unaffected baseline supports drying in place. Persistent elevation, soft gypsum, or moisture that stops declining points toward cavity inspection or selective removal.
A calendar, overnight fan run, or normal-feeling surface cannot make that decision. The meter readings do.
Setting Up Air Movers and Dehumidifiers
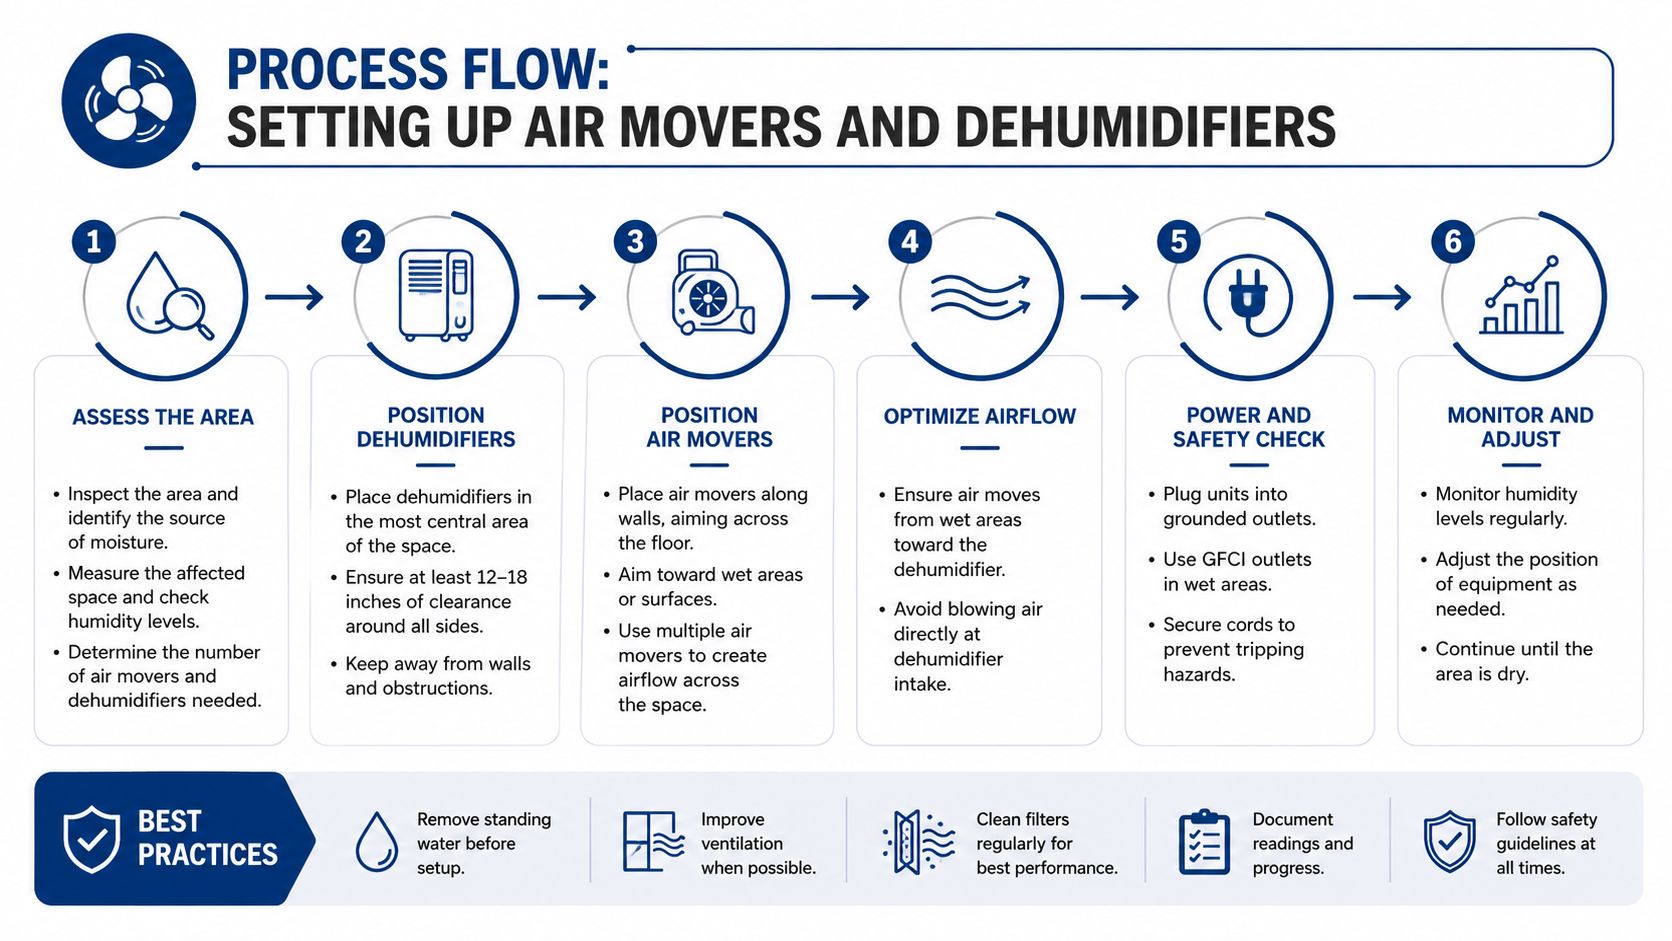
A fan left in the corner will not dry a wet wall. Set up a controlled system that moves air across the surface, removes moisture from the room, and gives trapped water a path out of the cavity. The equipment choice is part of triage. A firm, clean-water-affected panel may dry in place, while wet insulation or a separated paper face may require access before drying can work.
For a single room, practical guidance often pairs a low-grain refrigerant, or LGR, dehumidifier in the approximate 30 to 50 pints-per-day range with axial air movers rated around 2,000 or more CFM (guidance on drying drywall). Match capacity to the room and moisture load. A rental unit may not keep up with an insulated wall or a larger loss. Dehumidifiers support flood-damage drying explains why moisture removal must keep pace with evaporation.
Build the airflow path
Remove the baseboard where safe. For a clean-water loss with firm drywall, small weep holes near the bottom between studs can release moisture from the cavity. If selective access is needed, open the wall 12 to 24 inches above that line. Capillary wicking can extend beyond the visible watermark (water-damaged drywall guidance).
Aim air movers across the lower wall at roughly 10 to 20 degrees, rather than directly at one small area. The goal is to sweep dry room air across the wet surface and carry evaporated moisture toward the dehumidifier. Manage doors and windows according to indoor humidity. In humid Central Texas weather, opening windows can add moisture instead of helping.
Use cavity ventilation when the paper has separated, insulation is wet, or readings remain high behind the panel. Desiccant or heat-assisted drying may help with stubborn saturation. Heat without humidity control can drive moisture into adjacent materials and make a stalled job appear successful.
Log the trend
Run equipment continuously when safe, inspect it regularly, and record readings at consistent locations. Smaller losses require less air exchange than severe overhead losses, which may demand substantially more circulation. Recheck the setup after 48 to 72 hours, then adjust equipment based on the reading trend and the wall's condition.
A falling reading toward the unaffected baseline supports drying in place. Little change, trapped moisture, or a deteriorating panel means the setup is not solving the problem. At that point, stop adding fan time and reassess access or removal.
When Drywall Has to Be Cut Out Instead
Drying in place is a triage choice, not the default. Keep the panel only when the gypsum remains firm, seams stay intact, the water source is suitable, and the cavity can reach the dry target within a reasonable response window.
The first roughly 48 hours matter. If the wall cannot be dried during that window, reassess whether the panel, insulation, and cavity are still salvageable. Removal below the water line may be safer when materials have softened or held moisture. The time point is a warning to verify condition, not an automatic demolition order.
Read the wall, not just the stain
Cut out drywall when inspection and meter readings show any of these conditions:
- Saturated insulation: Wet fiberglass, cellulose, or other cavity insulation restricts airflow and keeps moisture against the back of the panel.
- Loss of strength: Sagging, crumbling, swollen, or soft gypsum will not regain its original integrity because the face feels dry.
- Damaged paper: Wrinkled, delaminated, or peeling paper usually makes replacement cleaner and more reliable.
- Contamination: Gray-water or black-water exposure changes the sanitation requirements and generally requires controlled removal.
- Persistent readings: After active drying has continued for three days, readings above 15% indicate that continued fan time may be less sensible than selective demolition, especially if the cavity remains wet. A technical advisory on in-place drying supports treating stalled readings as a reason to reassess the method.
Confirm the highest wet reading with a moisture meter, then mark the cut above it, commonly 12 to 24 inches above the visible watermark. Open the complete affected stud bay when insulation or framing remains wet. Removing only the darkest section can leave damp edges and trapped moisture behind the remaining panel.
Dry in Place vs. Cut Out Quick Decision Guide
| Signal | Dry in Place | Cut Out |
|---|---|---|
| Firm drywall with intact seams | Possible with cavity access and monitoring | Not immediately necessary |
| Swollen or soft gypsum | Poor candidate | Remove affected material |
| Wet insulation behind the wall | Usually ineffective without opening | Remove or expose the affected bay |
| Clean water caught quickly | May be salvageable | Use if readings do not decline |
| Sewage or floodwater | Not a DIY drying situation | Controlled removal and remediation |
| Musty odor or visible growth | Investigate before closing | Remove affected porous material |
For repair sequencing after removal, use this water-damaged drywall repair guide. A clean cut, exposed cavity, and documented dry reading are usually less trouble than closing a wall that still contains trapped moisture.
Preventing Mold and Musty Odors After Drying
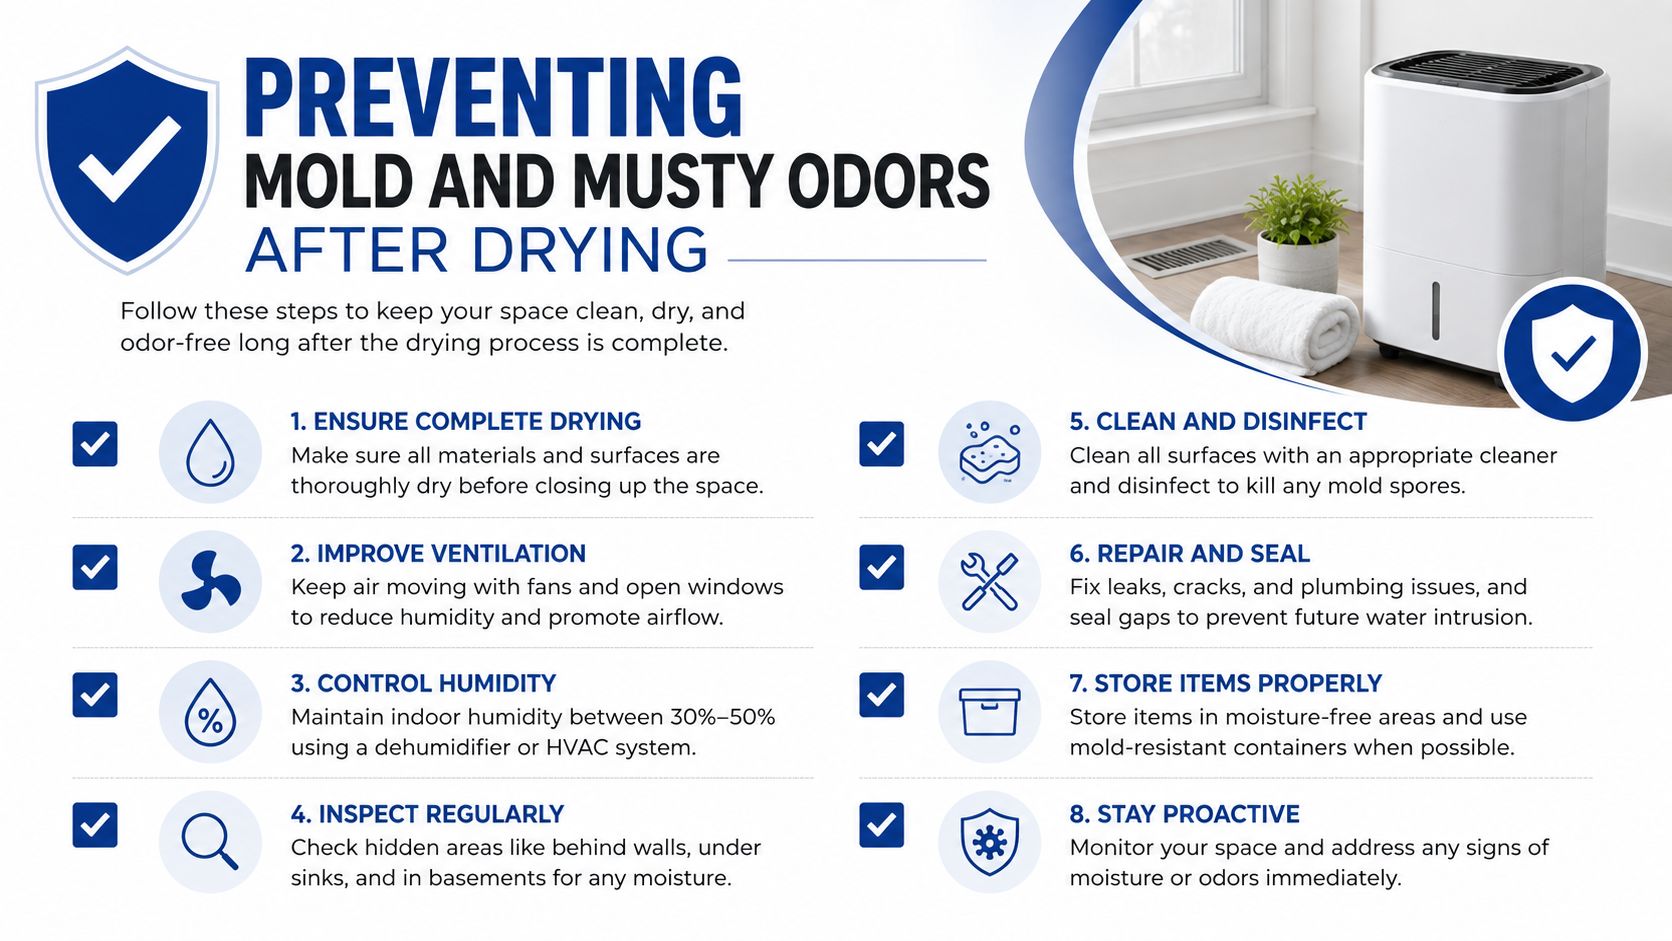
A fan stopping does not prove a wall is restored. The cavity, framing, insulation, and nearby flooring must be dry, clean, and free of trapped odor before reconstruction. A painted surface can look normal while residual moisture creates a musty smell later.
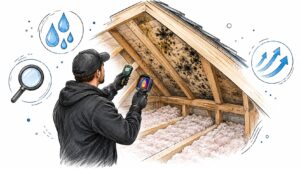
Research on moisture and fungal communities links mold risk with severe water damage, repeated wetting, and prolonged moisture accumulation. Musty odors and infrared screening can also point to damp areas that a visual inspection misses.
Complete the post-drying checks
After demolition or cavity exposure:
- HEPA vacuum the cavity and nearby surfaces to remove settled dust and debris.
- Inspect framing, insulation, and the subfloor, not only the drywall face.
- Use antimicrobial treatment only within a broader cleanup plan, particularly where framing readings remain above 16%.
- Seal repaired gypsum with a stain-blocking primer before repainting, after the material reaches the dry standard.
- Check the register and HVAC operation for odor. The room should smell neutral when the system starts, without an earthy note.
If readings rose above 20% during the loss, wait 14 days before closing the wall. Continue checking the cavity and surrounding materials during that period. The pause gives moisture migration and returning odors time to show themselves before reconstruction conceals the problem.
Keep checking after the rebuild
Run a dehumidifier to keep indoor relative humidity near 45% for the following month. Recheck accessible cavity areas with a meter at 30 and 60 days, especially around exterior walls, closets, bathrooms, cabinets, and restricted-airflow locations.
Fragrance only covers an odor. If a musty smell returns, stop cosmetic work and inspect the cavity again. A neutral smell, dry readings, and clean surrounding materials are the checks that support closing the wall.
When to Call a Restoration Professional
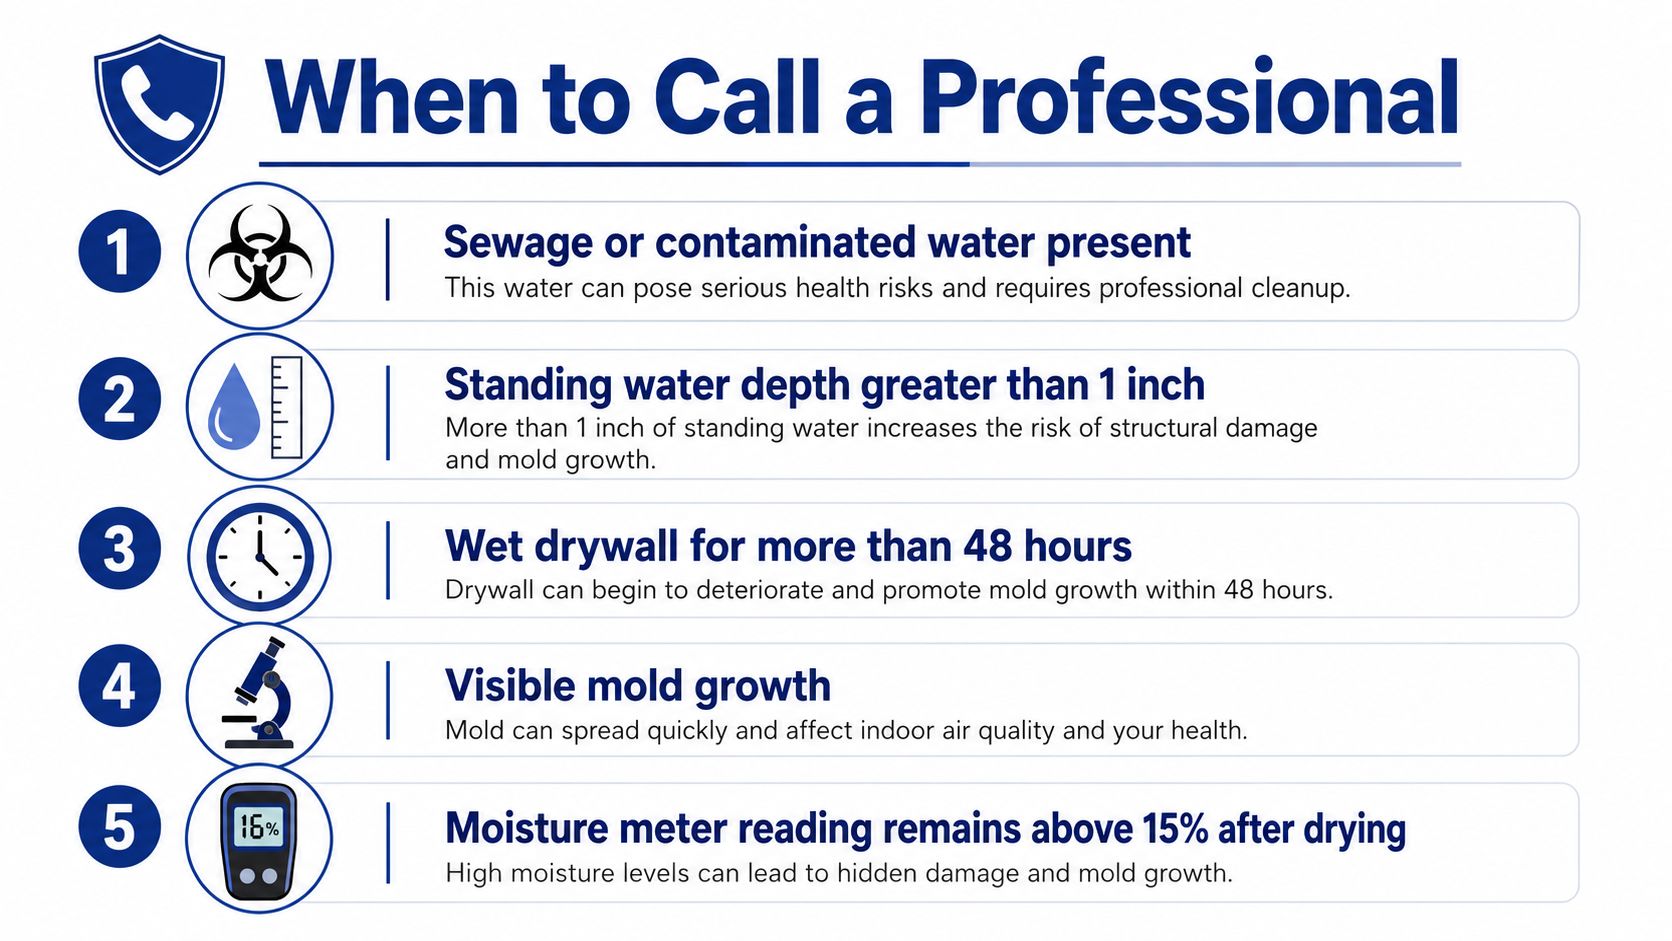
DIY drying ends when safety, contamination, access, or measurement exceeds household tools. Call a professional for sewage contamination, standing water deeper than 1 inch, drywall wet longer than 48 hours, visible mold colonies, or readings still above 15% after three days of active drying. These conditions may require controlled removal, containment, extraction, or equipment that provides reliable verification.
Ceiling damage needs extra caution. Saturated overhead drywall can sag under its own weight, and opening it without proper protection exposes you to falling material and wet insulation. Floodwater also presents contamination concerns that fans and a household dehumidifier cannot resolve.
Prepare useful documentation
A clear record helps the restoration team and insurance adjuster establish what happened:
- Dated photographs: Capture the source, affected surfaces, contents, and each removal stage.
- Moisture logs: Record readings, locations, meter type, dates, and times.
- Equipment records: Keep rental inventory, model information, and operating dates.
- Repair scope: Request estimates with line items an adjuster can review.
- Source repair proof: Save the plumber's invoice, appliance service record, or other evidence that stopped the leak.
A credible restoration company should do more than drop off fans. The arrival assessment should identify the source, classify the water, map moisture, inspect the cavity, and set a drying plan. Depending on the loss, work may include psychrometric assessment, containment barriers, HEPA air scrubbing, extraction, selective demolition, and documented final verification.
Central Texas rain and flooding can shorten the response window. If the source remains active, or insulation, tile, cabinets, or built-ins hide the wall, call experienced help before the surface dries and conceals deeper moisture.
RestoTek TX provides water damage inspection, extraction, structural drying with air movement and dehumidification, microbial prevention, deodorization, and reconstruction for Georgetown, Austin, and surrounding Central Texas communities. If your drywall is wet now, visit RestoTek TX to request an assessment and a documented plan for drying, selective removal, or repair.