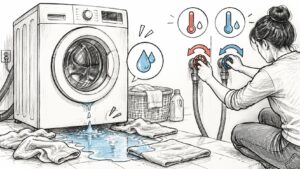
You step into the laundry room in socks and feel it before you see it. A thin sheet of water is spreading from under the washer, the machine is still humming, and the puddle is already touching the baseboard. Your first instinct is probably to pull the washer out and start looking for a loose hose.
Don't start there. Water leaking from under washer cabinets is a moisture incident first and an appliance problem second. Stop the flow, note when the water showed up in the cycle, and only then hunt for the part. That order protects the floor, gives you a clean diagnosis, and keeps a small puddle from becoming a wall and subfloor repair.
Stop the Water Before You Touch the Washer
A pressurized supply hose doesn't leak like a drip coffee maker. It can flood a room while you're deciding whether it's serious.
State Farm estimated that a hose under approximately 70 pounds of pressure can discharge about 650 gallons per hour, according to State Farm's hose failure figures reported by Leavitt Group. Left alone for eight hours, that's roughly 5,200 gallons. Speed in the first ten minutes matters more than finding the exact part.
Your first ten minutes
- Stop the cycle: Press pause or cancel so the machine isn't filling or draining while you work.
- Close both supply valves: Turn the hot and cold valves behind the washer clockwise until they stop. This cuts pressurized water even if a hose has split.
- Handle power safely: Unplug only if the floor, cord, and plug are dry. If water touches the outlet, leave the plug alone and switch off the breaker for that circuit.
- Photograph before cleanup: Capture the standing water, the wet edge, and the washer's position. Note when you found it and when you closed the valves.
- Extract from the lowest spot: Use towels or a wet-dry vacuum rated for liquids, then work outward toward dry flooring.
If you can't reach or identify the washer valves, use this guide to find your water shut-off valve and close the home's main instead. Don't waste minutes searching while pressurized water runs.
Mark the water's edge with painter's tape and write the time on it. If the edge moves after the valves are closed, saturated flooring is releasing water, another fixture is leaking, or a valve isn't sealing fully.
Don't run a test cycle yet. Repeating a load to see if it happens again just feeds water into flooring you've already dried.
Stop and call for help if the water smells like sewage, reaches the wall, or runs under cabinets. Those aren't towel problems anymore.
Match the Leak Timing to Its Likely Source
When water appears tells you more than where the puddle ends up. Water travels under vinyl, laminate, and cabinets, so the visible edge often sits feet from the failure.
Use the timing first. It narrows a half dozen parts down to one path.
| When the water appears | Most likely source | First check |
|---|---|---|
| Right after the fill starts | Hot or cold supply hose, valve or connection | Dry strip under each connection, then reopen valves one at a time |
| During drain or spin | Drain hose, standpipe fit, pump or pump filter | Inspect drain hose fit and filter cap for water |
| Only at high spin or late in the cycle | Door seal or tub-to-pump hose | Dry the seal fold and check for drips from the front |
| Hours after the cycle ends | Residual tub water, saturated flooring, or migration from a nearby fixture | Check the tub, then look for wet spots beyond the washer footprint |
| Foamy water with suds on the floor | Too much detergent causing oversudsing | Use less detergent and run a rinse cycle to test |
Run a controlled isolation test
Dry the floor completely first. Old moisture ruins the test because you can't tell new water from leftover puddle.
- Place separate markers: Put paper towel strips or shallow trays under the hot connection, cold connection, drain hose and standpipe area, pump filter access, and the front and rear cabinet edges.
- Reopen valves one at a time: Don't start a cycle. Watch each connection for several minutes.
- Test fill, then drain: If the supply side stays dry, run a short fill while you stand there and watch. Then run drain and spin.
- Photograph the first wet strip: Note whether it's clean supply water or dirty drain water. That distinction changes cleanup and safety.
Moisture at a supply connection before any cycle starts points to a hose, rubber washer, gasket, or valve. Water only during draining points to the drain hose, pump, filter, or internal tub-to-pump hose. That sequence follows the controlled isolation approach described alongside EPA moisture remediation guidance, which also flags contaminated water for protective handling.
Don't push the drain hose deep into the standpipe or seal it airtight with tape. It needs a secure hold with an air gap. A sealed or badly seated hose can overflow the standpipe and mimic a leak from inside the cabinet, sending you after the wrong part.
Read the result honestly
A single wet marker at a hose connection is a workable, targeted repair. Water emerging under the cabinet center during drain, with all external connections dry, points inside the machine.
If every marker stays dry but the floor gets wet hours later, suspect saturated underlayment or a nearby water heater, sink, or toilet supply. Stop testing the washer repeatedly. You're adding water to a floor assembly that may already be holding it.
Common Leak Sources and How to Fix Each
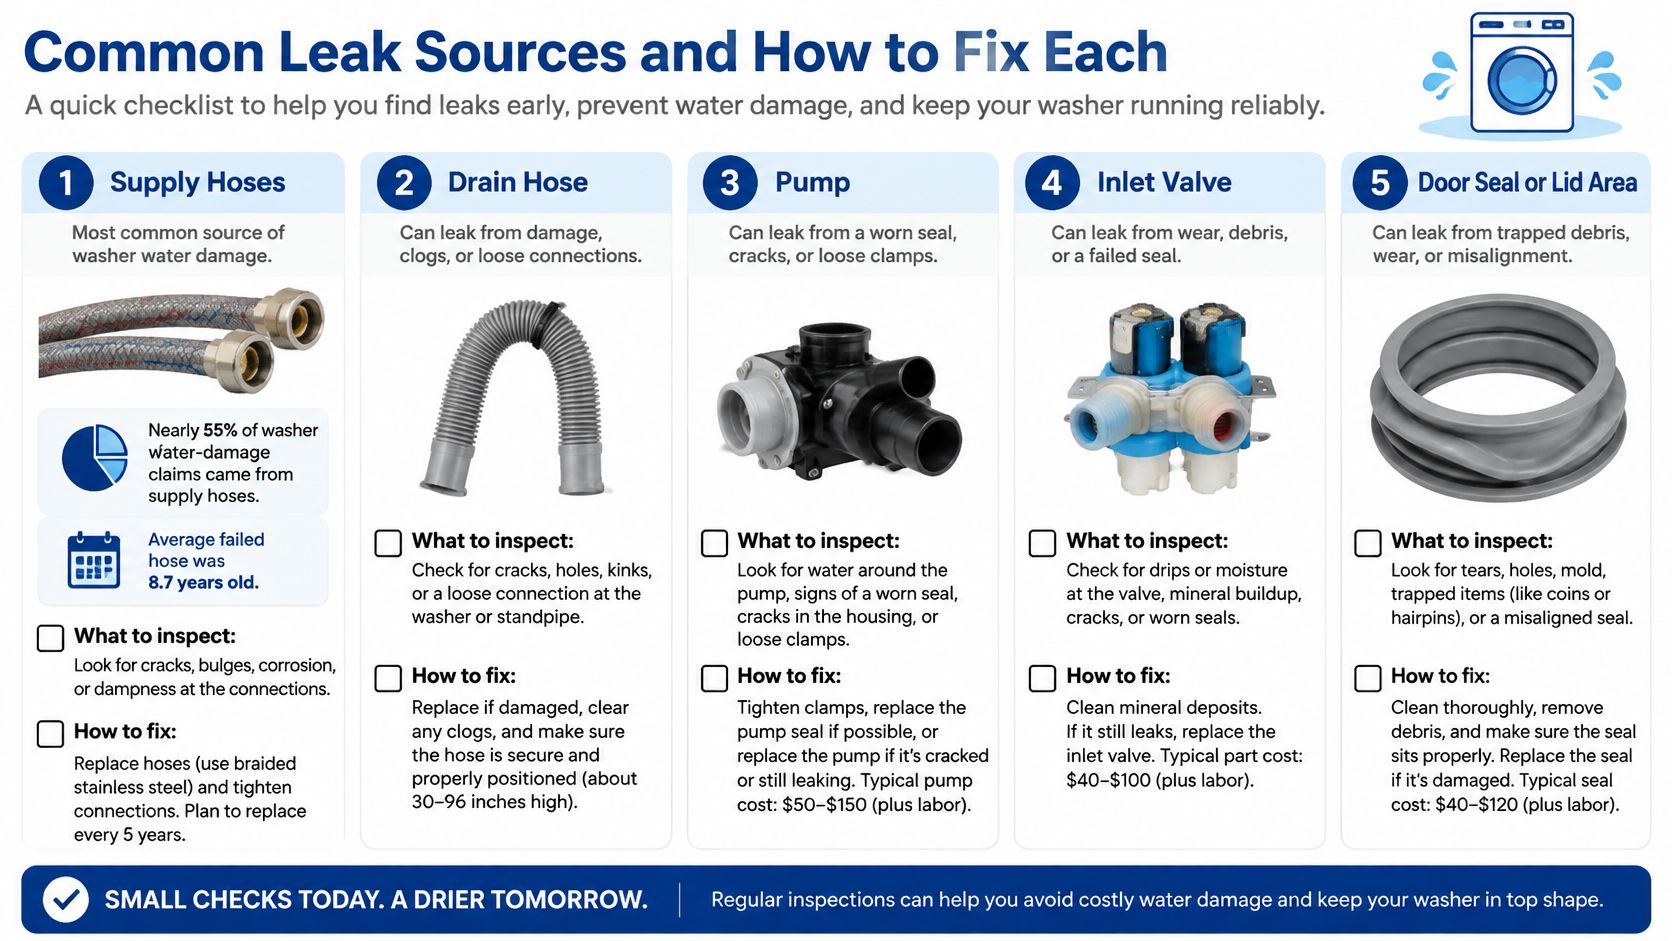
Start at the back of the machine. An Institute for Business and Home Safety analysis of 525 washing-machine insurance claims found that nearly 55% of water-damage claims involving washing machines resulted from supply hoses that leaked or burst, as reported in Insurance Journal's summary of the Institute for Business and Home Safety analysis. The average failed hose in that analysis was 8.7 years old, and almost 80% of failures occurred before ten years.
Supply hoses and inlet connections
With the valves closed and a towel under the fittings, inspect each rubber hose from end to end. Look for bulges, cracks, blistered spots, rust at the crimps, and moisture that reappears after you wipe the fitting dry.
Tighten a weeping connection a quarter turn by hand, then test. If the rubber washer inside the fitting is flat, cracked, or hardened, replace it. If the hose itself is older rubber or shows any bulge, I wouldn't reinstall it. Replace both hoses with braided stainless steel hoses and new washers. It's cheap insurance compared with a burst hose overnight.
Drain hose and standpipe
Check that the drain hose is clamped firmly at the washer and held in the standpipe without being jammed to the bottom. The curved hose guide should keep the outlet at the height your manual specifies, which helps prevent siphoning.
Look for splits where the hose bends, since that flex point cracks first. If water backs up at the standpipe rim during drain, the standpipe itself may be partly clogged with lint. Clearing the washer won't fix a slow house drain.
Pump filter and door seal
Front loaders hide a pump filter behind a small panel at the bottom front. Put a shallow tray and towel down first, because opening it releases trapped water. Unscrew the cap slowly, clear lint and coins, rinse the filter, and reseat the cap until it's snug. A cap that's a quarter turn loose will seep only during drain, which makes it easy to misread.
- Door seal check: Fold back the gasket and look for trapped lint, tears, and hardened or deformed sections.
- Drain holes: Clear the small holes in the seal fold so trapped water can return to the tub.
- Dry before testing: Wipe the fold fully dry, run a short cycle, then check the fold again.
Foamy water is a different problem. Too much detergent, or regular detergent in a high efficiency machine, creates suds that force water past seals and vents. Run a rinse with no detergent. If the floor stays dry, cut your dose and switch to HE detergent.
A fix isn't proven when the part looks right. It's proven when the connection and floor strips stay dry through a full fill, wash, drain, and spin cycle while you watch.
Dry the Floor and Check for Hidden Moisture
Fixing the hose doesn't finish the job if the floor underneath is still wet. That's the part most homeowners underestimate.
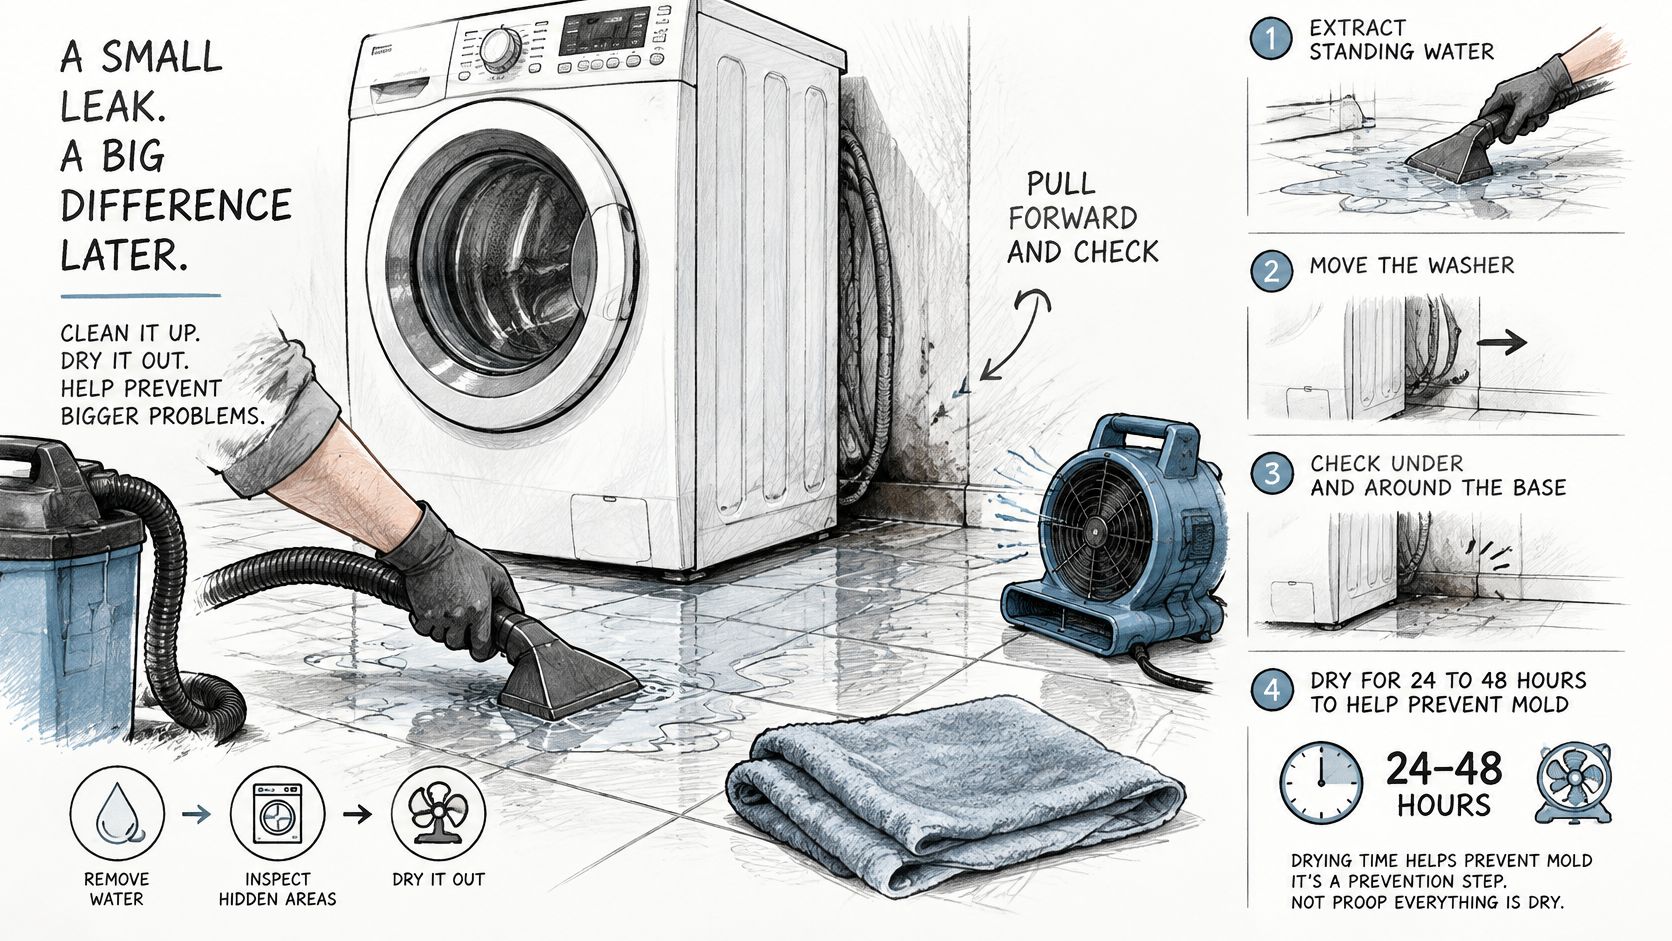
EPA mold guidance states that water-damaged areas and contents should be dried within 24 to 48 hours to reduce the likelihood of mold growth. Treat that window as your deadline to get drying underway, not as proof that everything under the surface is dry.
Verify dryness instead of guessing
- Extract, then access: Vacuum up standing water and pull the washer out if you can do it safely without straining hoses.
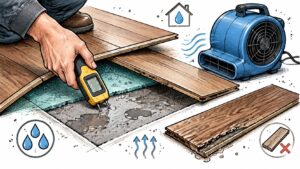
- Take readings: With an inexpensive pin or pinless moisture meter, record the visible floor, room perimeter, baseboards, wall base behind the connections, and cabinet toe-kick.
- Set a dry reference: Measure similar material in an unaffected room. That number, not how the surface feels, is your target.
- Dry actively: Run a dehumidifier with fans moving air across wet flooring. Keep indoor relative humidity below 60 percent.
- Recheck daily: Keep drying until affected materials approach the dry reference reading.
Vinyl and laminate can feel bone dry on top while underlayment, carpet backing, and the wall cavity behind the baseboard stay wet. Water follows seams and fastener holes, then sits where air can't reach it. A fan blowing across a dry surface for a few hours doesn't change that.
Practical rule: A dry surface is not a dry assembly. No reading near your reference means you're not done, whatever it feels like.
Never point fans across visible mold. Moving air can spread contamination to clean areas, so isolate the spot and get it assessed instead. If you're weighing whether water traveled into the structure, this breakdown of water damage to floors helps you judge what each flooring type hides.
Stop self-cleanup when you notice a lingering musty odor after drying, swelling or buckling boards, staining that creeps back, or a moisture reading that stalls above the reference for days. Persistent odor and recent water damage are also the point where we recommend mold testing, since surface appearance can't tell you what's growing in a cavity.
Insurance Claims and Reporting for Central Texas Owners
A small puddle feels too minor to report. That assumption costs people money when the subfloor quote arrives weeks later and there's no record of when the leak happened.
Insurers draw a sharp line between a sudden and accidental failure, like a hose bursting Tuesday night, and gradual damage from a seep you ignored for months. Allstate's water damage guide notes that sudden appliance failures may be covered while policy terms and prompt reporting matter. Your documentation is what places your event on the right side of that line.
Build the file before you clean up
- Source photos: Photograph the failed hose, connection, or filter, plus the water pattern and every affected material.
- Timestamps: Record when you found the water and when you shut the valves.
- Appliance label: Photograph the model and serial plate before moving the machine.
- The failed part: Keep the hose or filter until the claim settles, if you can store it safely.
- Receipts: Save invoices for extraction, dehumidifier rental, and temporary repairs.
- Moisture log: Keep readings with dates and locations in one file.
Call your agent early with that packet and ask whether a water damage or appliance endorsement applies. This walkthrough of a home insurance water damage claim covers the questions adjusters typically ask first.
Landlords have two extra steps. Notify the tenant in writing and document the unit's condition, then confirm whether the owner's policy or the tenant's renters policy responds. A small puddle in a rental can conceal moisture under flooring that becomes your repair bill either way.
Decide Between a Quick Fix and a Pro Call
Find your situation below and take the verdict at face value. Hesitating in the call a pro column is how a contained leak turns into demolition.
| Situation | Reasonable self-repair | Call a pro when |
|---|---|---|
| Loose hose clamp, floor dry after a test | Tighten or replace the clamp and retest | Water has already reached flooring or cabinets |
| Older rubber supply hose with bulges or cracks | Replace with a braided stainless hose | Hose has burst and water entered a wall cavity |
| Water at the drain or standpipe during spin | Reseat the drain hose and clear the standpipe | Water smells of sewage or the drain backs up |
| Pump filter leak | Drain, clear lint, and reseat the filter cap | Water seeps from the pump housing or the part is damaged |
| Water beyond the washer footprint | Stop the source, dry the area, and monitor | Staining, swelling, lingering odor, or readings that stay high |
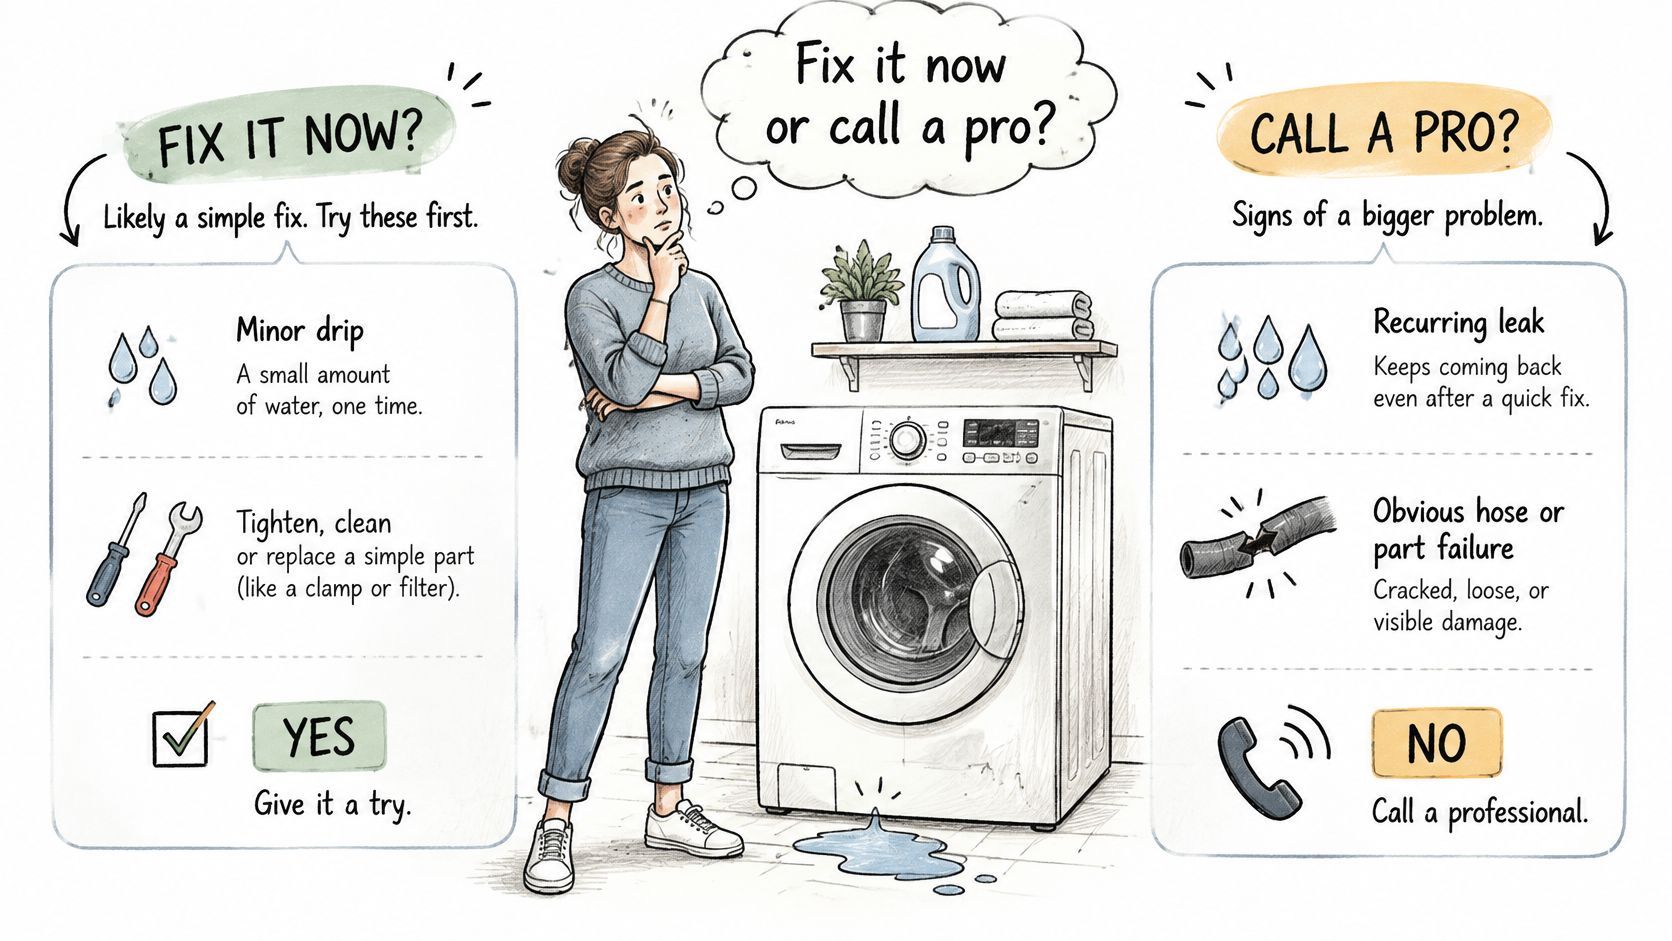
Three rules settle most cases. If water stayed at one connection, the floor dried within a day, and the part swaps out with basic tools, handle it yourself. If water reached under flooring, cabinets, or a wall, or the isolation test didn't reveal a source, call a professional. If it smells like sewage, stop all work and call.
Know which professional you need. A plumber handles supply valves, piping in the wall, and drain connections. A restoration team adds moisture mapping against a dry reference, structural drying equipment, and a documented moisture record your insurer can review. We coordinate plumbing repairs with licensed plumbers, make sure the source is resolved, and begin drying and restoration immediately after repairs, so you're not scheduling two trades around a wet floor.
The washer can run again only after two things check out. The repaired connection stays dry through a full test cycle, and the affected floor reads near your dry reference. Until then, leave the supply valves closed between uses.
Your move today is simple. Close the valves, document what you found, and get a moisture inspection before you close up any wall or cabinet.
If water from your washer reached flooring, cabinets, or a wall in your Georgetown or Austin home, RestoTek TX can map the moisture, coordinate the plumbing repair, and dry the structure before hidden damage sets in. Visit RestoTek TX to request an inspection and get a clear plan for your laundry room today.