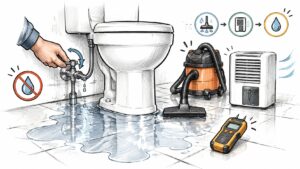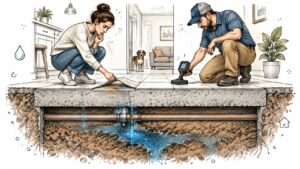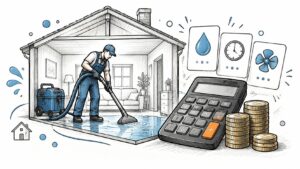
You step into the bathroom and your socks soak through. Water has spread around the toilet, the supply line may still be running, and you're wondering whether towels will handle it or the floor needs to come up. A flooded bathroom floor needs a calm sequence: make the room safe, stop the source, identify the water, then decide how to extract and dry it.
The puddle alone won't tell you how serious the cleanup is. A clean supply-line leak and a toilet backup can look similar, but they require different precautions.
Stop the Water and Make the Floor Safe First
Start at the doorway, not in the puddle. Early action can limit how much water reaches the subfloor, vanity, and adjoining walls, but entering an electrical hazard or spreading contaminated water creates a bigger problem.
Make the room safe before touching equipment
Isolate electrical hazards. Shut off the bathroom circuit at the breaker only if you can reach the panel from a dry location. Don't touch outlets, switches, or plugged-in equipment while standing in water. The CDC's disaster safety guidance recommends shutting off power from a dry location and having wet electrical equipment inspected before reuse.
Stop the water supply. Close the toilet valve or the affected fixture's shutoff. If you can't find it, or it won't close, use the main water valve. Don't force a corroded valve hard enough to break it.
Stop flushing and keep people out. Another flush can add water to an overflow. Keep children and pets outside the room, and avoid walking through the water into clean areas.
Take photographs before moving items. Capture the source, water level, doorway, vanity base, and affected flooring. Don't delay shutting off an active leak to get better pictures.
Extract only after identifying the water. For a confirmed clean-water event with electrical hazards controlled, use towels or a wet-rated extractor. Start where water collects, then work toward the exit without pushing it into adjacent rooms. Never use an ordinary household vacuum.
Record when the wetting began. Write down the known start time, or mark it as unknown and record when you discovered it. Discovering a leak doesn't mean the materials have only just become wet.
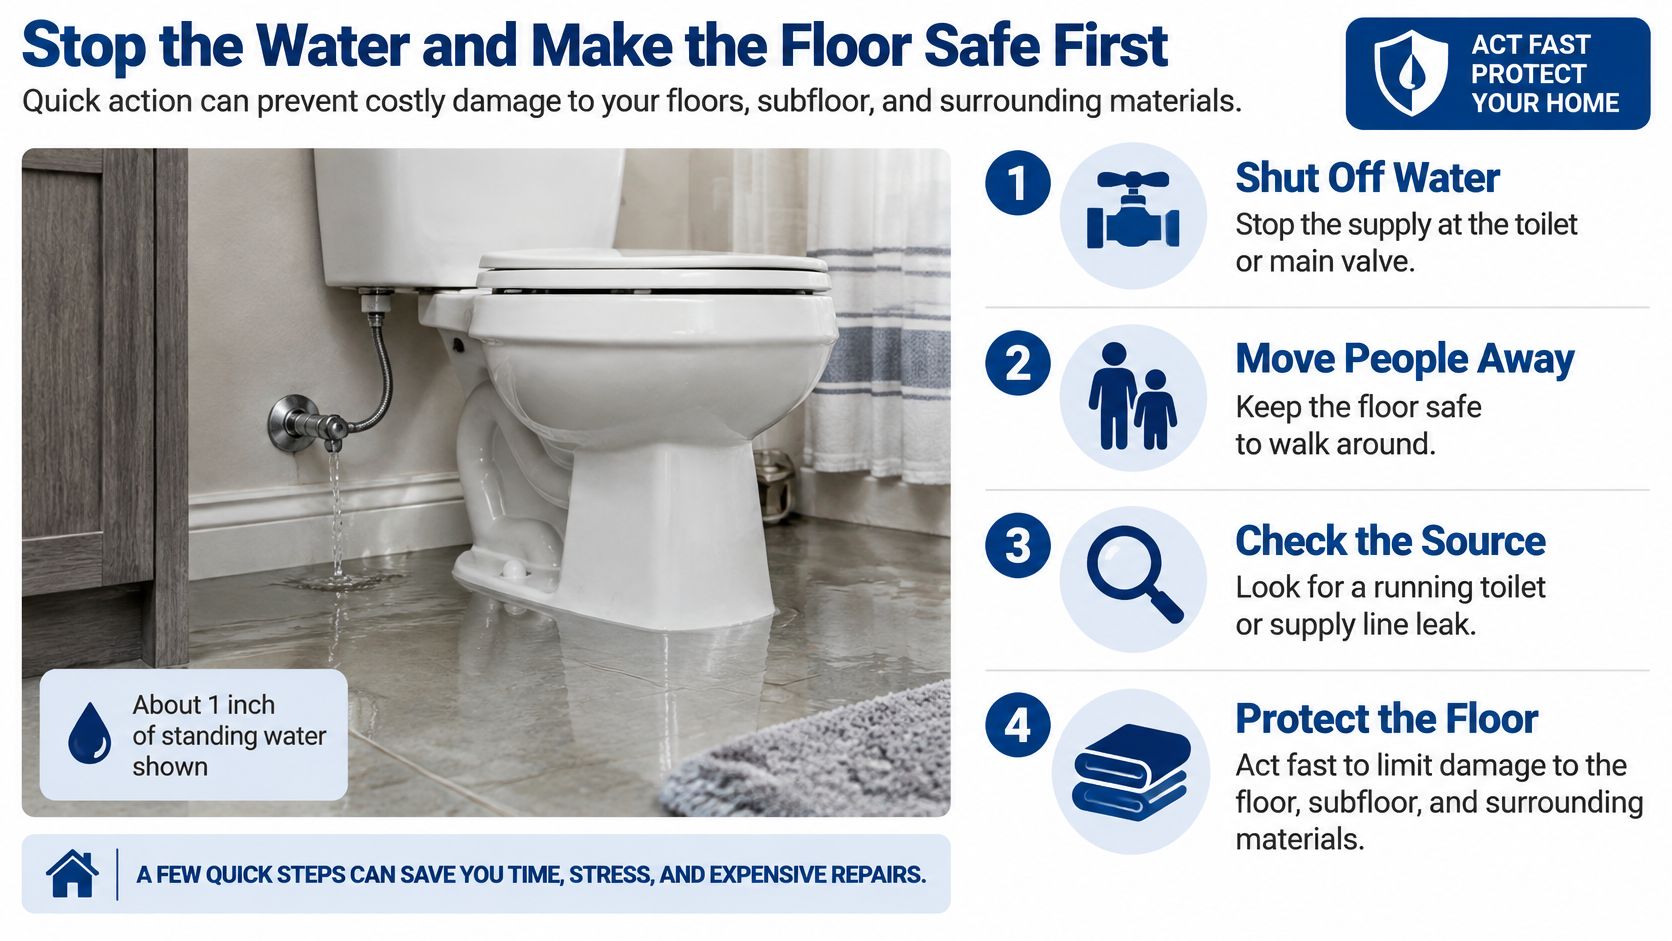
Save this checklist on your phone
- Power isolated: No contact with wet electrical equipment.
- Source closed: Fixture valve or main supply shut off.
- People out: Children and pets kept away.
- Photos taken: Source and damage recorded.
- Time noted: Discovery and estimated start documented.
- Extraction started: Only when the water and working conditions are safe.
Find Out What Kind of Water You Are Dealing With
The source determines whether you should mop, arrange controlled drying, or stay out and call for help. Clear water isn't proof of clean water. Identify where it came from and what it contacted before choosing equipment.
Water source, contamination and first action
| Water source | Likely contamination | First action | Safe to clean yourself? |
|---|---|---|---|
| Faucet, shower valve or supply line | Initially clean water | Close the fixture valve, extract, start drying | Yes, if limited, promptly addressed, and underlying materials can be verified dry |
| Toilet tank or supply connection | Initially clean water from the supply or tank | Close the toilet supply valve, extract, dry | Yes, if bowl water wasn't involved and conditions are otherwise safe |
| Toilet bowl overflow | Treat as sewage-contaminated | Stop flushing, keep people out, call a professional | No |
| Sink or tub drain backup | Gray water or contaminated water, according to drain contents | Stop using the drain and have the line inspected | Only if assessment confirms it's safe for homeowner cleanup |
| Sewer or stormwater backup after heavy rain | Contaminated | Keep people out, photograph, call restoration | No |
| Hidden leak under the floor | May start clean and deteriorate with time and contact | Locate the leak, assess flooring access, dry | Only if its duration, cleanliness, and concealed extent can be established |
Sources homeowners often misjudge
A leaking toilet supply nut isn't the same event as water overflowing the bowl. Trace the wet connection without flushing to test it. Once bowl water mixes into the puddle, treat the affected area as contaminated.
A sink or tub backup needs more scrutiny than an overflowing faucet. Drain water may contain soap, organic debris, cleaning chemicals, or wastewater from another fixture. Don't assume it's safe because it doesn't smell.
A concealed supply leak presents another problem: the surface puddle may disappear while the pipe keeps wetting the floor assembly. Even small defects deserve attention. In its winter 2024 WaterSense guidance, the EPA estimated that a leak dripping once per second could waste more than 3,000 gallons annually.
Source rule: Clean at the pipe doesn't necessarily mean clean after sitting in dirty cavities or mixing with wastewater.
In Austin and Georgetown, a bathroom backup during heavy rain warrants checking for a sewer or outside-water pathway rather than assuming a fixture failed. For suspected sewage, keep the bathroom isolated, use gloves and eye protection if incidental contact is unavoidable, and don't carry used towels or mops into clean rooms. Our explanation of Category 3 water damage describes why these events require contamination controls rather than ordinary mopping.
How to Extract and Dry the Bathroom Floor
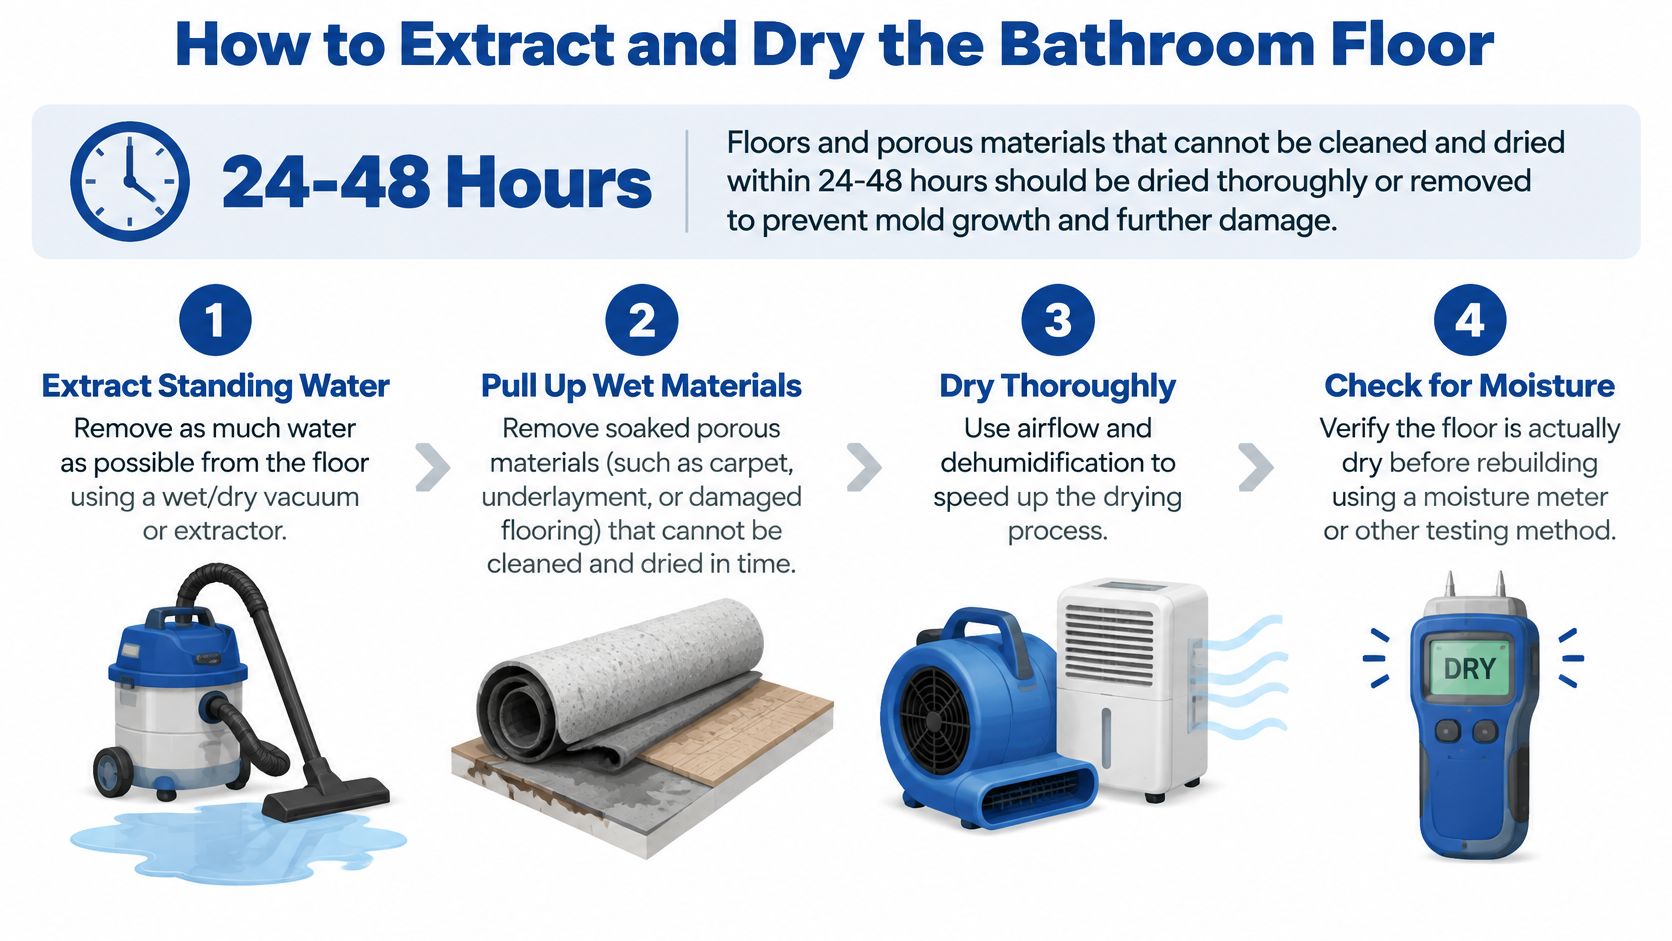
The CDC's mold guidance recommends cleaning and drying a flooded home within 24 to 48 hours, with removal of flood-wetted materials that can't be cleaned and dried completely in that window. That's a risk-reduction target, not a promise that mold appears at a particular hour.
Follow a controlled drying sequence
These steps apply to a confirmed clean-water loss without visible mold. Have a licensed plumber resolve the source; at RestoTek TX, we coordinate licensed plumbing repairs, ensure the cause is resolved, and begin drying and restoration immediately after repairs.
Extract the bulk water. Use a wet vacuum configured for liquid pickup or a restoration extractor. Work through low spots, then toward the doorway; the common miss is leaving water along wall bases and behind the toilet.
Remove wet movable materials. Lift bath mats and rugs, empty the vanity, and remove accessible loose trim where appropriate. Leaving saturated items against the floor keeps those contact areas wet.
Clean hard surfaces. Scrub nonporous tile with water and detergent, then remove residue and remaining liquid. Don't confuse a clean surface with a dry floor assembly.
Pair air movement with dehumidification. Position equipment so air crosses the floor and reaches exposed wall bases and vanity openings. A fan aimed only at the center tile won't address enclosed edges; keep the drying area closed while operating a dehumidifier.
Check beneath the finish. Inspect accessible vinyl edges, transitions, and areas around the tub and toilet flange. Bonded tile doesn't lift and go back down, so use targeted professional inspection rather than prying randomly.
Log moisture readings daily. Mark repeatable locations at the perimeter, adjoining walls, and accessible subfloor. Record the material, meter mode, location, and reading so you're comparing like with like.
Avoid concentrated heat on wood. Controlled airflow and moisture removal are preferable to pointing a heater at a wet board. Excessive localized heat can create uneven drying.
Verify the drying endpoint
Use an unaffected area of the same material as your comparison, not an arbitrary number from another room's different flooring. A pinless meter helps map suspicious areas, but metal, tile assemblies, and material differences can affect readings.
The EPA's water-damage cleanup table supports extraction, air movement, and dehumidification while emphasizing inspection of the subfloor. Finish drying when material-appropriate measurements support it, not just when the tile feels dry.
Which Bathroom Materials to Dry and Which to Remove
Porous materials wet for more than 48 hours are generally best removed and replaced, particularly when mold is present or drying can't be verified, according to the EPA's disaster-flood cleanup guide. This is a risk-control benchmark, not a universal mold-growth deadline.
Dry in place or remove, by bathroom material
| Material | Dry in place? | Remove when |
|---|---|---|
| Ceramic or porcelain tile | Yes, after cleaning, if the subfloor dries | Subfloor stays wet or tile is loose |
| Vinyl sheet or plank | Often, if no moisture is trapped underneath | Trapped moisture can't be dried, adhesive lifts, or underlying materials deteriorate |
| Underlayment | Rarely when absorbent and thoroughly saturated | It can't be dried promptly, loses integrity, or has visible mold |
| Solid wood flooring | Sometimes, with careful drying | Cupping persists after drying or the subfloor remains wet |
| Carpet and pad | Usually unsuitable to retain after a bathroom contamination event | Sewage contamination, unsalvageable backing, or inability to clean and dry completely |
| Drywall or baseboard | Sometimes after a limited clean-water event | Swelling, loss of strength, contamination, or inaccessible wet cavities prevent recovery |
| Vanity base and toe-kick | Sometimes | Particleboard swells, delaminates, or retains odor |
Appearance isn't the deciding factor
Tile may remain intact over a wet wood subfloor. Assessing water under tile requires checking the assembly beneath the finish, not just grout color.
Solid wood may cup and then improve with controlled drying, so replacing it immediately can be premature. Particleboard is less forgiving: swollen vanity panels generally don't recover their original strength and shape.
Drywall can wick above the visible stain. Where removal is necessary, establish the actual wet extent and cut to sound, dry material rather than following the stain alone.
Save materials because they're clean, sound, and verifiably dry, not because removing them is inconvenient.
Sewage-contaminated porous materials need controlled removal and bagging, not ordinary household cleaning. Photograph discarded materials and retain only safe, uncontaminated finish samples if the adjuster requests them. Don't store sewage-soaked samples inside the home.
Check for Hidden Moisture and Prevent Mold
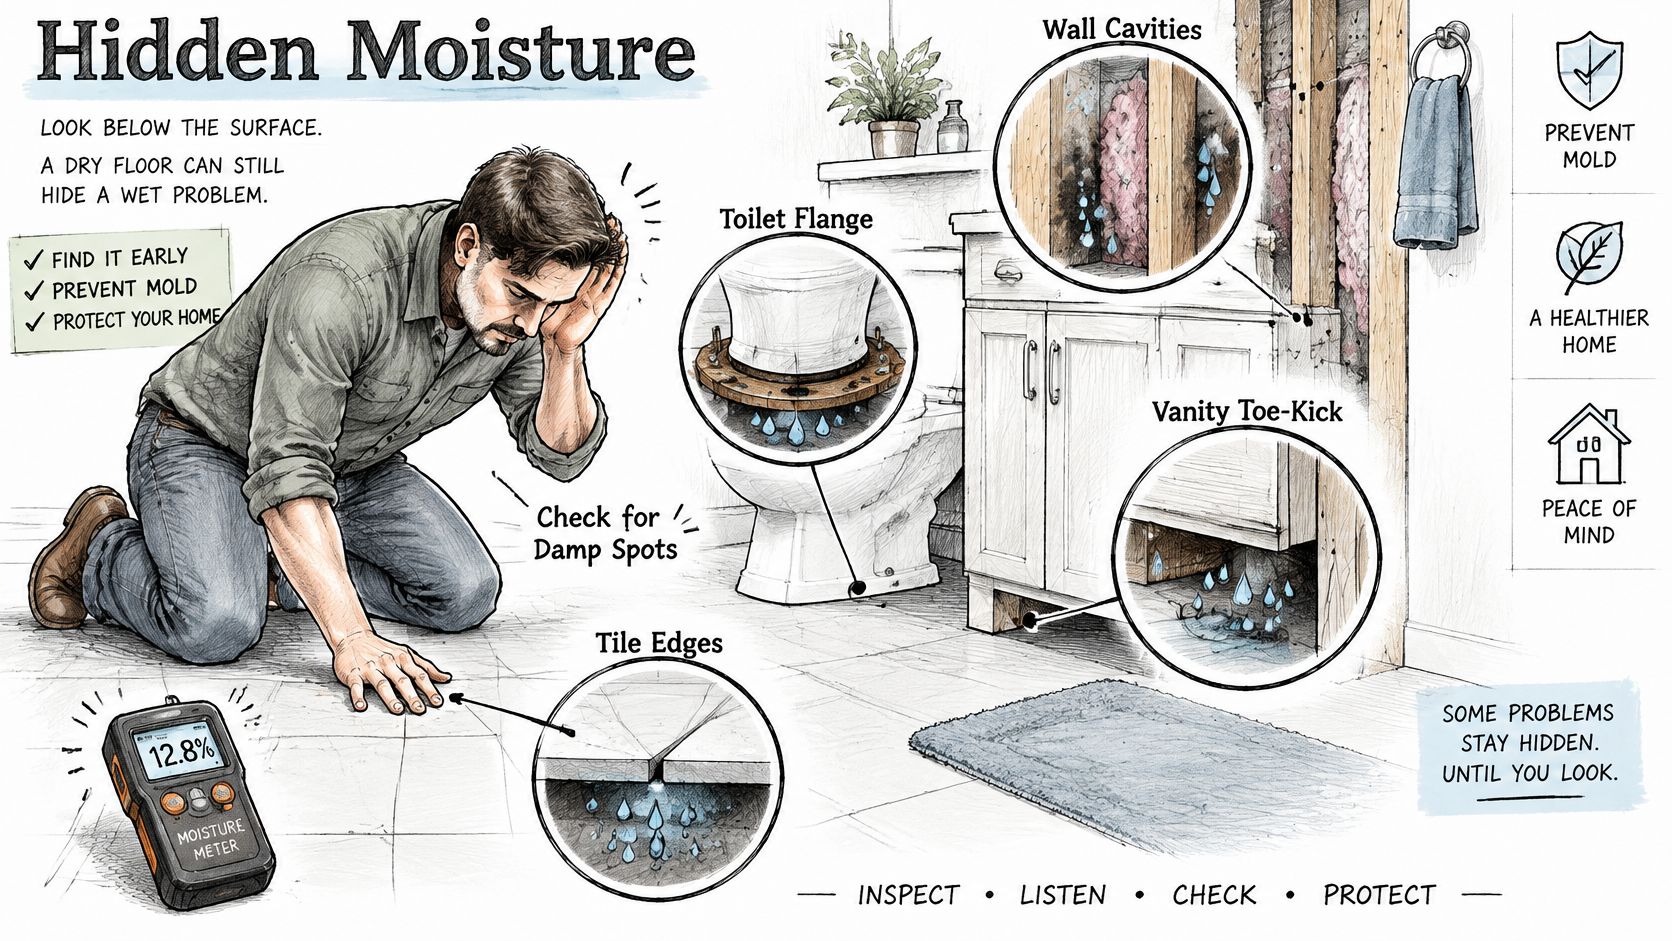
The floor can look normal while moisture remains beneath vinyl, around the toilet flange, behind a vanity toe-kick, or inside the wall. These locations need access or suitable instruments; a dry towel pressed against the tile won't tell you what's underneath.
Start with clues rather than demolition. Look for swollen trim, discolored wall bases, lifting flooring, or a musty smell inside the vanity. A hollow-sounding tile may indicate a bond problem, but it doesn't prove moisture without further assessment.
Investigate readings that won't fall
Compare repeat measurements at the same marked locations. If accessible surfaces improve but a wall base stays higher, investigate a trapped cavity, saturated insulation, or an unresolved leak.
A technician may recommend removing a toe-kick or making a targeted inspection opening. Don't cut blindly near plumbing or wiring, and assess suspect building materials before disturbing them.
Moisture control matters more than bleach. Spraying a surface won't dry wet underlayment or correct a leaking connection. If visible mold is present, stop directing fans across it and arrange assessment and containment before continuing.
Use testing to answer a specific question
We recommend considering mold testing when there are:
- Persistent odors: Musty or earthy smells that remain after cleanup.
- Water-loss history: Recent leaks, past flooding, or plumbing failures.
- Visible changes: Unexplained discoloration on walls or ceilings.
- Health concerns: Respiratory symptoms that improve outside the home, alongside appropriate medical advice.
- Property transactions: Questions about conditions when buying or selling a home.
Testing shouldn't delay correcting obvious moisture problems. A spore result isn't a universal pass-or-fail safety score, and symptoms alone don't establish that mold is responsible.
If increased mold levels are detected, we guide customers through the next steps, including professional remediation options when required.
Document the Loss Before Cleanup Erases the Evidence
Document the cause, not just the wet floor. A sudden supply-line failure, sewer backup, outside flooding, and gradual seepage may receive different treatment under the same insurance policy. FEMA's flood-insurance guidance states that standard homeowners insurance generally excludes flood damage.
That doesn't classify every bathroom overflow as an excluded flood. Give the insurer evidence about where the water originated and ask how the policy and any endorsements apply.
Build a usable loss record
- Photograph the scene. Include the water level, suspected source, drain conditions, and materials before removal. Take wide views as well as close-ups.
- Preserve the failed component safely. Ask the plumber to retain the valve, hose, or fitting when practical. Don't clean away evidence of failure.
- Record the timeline. Separate the estimated start, discovery, shutoff, extraction, and repair times. Label estimates accurately.
- Keep the plumber's findings. Request a written diagnosis and invoice that identify the defect rather than just saying “leak repaired.”
- Save moisture logs. Include measurement locations, materials, equipment used, and changes during drying.
- Retain mitigation receipts. Keep extraction, equipment rental, disposal, and emergency repair records.
- Note weather conditions. Record whether heavy rain coincided with the backup, without assuming rain proves the cause.
Separate mitigation from reconstruction
Emergency source control, safe extraction, and necessary drying shouldn't wait for a final coverage decision. Permanent flooring and cabinet replacement can generally be scoped after the affected assembly is exposed, documented, and dry, with insurer coordination where applicable.
Our progress documentation approach helps keep the condition and restoration steps understandable. Mold testing after water damage can also document conditions for insurance purposes, but it doesn't establish coverage.
Keep observations separate from conclusions: “Water rose through the shower drain during rain” is useful evidence. “The storm caused everything” needs investigation.
Decide When to Call a Restoration Crew in Georgetown or Austin
Call for professional assessment when the problem exceeds safe, accessible surface cleanup. The strongest triggers are:
- Contaminated water: Toilet bowl overflow, sewage, stormwater, or an uncertain backup.
- Unknown duration: You can't establish when the leak began or what it contacted.
- Stalled drying: Moisture readings remain high despite extraction and controlled drying.
- Structural changes: A soft subfloor, loose tile, persistent cupping, or swollen cabinet panels.
- Microbial concerns: Visible growth or a lingering musty odor.
- A spreading loss: Water reaches adjoining rooms, enclosed cabinets, or the ceiling below.
- An unresolved source: Water returns after extraction or no one can locate the leak.
Treat storm-time backups cautiously
For Georgetown and Austin properties, heavy-rain events can involve sewer backups, outside water, or flash-flood pathways. Don't classify a storm-time bathroom puddle as clean because you first noticed it beside the toilet.
A plumber identifies and corrects the plumbing failure. A restoration assessment establishes where water traveled, what can be retained, and what needs controlled removal. Neither task substitutes for the other.
We provide a single point of contact for plumbing repairs and restoration across residential and commercial properties in Georgetown, Austin, and Central Texas. All plumbing work is completed by licensed and insured plumbing professionals to support code compliance and quality workmanship.
That coordination can connect inspection, drying, mold assessment where appropriate, and eventual reconstruction, but a complete recovery isn't necessarily a single-visit job. Drying verification and material decisions must come before rebuilding.
Before calling, have your photos, loss timeline, and moisture log ready, along with anything known about the source. Request an inspection before covering the floor or replacing finishes, especially when concealed moisture hasn't been ruled out.
RestoTek TX offers flooded bathroom floor inspection, water extraction, structural drying, and reconstruction, with coordinated licensed plumbing repairs to address the cause. Visit RestoTek TX to request an inspection, and have your photos and loss timeline ready so we can help determine the safest next step.