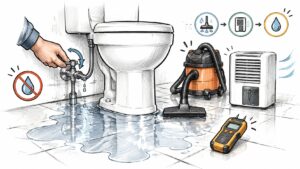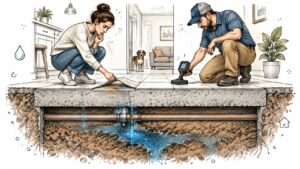
Your water bill has climbed, a patch of floor feels warm, and there's a faint running-water sound even though nobody's using a faucet. You're trying to work out whether you have a water leak under the slab, a drainage problem, or something less disruptive. The immediate concern is reasonable: will someone have to break open the floor?
Don't authorize concrete cutting on symptoms alone. First establish where the water comes from, then choose an access method. The plumbing repair, moisture removal, and insurance documentation need to work together, because stopping the leak doesn't automatically make the floor ready to rebuild.
What a Slab Leak Is and the Signs to Watch
A slab leak is a failure in a water supply or drain line beneath a concrete foundation. Escaping water enters the surrounding soil and may migrate through joints, concrete, or flooring assemblies before you see it. A supply leak can continue under pressure; a drain leak may show itself mainly when someone uses the connected fixture.
An unexplained increase in water consumption, not just the bill total, is often the first clue. Check for irrigation changes, guests, running toilets, and utility rate changes before blaming buried plumbing.
Even a small continuous leak deserves attention. The U.S. Environmental Protection Agency says a faucet or pipe dripping once per second can waste more than 3,000 gallons annually. You don't need a dramatic burst to lose substantial water.
Slab leak signs, causes and next steps
| Sign | What It Usually Means | Next Step |
|---|---|---|
| Water bill rises without more use | Possible hidden supply line leak | Read the meter with all fixtures off promptly |
| Warm spots on tile or carpet | Possible hot water line leak under the slab | Check around the water heater and request a leak check |
| Hissing or running water with fixtures off | A pressurized line may be losing water | Call a plumber the same day |
| Damp carpet or lifting vinyl or tile | Water may be rising through the slab or seeping at a joint | Keep traffic off the area and have moisture tested |
| Musty or earthy smell | Trapped moisture below flooring | Investigate moisture and arrange mold assessment when indicated |
| Cracks or sticking doors | Possible foundation movement associated with changing soil moisture | Schedule a foundation and leak inspection |
A warm patch can also come from a normally operating hot water pipe. Flooring can lift because of installation problems, and doors can stick without a plumbing failure. Several unexplained symptoms together strengthen the case for concealed leakage, but they still don't pinpoint the pipe.
Act on active water loss: A moving meter, spreading dampness, or unexplained running-water noise calls for prompt investigation, not a cosmetic flooring repair.
A slight consumption increase without active dampness can justify a scheduled plumber visit within a few days. Standing water, worsening floor damage, or water approaching electrical equipment needs attention today. Don't enter a wet area containing potentially energized equipment.
Why Central Texas Homes Develop Slab Leaks
In Georgetown and Austin, the important question isn't whether a pipe failed. It's whether the failure is isolated or whether the surrounding plumbing remains vulnerable. That distinction helps determine whether a local repair makes sense.
Soil movement is one possible contributor. Expansive clay changes volume as moisture conditions change, and movement can stress buried lines, joints, and pipe penetrations. Soil conditions differ by property, so a regional explanation shouldn't replace inspection of the actual site.
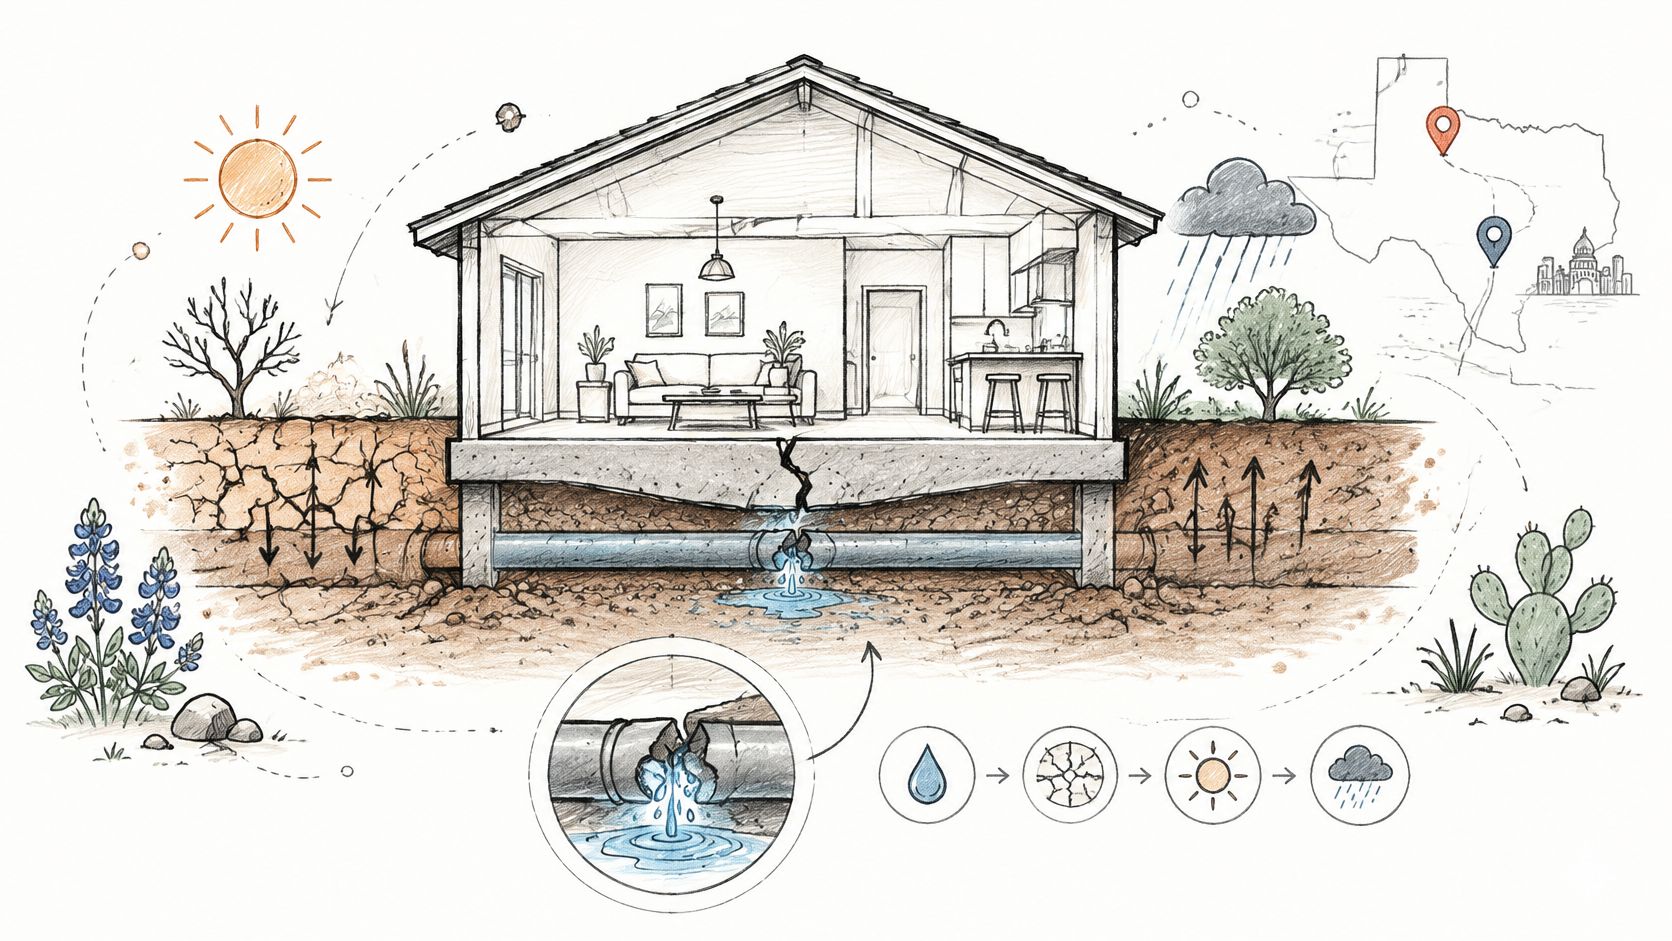
Pipe condition matters as much as the ground
Copper can develop localized corrosion and pinhole openings. Galvanized steel can corrode internally, restrict flow, and lose wall strength. Hard water can leave mineral deposits, but scale alone doesn't establish why a pipe failed. Water chemistry, material condition, workmanship, and operating pressure need separate consideration.
Excessive pressure adds stress to fittings and vulnerable pipe sections. A plumber can measure pressure at an accessible connection, check the pressure regulator, and investigate pressure changes rather than assuming a new fitting will solve the underlying problem.
Installation defects can also remain concealed: a damaged pipe, strained connection, or poorly made joint may eventually leak. Nearby roots are particularly relevant when investigating compromised drain joints; they shouldn't automatically be blamed for puncturing an intact pressurized supply pipe.
Match the cause to the evidence
Consider a hypothetical Georgetown home with older copper plumbing and a warm living-room floor after changing weather conditions. The warm area makes the hot water circuit worth testing. It doesn't prove that soil movement caused a pinhole, or that the leak sits directly beneath that patch.
Use symptoms to prioritize checks:
- Warm flooring: Investigate the hot water circuit and pipe routing.
- Restricted flow with aging metal piping: Examine corrosion and system pressure.
- Drain-related dampness: Check joints, blockages, and possible root intrusion.
- Cracks after changing ground conditions: Assess both foundation movement and plumbing integrity.
- Moisture after heavy rain: Inspect exterior drainage before assuming a pipe failed.
The cause should explain the observed behavior. A diagnosis that ignores when the moisture appears is incomplete.
How to Confirm and Locate a Slab Leak
Confirm the water source before choosing an opening location. Plumbing leakage, rainwater intrusion, groundwater, and condensation can produce similar floor symptoms. The EPA's home moisture-control guidance addresses plumbing and foundation moisture, including directing surrounding ground drainage away from the building.
Start with a controlled home check
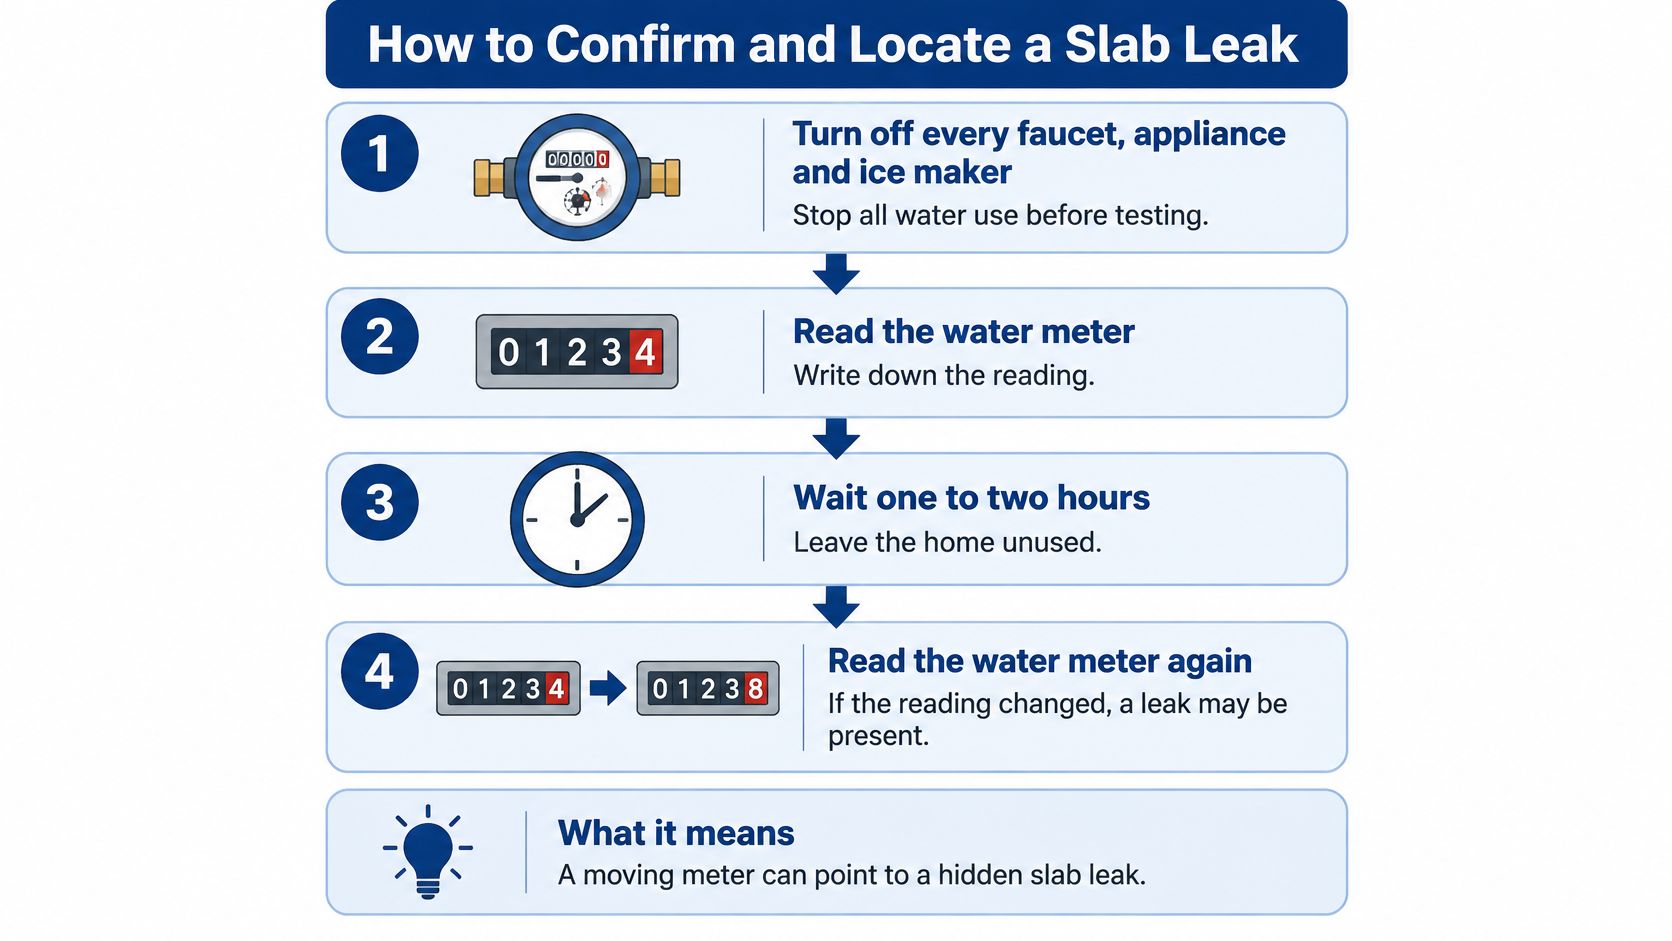
- Stop intentional water use. Turn off faucets and water-using appliances. Account for irrigation, ice makers, automatic refill systems, and water treatment equipment.
- Record the meter. Photograph the reading and leak indicator, then compare them after a period with no water use. Movement indicates consumption somewhere downstream, not necessarily beneath the slab.
- Compare the timing. Moisture following fixture use makes a drain or fixture connection worth investigating. Moisture following rain points toward drainage or foundation entry. Dampness beside cold surfaces may be condensation.
- Document the affected area. Mark the damp boundary with removable tape where practical. Take dated photographs and note recent rain, fixture use, and changes in odor.
- Check accessible alternatives. Look around toilets, sinks, the water heater, exterior faucets, and appliance connections. Don't deliberately run fixtures if doing so spreads water.
- Stop before demolition. Request line isolation and targeted testing. Running a faucet while watching the meter won't identify a hidden leak because ordinary fixture use also moves the meter.
The meter-check sequence is useful for screening, but it isn't a substitute for isolating the plumbing.
Slab leak detection methods
| Method | What It Finds | Limit |
|---|---|---|
| Water meter test | Water leaving the metered system when intended uses are stopped | Doesn't show where the leak is |
| Acoustic listening | Sound of pressurized water escaping | Background noise and sound transmission through building materials complicate interpretation |
| Thermal imaging | Temperature patterns from warm lines or moisture | Doesn't directly show water; weak temperature contrast limits usefulness |
| Tracer gas | Escape points from an isolated line charged for testing | Requires line access and trained operators |
| Pressure test | Whether an isolated section holds pressure | Requires isolation points to narrow the suspect section |
| Moisture mapping | Extent of wet flooring and walls | Surface assessment doesn't replace testing within the slab |
Drain investigations may also require controlled dye testing or a camera inspection. A stationary water meter doesn't rule out a drain leak, because the drain isn't continuously pressurized.
The wettest spot isn't necessarily the failure location. Water can travel beneath flooring and emerge elsewhere, while a dry-looking surface can conceal moisture below. Understanding what leak detection involves helps you distinguish a documented location from an educated guess.
Repair Options and Drying Timelines
The right repair balances pipe condition, access, recurrence risk, and reconstruction work. The smallest opening isn't always the lowest-cost solution if the same deteriorated line is likely to fail elsewhere. Conversely, replacing sound piping because of an isolated defect can create unnecessary disruption.
Slab foundations are common: HomeServe reports that approximately 72% of new U.S. homes were constructed on concrete slabs in 2023. That doesn't mean every slab contains the same plumbing arrangement. Your repair scope must follow the actual pipe route and confirmed failure.
Spot repair preserves sound piping
A spot repair exposes a pinpointed defect through a localized opening. The plumber removes or repairs the failed section, makes the connection, and verifies that the line holds under the appropriate test.
This approach fits an isolated leak in an otherwise serviceable line. It can preserve surrounding plumbing and limit demolition, particularly when the affected flooring already needs removal.
The trade-off is uncertainty about the remaining pipe. A successful pressure test confirms performance under the test conditions; it doesn't guarantee that aging pipe elsewhere won't fail later. Ask whether the failure looks localized or whether corrosion, repeated repairs, or material condition support a broader replacement.
Access planning matters. Before cutting, the contractor must account for buried utilities and structural features, including reinforcement or post-tensioning where present. Concrete cutting shouldn't proceed from a floor marking alone.
Rerouting avoids the failed underground run
With rerouting, the plumber disconnects the leaking run and installs a replacement route above the slab, potentially through walls, ceilings, or attic space. This can be a sensible choice for repeated failures or a buried line that would require destructive access through finished rooms.
You exchange concrete work for work elsewhere in the building. Cabinet access, drywall openings, insulation, temperature exposure, and future serviceability all affect the route. An attic installation needs appropriate protection and detailing, not just a pipe laid across insulation.
The abandoned line must be properly disconnected. Leaving it connected and merely diverting some flow won't reliably stop the original leak.
Broader excavation needs a clear justification
Extensive slab opening may be necessary for inaccessible piping, complicated drain repairs, or damaged sections that can't reasonably be bypassed. Leak size alone doesn't dictate excavation size. A large supply leak might be rerouted, while a smaller drain failure may require direct access.
Excavation introduces more rebuilding: soil support, bedding, concrete placement, flooring transitions, and sometimes structural review. The quote should explain who handles each part and what remains unknown until access is opened.
Slab leak repair methods compared
| Repair Method | Best For | Disruption | Typical Timeline |
|---|---|---|---|
| Spot repair | A pinpointed leak in an otherwise sound line | Localized slab opening and finish repairs | Repair follows confirmed access; drying and finish replacement remain separate |
| Rerouting | Multiple leaks, deteriorated piping, or repeated failures | Wall, ceiling, or attic work with limited slab cutting | Route access, installation, inspection, and finish repair determine scheduling |
| Full slab repair | Repairs requiring extensive direct access | Concrete excavation and flooring removal | Includes excavation, plumbing work, concrete restoration, and flooring readiness |
A plumbing completion date is not a safe flooring-installation date. Build the schedule around separate milestones rather than a promised number of days.
Start mitigation before rebuilding
During the initial response, isolate the affected line and remove accessible standing water. Keep belongings away from wet flooring, and have a qualified team assess contaminated water, electrical hazards, and materials that may require controlled removal.
The EPA recommends drying water-damaged areas and contents within 24–48 hours when possible to reduce the likelihood of mold growth. That's a response objective, not a guarantee that a wet concrete slab will be ready for flooring within that window.
Drying work should follow measured conditions:
- Extract bulk water: Dehumidifiers aren't a substitute for removing standing water.
- Expose trapped assemblies: Lift or remove flooring and open affected cavities where needed.
- Control humidity: Use dehumidification sized for the conditions.
- Direct air movement: Position equipment across exposed materials, not toward the middle of the room.
- Record progress: Log material readings, humidity conditions, and equipment changes.
Don't circulate fans across suspected microbial contamination without assessment. Air movement can distribute dust and contaminants as well as help evaporation.
At RestoTek TX, we coordinate repairs with licensed plumbers, confirm that the water source is resolved, and begin drying and restoration immediately after repairs. Emergency extraction and stabilization shouldn't be delayed while the permanent plumbing solution is being arranged.
A repaired pipe stops new water from entering. It doesn't remove the water already trapped beneath the floor.
As drying progresses, the team may discover wet baseboards, insulation, or wall cavities that weren't apparent initially. That's why an initial estimate can require a documented scope revision after materials are lifted.
Verify the slab before installing flooring
Concrete can retain moisture below a surface that feels dry. ASTM F2170 provides a method for in-situ relative-humidity testing within concrete slabs; results describe the tested locations and conditions at the time of testing.
The assessment should include affected areas, adjacent low points, and apparently unaffected comparison areas. Follow the applicable procedure and the selected flooring manufacturer's moisture limits. A handheld surface reading alone isn't sufficient acceptance evidence for a moisture-sensitive flooring system.
Our guide to how long structural drying takes explains why material type, trapped moisture, and access matter more than room appearance.
We recommend mold testing when indicators include persistent musty odors, recent leaks, past flooding, or visible discoloration. Testing can document conditions; it doesn't remove mold. Any required remediation and moisture correction are separate steps.
Choose the least invasive repair that resolves the confirmed failure, then rebuild only when the materials meet documented acceptance criteria.
Costs and Insurance Coverage for Slab Leaks
Access often drives the repair bill more than the replacement pipe. A reachable defect beneath flooring already scheduled for removal presents a different job from a leak beneath cabinetry or a difficult-to-match finished floor.
Separate the estimate into detection, plumbing, access, drying, and reconstruction. A plumbing-only quote may exclude concrete replacement, debris disposal, baseboards, flooring, painting, and moisture verification. Compare matching scopes rather than bottom-line totals.
Slab leak cost drivers by repair method
| Repair Method | Relative Cost |
|---|---|
| Spot repair | Usually lowest when access is straightforward and the failure is isolated |
| Rerouting | Can exceed a simple spot repair but avoid extensive excavation and finish replacement |
| Full slab repair | Higher than a simple spot repair and generally most disruptive |
Repeated mobilization and extended drying can add expense. So can matching continuous flooring beyond the visibly damaged patch. Ask for written allowances and exclusions where concealed conditions prevent a firm scope.
Coverage depends on cause and policy language
Water losses are a significant insurance category. According to the Insurance Information Institute using ISO data, as reported in Rondon Insurance's discussion of sudden versus gradual water damage, water damage and freezing represented 22.6% of U.S. homeowners-insurance losses in 2023.
That figure doesn't establish coverage for your slab leak. Policies may treat sudden discharge differently from gradual seepage, wear, or deterioration. Coverage for resulting damage, access work, and the failed pipe itself can also differ. Review home insurance coverage for plumbing leaks alongside your own policy and adjuster's written explanation.
Keep a claim file containing:
- Discovery details: Date, initial symptoms, and actions taken.
- Photographs: Conditions before removal and during repairs.
- Meter records: Readings and relevant consumption history.
- Plumber's report: Confirmed source, observed condition, and completed repair.
- Drying records: Moisture logs, equipment documentation, and invoices.
- Reconstruction receipts: Materials, labor, and approved scope changes.
Report promptly and ask about your deductible and authorization requirements. Preserve damaged components when safe, but don't retain contaminated materials indoors or delay necessary mitigation solely for an adjuster visit.
Decide Whether to Call a Professional Team Now
Call the same day when there's evidence of active water loss or spreading damage. That includes unexplained meter movement after intended uses are stopped, expanding dampness, standing water, or persistent running-water noise. Warm flooring accompanied by increased consumption also warrants prompt investigation.
An isolated mild symptom without ongoing water loss can usually begin with a scheduled assessment. Persistent musty odors deserve moisture investigation even when the surface looks normal.
Establish responsibility before work begins
A coordinated job needs clear ownership of diagnosis, plumbing, drying, and rebuilding. Before authorizing work, put these questions in writing:
- Source confirmation: What evidence supports the diagnosis before concrete is cut?
- Repair choice: Why is spot repair, rerouting, or excavation appropriate?
- Moisture verification: Which readings will establish drying progress and flooring readiness?
- Scope boundaries: Who handles concrete, flooring, wall repairs, and concealed damage?
- Communication: Who approves changes and provides the claim documentation?
At RestoTek TX, all plumbing work is completed by licensed and insured plumbing professionals. We provide a single point of contact for plumbing repairs and restoration, with coordination serving residential and commercial properties across Georgetown, Austin, and Central Texas.
That coordination includes emergency plumbing repairs and slab leak repair coordination, alongside plumbing work associated with water-damage claims. The practical benefit is knowing who's responsible when the plumber finishes but moisture assessment or reconstruction still needs attention.
Before you approve demolition: Require a reason for the opening, an explanation of the alternative repair paths, and a plan for the materials underneath the finished floor.
Today, record the symptoms and meter conditions if it's safe to do so. If water is actively escaping, shut off the appropriate accessible supply valve and arrange help. Don't keep water running merely to gather more evidence, and don't open the slab yourself.
RestoTek TX coordinates licensed plumbing repairs and restoration for suspected slab leaks in Georgetown, Austin, and Central Texas. Visit RestoTek TX to arrange an assessment and discuss source confirmation, drying, and the work needed before your floor can be rebuilt.