A faint dark line along the grout can look like a cleaning problem, especially after a heavy Central Texas storm. A homeowner in a Georgetown subdivision may wipe it away, run a fan, and assume the floor is dry. Weeks later, a musty odor appears, a tile sounds hollow, or the same discoloration returns.
The visible tile is often the least informative part of the assembly. The main concern is the hidden substrate beneath it, where moisture can remain after the surface feels dry. Water under tile can spread below the finish, weaken bonds, damage wood components, and support microbial growth without announcing itself immediately.
The practical response is to identify the source, map the moisture, dry the affected assembly, and document each decision. Central Texas homes add complications, including slab leaks, expansive clay movement, flash flooding, and warm humid months that can amplify a small moisture problem.
What Water Under Tile Actually Means for Your Home
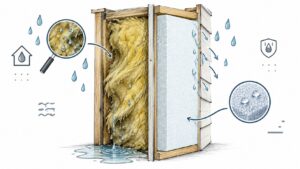
The tile on your bathroom, kitchen, or entry floor is a finish layer, not a waterproof system by itself. Beneath it may be thinset, a mortar bed, backer board, a concrete slab, and a membrane intended to direct water away from vulnerable materials. If that system has a break or an open path, water can move into the substrate instead of remaining where you can see it.
A Georgetown homeowner might notice one dark grout line after a March storm. The line looks minor, but moisture may have traveled laterally under adjacent tiles or down into a slab edge. A dry-looking surface doesn't prove that the layer below is dry. Industry guidance explains that tile, cementitious adhesives, and grout can all be affected by water moving from above or below, while trapped moisture can re-wet materials, contribute to adhesion failure, and create persistent odor or microbial concerns. See this practical overview of moisture beneath tile and other flooring systems for the restoration principle that drying must reach the substrate.
Why the substrate matters
Water follows capillary paths and gaps in the assembly. It can soften thinset bond lines, collect around penetrations, and move toward lower areas or open joints. On a wood-framed floor, prolonged wetting may affect plywood or OSB; on a slab, the concrete can retain moisture against the back of the tile and slow evaporation.
Central Texas conditions make source control important. Expansive clay soils shift seasonally and can contribute to slab movement, while plumbing beneath slabs can develop concealed failures. Warm, humid periods from spring through late summer can also keep an already damp assembly from drying naturally.
Practical rule: Judge the loss by the wettest hidden layer, not by the cleanest-looking tile.
A moisture assessment should therefore consider the slab, subfloor, mortar, and adjacent walls. Homeowners who want more background on this part of the building assembly can review RestoTek TX's guide to concrete slab moisture. The important takeaway is simple: the tile is the skin, while the substrate is where the restoration decision is made.
Early Signs You Might Notice on the Surface
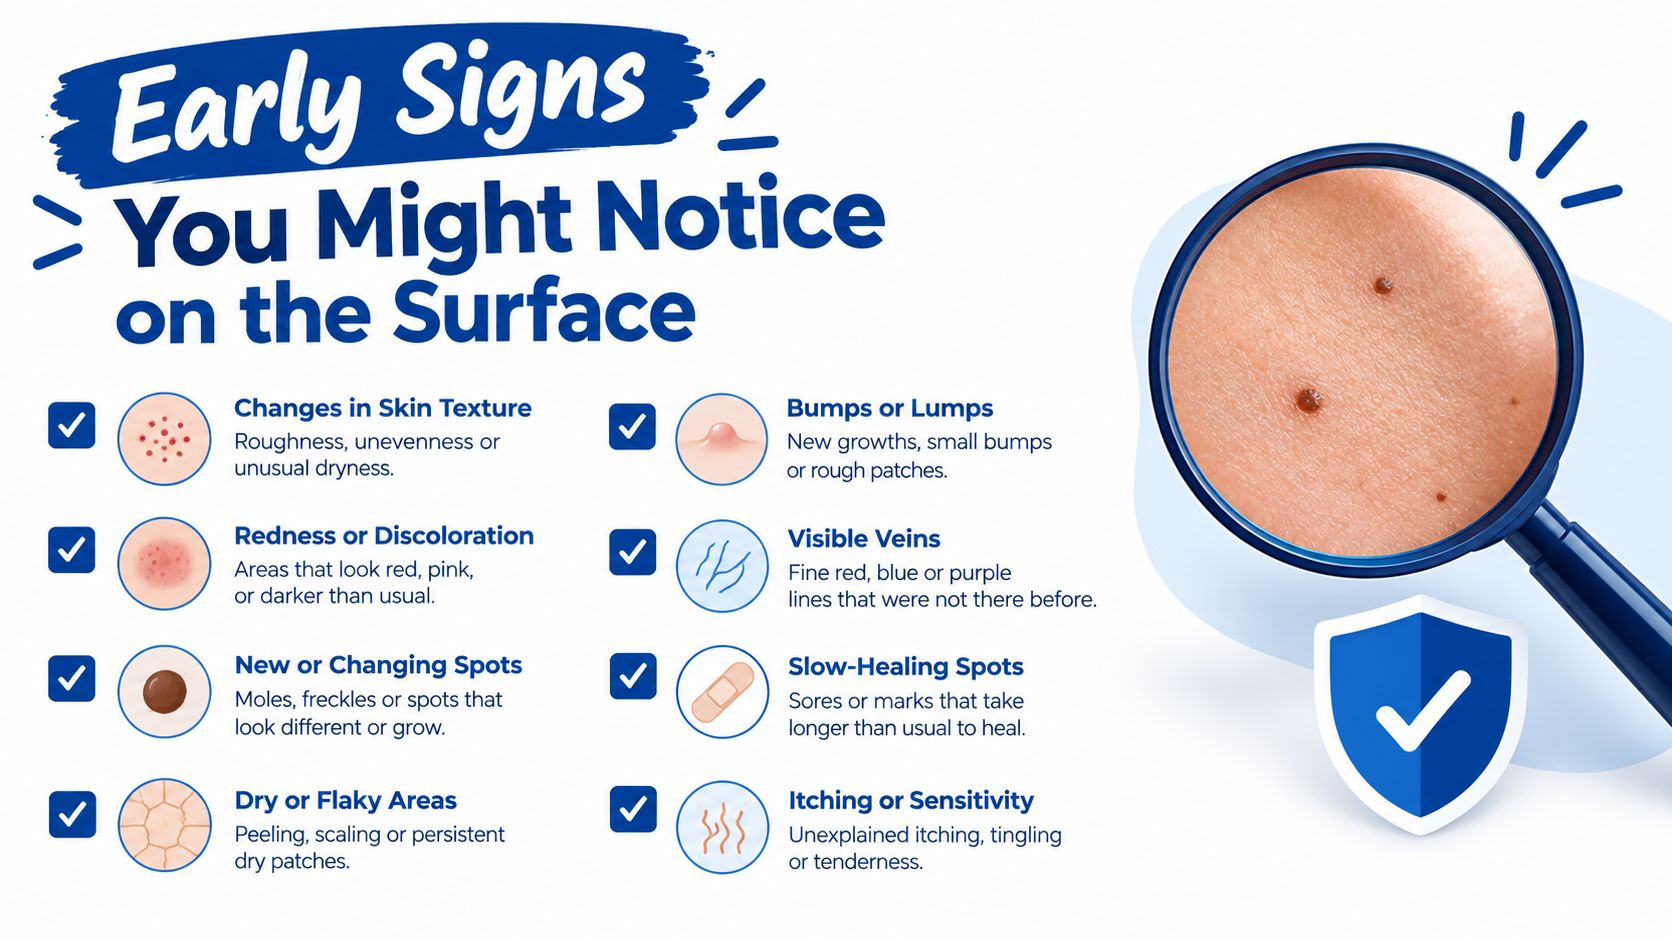
Surface clues can help you decide whether a floor needs closer inspection, but they don't all mean the same thing. A little grout discoloration after cleaning may be cosmetic. Discoloration that returns, spreads, or feels cool and damp deserves more attention.
Clues that deserve a closer look
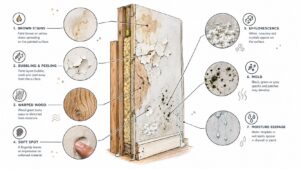
- Persistent dark grout: If a grout line darkens again after cleaning and ventilation, moisture may be reaching the joint from below or behind.
- White crystalline haze: Efflorescence can appear when water carries mineral material toward the surface. It isn't proof of a leak by itself, but it can indicate repeated moisture movement.
- Loose or cupped tiles: A tile that shifts, tents, or no longer sits flat may have lost bond or may be responding to movement in the assembly.
- Peeling nearby paint: Blistering paint or swollen baseboard near a tub, shower, laundry area, or exterior threshold can point to moisture outside the tile field.
- Musty or earthy odor: A lingering smell, especially one that becomes stronger near a wet area, is more meaningful than a temporary odor after mopping.
A five-minute floor check
Start with bare feet on the suspect area. Press your heel gently into individual tiles and notice whether any feel loose, hollow, or different from the surrounding field. Don't jump or apply force. You're looking for a pattern, not trying to break the finish.
Run a hand along the grout lines and compare them with a dry-looking area. Coolness, dampness, or a recurring dark edge can help a technician target the inspection. Sniff around thresholds, the base of wet walls, and transitions into hallways, then photograph any changes from both a distance and close up.
These checks won't tell you how deep the moisture goes. They help preserve useful observations before cleaning or repairs alter the evidence. RestoTek TX's local guide on signs of hidden water damage in a Georgetown home can also help you organize what you're seeing.
The Three Main Ways Water Gets Under Tile
Most water-under-tile investigations begin with one of three entry paths. Each path creates a different pattern, and recognizing that pattern helps prevent unnecessary demolition.
Plumbing failures
A slab plumbing leak may wet a narrow route beneath the floor before it appears at a grout joint. A failed fitting behind a wet wall can send water into the wall base and adjoining floor. Tub and shower pan leaks often travel laterally, which means the first visible wet spot may be away from the actual failure.
Look for a concentrated pattern along one wet wall, swelling at an interior hallway baseboard, or a warm area on a bathroom floor. An unexplained increase in water use can support the suspicion, but it doesn't identify the exact location. Pressure testing and instrument mapping are more reliable than guessing from the surface.
Grout and substrate weaknesses
Grout doesn't replace a waterproof membrane, and cracked grout doesn't always explain the full loss. Still, open joints, failed edges, cracked thinset, movement at slab transitions, or a compromised membrane can let water move into the assembly during bathing, mopping, or repeated spills.
This pathway usually produces broader discoloration rather than one sharp wet line. Multiple loose tiles in one field, mineral haze along several grout joints, or recurring dampness around a shower are useful clues. Expansive clay movement can stress slabs and finishes, especially where joints or transitions already have limited tolerance.
Intrusion from outside or above
Water can enter from a roof leak, an attic HVAC condensate line, an exterior door threshold, or a slab edge during heavy rain and flash flooding. In the Balcones corridor, intense storm pulses can overwhelm drainage paths quickly, allowing water to enter at doors, walls, or low exterior elevations.
The damage signature may include wet drywall above a tiled surround, staining that follows a wall line, or dampness concentrated near an exterior opening. A floor inspection that ignores the wall, ceiling, roof, or threshold can miss the source.
| Entry Point | Typical Source | Damage Pattern |
|---|---|---|
| Plumbing failure | Slab line, supply fitting, tub or shower pan | Narrow route, wet wall, warm spot, or localized floor damage |
| Grout or substrate weakness | Open grout, cracked thinset, failed membrane, slab movement | Broad discoloration, several loose tiles, or mineral haze |
| Outside or above intrusion | Roof, condensate line, threshold, flash flooding | Wall-linked staining, perimeter wetting, or damage below an upper leak |
Homes built during different construction periods can have different plumbing and waterproofing details. That variation is why the observed pattern should guide testing, rather than an assumption that every dark grout line comes from the same failure.
How Professionals Locate the Hidden Moisture
The most reliable inspection usually starts without cutting the floor open. A restoration technician maps the area first, compares suspect readings with known-dry locations, and only then chooses a small confirmation point.
Start with a non-invasive screen
Thermal imaging can identify temperature differences across a tile field. A cool anomaly may support the presence of evaporation or moisture, but a thermal camera doesn't measure moisture directly. The technician still needs moisture readings and an understanding of air temperature, slab temperature, and room conditions.
A non-penetrating meter is useful for scanning without damaging the finish. Guidance for concealed water beneath ceramic tile recommends beginning with non-penetrating mapping from the room side, then confirming suspect areas with more invasive checks when readings remain high. Some meters can detect below ceramic tile to at least three-quarters of an inch, with certain models reaching about one and one-quarter inches, while ball-type meters may probe to about four inches into an assembly. Those instrument ranges are described in this technical discussion of detecting and drying water trapped beneath ceramic tile.
Confirm only where the map points
If the scan identifies a consistent wet zone, the technician may use a pin meter in a grout joint or another controlled location. Grout drilling, a lifted tile, or a small access opening can confirm whether the wet material is thinset, mortar, backer board, or subfloor.
Ambient humidity, a hygrometer, and a surface thermometer add context. Central Texas slabs can hold a different temperature from the room air, so a technician needs to separate normal temperature variation from a moisture-related anomaly. Pressure testing supply lines or performing a controlled drain test makes sense after the static inspection narrows the likely source.
This non-invasive-first method protects more finish material and produces a clearer repair plan. More information about thermal imaging for leak detection can help homeowners understand why a camera is a screening tool, not a complete diagnosis.
What To Do Right Now Before the Crew Arrives
The first response should reduce ongoing water and preserve information. It shouldn't turn a contained leak into a larger demolition project.
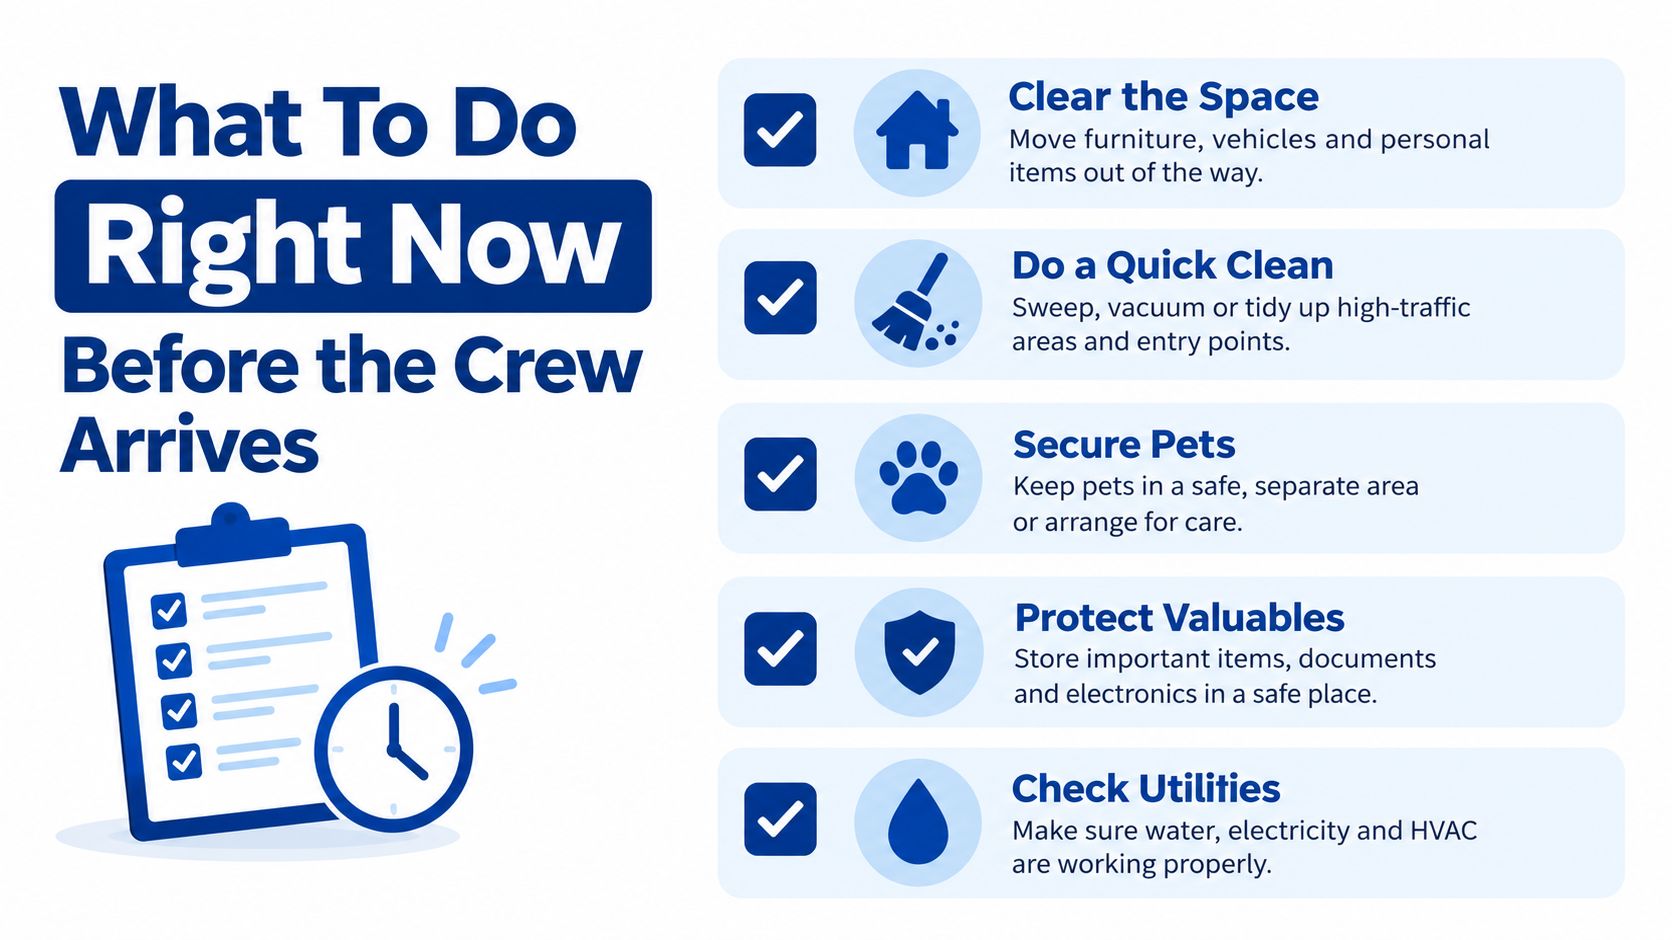
For a bathroom, laundry room, or similar area, use this sequence:
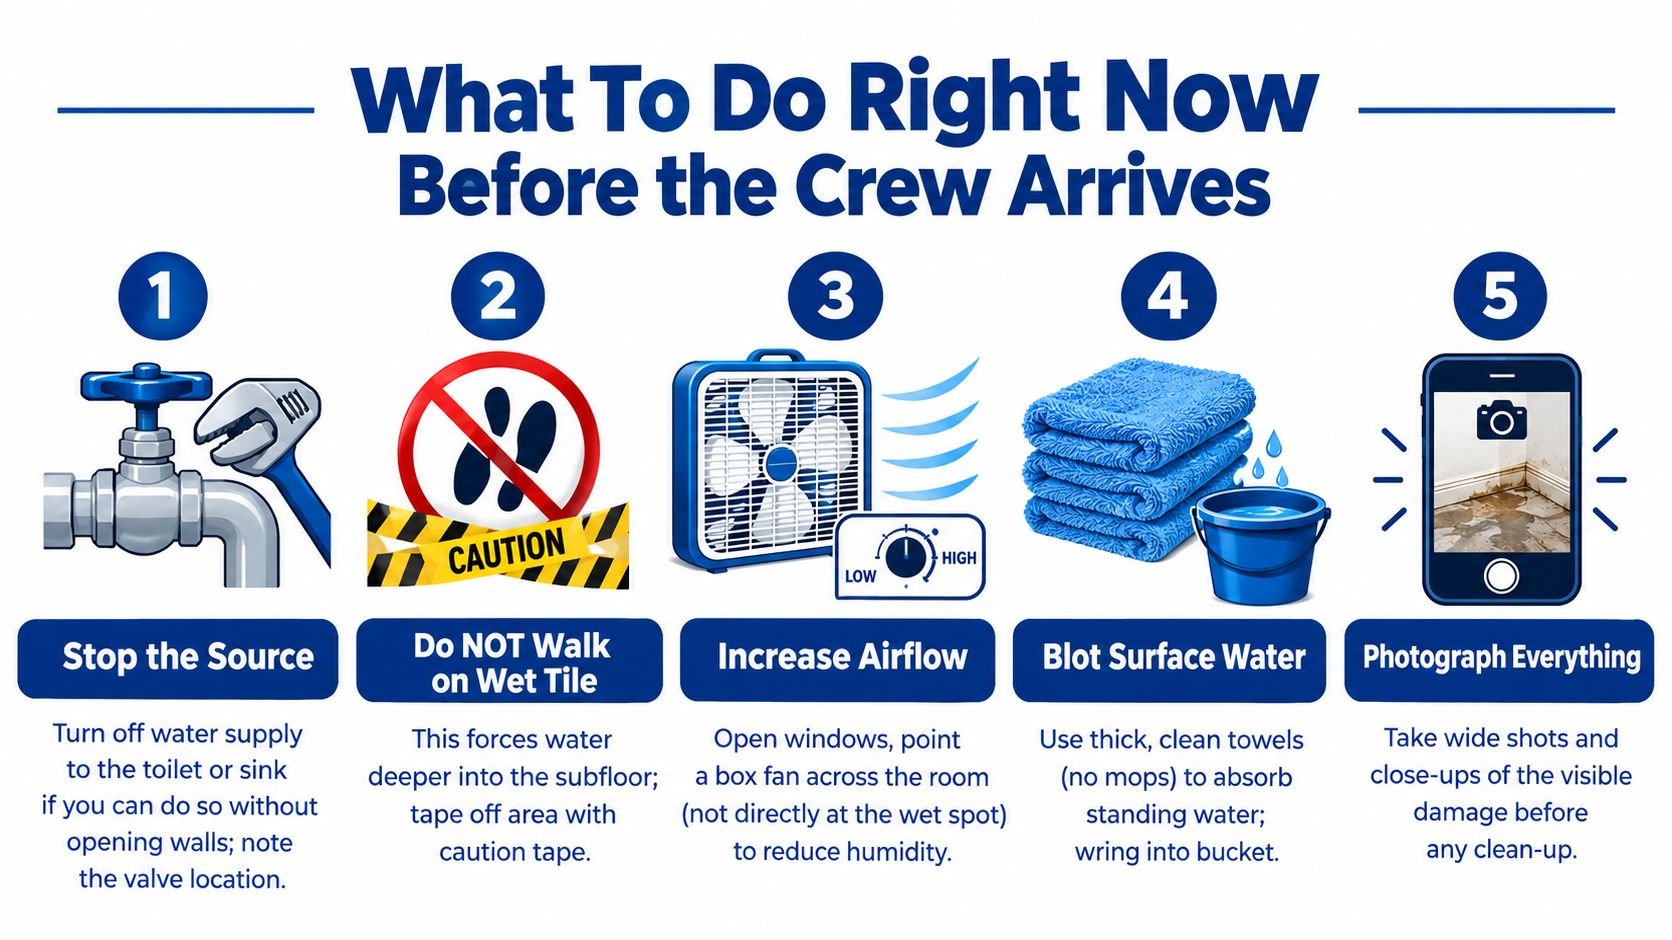
- Stop the source safely. Close the toilet or sink supply valve if the failure is at that fixture. If a line has burst and you can reach the main shutoff without opening walls or entering an unsafe area, close it and record where the valve is.
- Remove standing water. Use a wet vacuum if you have one and know how to operate it safely. Lift rugs, mats, baskets, and loose objects from the wet area so they don't hold moisture against the floor.
- Increase controlled airflow. Open windows when outdoor conditions are reasonably dry. Set the air conditioner to dry mode if your system provides it, and use a residential dehumidifier with the door cracked so damp air can escape the room.
- Document before changing the scene. Take timestamped wide photos, close-ups of grout and baseboards, and short videos showing loose tiles, active dripping, or water paths. Keep receipts and write down when you discovered the loss.
- Limit traffic. Walk on the area only when necessary. Foot traffic can spread contaminated water, disturb loose tiles, and move surface water into joints.
Leave these actions to the restoration crew
Don't lift tiles just to see what is underneath. Don't drill grout holes, remove a toilet, or pull a shower component unless the technician has planned that opening. Those actions can damage the finish, spread contamination, or complicate an insurance claim.
Commercial air movers and low-grain refrigerant dehumidifiers also need placement and monitoring. Pointing powerful equipment at one wet spot without mapping the assembly can push moisture into adjacent materials while leaving the original layer wet. Keep children and pets away, avoid electrical equipment around standing water, and leave any sewage, gray water, or floodwater cleanup to trained personnel.
Drying, Repair, and the Real Risks if You Wait
Drying is not complete because the grout looks lighter or the room smells better. A tile floor over a slab can release surface moisture while retaining dampness at the bond line or below, so the crew needs readings from the affected depth and repeated checks over the course of the project.
A project lead may create controlled access through grout joints, remove selected tiles, and place air movement where it reaches the wet layer. Dehumidification removes vapor from the room, while air movement encourages moisture to leave the assembly. The exact equipment, pressure strategy, and access points depend on the water source, contamination category, floor construction, and adjacent materials.
The cost of stopping early
On wood-framed floors, delayed drying can contribute to swelling, cupping, delamination, and corrosion around fasteners. On slab systems, persistent moisture can keep grout efflorescence active, weaken adhesive bonds, and support microbial growth in concealed materials. Warm, humid Central Texas conditions from spring into fall can make natural drying especially unreliable.
| Scenario | Typical Drying Approach | Risk If You Wait |
|---|---|---|
| Clean supply-line leak near a bathroom floor | Source control, extraction, moisture mapping, targeted structural drying | Bond failure or hidden dampness may persist |
| Shower or tub leak | Leak testing, controlled access, drying of tile and adjacent wall materials | Moisture can travel laterally and affect nearby finishes |
| Slab leak beneath a tile field | Plumbing confirmation, substrate mapping, selective opening, monitored drying | Moisture may remain in the slab-side assembly and produce odor |
| Flood or contaminated backup | Safety assessment, professional extraction, containment, cleaning, and drying | Contamination can spread through traffic and air movement |
Daily records matter. Ask for photographs, moisture readings, equipment logs, source notes, and the dry standard used for the affected material. That record helps the repair team know when reconstruction is appropriate and gives an adjuster a clearer basis for reviewing the claim.
Repair should follow the drying decision, not replace it. Regrouting a damp floor, painting a stained baseboard, or resetting a loose tile before the substrate is addressed only hides the symptom and can force a second removal later.
When To Call a Georgetown or Austin Restoration Pro
Call a professional when the problem involves more than a small, clearly contained surface spill. A technician should evaluate water under tile when moisture readings remain above 17% on a pin meter 48 hours after a known leak, as described in the planned inspection trigger, or when the floor shows signs that you can't safely interpret yourself. Because this is a quantitative threshold, confirm the reading method and material with the technician rather than treating the number as universal for every floor assembly.
Other practical triggers include:
- Persistent odor: A musty smell emerging from grout lines or becoming stronger near a wet area suggests that cleaning hasn't resolved the underlying condition.
- Movement across a larger field: Tenting, hollow sounds, or shifting tiles along a hallway point to a broader bond or substrate issue.
- Mineral deposits: Visible efflorescence after a slab leak event indicates continued moisture movement that needs source and substrate evaluation.
- Appliance or drain losses: Dishwasher leaks, washing-machine failures, and upstairs tub drains can move water into areas that aren't obvious from the room where the leak began.
- Uncertain construction: Older Hill Country properties may lack modern moisture barriers beneath tile, while homes on expansive clay slabs can experience seasonal movement that opens vulnerable joints.
Why local conditions change the decision
A surface stain can represent a small isolated issue, or it can mark a saturated path spanning several rooms. Central Texas flash flooding can also introduce water that needs a different safety response from a clean fixture leak. Waiting for the tile to declare the full extent usually gives the hidden layer more time to remain wet.
RestoTek TX provides inspection, extraction, structural drying, leak detection, microbial prevention, and reconstruction for Georgetown, Austin, and surrounding Central Texas properties. Its response process can include infrared and meter mapping, documented moisture logs for insurance, mitigation, and rebuild coordination. The inspection is the fastest way to determine whether you're dealing with a cosmetic grout issue, an active plumbing failure, or a wet floor assembly that needs controlled drying.
If you suspect water under tile, RestoTek TX can inspect the source, map concealed moisture, manage extraction and structural drying, and coordinate repairs when the floor is ready to rebuild. Visit the site to request help for a Georgetown or Austin water-loss event, especially when odor, loose tile, slab-leak symptoms, or storm intrusion is involved.