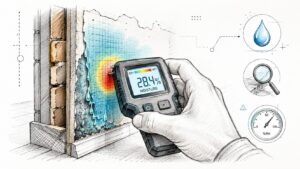
You notice a faint brown mark beside the baseboard after a hard Central Texas rain. The paint feels slightly different under your fingertips, or maybe there's a musty smell that seems strongest near an exterior wall. Nothing looks dramatic yet, so it's tempting to repaint the spot and move on. That can hide the evidence without stopping the water.
Learning how to detect moisture in walls starts with a disciplined investigation, not a single gadget. Walk the room, test the suspicious areas, establish a dry baseline, map readings from the floor upward, and treat thermal images as clues that need confirmation. That sequence helps separate condensation, plumbing leaks, and exterior water intrusion before hidden damage spreads.
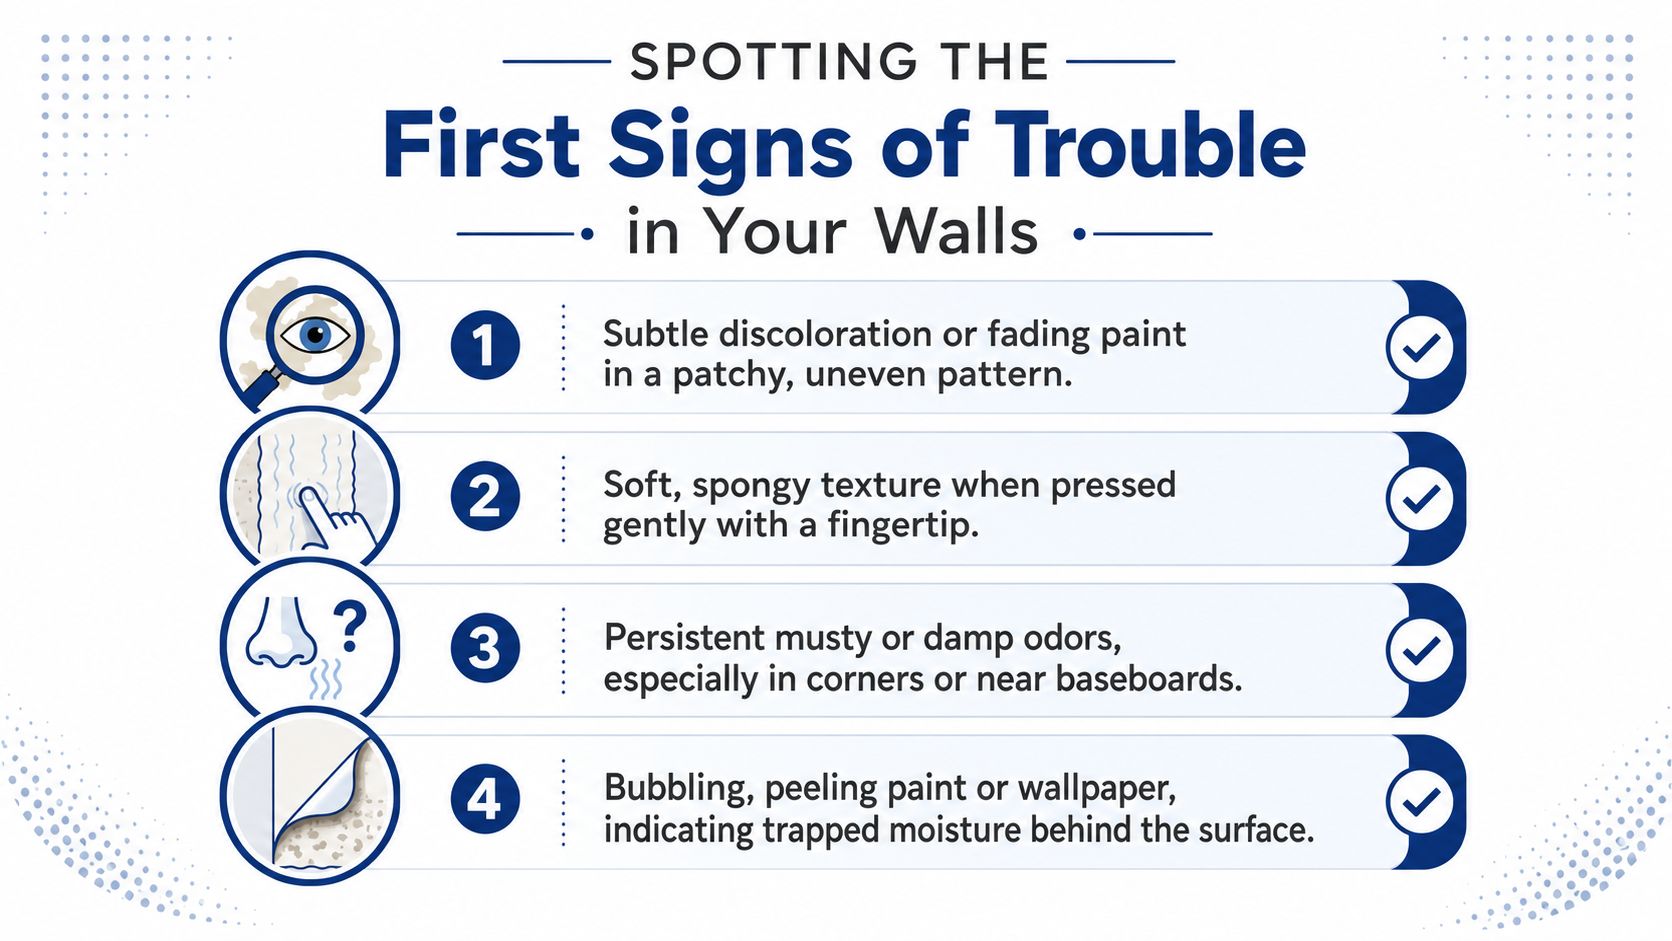
Spotting the First Signs of Trouble in Your Walls
A homeowner in Georgetown might notice a pale, uneven stain below a window after a storm. In another room, the first clue may be an earthy odor near a plumbing wall. These signs don't prove a wall cavity is wet, but they tell you where to begin looking.
Start with a slow visual sweep. Use a flashlight and inspect the places where water commonly enters or collects:
- Near baseboards: Look for warped trim, darkened edges, soft drywall, or staining along the floor.
- Around windows: Check corners, sills, and the wall below the opening for discoloration or lifting paint.
- Plumbing walls: Examine areas beside sinks, showers, tubs, washing machines, and supply lines.
- Exterior-facing walls: Pay attention after rain, especially where the wall meets the floor or ceiling.
- Masonry surfaces: White, powdery efflorescence can indicate dissolved minerals left behind as water moves through masonry.
Paint bubbling, peeling, or wallpaper lifting can signal moisture trapped behind the finish. Press gently with a fingertip rather than pushing hard. Healthy drywall should feel firm, while a damp or deteriorated section may feel soft, spongy, or crumbly. Don't press aggressively if the surface is visibly damaged, since you could break through a weakened area.
Cosmetic marks versus recurring moisture
A single old mark may come from a past spill or an isolated painting problem. A stain that returns after cleaning or repainting deserves more attention, particularly if it grows, darkens, or appears after rainfall. Musty or damp odors that remain when the room looks clean also warrant testing, because the source may be behind the finish.
Photograph every suspicious area before touching it. Note the room, wall, approximate height, nearby fixtures, and whether the symptom appeared after rain or plumbing use. A practical guide to signs of hidden water damage in a Georgetown home can help you compare what you're seeing, but your own location notes are just as useful when you begin instrument testing.
Field observation: Moisture rarely announces itself in the middle of an otherwise ordinary wall. The floor line, corners, penetrations, windows, and plumbing fixtures usually provide the first useful clues.
Running Simple DIY Tests Before Reaching for Tools
Low-tech checks can help you decide whether a suspicious surface is reacting to indoor humidity or receiving moisture from inside the assembly. They aren't definitive, and they shouldn't replace a meter when symptoms persist, but they can prevent random testing.
Use a sealed plastic test carefully
Wipe the selected area dry, then tape a clear piece of plastic tightly against the wall. Seal all edges so room air can't circulate behind it, and leave it undisturbed for a meaningful observation period. If condensation forms on the room-facing side, humid indoor air may be condensing against a cool surface. Dampness between the wall and plastic points more toward moisture coming through the wall or from within the assembly.
A cold exterior wall can produce a misleading result, especially during air-conditioning weather. Record the room conditions and compare the test with another nearby area that appears dry. A dry result only describes that location during the test. It doesn't rule out an intermittent leak that appears after rain or fixture use.
Compare temperature and humidity
Run the back of your hand over the wall without pressing hard. A noticeably cooler patch can be a clue, but temperature changes also occur near framing, insulation gaps, vents, and exterior corners. Treat the hand test as a way to choose where to measure, not as proof of wetness.
A small hygrometer adds room context. Place it away from supply vents, windows, and direct airflow, then log the room reading alongside weather, air-conditioning operation, and visible changes. A second reading in an unaffected room can reveal whether the whole home is humid or whether conditions are concentrated around one wall.
Foil-backed cardboard can serve as another screening aid. Seal it over a suspicious section and check whether dampness develops against the wall or on the room side. The result can suggest the moisture direction, but the test remains vulnerable to surface temperature differences and imperfect sealing.
Create a simple log with the date, wall location, odor strength, visible symptoms, test material, and result. That record turns a vague concern into a pattern you can compare after rainfall, ventilation changes, or plumbing use.
Using a Moisture Meter the Right Way
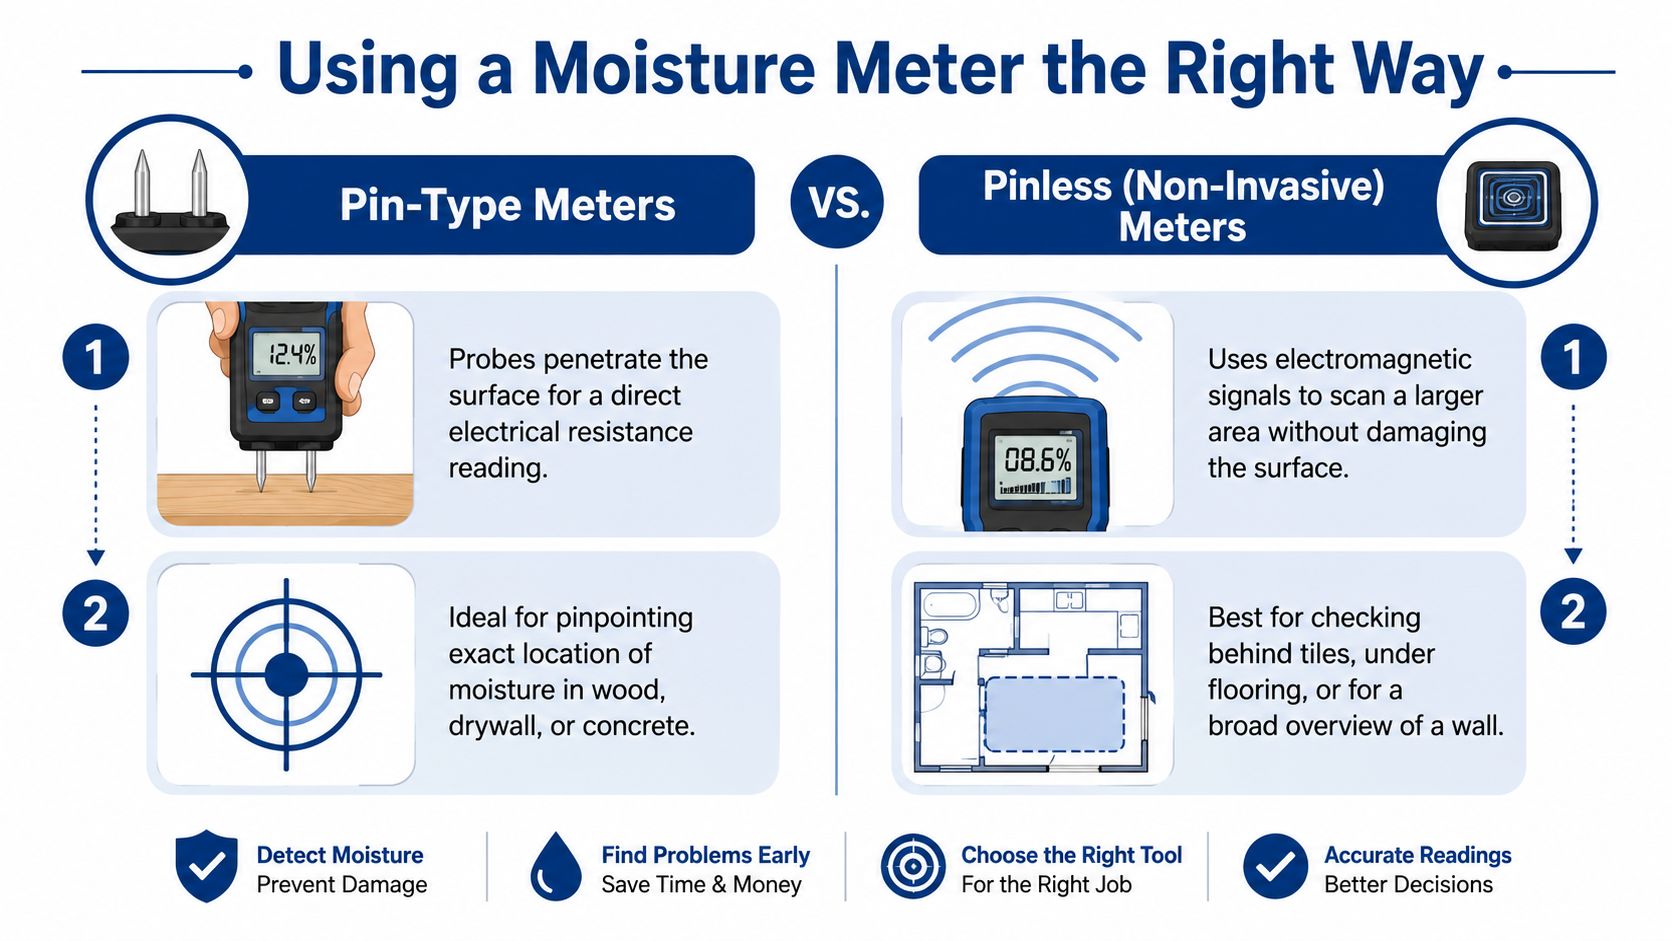
A moisture meter helps map a wall before you open it. It does not give a complete yes-or-no answer. Pinless meters scan without puncturing paint, plaster, or drywall, making them useful for comparing broad areas. Pin meters use probes at selected points and can confirm a suspected hot spot in drywall or wood, although they leave small holes and depend on the correct material setting.
Establish a baseline first
Choose a nearby section made from the same material that appears dry and does not share the suspected exposure. Record that baseline before testing the problem area. A pinless meter may show a relative scale rather than a direct moisture percentage. A pin meter may display material-specific moisture content. A reading from the wrong setting can look precise while offering little useful information.
Map the wall from the base upward:
- Start at the floor line. Test near the baseboard, then move upward in consistent increments.
- Work across the wall. Follow a grid from one side to the other instead of testing only the darkest stain.
- Mark each point. Use painter's tape or a sketch to record each location and displayed value.
- Repeat suspected areas. Take several readings around a hot spot to see whether it is isolated or part of a wider band.
- Compare with the baseline. Look for a continuous pattern rather than one unusual number.
That upward map often separates a base-of-wall intrusion from a localized plumbing issue. Several readings rising from the floor, clustering around a pipe, or spreading below a window deserve more attention than a single high result.
Field references commonly flag readings around 16% to 17% moisture content in drywall or wood-based materials as a warning that further investigation is needed, according to this wall moisture meter guidance. The range is not a universal pass or fail threshold. Drywall, wood framing, plaster, and concrete respond differently, so interpret the result against the appropriate material baseline.
Avoid the single-reading trap
A high result can come from a fastener, conductive material, corner framing, or a calibration mismatch. Several readings that form a path carry greater investigative value. Before making a repair decision, record the meter model, material setting, baseline area, and test points.
Follow the manufacturer's instructions and review moisture meter calibration practices before testing. A surface scan can appear normal when wet material sits behind an air gap. That is the point where a meter stops answering the question. If the pattern suggests cavity moisture, stop chasing numbers and arrange a professional assessment.
What an Infrared Camera Can and Cannot Tell You
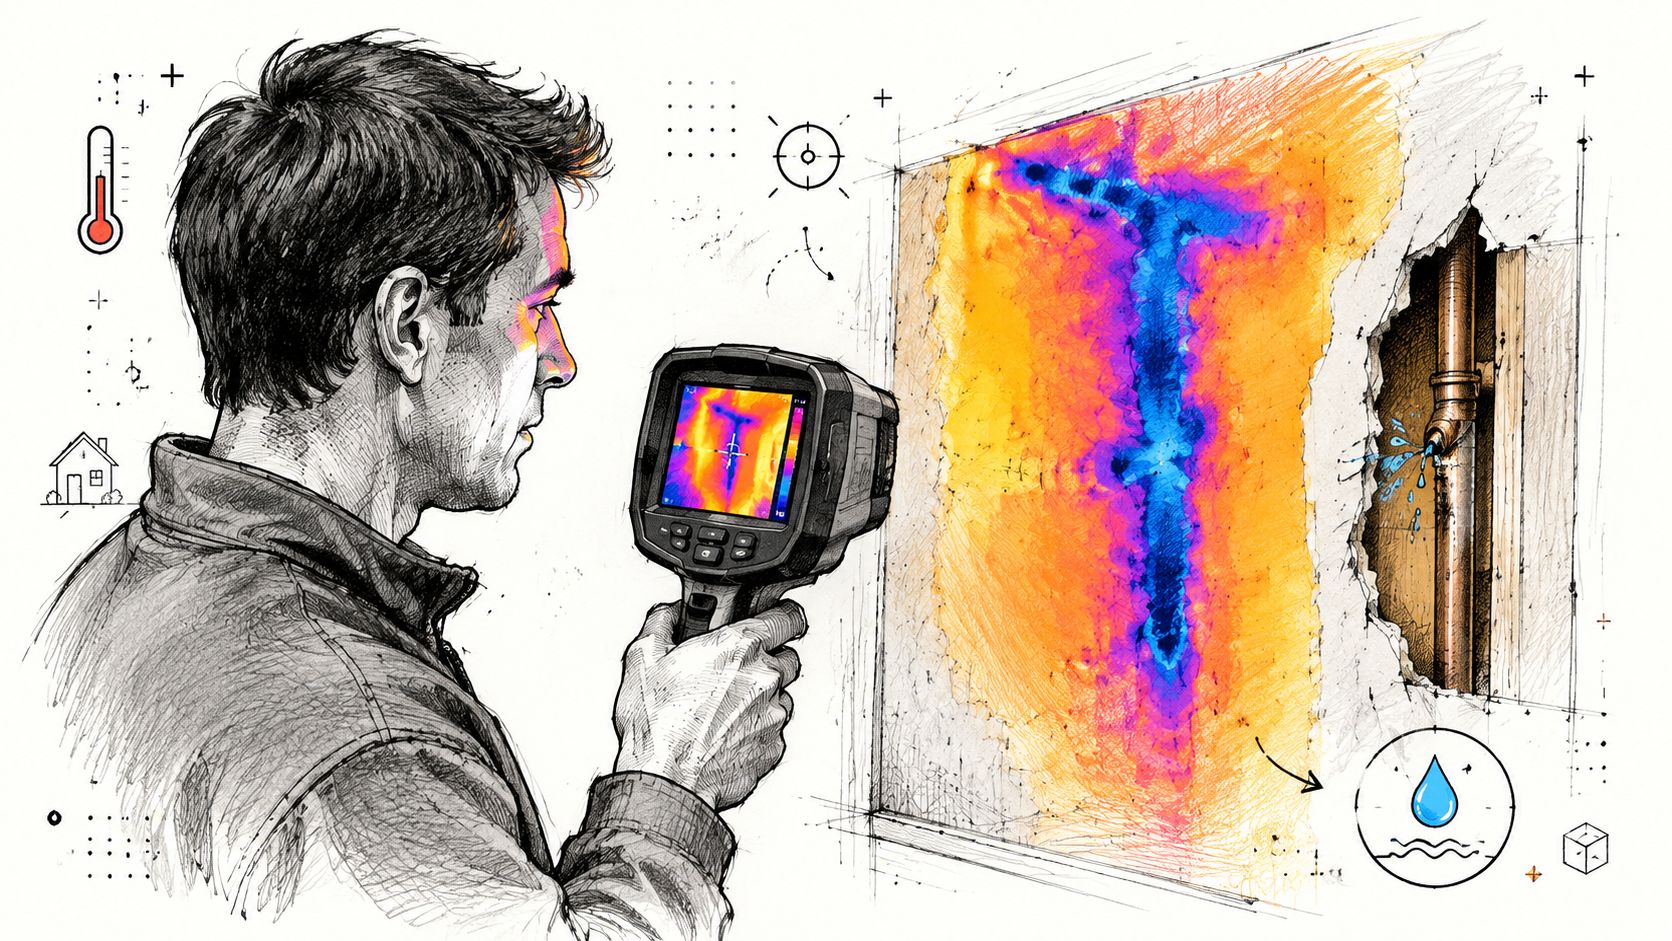
An infrared camera sees temperature differences, not water itself. Evaporation can cool a damp wall surface, creating a cooler pattern than the surrounding material. That pattern can help locate a suspected area quickly, especially when the wall has a useful temperature contrast.
The limitation matters more than the novelty. Active infrared thermography can detect superficial moisture to about 1.5 cm in plaster, according to the technical bulletin on unwanted moisture in buildings. A thermal image won't tell you the actual moisture content, and it may not reveal wet material deeper in a cavity.
Why thermal images mislead
A cool patch can reflect an insulation void, thermal bridge, recent HVAC cycling, or sun exposure on an exterior wall. Wall orientation and changing outdoor conditions can create temperature patterns that resemble water intrusion. A uniform-looking image can also miss moisture if the surface and room conditions don't create enough contrast.
Use the camera to screen and document, then verify. Scan the entire suspect wall under consistent conditions, mark unusual patterns, and compare them with adjacent areas. Follow the thermal scan with direct-contact meter readings at the warm and cool boundaries.
Practical rule: A cold shape is a question, not a diagnosis. Confirm it with moisture measurements before opening a wall or authorizing extensive repair.
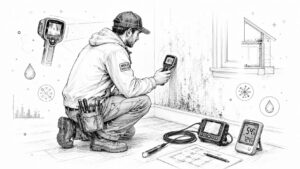
A sound workflow is thermal scan, meter confirmation, targeted opening only if ambiguity remains. That sequence limits unnecessary damage while still allowing a technician to inspect the cavity when surface tools cannot resolve the source. A professional thermal imaging inspection is most useful when someone interprets the image alongside construction details, plumbing locations, weather, and meter data.
Supporting Tools That Complete the Picture
Different tools answer different questions. A hygrometer describes the room's air, a meter describes the accessible material, a borescope provides a limited view into a cavity, and radar can investigate conditions that ordinary surface checks may miss.
Match the tool to the question
A hygrometer helps identify whether increased indoor humidity could be contributing to condensation. Place it away from vents and dehumidifier exhaust, and compare readings between the suspect room and a nearby unaffected area. A borescope can inspect behind drywall through a carefully selected access hole, but the view is narrow and the opening itself requires caution around wiring and plumbing.
Microwave radar is a developing option for concealed assessment. Oak Ridge National Laboratory reports that microwave radar can detect and measure moisture inside walls without removing drywall or cladding, with results within 3% of conventional handheld meters, as described in its report on nondestructive microwave radar for hidden wall moisture. That capability illustrates why one surface reading may miss a wet cavity, but it doesn't turn every consumer scan into a complete wall investigation.
Massachusetts guidance recommends taking measurements at regular intervals up the wall, beginning at the base, because distribution matters more than an isolated reading. Draw the wall, number each test point, and save photographs of the display with the point visible in the frame. Include weather, recent leaks, drying equipment, and the time of each measurement.
| Tool | What It Measures | Best Use | Limitation |
|---|---|---|---|
| Hygrometer | Relative humidity in room air | Comparing room conditions and humidity trends | Doesn't identify the wet wall assembly |
| Pinless meter | Relative moisture response beneath the surface | Broad, non-invasive wall scanning | Can miss moisture separated by an air gap |
| Pin meter | Direct-contact electrical response | Confirming a selected location | Leaves probe marks and requires correct material settings |
| Infrared camera | Surface temperature patterns | Locating anomalies for follow-up testing | Thermal anomalies have non-moisture causes |
| Borescope | Visual conditions inside a cavity | Limited inspection through an access opening | Sees only the area reached by the camera |
| Microwave radar | Concealed moisture response inside assemblies | Advanced non-destructive cavity assessment | Requires specialized equipment and interpretation |
A proper distribution map can also support communication with an adjuster or restoration technician. Date-stamped photographs and a marked sketch show whether the affected area is stable, expanding, or drying. Don't rely on memory, especially when several walls or rooms are involved.
Knowing When DIY Stops and a Professional Takes Over
DIY testing stops being useful when readings accumulate without changing the decision. Testing should identify the likely source, define the affected area, and clarify whether the wall needs drying, opening, repair, or observation.
Call a professional when any of these conditions appear:
- Persistent high readings: Several points remain near the 16% to 17% warning range for drywall or wood-based materials. Use the field guidance on wall moisture thresholds to interpret readings with the correct material setting.
- Broad distribution: Moisture extends upward from the base or sideways beyond the original stain.
- Material failure: Drywall feels soft, crumbles, or separates from its finish.
- Visible microbial growth: Mold-like growth appears with odor or damp materials.
- Unresolved odor: Mustiness continues after ventilation or attempted drying.
- Active water: A leak continues while its source remains hidden.
Map the wall from the base upward before deciding that a small stain is isolated. A repeated pattern across the lower wall can point to water moving through the assembly, while a single surface reading may reflect condensation or a finish problem. Record locations, readings, and visible changes so a technician can compare conditions rather than start from a guess.
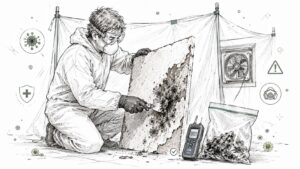
Damp materials can support microbial growth and worsen indoor air concerns. Households with asthma, allergies, or immunocompromised occupants should act sooner when odor, visible growth, or recurring dampness persists. Avoid disturbing suspicious material while arranging an assessment.
If you are considering cutting into the wall, stop and call a qualified restoration professional. Openings can encounter electrical and plumbing hazards. Cavity drying also requires air movement and dehumidification that reach the affected assembly. A technician can combine visual inspection, mapped meter readings, thermal screening, and selective access, then choose the smallest reasonable opening.
Your Action Plan and Local Help in Georgetown and Austin
Use this sequence when a wall looks or smells damp:
- Inspect: Photograph stains, peeling finishes, soft spots, odors, baseboards, windows, and plumbing areas.
- Screen: Use a sealed plastic or foil test, compare wall temperatures by touch, and log room humidity.
- Map: Establish a dry baseline with the correct meter setting, then take repeated readings in a grid from the base upward.
- Scan: Add infrared thermography when you need to locate temperature anomalies, but confirm every suspect zone with direct-contact measurements.
- Document: Save photographs, sketches, dates, weather notes, and readings.
- Decide: Continue monitoring only when the evidence is limited and stable. Escalate when readings persist, the pattern spreads, materials deteriorate, or the source remains active.
Central Texas rain events and flash flooding can introduce water through roofs, windows, plumbing systems, foundations, and wall penetrations. In Georgetown and Austin, a quick visual check may identify the first symptom, but mapped testing is what shows whether moisture is confined to the finish or has reached the assembly.
RestoTek TX is a family-owned local provider serving Georgetown, Austin, and nearby communities. Its services include water-damage inspection, leak detection, moisture mapping, structural drying, microbial prevention, and reconstruction, with 24/7 emergency response and no-cost estimates documented by the company.
RestoTek TX can inspect suspected wall moisture, use moisture meters and thermal imaging to help locate the affected area, and coordinate drying or reconstruction when needed. Visit RestoTek TX to request local help for a hidden leak, storm-related intrusion, or recurring dampness before the damage spreads.