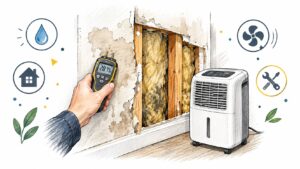
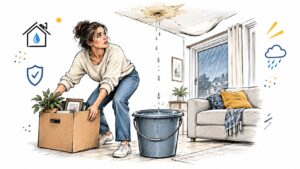
You wake up in your Georgetown home and notice a brown ring spreading across the ceiling. Or you step onto a soggy baseboard after a supply line fails behind the washing machine. The drywall may look like a cosmetic problem, but the visible stain is only the part you can see. Water may already be sitting in the gypsum core, insulation, framing, or the cavity behind the wall.
The right way to repair water damaged drywall starts before you pick up a utility knife. Stop the leak, determine what kind of water entered the assembly, and use the 24 to 48 hour moisture clock to decide whether the drywall can be dried or must be removed. Federal guidance treats intact seams and the absence of swelling as key indicators for drying wallboard in place, while material that can't be dried within 48 hours should be removed below the damage line. Federal remediation guidance summarized for water-damaged drywall explains why appearance alone isn't enough.
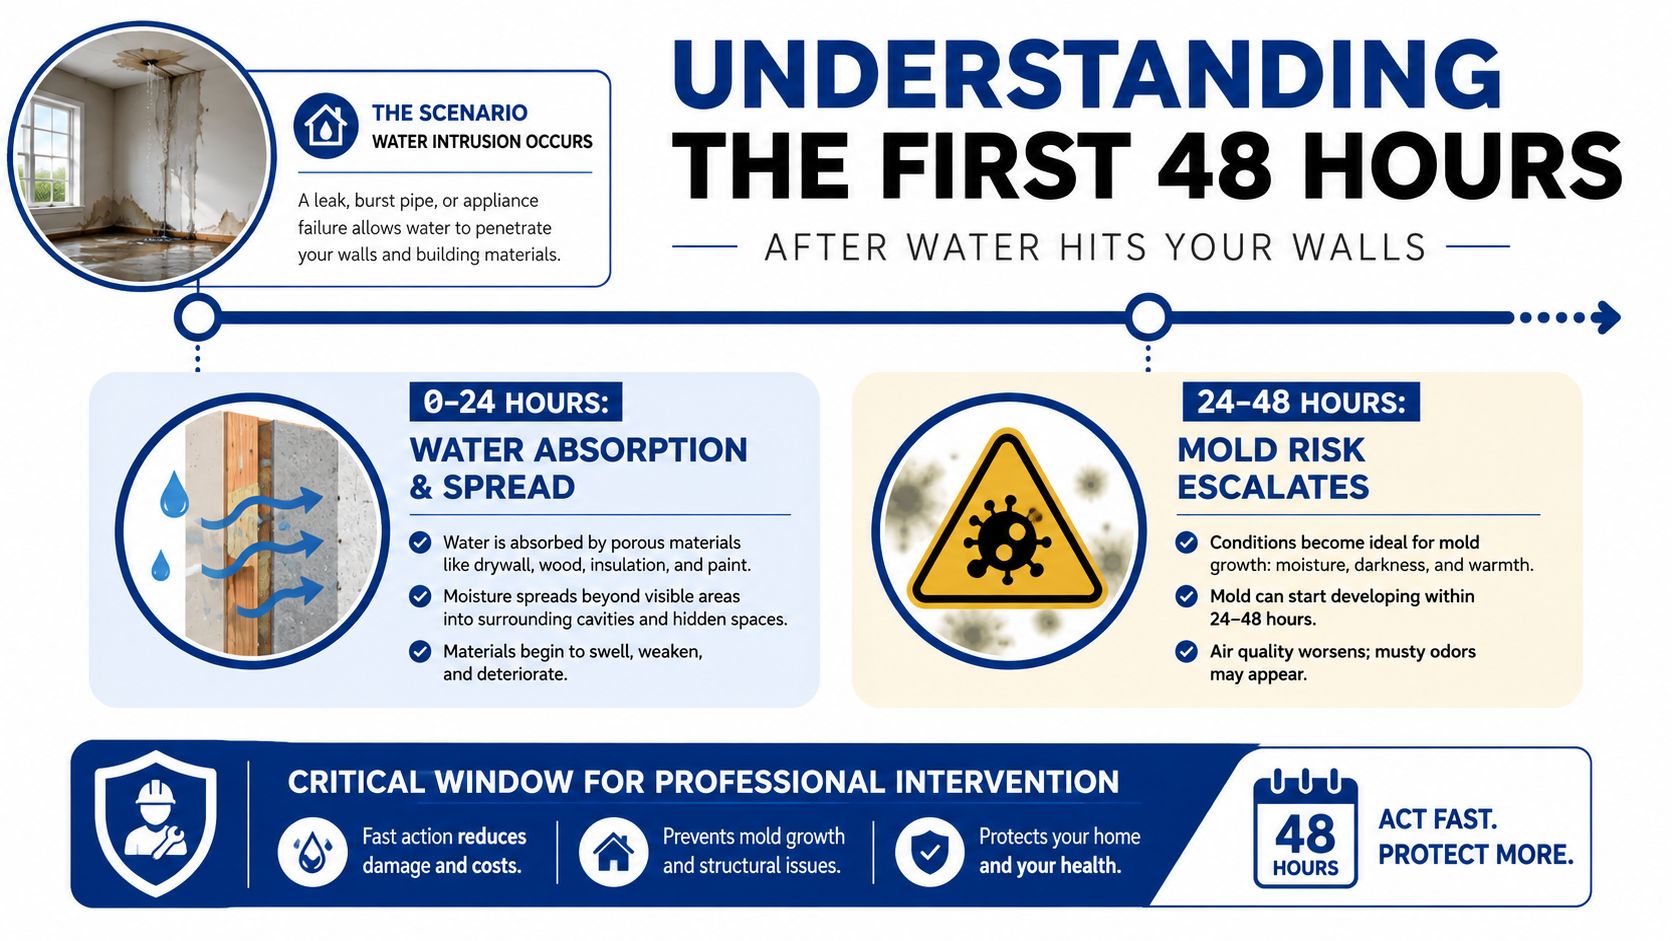
Understanding the First 48 Hours After Water Hits Your Walls
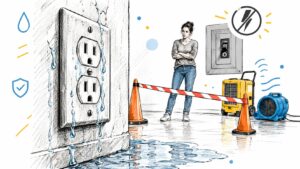
Control the water event immediately, then decide what the wall assembly needs. If a clean-water supply line breaks, shut off its valve or the main supply. If water is near outlets, switches, fixtures, or the electrical panel, turn off the affected circuit only when it is safe. Stay clear if electrical equipment has been reached. Extract standing water, move furniture away, open windows when outdoor conditions permit, and remove baseboards so air can reach the drywall's lower edge.
The source changes the repair decision. Water from a supply line may leave a panel salvageable after brief exposure if the board stays firm. Water from a dishwasher, washing machine, toilet overflow, sewer backup, or flood can carry contaminants into porous drywall and insulation. That situation may require controlled removal and remediation rather than drying alone.
Why the clock matters
Paper-faced gypsum draws in moisture through its face, edges, and fastener holes. Insulation and framing can remain damp after the room feels comfortable, while the wall cavity often dries last. EPA guidance identifies the cavity as difficult to dry, recommends removing base molding to inspect wallboard, and says damp insulation should be discarded. EPA mold remediation guidance notes that drying may take 3 to 7 days with professional equipment to weeks without it. A dry-looking surface therefore cannot confirm that the assembly is dry.
The first 24 to 48 hours determine whether extraction, air movement, dehumidification, and inspection can prevent a larger removal. Restoration guidelines on water intrusion link prolonged wetness in organic materials, including drywall, with rising mold risk during that window. Visible colonization commonly develops within about 3 to 12 days. Not every damp wall will show growth, but delay can turn a small repair into demolition, especially when moisture remains trapped behind the panel.
Practical rule: Do not seal, prime, or paint until the leak is fixed and the panel, cavity, insulation, and framing have been checked for retained moisture. A homeowner can often manage prompt clean-water drying when the drywall remains firm. A contaminated source, wet insulation, hidden cavity moisture, or uncertainty about electrical safety makes a restoration professional the safer choice.
Inspecting the Damage and Reading the Warning Signs
A stain over the dining room window may come from a roof entry, failed pipe, appliance connection, or drainage problem. Trace that source before touching the drywall. If water is still entering, the 24 to 48 hour drying clock continues, and new compound or paint will fail regardless of surface preparation.
Start the inspection at the visible mark, then work outward and inward. Use a moisture meter above, below, and beside the stain, including near baseboards, corners, seams, outlets, and the opposite side of the wall when accessible. The guide to interpreting moisture meter readings explains why one reading cannot represent the entire panel or the cavity behind it. Compare readings with an unaffected area, because the decision depends on retained moisture, not the stain's outline.
Visual and physical clues
Look for bubbling paint, peeling texture, brown or yellow rings, swollen joints, sagging ceilings, soft drywall, rusted fasteners, and a musty odor. Press gently with a gloved finger. Sound drywall feels firm. Wet gypsum may feel spongy, crumble at an edge, or lose its ability to hold a screw.
Remove the base molding carefully and inspect the lower edge of the board. If the cavity remains questionable, cut a small inspection opening where a later patch can cover it. Before cutting, locate studs and check for outlets, switches, plumbing routes, and wiring. The opening may show wet insulation, darkened framing, deteriorated paper backing, or moisture that remains trapped even after the room feels dry.
A stain's size does not set the repair scope. Water category, time since the leak, swelling, seam condition, paper integrity, and cavity contents matter more.
| Warning Sign | Likely Drying In Place | Likely Full Replacement |
|---|---|---|
| Surface staining | Clean water, firm board, intact paper and seams | Staining paired with softening, swelling, or a continuing leak |
| Seams | Joints remain flat and intact | Seams have opened, bubbled, or cracked |
| Panel feel | The gypsum remains hard and stable | The panel gives under light pressure, crumbles, or sags |
| Odor | No persistent musty odor after drying | Musty odor or visible growth inside the cavity |
| Insulation | No insulation was affected, or the cavity is confirmed dry | Insulation is damp, contaminated, or cannot be fully inspected |
| Timing | The board is dried within the critical window | The board cannot be dried within 48 hours, as described in federal drywall remediation guidance |
Drying in place can work for clean-water damage when the board stays firm, seams remain flat, and the cavity is confirmed dry during the first 24 to 48 hours. Replacement is the safer decision when gypsum softens, paper separates, joints fail, contamination is present, or insulation remains wet. If electrical components, hidden moisture, or the water source is uncertain, bring in a restoration professional before closing the wall.
Patch the Stain or Replace the Panel
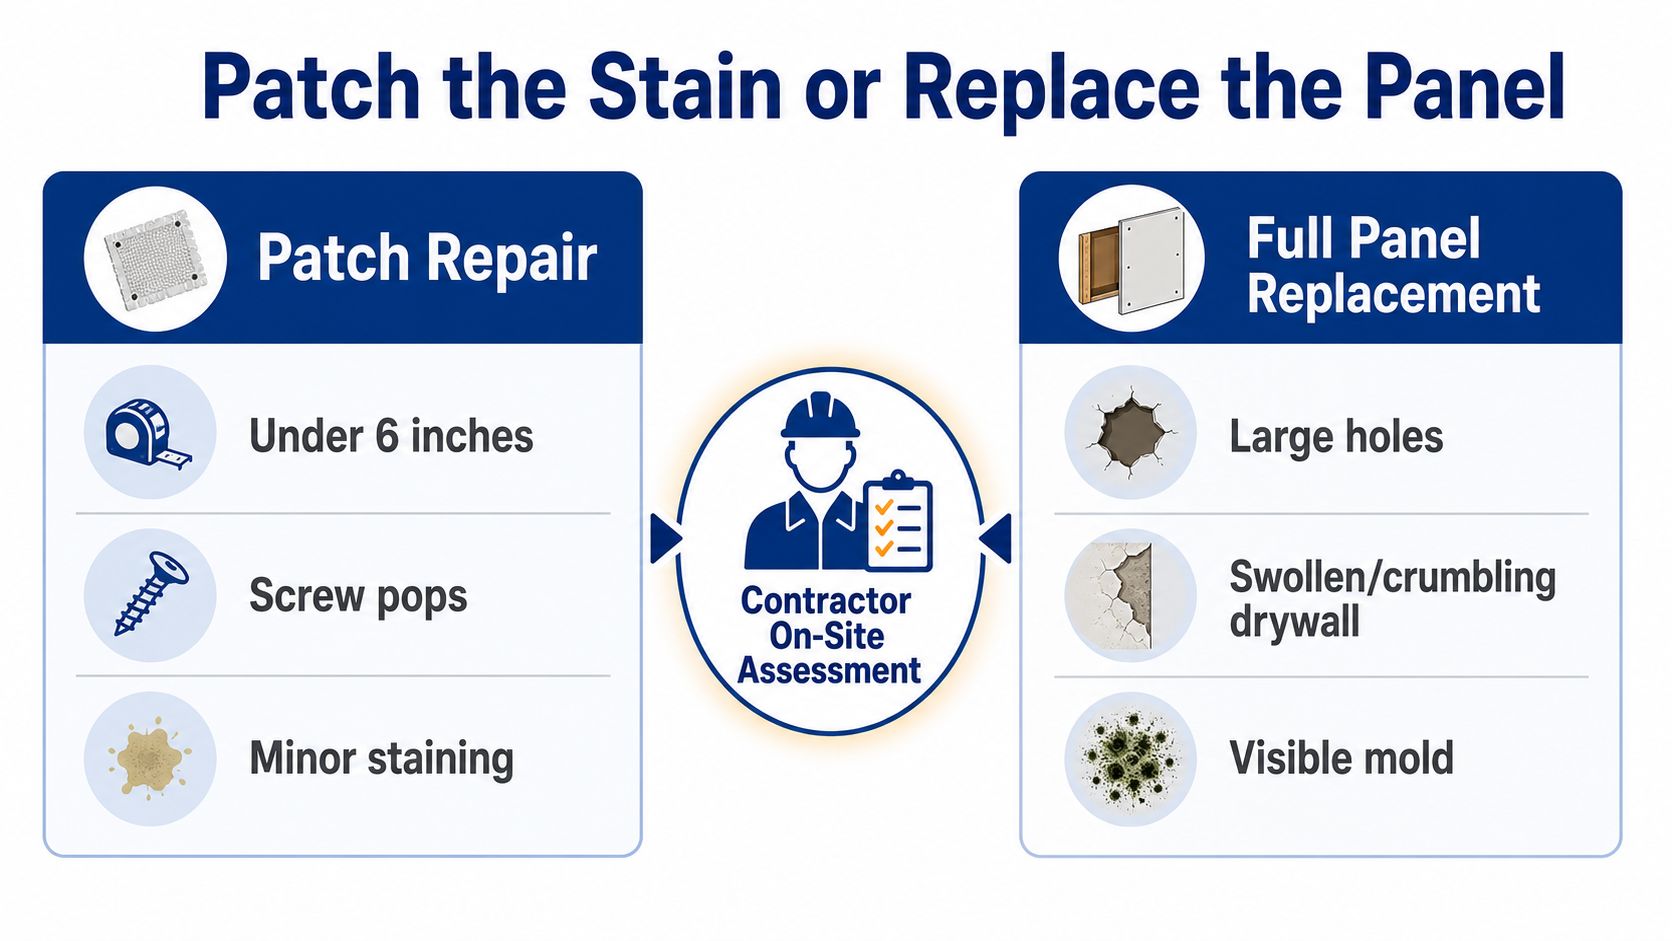
A patch makes sense when the surrounding drywall still has structural integrity. Small holes, screw pops, and limited surface damage can usually be cut back to sound material, reinforced, filled, sanded, sealed, and painted. The patch must have solid edges to support tape and compound.
Replacement becomes more practical when the damaged area reaches a floor, spans a major seam, covers a broad portion of the sheet, or includes swollen or crumbling gypsum. A full panel replacement gives you a continuous surface, but it also requires exposing fasteners, inspecting insulation, adding backing where needed, and retaping joints. That extra labor is the trade-off for a stronger, cleaner repair.
What the finished wall will reveal
A small patch isn't automatically invisible. Under raking light, the repair can cast a shadow if the compound isn't feathered far enough. The surrounding paper and gypsum must be sound, and the finish texture must be recreated rather than rolled over.
For a repair that includes a water stain, follow the surface preparation principles described in how to cover water stains on a ceiling, but don't use stain coverage to avoid opening a wet assembly. Stain-blocking primer only belongs after drying and inspection are complete.
A hybrid repair often works well. Cut out the wet lower portion along a clean line while leaving the dry, firm upper section in place. Fasten the new piece to solid backing, tape the joint, and keep the cut high enough to remove all compromised material. This saves sound drywall without preserving a weak edge.
Contaminated water, visible mold, delamination, crumbling gypsum, or concealed moisture are replacement triggers regardless of the affected patch's size. Match the repair to the condition, not to the smallest possible scope. A cheap patch over wet material usually becomes a second repair.
Tools, Safety Gear, and Materials You Will Need
Stage tools according to the repair path. For a small patch, you may need a moisture meter, stud finder, utility knife, six-inch drywall knife, mud pan, sanding pole, joint compound, stain-blocking primer, and matching paint. For panel replacement, add a drywall saw, keyhole saw, ten- and twelve-inch knives, a drywall screw gun, backing lumber, replacement board, tape, and a HEPA vacuum.
Safety equipment belongs on the floor before demolition
Wear safety glasses, cut-resistant gloves, and knee protection. Use an N95 or P100 respirator appropriate to the material and work conditions, and wear a disposable Tyvek suit when removing suspect or heavily damaged material. A standard dust mask isn't a substitute for respiratory protection during dusty demolition.
For compound, setting-type material is useful when you need a firm first fill and predictable drying. Ready-mix compound is convenient for later coats and finish work. Paper tape generally produces a dependable taped joint when embedded correctly, while mesh tape can be useful for some patches but needs compatible compound and careful coverage.
Match the replacement to the assembly
Use drywall that matches the existing thickness and location. Ceilings and rated assemblies may require Type X board where building code calls for it. Don't substitute ordinary board into a fire-rated partition or assume a different thickness will disappear under compound.
A stain-blocking primer prevents residual discoloration from bleeding through the finish. Choose the topcoat by matching the existing color and sheen, then reproduce the wall texture before painting the entire repair area.
Before the first cut, locate studs and identify likely wiring and plumbing paths. Keep the blade shallow near outlets and never cut blindly into a wall with an uncertain water or electrical route. A restoration provider such as RestoTek TX handles moisture assessment, structural drying, microbial prevention, and reconstruction when the repair extends beyond a simple patch.
The Full Repair Process From Drying to Final Coat
Drying comes before demolition whenever the assembly can be safely salvaged. Set up air movement across the wall, use dehumidification to remove vapor from the room, and keep taking readings at the panel face, edges, cavity, framing, and floor. The goal isn't a certain number chosen by appearance. The goal is documented, consistent dryness throughout the affected assembly.
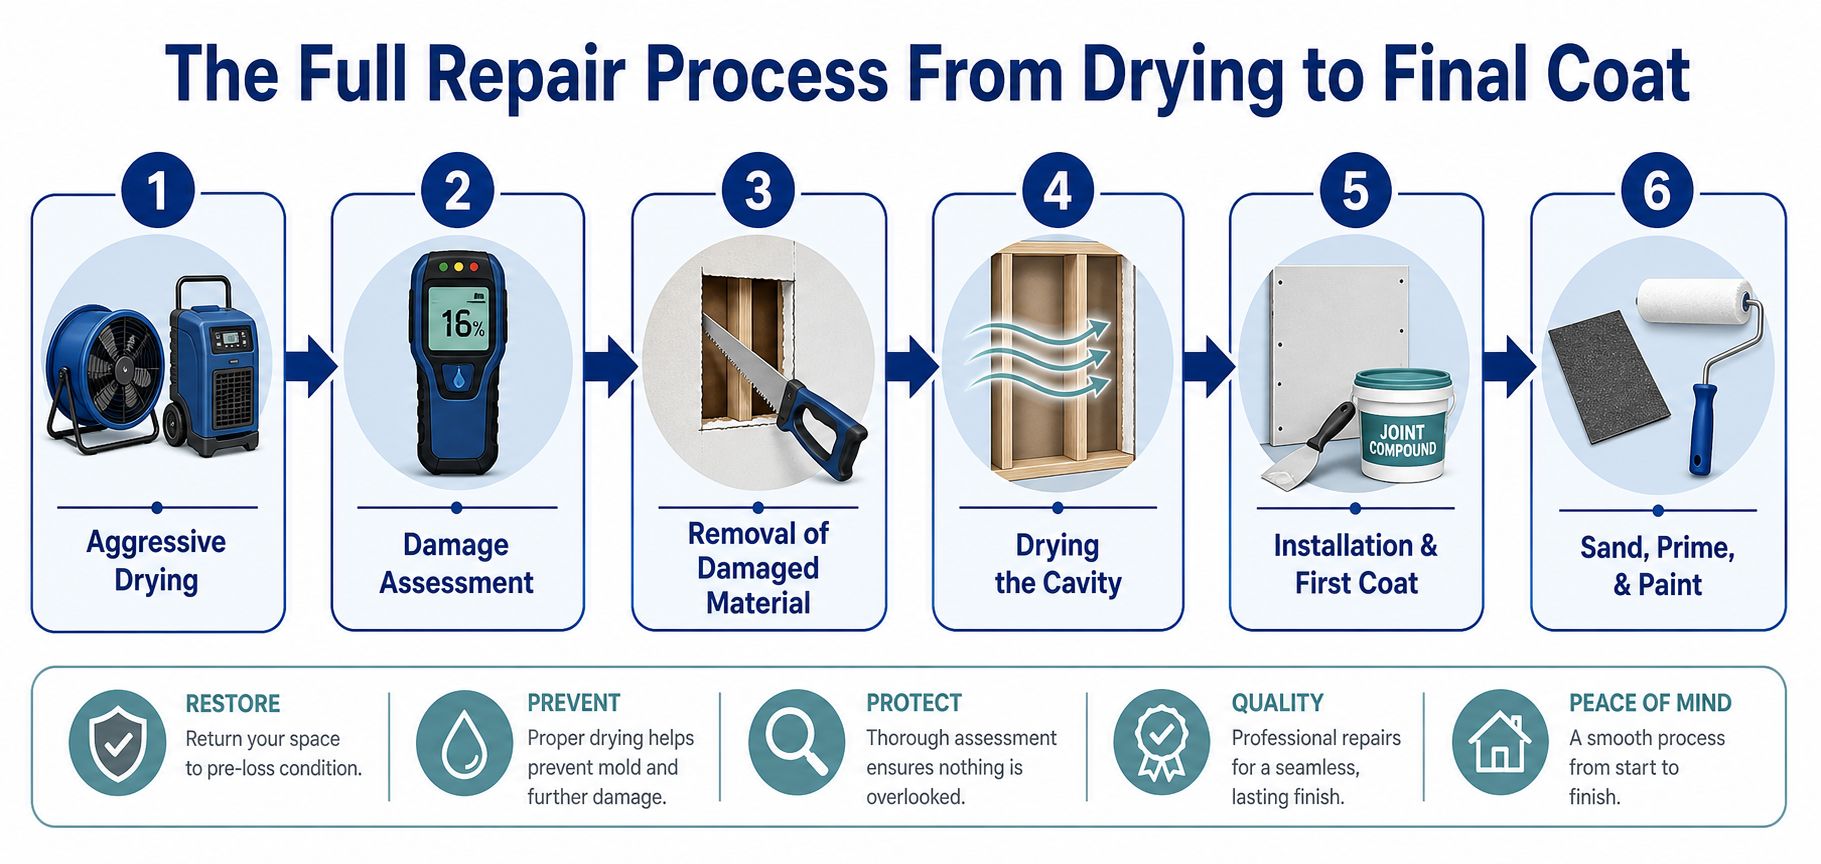
If readings stay high, remove the baseboard and create controlled access for cavity airflow. Damp insulation should come out rather than being trapped behind a new panel. Open the wall only as far as necessary to remove compromised material and inspect studs, fasteners, and the back of the drywall.
Controlled removal protects the repair edge
Score the damaged drywall with a utility knife, then use a drywall saw to cut a clean rectangle or follow a stud line where possible. Avoid tearing the neighboring paper face because damaged paper makes taping unstable. Bag debris promptly, especially when the water source was contaminated or the material shows microbial growth.
For a replacement, install solid backing behind unsupported edges. Cut the new panel accurately, leave it flush with the existing surface, and fasten it without breaking the paper. Replace damaged tape rather than burying it under compound. If the old seam is swollen or loose, cut it back to a firm edge first.
Embed tape in the first coat and let the compound set or dry according to the product instructions. Apply a second coat wider than the first, then use a thin finish skim that extends farther still. Each layer should flatten the transition, not create a ridge. Scrape high spots between coats instead of relying on heavy sanding at the end.
A fine-grit pole sander helps blend the finish, but use light pressure. Excessive sanding can expose tape or tear the paper face. Vacuum dust with a HEPA unit, wipe the area clean, and inspect under side lighting before priming.
The final stage is stain-blocking primer followed by paint matched to the existing sheen and texture. Roll the broad field and brush corners and edges. If the repair sits in a visible ceiling or wall plane, finish quality depends as much on texture matching and lighting as on the patch itself.
Health Risks, Mold Timing, and Safety Essentials
Wet paper-faced gypsum and organic dust in a wall cavity can support mold growth during the first 24 to 48 hours. If the assembly remains wet, visible growth may develop within about 3 to 12 days. Start drying and opening the affected area before the stain becomes dramatic. The wall surface can look manageable while moisture remains trapped behind it.
Insulation requires its own inspection. Damp insulation holds water against studs and the back of the drywall, so drying the face alone leaves the cavity wet. Federal guidance calls for damp insulation to be removed and discarded. Check the cavity, framing, and insulation before closing the wall, especially if the 24 to 48 hour drying window is approaching or has passed.
For practical steps on preventing mold after water damage, focus on stopping the leak, removing wet porous material, drying the cavity, and inspecting before rebuilding. Spraying the visible stain does not correct moisture inside the wall.
Demolition hazards require a pause
Wear a properly fitted respirator, sealed safety glasses, gloves, and protective clothing during demolition. Stop if you find visible growth, a persistent musty odor, extensive contamination, or deteriorated material that cannot be contained safely. Contaminated water, including sewage or floodwater, calls for controlled removal rather than routine patching.
Older homes may contain asbestos in joint compound or other building materials, and lead-based paint may be present in older finishes. Test suspect layers before sanding or cutting. Account for wiring near outlets and switches, and avoid energized electrical components that have been exposed to water.
Growth inside the cavity means the repair involves more than drywall finishing. A remediation professional can establish containment, remove affected porous materials, dry the framing, and decide what can safely remain.
When a Homeowner Fix Is Enough and When to Call a Pro
A homeowner repair can hold when the leak is fixed, the water was clean, the area is limited, and the drywall remains firm with intact seams and paper. A single interior-wall panel is easier to manage than a saturated ceiling or a wall containing insulation, plumbing, or electrical equipment. Before closing the wall, check moisture readings and inspect the cavity. A dry surface does not prove the wall interior is dry, especially as the 24 to 48 hour drying window narrows.
Use this final check:
- Source: The leak is repaired and no new water is entering.
- Assembly: The panel, cavity, framing, and insulation have been inspected.
- Condition: Damaged drywall and damp insulation are removed where required.
- Air quality: No musty odor or visible growth remains.
- Finish: The patch is flat, sound, primed, textured, and painted.
Wallboard may remain in place when it has no obvious swelling and the seams are intact, provided it can dry within 48 hours. If drying will take longer, remove and replace material below the damage line, as described in the federal drywall repair guidance. That decision depends on the cavity, not only the stain.
Red flags that change the decision
Call a restoration contractor when water has remained beyond the drying window, insulation is saturated, the same location has leaked repeatedly, or the source was sewage, floodwater, or another contaminated supply. Professional help is also the safer choice when water reached electrical equipment, the ceiling is sagging, several rooms are affected, or mold may be growing inside a closed cavity.
A vanished stain does not confirm a successful repair. Trapped moisture can force you to remove the new finish, reopen the wall, and address contamination later. If the cavity cannot be inspected confidently, paying for an assessment is safer than repairing the same wall twice.
RestoTek TX provides water extraction, structural drying, moisture inspection, microbial prevention, and drywall reconstruction for homes in Georgetown, Austin, and nearby Central Texas communities. If a leak left your wall stained, soft, or damp behind the surface, visit RestoTek TX to request an assessment and discuss the repair path.