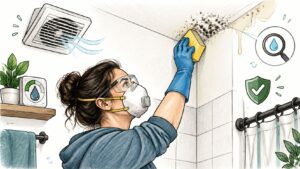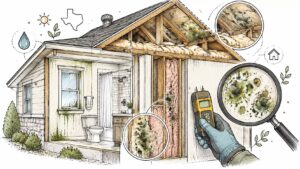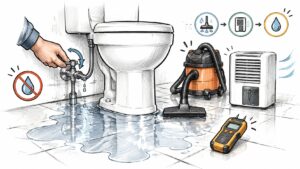
You're getting out of the shower, the mirror's still fogged, and you notice dark speckles spreading above the tub. You wipe them, they fade, and a few weeks later they're back. That cycle usually means the ceiling isn't the main problem. Mold on ceiling in bathroom areas is a moisture signal first and a cleaning job second. If you don't find where the water's coming from, you're just resetting the clock.
Diagnose the Stain Before You Clean It
Moisture comes before surface treatment. A repaint or a stronger spray won't help if the drywall's still getting wet from above or the room never dries out between showers.
| Symptom | Likely cause | First action |
|---|---|---|
| Small dark spots on painted drywall that appear after showers | Condensation with weak or short-run exhaust | Check the fan runs during and after showers, then clean the spot |
| Brown ring or stain that grows after rain | Roof, flashing or attic leak | Inspect the attic and roof penetrations before cleaning |
| Stain directly under a supply line or drain above the ceiling | Plumbing leak | Shut off the water and check the pipe run |
| Soft, sagging or crumbling ceiling | Water-saturated drywall or tile | Stop, do not scrape, and get a professional inspection |
| Musty odor with no visible growth | Hidden growth in the cavity or wet insulation | Take moisture readings and consider an inspection |
| Spots return within weeks of cleaning | Unresolved moisture source | Fix the moisture source first; repainting will not help |
Document What You See
Start on a ladder with your phone. Photograph the patch, measure it, and note the color, shape, and texture. Is there a brown ring, which suggests water moving through material? Does the paint flake or bubble? Press gently with a fingertip. Firm painted drywall is one situation. A ceiling that feels soft, spongy, or crumbly is another, and it's a stop point, not a scrubbing project.
Timing matters too. Note whether the spot darkens after rain, after showers, or after someone uses a tub or toilet on the floor above. That pattern narrows the search faster than any cleaner will.
Trace the Water in Order
Check the attic above the bathroom for wet insulation, darkened sheathing, and staining around roof penetrations such as vent stacks. Follow plumbing runs above the ceiling if you have access. Then find where the exhaust duct terminates. A duct that ends in the attic dumps warm, wet air exactly where you don't want it.
The EPA guidance on mold basics recommends maintaining indoor relative humidity at 30 to 60% and drying wet materials within 24 to 48 hours. Use a hygrometer in the room and a pin moisture meter on the stained drywall, then take a comparison reading on an unaffected reference area. You're looking for a difference, not just a number in isolation.
If you're unsure whether discoloration is old or active, compare it against typical signs of water damage on ceilings and walls before you touch paint. Painting or caulking over a stain before correcting moisture doesn't stop recurrence. It hides your best evidence.
Decision rule: Fix an active source first. If the ceiling's soft or you can't identify the source, stop and book an inspection instead of cleaning.
How to Clean Small Ceiling Mold Safely
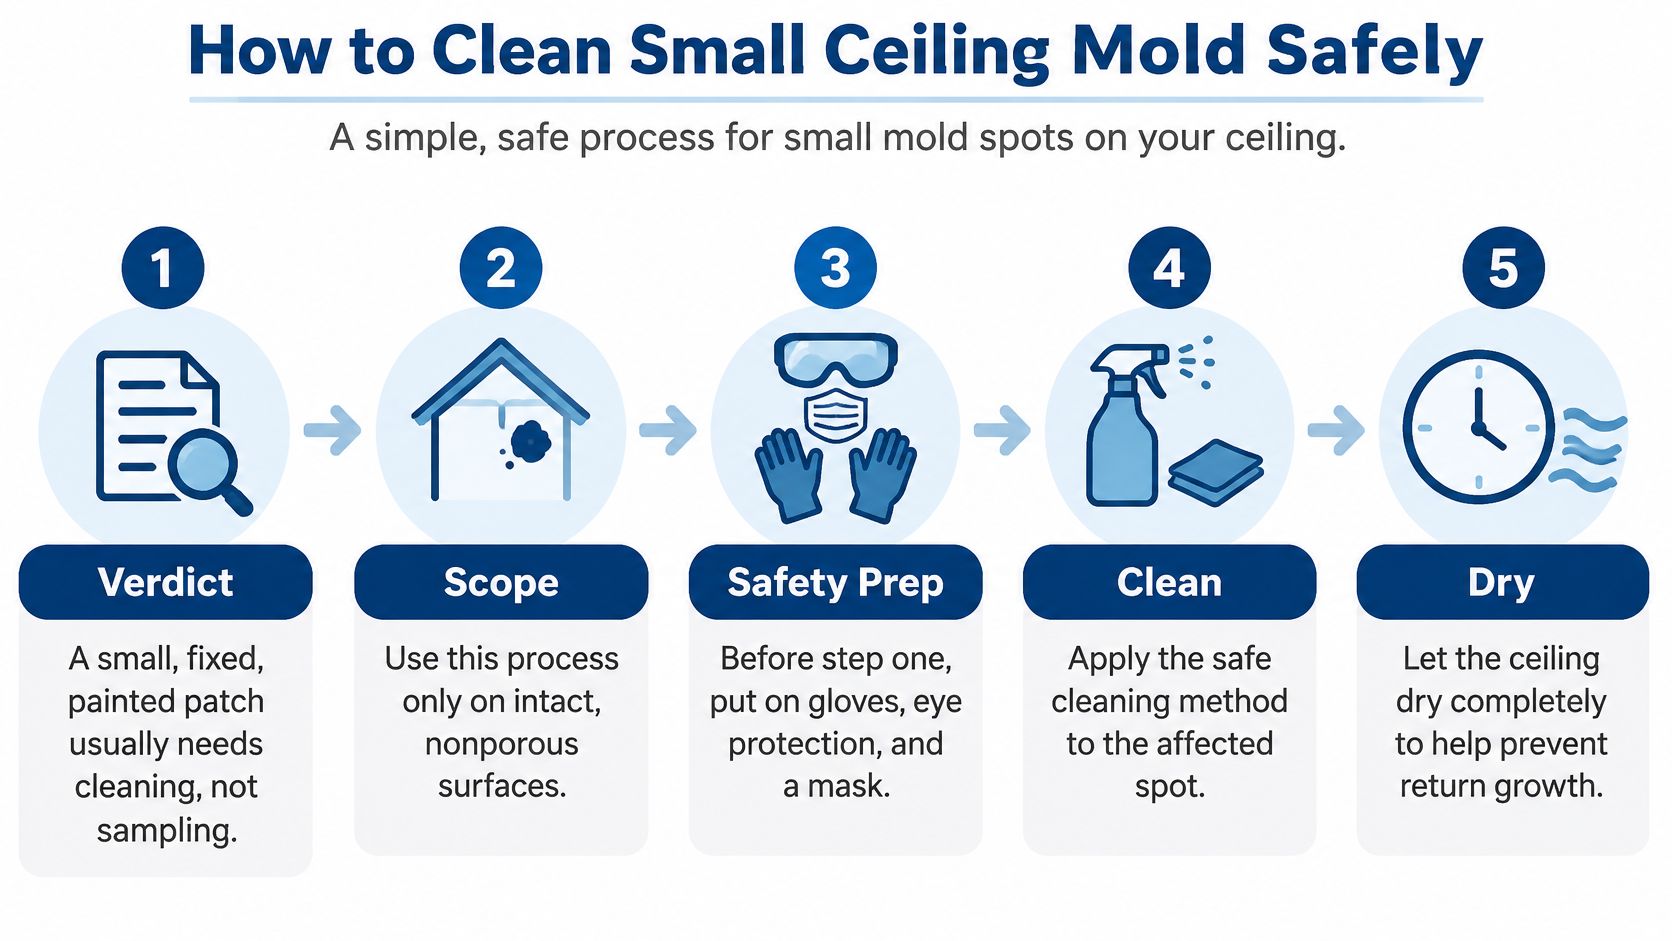
A small, fixed, painted patch usually needs cleaning, not sampling. That verdict only applies when the moisture source is corrected, the surface is firm, and you're dealing with an intact, nonporous painted finish. Anything soft, sagging, or repeatedly wet falls outside this procedure.
Set Up Before You Touch the Spot
The CDC mold cleanup guidance recommends at minimum a NIOSH-approved N95 respirator, gloves, and eye protection for mold cleanup. Fit the respirator snugly. A loose paper mask pulled under your chin between wipes doesn't count.
Keep anyone with asthma, severe allergies, immune suppression, or chronic lung disease out of the room while you work. Lay a drop cloth over the tub and floor, and have a trash bag open beside your ladder so used cloths go straight in without a trip through the house.
Clean in This Order
- Confirm the surface qualifies. Press the area again. If it's soft, sagging, or wet, stop. You're no longer in routine cleaning territory.
- Ventilate without spreading spores. Open a window for fresh air. Don't run the exhaust fan or point a portable fan at the growth until containment and your plan are in place, because moving air can spread mold that's already present.
- Skip dry scraping and sanding. Both send spores into the air. Instead, wipe with a sponge dampened with detergent and water, working from the outer edge toward the center so you don't smear growth onto clean paint.
- Rinse with a clean cloth and clean water. Don't reuse the same sponge across the whole ceiling. Swap cloths as they pick up discoloration, otherwise you're redistributing what you just removed.
- Dry the surface completely. Run a dehumidifier and keep ventilation going after cleaning. Skipping drying is the most common reason a cleaned spot returns.
- Bag and discard your materials. Seal sponges and cloths in the bag, close it in the bathroom, and take it directly outside.
Two Chemical Warnings
Never mix bleach with ammonia or other cleaners, because toxic vapors can form. Don't treat bleach as a fix for porous ceiling material either. It can lighten a surface stain while growth remains inside drywall or tile, which gives you a cleaner looking ceiling and the same underlying problem.
Detergent, water, friction, and complete drying do the actual work on a hard painted surface. If you need a stronger product to make the spot disappear, that's often a sign the material itself is the problem.
Fix the Moisture Source and Exhaust Fan
Four sources account for most recurring bathroom ceiling mold. Each has a different fix, and using the wrong one wastes money.
- Exhaust duct ending in the attic: Reroute it to the outdoors through a proper roof or wall cap. Seal the joints with foil tape or mastic, not screws alone, and insulate duct running through a cold attic so warm air doesn't condense inside it and drip back.
- Weak or undersized fan: Pop the grille and vacuum out lint and dust, which alone can choke airflow. If the fan's loud, rattling, or barely moves air after cleaning, replace it with a unit rated for the room size.
- Roof or flashing leak: Have a roofer seal or repair the penetration. Then check the ceiling again after the next hard rain before you repaint, because a dry week proves nothing.
- Plumbing leak: Shut off the water to that line and have a licensed plumber repair it before any ceiling work. We coordinate plumbing repairs with licensed plumbers, ensure the source is resolved, and begin drying and restoration immediately after repairs.
Hold a single tissue up to the fan grille while it's running. A working fan should pull it flat and hold it there.
When a Fan Is Enough and When It Is Not
A fan upgrade solves the problem when the pattern is pure condensation. Spots appear after showers, there's no staining from above, the attic is dry, and moisture readings match the rest of the ceiling. In that case better exhaust, run longer after each shower, can end the cycle.
A fan can't fix a concealed leak or wet insulation sitting on top of the drywall. If the stain grows after rain, sits under a pipe run, or reads wet on a meter days after the last shower, you're dealing with water the fan never sees. That's where professional leak detection methods earn their cost, by locating the source without opening the whole ceiling.
After any repair, dry wet materials promptly with a dehumidifier. If the drywall still reads wet against your reference area after that initial drying window, get readings taken before you close or repaint the ceiling. Paint over damp drywall traps moisture and restarts growth.
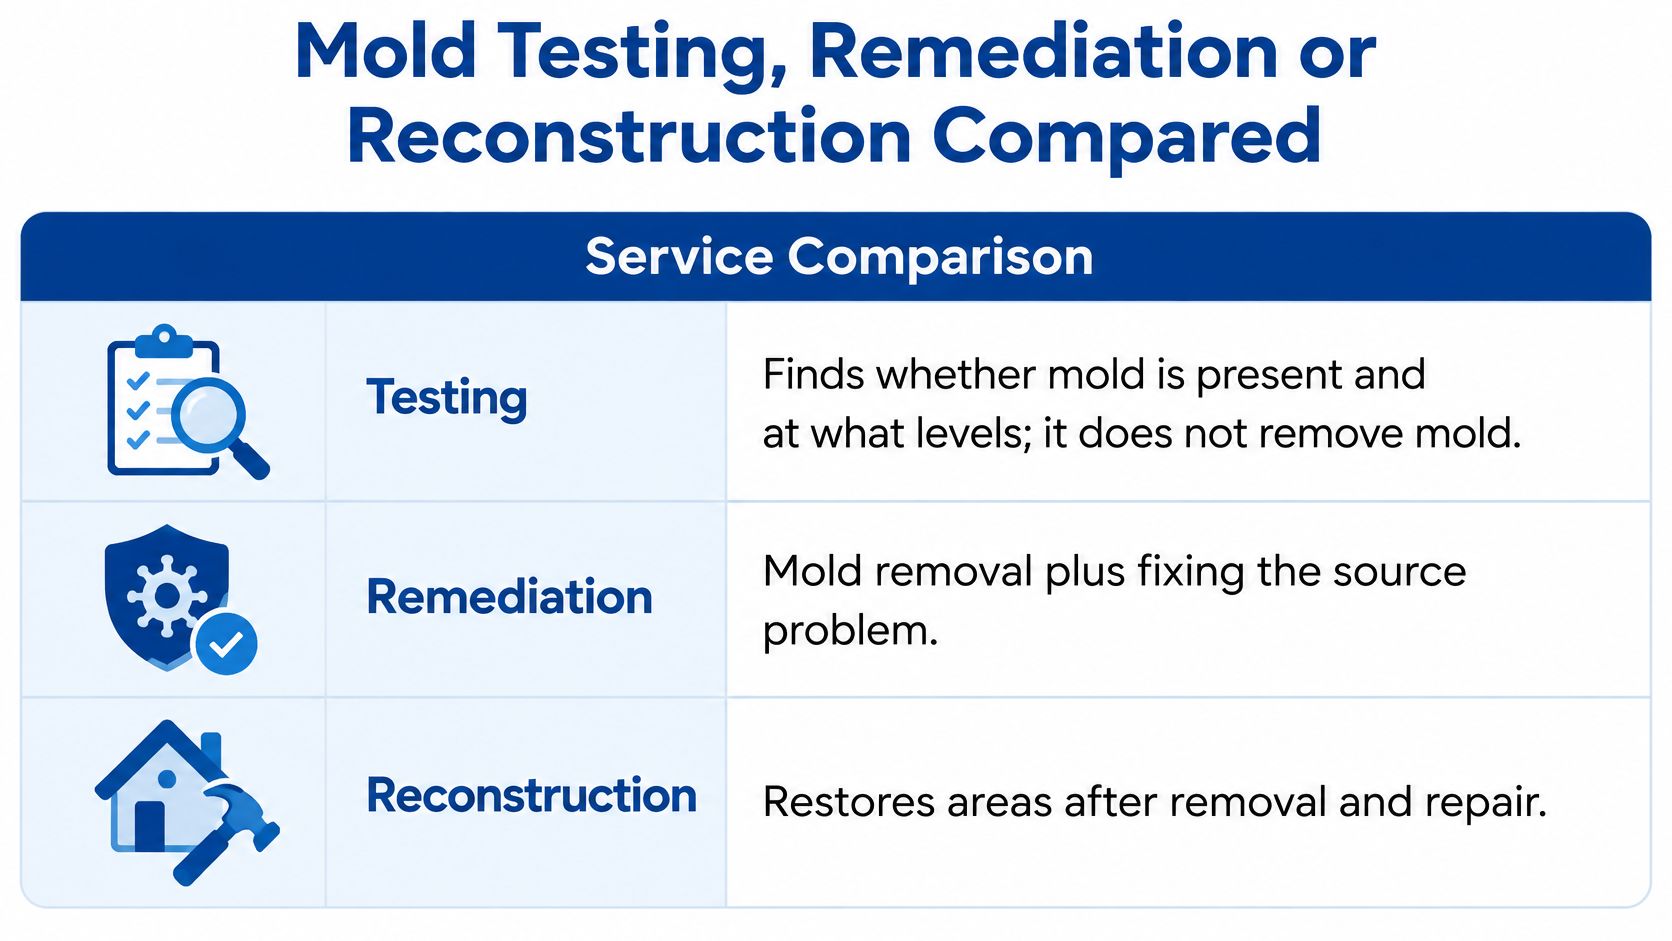
Mold Testing, Remediation or Reconstruction Compared
These services do different jobs, and buying the wrong one first is a common way to spend money without fixing anything.
| Service | What it does | When it fits | Who performs it |
|---|---|---|---|
| Mold testing | Shows whether mold is present and at what levels, using air or surface sampling, moisture readings and visual inspection | Persistent musty odor, recent leaks, past flooding, buying or selling, insurance documentation | Testing or inspection provider |
| Mold remediation | Removes mold and addresses the moisture issue behind it | Confirmed growth beyond a small painted area, or porous material affected | Remediation contractor |
| Water damage drying | Dries the structure after a leak or flood | Recent water intrusion or wet materials | Restoration company |
| Reconstruction | Replaces ceiling drywall, tile, insulation and finishes | Materials removed or structurally damaged | Contractor |
What Testing Can and Cannot Tell You
Mold testing identifies whether mold is present and at what levels, and does not remove mold. Remediation is the separate service that removes it and addresses the moisture behind it. The CDC NIOSH guidance on mold testing and remediation notes that public guidance does not establish health-based indoor-air limits for mold and does not recommend routine air sampling for ordinary building-air-quality evaluations.
That means a species name from a DIY kit rarely changes your next step. Visible growth on a small area plus a known moisture source may already justify corrective action without sampling. I would spend first on finding the water.
Testing earns its place in specific cases. We recommend it for persistent musty or earthy odors, recent water damage or leaks, past flooding or plumbing failures, visible discoloration on walls or ceilings, respiratory symptoms that improve outside the home, or when buying or selling a home. Disputed responsibility between landlord and tenant, suspected concealed growth, and insurance documentation are also legitimate triggers.
Our testing process has four steps, Initial Inspection, Sampling, Analysis, and Results Review, which includes a clear explanation of findings and recommendations. A professional mold inspection should pair any sampling with moisture readings and a visual inspection, not just hand you a lab report.
The order of work stays the same regardless. Find and stop the water, dry the structure, test if the case calls for it, remediate, then rebuild. Anyone with a persistent cough, wheezing, eye or skin irritation, or a known asthma or allergy history should talk with a clinician, and that conversation doesn't require an air sample first.
Ceiling Materials and When to Call a Pro
Whether cleaning works depends less on the product you buy and more on what the ceiling is made of. Porous materials let growth penetrate below the surface you can reach with a sponge.
| Ceiling material | Surface cleaning works? | Action |
|---|---|---|
| Painted, intact, nonporous surface | Yes, for a small area | Detergent and water, then dry completely |
| Ceiling drywall | Difficult; growth can penetrate | Repeated or visible growth may need controlled removal and replacement |
| Acoustic ceiling tile | Usually not | Replace the affected tiles |
| Attic or cavity insulation | No | Remove and replace the affected material |
Repeated spraying on porous material wastes time and leaves the source in place. Each round wets the drywall or tile again, which can feed the growth you're trying to remove. If you've cleaned the same spot twice and it's back, the material or the cavity behind it is almost certainly involved.
The Stop-Work Conditions
Stop and get a professional assessment when the ceiling is soft, sagging, repeatedly wet, materially damaged, or likely contaminated inside the cavity. Those conditions justify leak investigation, controlled removal, and drying verification rather than another round of wiping.
The protection level changes at that point too. Removing moldy drywall warrants a half-face or full-face respirator and stronger containment, meaning a sealed work area, controlled dust, and occupants kept out. That's a meaningful step up from an N95 and a sponge, and it's where most DIY attempts create a bigger mess than the original patch. Cutting into a contaminated cavity without containment distributes spores into rooms that were previously unaffected.
Surfaces that can't be fully dried shouldn't be left in place. Wet insulation pulled from above a bathroom ceiling, for example, holds moisture against the drywall for weeks. Removing and replacing it is cheaper than remediating the same ceiling twice.
A Common Scenario
Say a tenant reports a dinner-plate-sized patch above the tub on flat painted drywall. It returns after every shower, the surface feels firm, and there's no brown ring. Clean it once using the detergent method, then check the fan with the tissue test and confirm the duct vents outdoors. Document the date and photograph the result.
If it returns within two months, don't clean it a third time and repaint. Cut a small inspection hole or have one cut, check the cavity and insulation for moisture and growth, and only then decide on repainting. That single hole tells you whether you're managing condensation or hiding a leak.
For landlords and sellers, that documentation matters. Mold testing after water damage helps document conditions for insurance purposes, and dated photos with moisture readings carry more weight than a fresh coat of paint that a buyer's inspector will flag anyway.
What a Written Inspection Should Record
Ask for specifics, not a verbal reassurance. A useful inspection records the identified moisture source, moisture readings on the affected area compared with a reference area, which materials are marked for removal, and how drying will be verified before reconstruction. If a report recommends removal without naming the water source, the scope is incomplete.
Book a professional inspection before any repainting if the ceiling is soft, the stain returns after cleaning or grows after rain, or the fan and duct check out but moisture persists.
That one rule prevents the most expensive mistake in these cases, which is sealing an active problem behind new paint and paying to open it again later.
Keep Bathroom Ceiling Mold From Coming Back
The habit that matters most is unglamorous. Run the exhaust fan during every shower and keep it running afterward until the mirror clears and the walls feel dry. If the fan's weak or the bathroom has none, open a window during showering. A fan on a timer switch helps, because nobody reliably remembers to come back and turn it off.
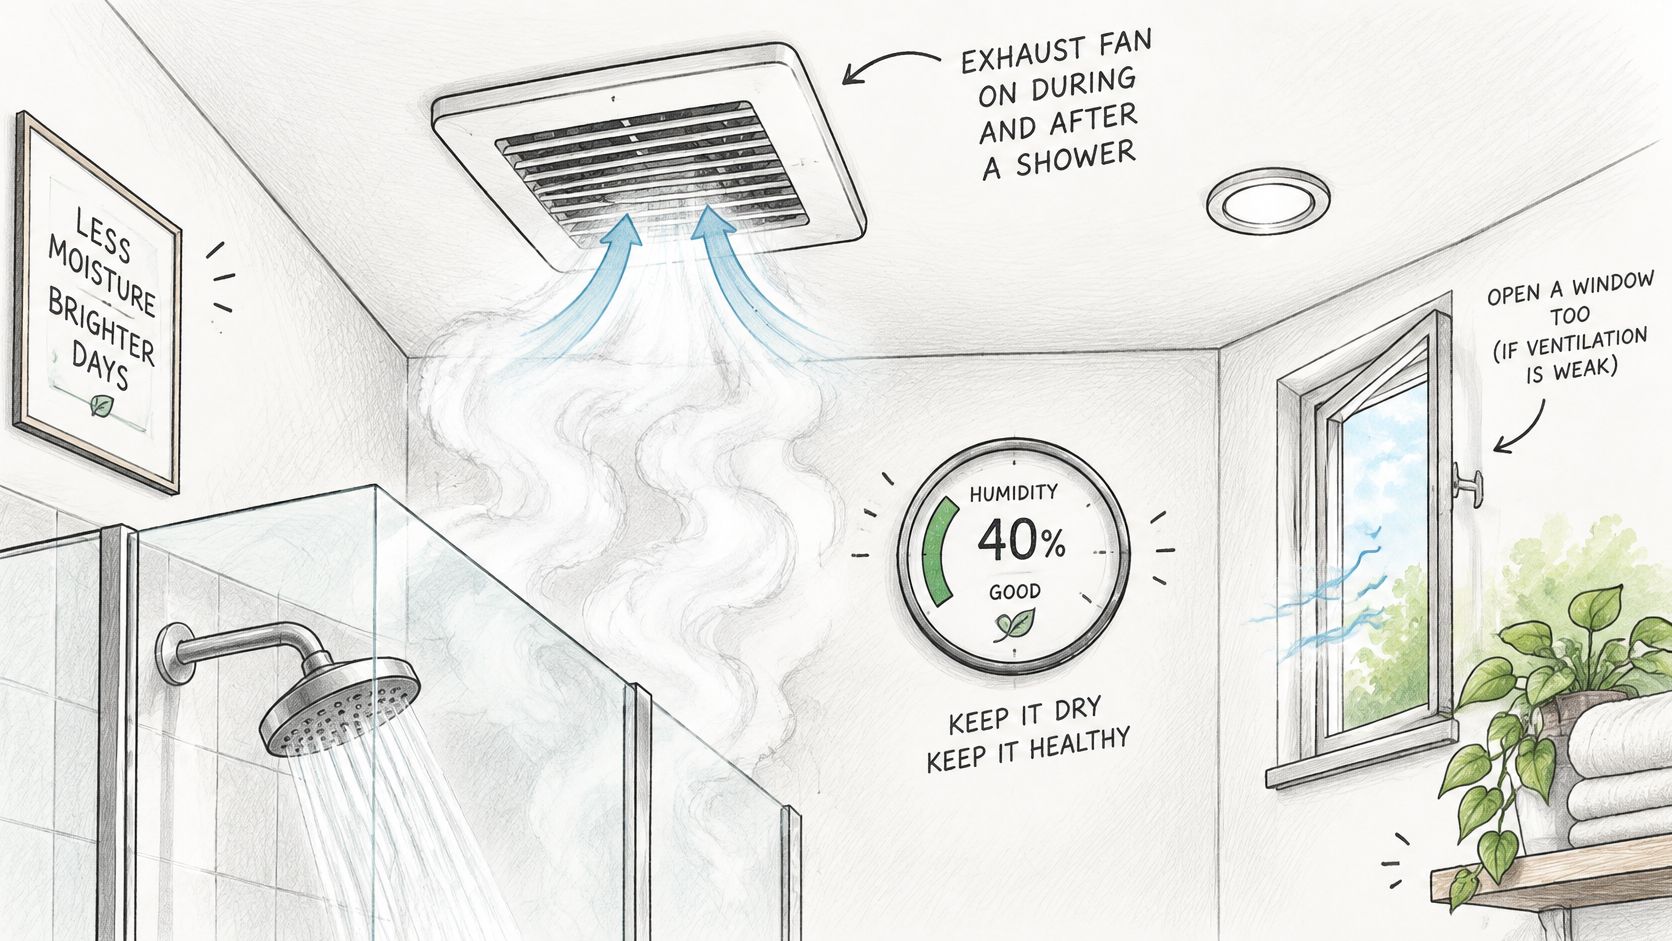
Track the room with a cheap digital hygrometer placed away from the direct shower spray. You want humidity settling back down between uses rather than remaining high all day. Leave the shower door or curtain open after bathing so the enclosure dries, wipe condensation from walls and the ceiling edge after long showers, and avoid leaving wet towels bunched in a closed bathroom.
Clean the fan grille every few months. Lint buildup cuts airflow, so a fan that passed the tissue test last year may not pass it now.
Confirm the Fix Worked
Use this acceptance checklist two weeks after cleaning or repair, and again after the next heavy rain or a run of long showers:
- No visible growth or settled dust on the ceiling or in the corners above the shower
- No persistent musty odor when you enter the closed bathroom first thing in the morning
- Moisture source corrected, whether that was the duct, the flashing, or the pipe
- Humidity stable and drywall readings matching your unaffected reference area
If any item fails, you have information, not a failed cleaning. A returning odor with a clean ceiling points to the cavity. A stain that reappears only after rain points back to the roof.
A clean ceiling with a working fan and a steady hygrometer reading is the proof that counts, not a fresh coat of paint.
If your ceiling is soft, the stain keeps returning, or you can't pin down where the water's coming from, RestoTek TX can inspect the ceiling and cavity, take moisture readings, test where the case calls for it, and handle drying, remediation, and reconstruction in Georgetown, Austin, and throughout Central Texas. Reach out for an inspection before you repaint, so the repair you pay for is the one that ends the problem.