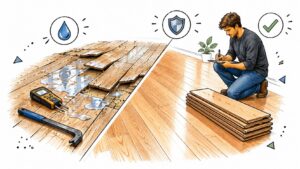
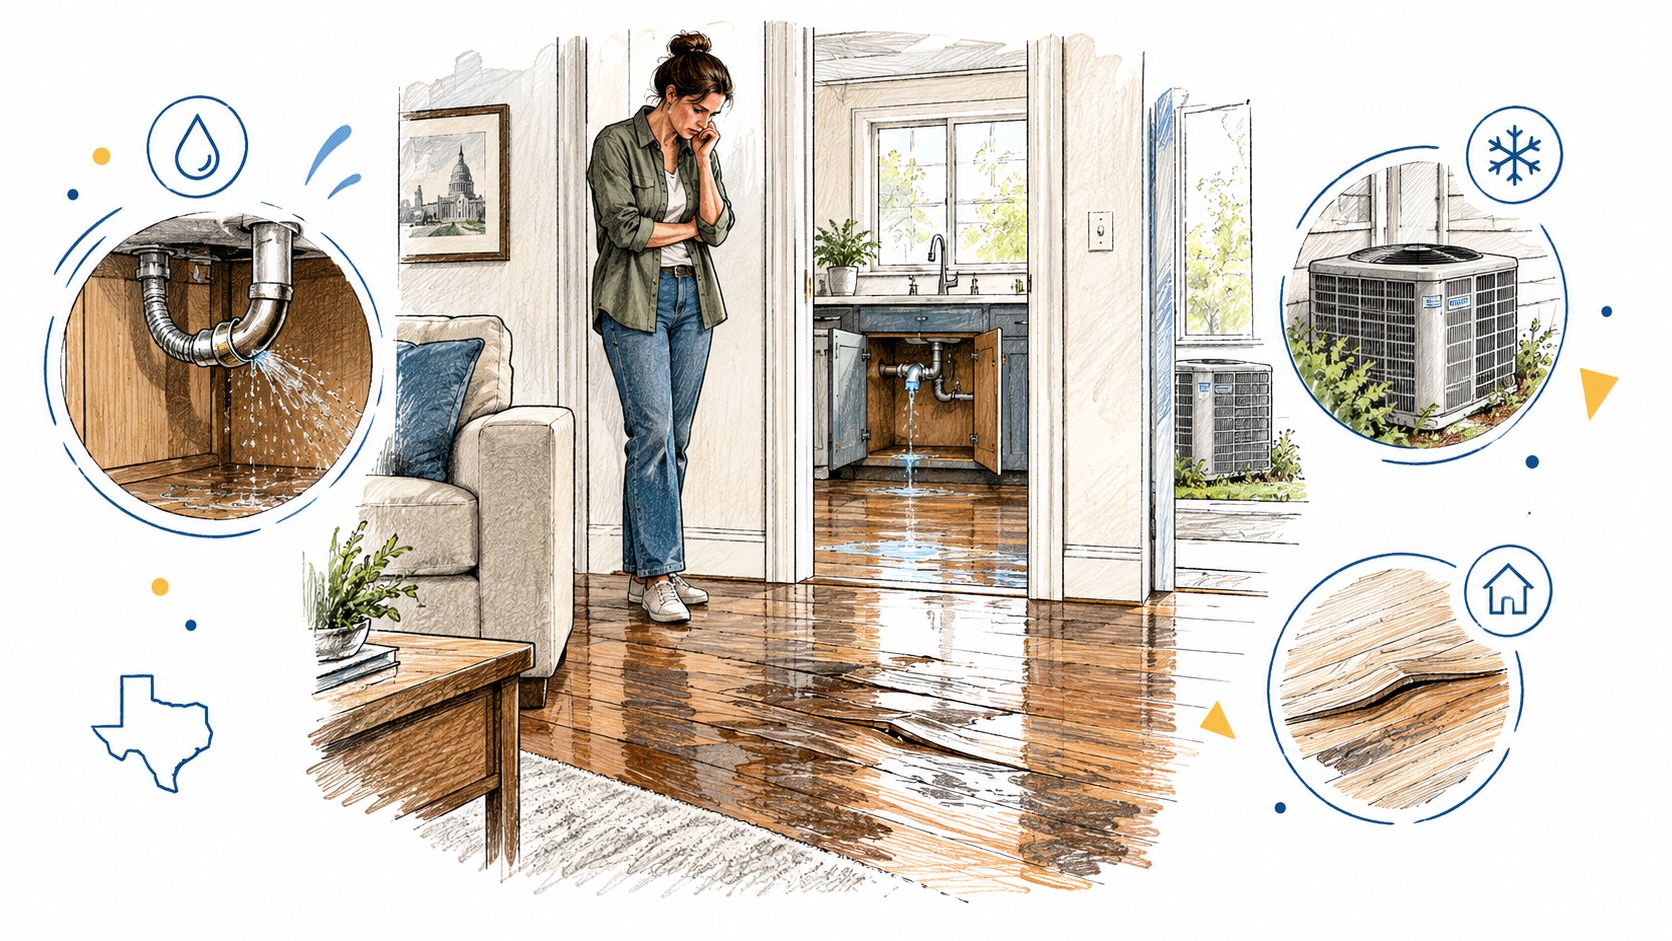
A supply line breaks under the kitchen sink in the middle of the night. By morning, the hardwood looks damp, the baseboards are swollen, and water has traveled farther than the original puddle suggests. In Georgetown, Austin, and nearby Central Texas communities, the same pattern follows AC overflows, washing-machine leaks, plumbing failures, and flash-flood seepage. The visible flooring gets attention first, but the subfloor and concealed cavities decide whether the floor can be saved.
Introduction to Water Damaged Floor Repair in Central Texas Homes
A hardwood floor can look acceptable by morning while its plywood subfloor remains wet. That pattern follows overnight supply-line breaks, AC overflows, washing-machine leaks, plumbing failures, and flash-flood seepage across Georgetown, Austin, and nearby Central Texas communities. The visible finish draws attention, but the subfloor and concealed cavities decide whether the floor can be saved.
The repair question is whether the entire assembly, including finish material, underlayment, subfloor, framing edges, and nearby wall cavities, can be dried and verified to a material-appropriate standard. Surface dryness proves very little. Moisture trapped below the finish can lead to swelling, odor, microbial growth, adhesive failure, or renewed buckling.
Replacing attractive hardwood over a wet plywood base wastes money. The new flooring may look finished on installation day, yet remain exposed to movement and deterioration underneath. A dry-looking floor isn't the same as a dry floor assembly.
Two decisions set the repair path:
- Is the assembly dry to a documented, material-specific standard?
- Is the water clean enough for the affected materials to remain, or does contamination require removal and treatment?
The IICRC S500 Standard provides a shared restoration framework. It was first developed in 1994, published as S500-1999, and updated in 2006, 2015, and 2021. The standard addresses evaluation of wet structures, drying goals, and decisions about restoration or replacement (ANSI's listing for the IICRC S500 Standard). Its application matters because wood, tile, drywall, carpet, concrete, and composite products absorb and release water differently.
What a successful repair actually looks like
A repaired floor has more than a clean surface. The source is corrected, standing water is extracted, moisture is mapped, concealed areas are accessed, and readings are monitored until affected materials meet their targets. Finish repairs or new flooring come after that verification.
For carpet and backing, the EPA advises drying within 24 to 48 hours after water exposure, with extraction, dehumidification, and inspection beneath the carpet to confirm dryness (EPA guidance on drying carpet and backing). The same principle applies across floor types: surface-only work can preserve an appearance while leaving the failure below it.
In-place drying can save a floor when moisture is accessible, contamination is limited, and readings show steady progress. Removal becomes the better financial choice when the subfloor stays wet, materials have delaminated or swollen, or concealed moisture cannot be verified. Follow the moisture, not the stain. Assessment comes before cosmetic repair, and verification comes before reconstruction.
Safety Checks and Assessment Before You Repair Anything
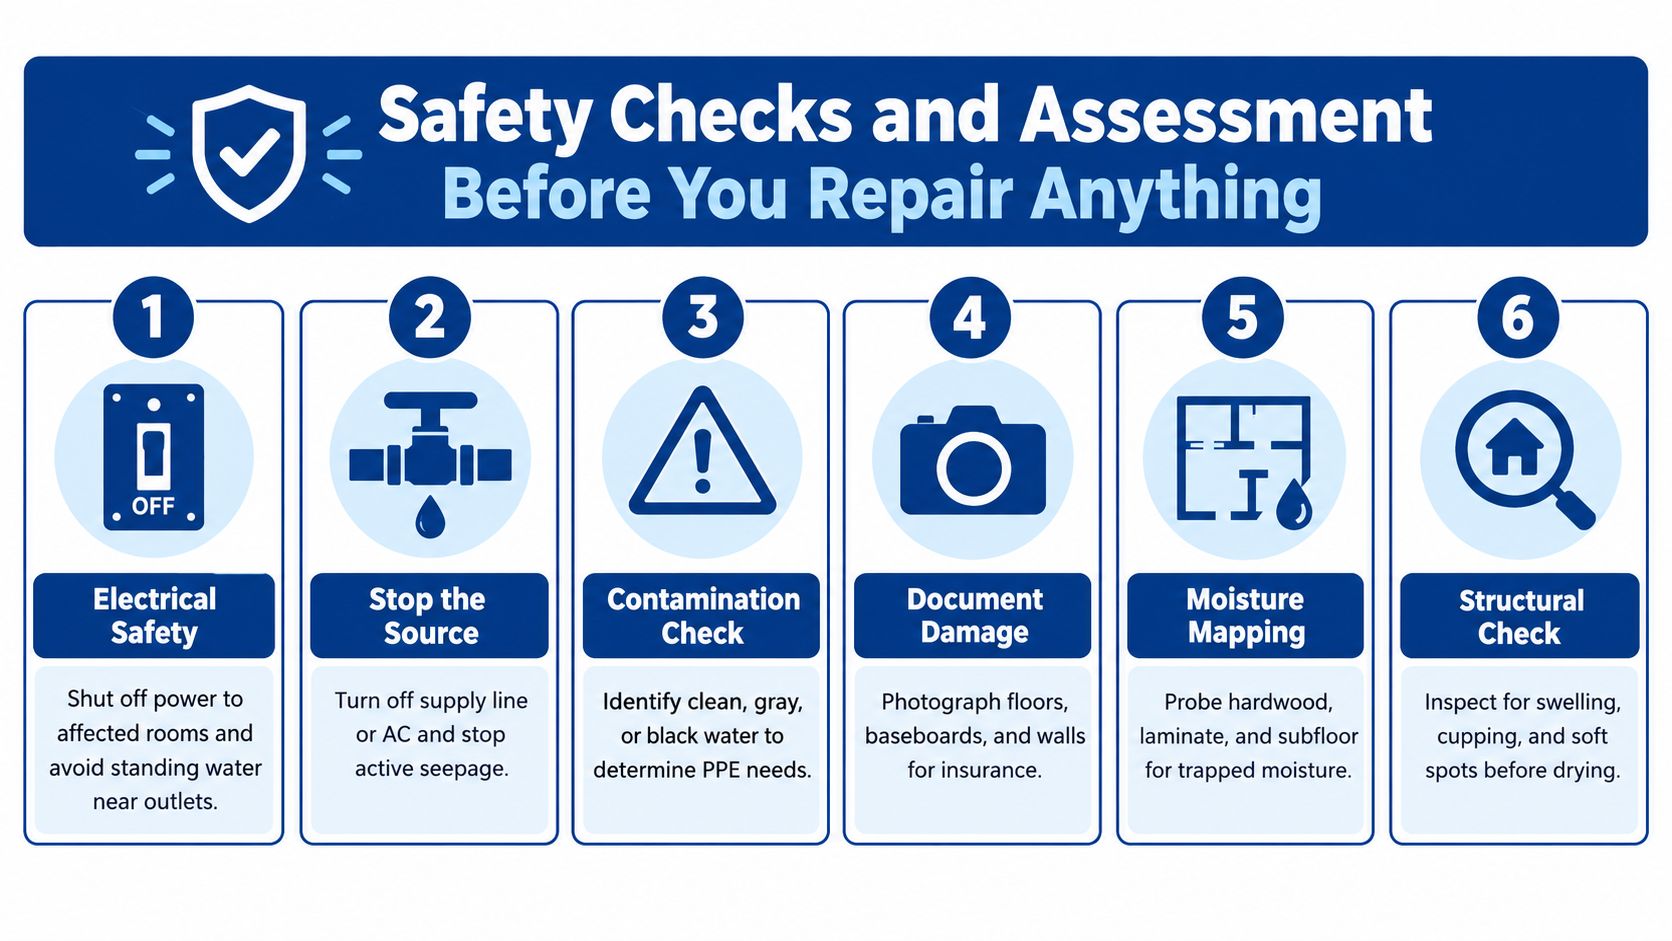
A floor can look dry while its subfloor remains saturated. Before repair begins, secure the area, stop incoming water, identify contamination, and establish how far moisture traveled. Those decisions determine whether in-place drying can save the finish or whether removing it prevents a larger loss.
Complete the initial safety review
Protect people first. Keep occupants and pets away from standing water near outlets, appliances, cords, or electrical equipment. Shut off power to affected rooms only when you can do so safely. Deep water, uncertain electrical conditions, or a structure that feels unstable require leaving the area and calling qualified help.
Stop the source. Close the fixture or supply valve for a plumbing leak, shut down an overflowing appliance, or correct an AC drain problem. Extraction and drying cannot keep pace with a continuing leak.
Classify the water. Clean supply water, used household water, sewage, and exterior floodwater require different handling. Water that starts clean can collect contaminants from flooring, drywall, dust, adhesives, or insulation. Unknown or contaminated water is not a routine spill.
Build a record before conditions change
Photograph the source, standing water, floor transitions, baseboards, walls, cabinets, and visible damage before moving materials, if the area is safe. Keep flooring labels, leftover cartons, receipts, and samples when available. Property managers, landlords, and commercial operators should also record affected rooms, discovery time, actions taken, vendors contacted, and occupant impact.
Map moisture with calibrated meters, not touch, color, or surface feel. Check representative points in the finish floor, underlayment, subfloor, baseboards, and nearby unaffected areas. Infrared imagery can show patterns worth investigating, but direct measurement confirms whether moisture is present below the surface.
Establish the dry standard
Use an unaffected area made from the same material and located in the same structure as a baseline. Compare damaged readings with that reference because wood, carpet, tile assemblies, drywall, and concrete release moisture at different rates. Record baseline meter readings and psychrometric conditions in enclosed zones, then monitor affected materials until they reach pre-loss or material-specific targets.
That record supports a repair decision rather than a visual guess. Limited clean water on an accessible assembly may justify in-place drying. A wet subfloor, swelling or delamination, concealed saturation that cannot be measured, electrical hazards, or contaminated water makes removal or professional mitigation the safer financial choice. If finish flooring must be opened to verify the layer beneath it, preserving the surface can become false economy.
Drying and Verifying Floors to a True Dry Standard
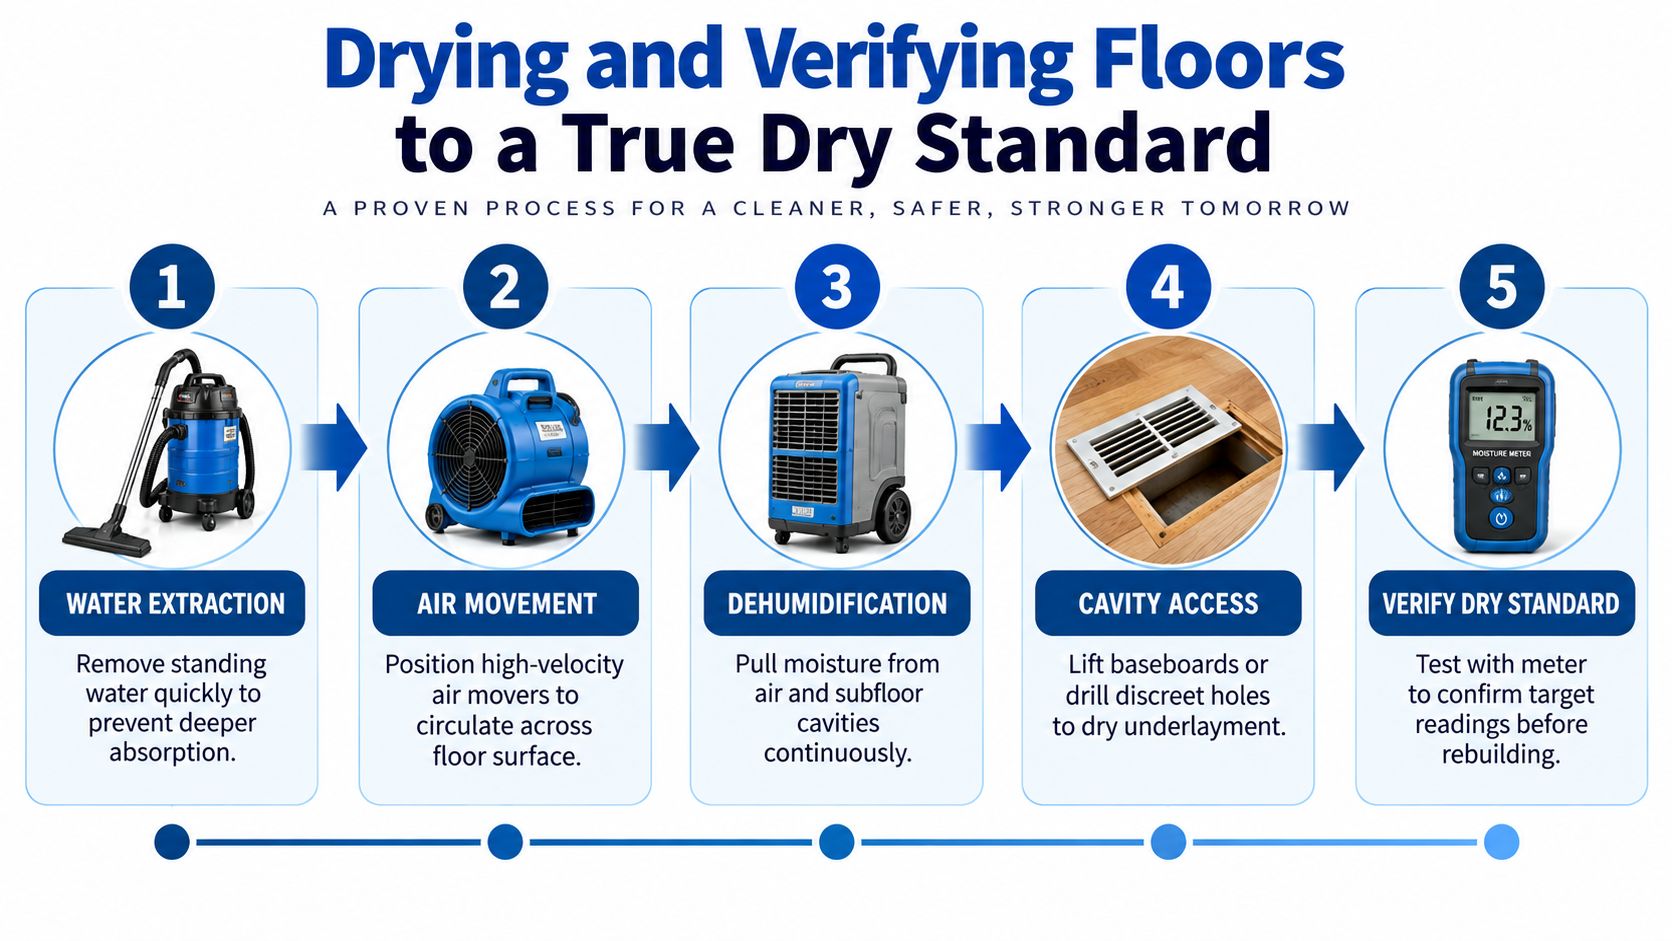
A floor can feel dry while moisture remains under the finish. That hidden moisture drives odor, swelling, adhesive failure, and later movement. Effective drying combines extraction, air movement, dehumidification, and access to trapped water. If one part is missing, a clean-looking surface can conceal a wet subfloor.
Use equipment as a controlled system
Remove standing water with suitable extraction equipment before relying on fans. Wet carpet, pad, underlayment, and the material beneath them all require attention. Floating floors can hold water below planks, while hardwood can retain it at board edges, seams, subfloor joints, and framing pockets.
Air movers should circulate air across affected surfaces without sending humid air into another room. Dehumidifiers remove that vapor and keep evaporation going. In Central Texas, opening windows may add moisture instead of removing it, so controlled indoor conditions usually produce a more predictable result.
Reach the moisture below the finish
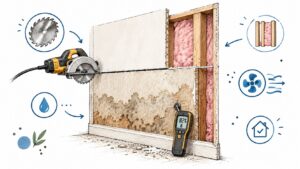
If readings indicate water beneath the floor, the plan may require removing baseboards, opening toe-kicks, lifting selected planks, using floor vents, or making discreet access points where appropriate. Without access to the cavity, equipment may dry the surface while moisture remains below it. That is a common cause of returning odor and floor movement.
For wood assemblies, 19% moisture content or less is commonly used as a dry-goal ceiling for wood components. Verify readings before removing equipment or reinstalling finishes, and compare them with the material's pre-loss condition. The target depends on the material and structure, so one measurement cannot establish that the assembly is dry. Neighboring points should also trend downward without sharp fluctuations.
For a practical explanation of interpreting field measurements, review this guide to moisture meter reading.
Read the drying log, not your fingertips
A useful log records each location, material, date, meter reading, temperature, relative humidity, and other psychrometric information. Take readings at consistent points and include unaffected comparison areas. Keep equipment operating while monitored materials remain above target or continue showing unstable readings.
Working guidance places Class 2 and Class 3 losses at roughly 3 to 5 days of drying under normal conditions. Class 4 materials, including hardwood, concrete, or plaster, may require 7 to 14 days or longer, particularly when cavities are inaccessible or dehumidification is undersized (water-damaged floor repair guidance). These are benchmarks, not guarantees. Material thickness, water category, weather, building conditions, and access determine the actual duration.
Practical rule: If the finish feels dry but subfloor readings have not reached a stable target, the floor is not ready for reconstruction. Saving the finish floor is false economy when verification still shows moisture below it.
Repair Pathways by Floor Type and Subfloor Condition
Different flooring materials fail in different ways. Hardwood may recover shape during controlled drying, while a swollen laminate core usually won't return to its original dimensions. Tile may survive while the substrate beneath it shifts. Vinyl may resist water while its pad, adhesive, or subfloor holds it.
| Floor Type | Key Damage Signals | Likely Pathway | Subfloor Check Required |
|---|---|---|---|
| Hardwood | Cupping, crowning, buckling, splitting, staining | Controlled drying, board replacement, sanding and refinishing, or removal | Yes, including plywood, OSB, framing edges, and cavities |
| Laminate | Swollen seams, bubbling, delamination, soft or distorted boards | Replace affected boards or remove larger sections | Yes, especially beneath underlayment |
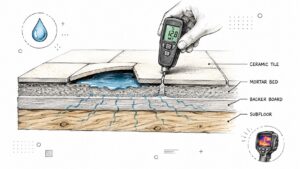
| Tile | Cracked grout, loose tiles, hollow areas, cracked or shifted substrate | Dry and reset limited areas, or remove tile and rebuild substrate | Yes, including backer board, mortar, adhesive, and wood below |
| Vinyl | Lifted edges, separated seams, adhesive release, odor, damaged locking edges | Dry beneath, reuse only if product and planks remain suitable, or replace | Yes, waterproof finish doesn't prove a dry base |
| Subfloor | Swelling, softness, staining, unevenness, weakened fasteners | Dry in place when stable, patch limited damage, or replace compromised sections | Required before any finished floor returns |
Hardwood and engineered wood
Solid hardwood has a realistic path to restoration when exposure was limited, the water was clean, and boards remain structurally sound. Cupping can lessen as moisture levels normalize, so sanding too early can create a new flatness problem after the wood continues drying. Severe buckling, broken tongues, splitting, deep staining, or a deteriorated subfloor changes the recommendation.
Engineered wood requires closer inspection because layered construction can delaminate. A board that looks acceptable from above may have separated below its wear layer. For a material-specific walkthrough, see hardwood floor water damage repair.
Laminate, vinyl, and tile
Laminate's fiberboard core is vulnerable at seams, edges, and the underside. Once boards swell, sanding doesn't restore the locking profile. Replace damaged pieces when matching material is available, or consider a broader replacement when moisture traveled under multiple rooms.
Vinyl plank can sometimes be removed and reused after clean-water exposure, but “waterproof” doesn't make the subfloor waterproof. Inspect attached pad, locking edges, adhesive, transitions, and odor before reinstalling. Tile can remain in place if it stays bonded and the substrate is dry and stable. Cracked grout, loose tiles, hollow areas, or movement beneath the tile indicate that the assembly needs deeper investigation.
The subfloor controls the budget
Surface repair becomes false economy when the base is swollen, soft, contaminated, or still wet. A limited plywood patch may be appropriate when damage is localized. Widespread swelling or structural deterioration requires removal and reconstruction before the finished floor returns.
When DIY Makes Sense and When to Call a Professional
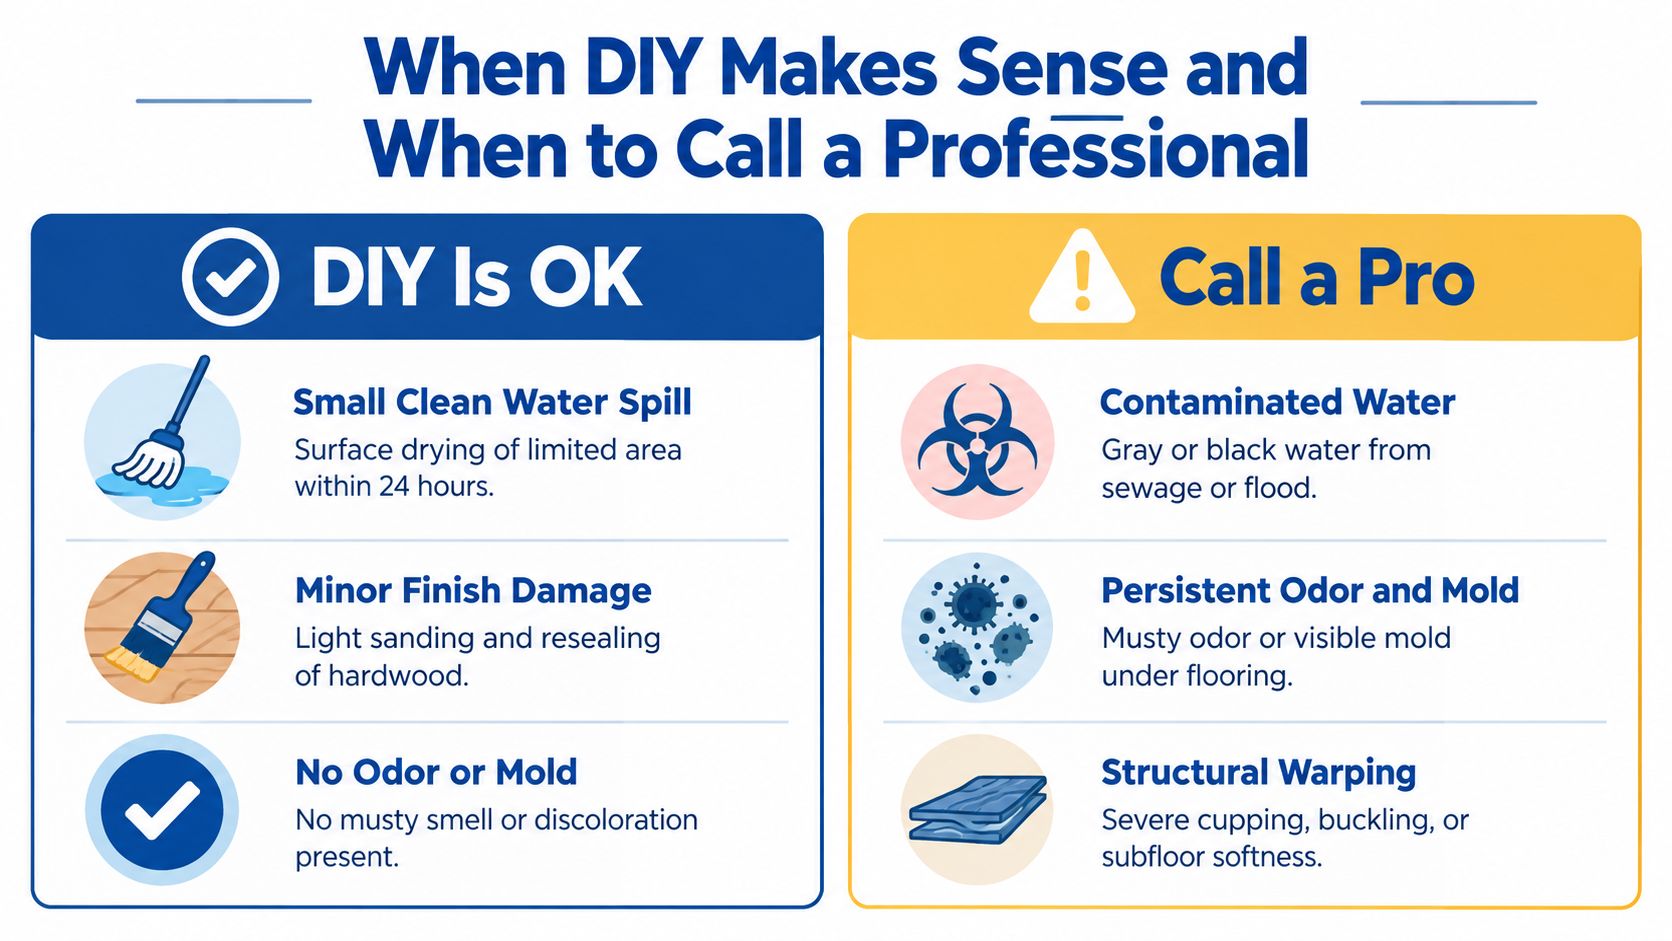
A small clean-water spill can sometimes be handled without a contractor, but only when the finish and subfloor are both drying. Surface appearance is not proof. If moisture has moved below the flooring, household fans may leave the damage untouched. A mop and fan can help with a promptly controlled spill. They are not a substitute for extraction and structural drying after a supply-line break, appliance leak, or flood.
Use a clear decision boundary
DIY work may fit when all of these conditions are true:
- Limited clean-water exposure: The water came from a clean source, stopped promptly, and did not spread into concealed areas.
- No structural warning signs: The floor is not soft, buckled, severely cupped, delaminated, or separating from the substrate.
- No odor or visible growth: There is no musty smell, discoloration, or indication of microbial contamination beneath the finish.
- Measurable progress: You have suitable moisture readings and can confirm that the affected material is returning to an appropriate baseline.
Call a qualified restoration provider when water has remained present beyond 24 to 48 hours, or when the flooring is buckled, cupped, delaminated, or supported by a suspected saturated subfloor. Hidden moisture can keep damaging the assembly after the surface looks acceptable. See this floor repair and hidden-moisture guidance for conditions that warrant closer evaluation.
Contamination changes the job
Sewage, exterior floodwater, and wastewater from appliances require more control than a clean supply-line leak. Porous flooring, pad, underlayment, and exposed subfloor may require removal, cleaning, antimicrobial treatment, or replacement. Musty odor, visible growth, or suspected mold also supports professional evaluation. Covering the area can trap moisture and contamination rather than resolve either problem.
For homeowners and property managers, documentation protects the repair decision. Keep photographs, moisture maps, drying logs, invoices, material details, and written recommendations. Water-damaged floor repair can range from about $200 to $3,000 per room, while hardwood repairs involving subfloor work can reach $1,000 to $6,000 or more, according to the cost guidance cited in the original estimate. Access, demolition, drying, material availability, structural repairs, and reconstruction scope determine the final price.
RestoTek TX is one local option for inspection, extraction, structural drying, moisture documentation, microbial prevention, and reconstruction in Georgetown, Austin, and surrounding Central Texas communities. A provider that documents the drying phase before repairs helps prevent a new floor from covering an unresolved wet base.
Rebuilding Finishing and Preventing the Next Floor Loss
Reconstruction starts after the moisture readings meet the documented dry standard and the leak or flood source is corrected. Before reinstalling wood, confirm that the subfloor is sound, clean, flat, and suitable for the selected product. Replace compromised underlayment, repair damaged framing or trim, and treat affected surfaces when the water category and condition require it.
Saving a finish floor can be false economy when the subfloor remains wet, swollen, soft, or contaminated. In-place drying can work when the flooring and substrate remain structurally sound, access for airflow is adequate, and monitored readings reach the product-specific target. A surface that looks normal does not prove the assembly is ready to cover.
Concrete requires separate verification. Before installing replacement flooring over a slab, validate in-situ relative humidity with ASTM F2170 testing and compare the result with the flooring, adhesive, and manufacturer requirements. A slab can feel dry while still releasing moisture into the new floor system.
Confirm the assembly before covering it
Use this final checklist:
- Source corrected: The plumbing, appliance, AC drain, roof, door, or exterior drainage issue has been repaired.
- Moisture documented: Monitored points meet their material-specific targets, and readings remain stable.
- Subfloor accepted: No soft sections, active swelling, unsafe framing condition, or unresolved odor remains.
- Contamination addressed: Cleaning, antimicrobial treatment, disposal, or replacement is complete where appropriate.
- Installation conditions verified: Flooring has been handled and installed according to product instructions, including wood acclimation requirements.
- Transitions protected: Doorways, cabinets, tubs, showers, and exterior entries have suitable perimeter and transition details.
Central Texas homes benefit from routine checks of washing-machine hoses, refrigerator connections, water heaters, toilets, sinks, and AC drain lines. Place leak sensors near common failure points, and learn how leak detection works before a hidden leak reaches the subfloor. Keep spare flooring from the original installation, product information, and receipts so a localized repair does not depend on discontinued material.
One provider may coordinate mitigation through reconstruction, but request separate records for extraction, drying, demolition, treatment, subfloor work, and finish installation. Clear separation makes the scope easier to review and gives landlords, adjusters, and future buyers a reliable repair record.
The floor is ready when the assembly is dry, the base is stable, contamination risks are addressed, and the installation conditions support the new finish. Appearance comes last because it cannot show what moisture has done underneath.
If a leak or flood has reached your floor in Georgetown, Austin, or nearby Central Texas communities, RestoTek TX can inspect the assembly, extract water, document moisture readings, perform structural drying, address microbial concerns, and coordinate reconstruction. Contact the team before covering or replacing the finish, so the subfloor condition is verified and the repair decision rests on evidence rather than appearance.