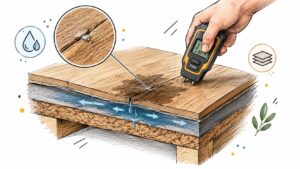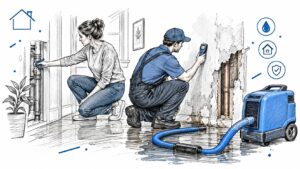
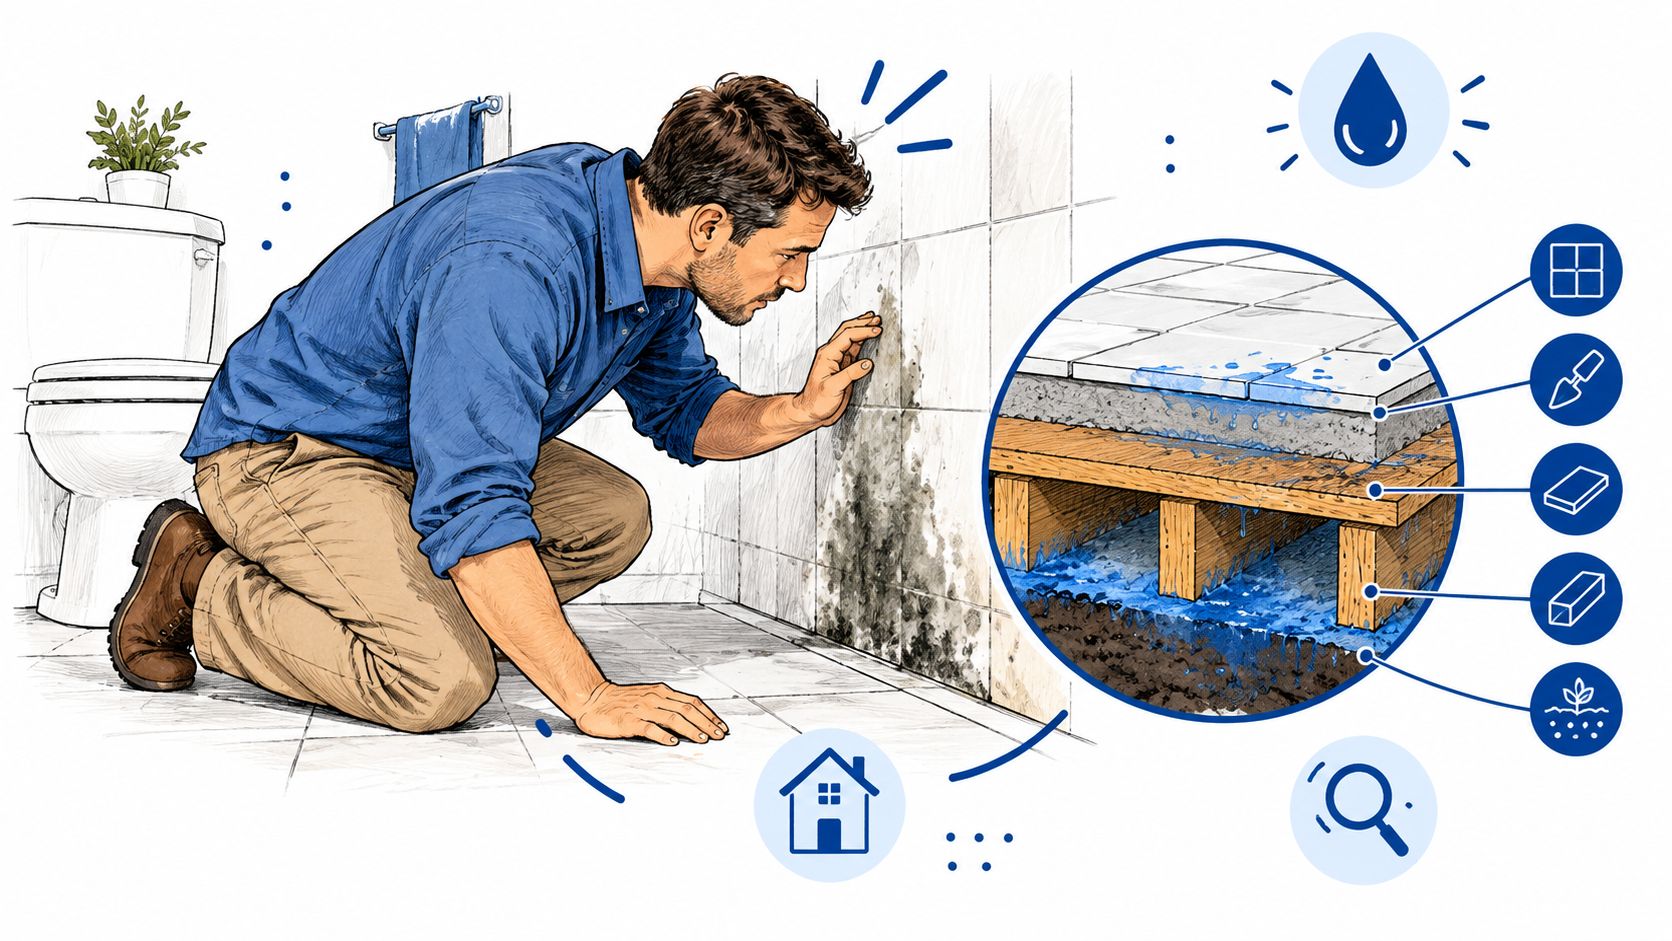
You're standing over a dark patch on the tile beside the bathroom wall. The week has been dry, nobody left a towel on the floor, and the grout still looks almost normal until a paper towel comes away damp. There's no drip you can see and no puddle to mop.
Water seeping through floor finishes is a source problem before it is a drying problem. Fans and a new plank floor don't help if a supply line, a slab edge, or vapor under the concrete is still feeding the assembly. That mistake burns days and can leave moisture trapped where mold starts.
The first hour is about three checks: where the wet spot sits, which pathway can produce it, and what you do in the first two days before anyone pulls flooring.
Why a Damp Floor Is Rarely Just a Floor
The tile can look fine while the layers under it are already wet. A bathroom wall, a laundry closet, or a hallway beside an exterior door is a common place for that first dark patch.
Treat the floor like a layered sponge under a dry-looking skin. Tile, vinyl, or hardwood is only the top. Under it are underlayment, a wood subfloor or a concrete slab, the bottom of the drywall, and sometimes insulation. Water travels sideways beneath the finish and soaks those materials. The surface is often the last place to show trouble, and it can look dry again while the cavity stays wet.
Federal flood-risk materials report that just 1 inch of floodwater inside a home can cause up to $25,000 in damage to flooring, subfloors, drywall, insulation, electrical systems, furnishings, and structural parts, according to a congressional flood-risk briefing. That number describes floodwater, not every damp patch. It is a reminder that moisture in a building can be a larger loss, not a stain to ignore. A damp floor is a symptom. The source sets the cost.
Before you shop for fans or replacement boards, answer three questions. Where is the water coming from? How will you confirm that guess? What should happen in the first two days? A wrong first move wastes those days.
Match the Wet Spot to Its Likely Source
Don't start by ripping up the floor. Note three things you can see without tools.
Where it sits. Measure the wet area against the nearest toilet, sink, dishwasher, washer, exterior wall, and the middle of the room.
When it shows up. Does it grow after showers or laundry, after rain, or does it stay damp with no pattern?
What the surface looks like. Look for a tight wet spot, a white crust, cupped boards, a musty smell, or a soft spot underfoot.
A lookup for the pattern you see
| What You See | Most Likely Source | First Check |
|---|---|---|
| Wet spot within 3 feet of a toilet, sink, dishwasher, or washer | Supply line, drain, or wax-ring leak | Shut off fixture valves and watch the water meter |
| Damp patch that grows after showers or laundry days | Pressurized drain or supply leak under the floor | Run one fixture at a time and inspect the ceiling or crawl space below |
| Damp along exterior walls or the slab edge after rain | Perimeter seepage, poor grading, or gutter overflow | Walk the perimeter in the rain and look for pooling or downspouts near the foundation |
| Dampness mid-room, no fixture nearby, worse in humid months | Vapor or capillary moisture through the slab | Tape a plastic sheet to the floor for 48 hours and check for condensation underneath |
| White, powdery crust on concrete or grout | Efflorescence from water moving through concrete | Clean the area and see whether the crust returns within weeks |
| Vinyl, laminate, or wood cupping, bubbling, or lifting | Moisture from below or a long-running wet spot | Measure moisture in the boards and the subfloor before replacing anything |
| Musty odor with no visible wet spot | Hidden moisture in the subfloor, wall base, or cavity | Pull a baseboard or probe the edge of the flooring |
| Stain on the ceiling directly below the floor | Leak in plumbing or a unit above | Check fixtures and supply lines on the floor above |
| Soft, spongy spot that gives underfoot | Subfloor deterioration from long-term moisture | Stop walking on it and probe the area before any repair |
Two reading rules keep the table honest.
A wet spot that grows while a fixture runs points to pressurized plumbing. Dampness that tracks rainfall, or that sits in the middle of a room with no fixture nearby, points to perimeter intrusion or slab moisture.
Symptoms overlap, and more than one source can be active at once. The table ranks likelihood. It isn't a verdict, and it isn't a reason to tear out finish flooring to test a theory.
Three Ways Water Reaches a Floor
Each row in that table maps to a physical pathway. The pathway decides whether a plumber, a drainage fix, or a slab-moisture test comes first.
Pressurized liquid
Picture a garden hose with a pinhole under the house. Pressure keeps pushing water toward the lowest opening, even when that opening isn't downhill in a simple way. The wet area stays steady and usually sits near a fixture, a supply line, or a drain. That is the pattern behind a spot within a few feet of a toilet or washer, and behind a ceiling stain under the floor above. Slab leak detection is the right next step when the meter moves with fixtures off, because surface fans won't stop a line that is still under pressure.
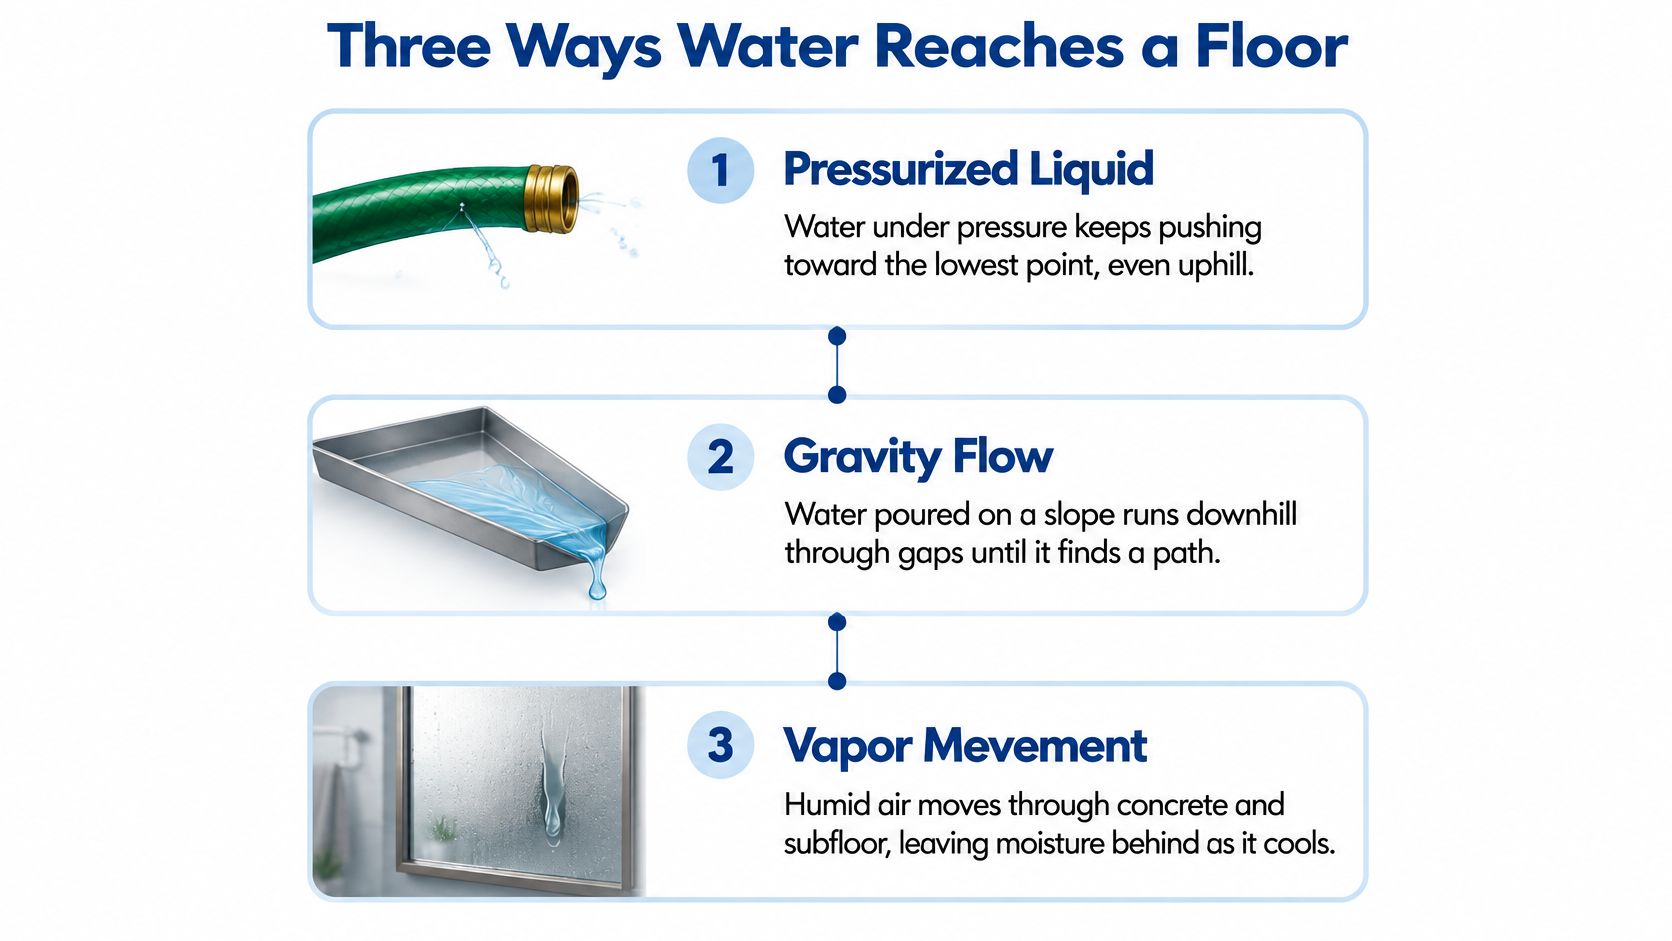
Liquid through openings
Rain through a loose window seal is the same idea at floor level. Water runs through slab cracks, control joints, gaps around pipes, and the slab edge until it finds a path inside. Dampness along an exterior wall after a storm fits this row. Building-science guidance on slab-on-ground floors describes liquid entry through cracks, joints, and penetrations as one of three distinct routes, separate from a plumbing failure, in slab moisture guidance from Building Science Corporation.
Vapor and capillary moisture
Concrete can act like a sugar cube set in coffee. Pores, footings, and foundation interfaces draw water upward from wet soil. Moisture-sensitive flooring and adhesives are often the first things to fail, which matches mid-room dampness, a returning white crust, and boards that cup with no nearby fixture.
Pulling finish flooring while the pathway is still open leads to adhesive failure, white crust, odor, and dampness that comes back.
Moisture Mapping and Leak Detection Tools Compared
A moisture map is a pattern of readings across a room, not one number from one spot. Each tool finds a different kind of water, and using the wrong one is how a vapor problem gets treated like a pipe leak.
| Method | Best For | Limitation |
|---|---|---|
| Pin moisture meter | Measuring moisture depth in wood, subfloor, and drywall | Leaves small holes and reads only near the probe depth |
| Pinless moisture meter | Scanning finished floors and walls without damage | Readings vary by material and need a dry reference area |
| Infrared thermal camera | Finding cool zones that may hold moisture across large areas | Shows temperature, not moisture, so confirm with a meter |
| Plastic sheet test (ASTM D4263) | Checking whether slab vapor is moving, with a sheet taped down for at least 48 hours | Shows that vapor is moving but not its exact depth or rate |
| In-situ relative humidity probe (ASTM F2170) | Measuring moisture inside the slab before moisture-sensitive flooring | Requires drilled holes and a set equilibration time |
| Acoustic leak listening device | Locating pressurized leaks inside walls or under slabs | Works best on quiet systems and struggles with noise or distant leaks |
| Pressure test of a supply or drain line | Confirming a line holds pressure with fixtures closed | Needs a plumber and shutoff access, and cannot see slow seepage |
| Dye or tracer test | Tracing a toilet or drain leak into a specific area | Needs time and clear flow, and may miss slow leaks |
How to read what the tool actually shows
Three rules keep the map from lying to you.
Take a baseline on a known dry area. A pinless meter on oak and the same meter on concrete won't share a meaningful number until you have a dry reference in that material.
Check the meter against the material. Wood, drywall, and concrete don't read the same. A high number on concrete isn't automatically “wet wood.”
Don't treat a thermal image as proof. A cool stripe on an infrared camera is temperature. Confirm it with a pin or pinless meter before you cut anything.
Pin meters leave small holes, so use them where a finish is already coming out or where a baseboard hides the mark. Pinless meters scan without damage, but they drift if you skip the dry reference.
Hand the job to a crew with calibrated meters and written readings when the wet area is spreading, the floor feels soft, or you can't tell plumbing from slab vapor after a day of checks. Documented moisture mapping is what an adjuster and a flooring installer both need later. A single photo of a dark grout line isn't that record.
How to Trace a Leak Before You Replace Flooring
Work this routine over one or two days. Drying comes after you know which pathway is active. Repeated drying is the wrong remedy when moisture is still coming from below the slab.
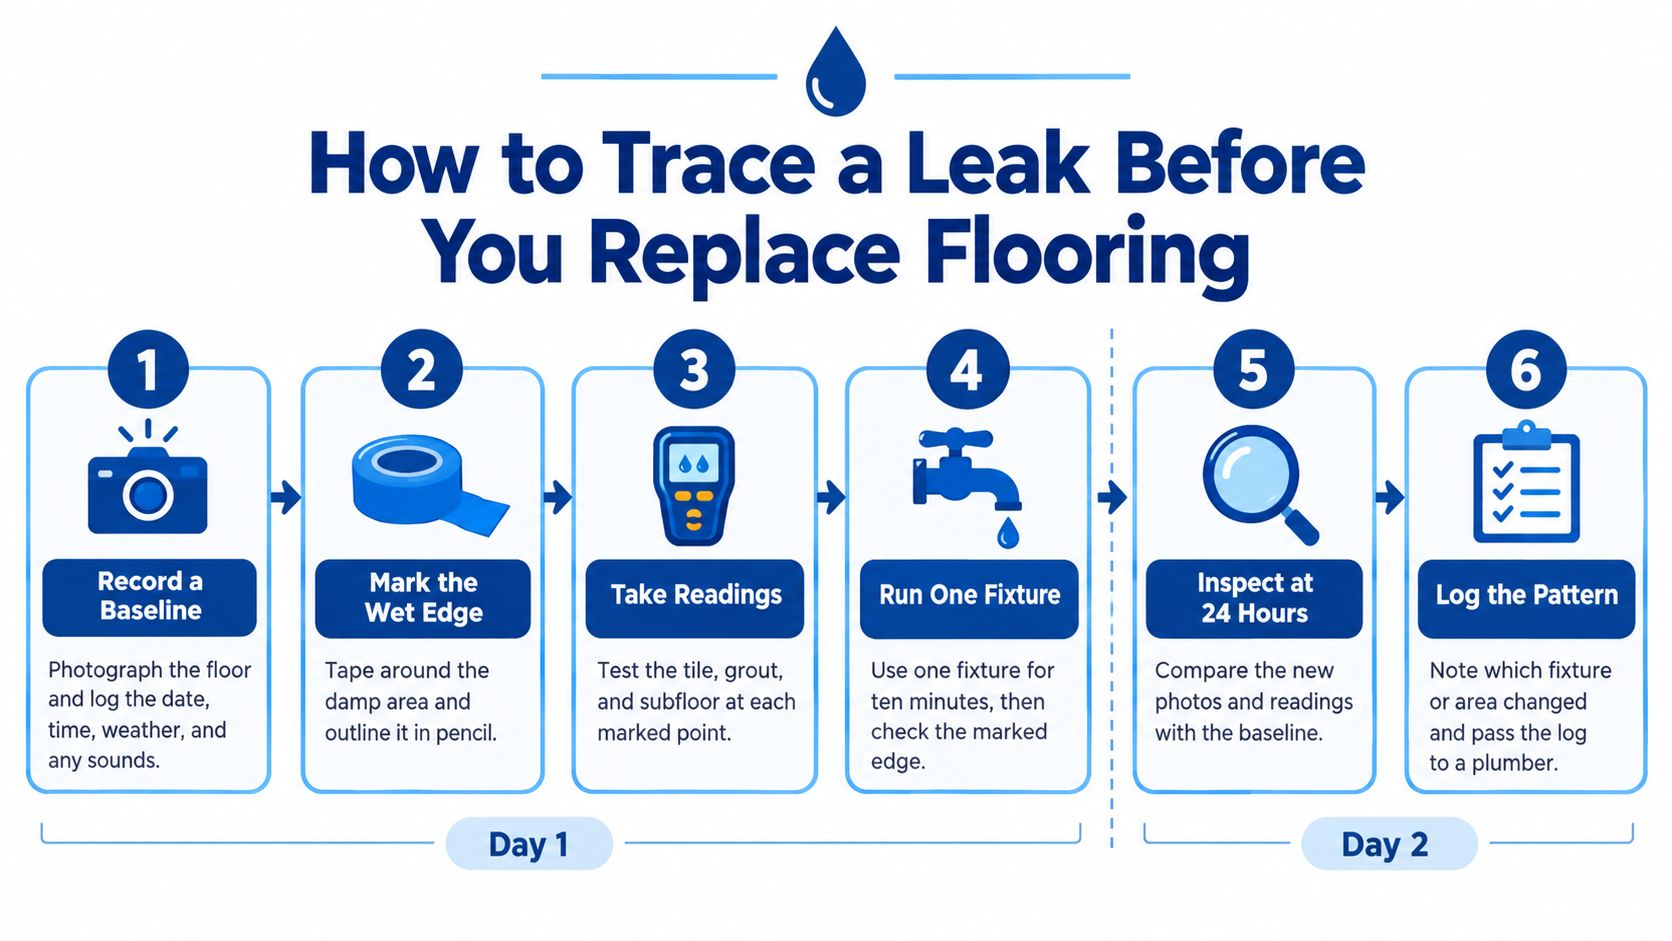
- Record a baseline. Photograph the floor. Log the date, time, weather, and any showers or laundry. Patterns only show up against that log.
- Shut off fixture supplies on that floor. Read the water meter, then wait two hours with no water use. Movement on the meter points to pressurized plumbing.
- Mark a grid about 3 feet apart. Take moisture readings at each point, plus two on adjacent walls and one outside at the foundation.
- Compare the readings. A spot that is wet at a fixture and dry a few feet away points to plumbing. A gradient that rises toward the perimeter after rain points to the slab edge or grading.
- Walk the outside. Check downspouts, soil that slopes toward the house, irrigation spray, and cracks or joints. In Central Texas, heavy rain and slab-on-grade houses make those details matter.
- Test the slab before new flooring. EPA moisture-control guidance says a vapor retarder belongs directly under a concrete slab, and moisture-sensitive flooring should wait for a recognized test such as ASTM F1869 or ASTM F2170, as described in the EPA moisture-control guide.
- Split the decision. Plumbing findings go to a plumber. Slab or perimeter findings go to moisture control before any new floor goes down.
Surface drying doesn't fix adhesive failure, musty odor, or buckling if vapor pressure or a missing under-slab retarder is still active.
Stop at that split. Ordering plank or tile before step 6 is how the same stain returns under a new floor.
Temporary Steps to Limit Damage Before Help Arrives
The first 48 hours are for stopping water and drying the floor system, not just the face of the tile. A dry-looking surface doesn't prove the underlayment or slab edge is dry.
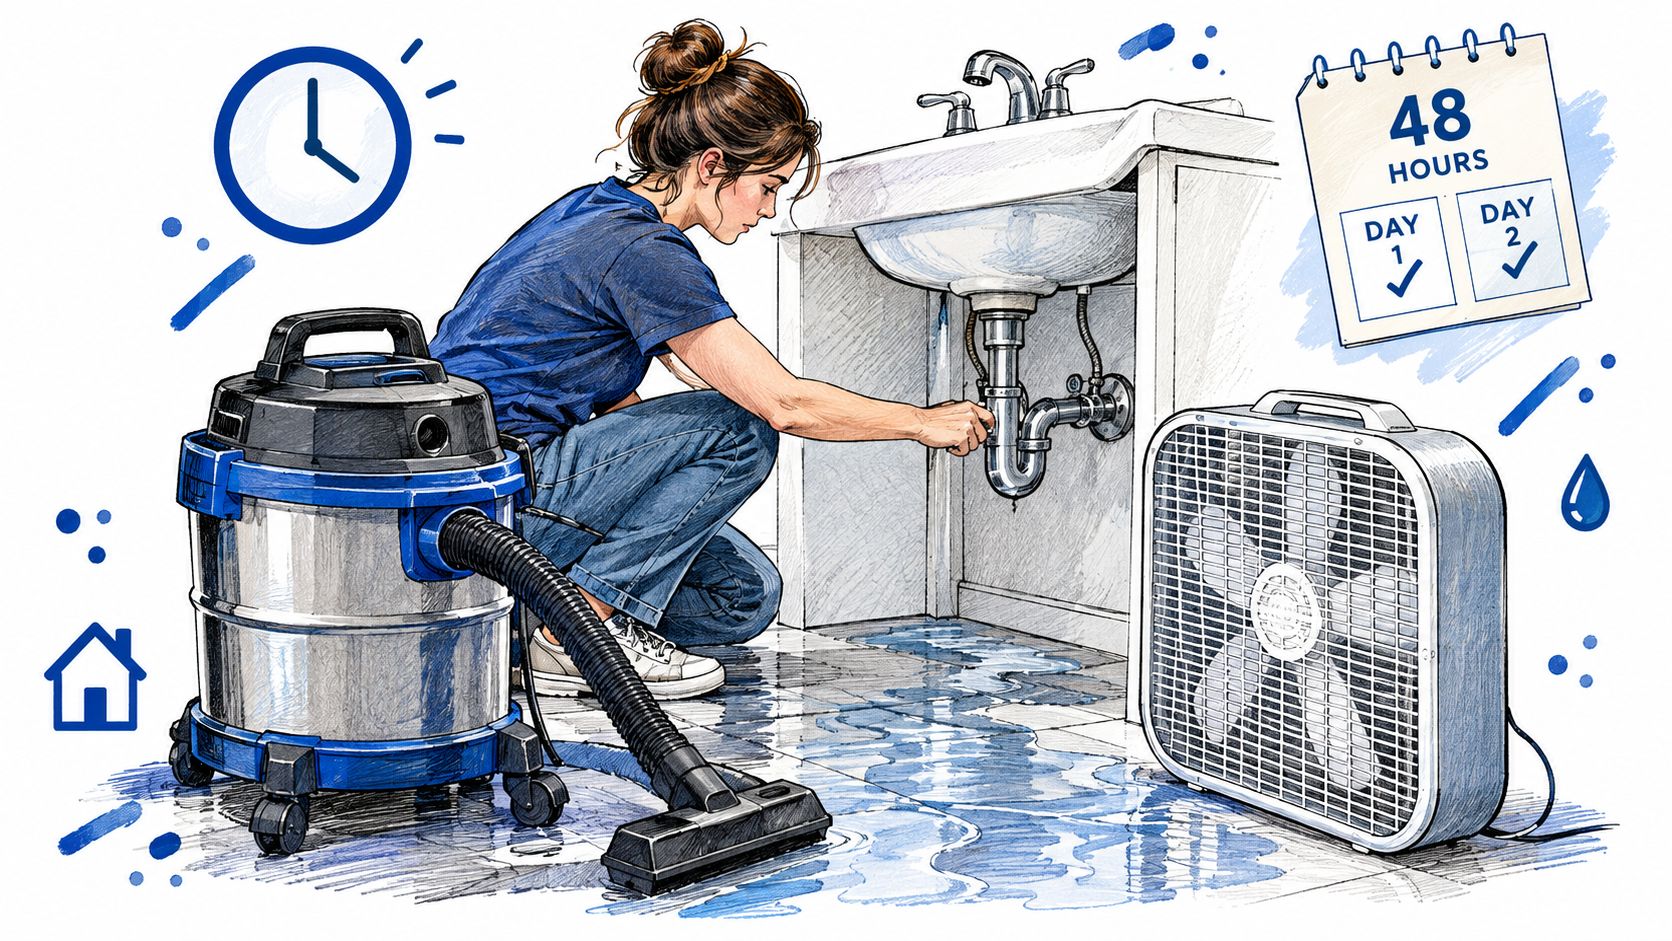
- Stop the source. Close the nearest fixture valve. If you don't know the source, close the main at the meter.
- Get standing water out. Use a wet vacuum or towels, and lift rugs and pads so they don't hold moisture against the floor.
- Look under the finish without a full tear-out. Pull a baseboard, or cut an inspection opening about 4 inches across, and check underlayment and the wall cavity.
- Move air and pull humidity down. Run a dehumidifier and fans across the floor. Wood needs moisture pulled off promptly with dehumidifiers, gentle heat, and fans.
- Read the same spots on a schedule. Readings should fall. If they stall, the source is still active.
- Photograph before you clean. Skip harsh chemical scrubbing on porous materials until someone has assessed the area.
- Log how long materials stayed wet. The EPA brief guide on mold and moisture recommends drying water-damaged areas within 24–48 hours because prompt drying usually prevents mold, though that window is a guideline, not a guarantee. The same guidance notes that ASHRAE treats growth as generally avoidable when surface relative humidity above 80% is limited to short periods.
If the numbers stop falling
Don't pull the rest of the finish until the source is found. Materials that stay damp past about 48 hours, or that keep an odor and discoloration, need an evaluation for concealed growth and possible reconstruction. Deodorizer on a wet subfloor doesn't replace that check. If you want a short list of what to do while you wait, the same priorities are laid out in these emergency response tips.
Decide Whether to Call a Restoration Pro Today
Some floors can be watched for a day. Others should not wait for a weekend.
| Situation | Act Now | Monitor First |
|---|---|---|
| Water still appears, or the meter moves with all fixtures off | Yes, call a plumber and a restoration team | No |
| Standing water or a wet floor still present 24 hours after shutoff | Yes, call a restoration team | No |
| Wet area larger than a bath mat, or spreading each day | Yes, call a restoration team | No |
| Soft, sagging, or cracked floor or slab | Yes, call a restoration team | No |
| Musty odor, discoloration, or suspected mold growth | Yes, call a restoration team for an evaluation | No |
| Small damp patch after heavy rain that dries within 24 hours | No | Yes, monitor and check grading and gutters |
| Readings return to baseline after the source is repaired | No | Yes, recheck over one to two weeks |
What a crew does that a shop vacuum can't
A restoration team inspects, maps moisture, helps locate the leak, extracts water, and dries the structure to a verified dry standard. If materials stayed wet too long, they evaluate microbial growth instead of masking odor. Reconstruction comes after the assembly is confirmed dry.
A useful provider hands you moisture readings and drying logs. Insurers commonly ask for that paperwork. RestoTek TX, for example, documents inspection, extraction, structural drying, and the moisture map rather than leaving you with a verbal “it's dry.”
If any “act now” row matches your floor, do four things today. Photograph the damage. Log the readings you already took. Keep the source shut off. Then call.
If water is still reaching a floor in Georgetown, Austin, or nearby Central Texas, RestoTek TX can inspect the loss, extract standing water, map hidden moisture, and dry the assembly before flooring decisions lock in the wrong repair. The same team covers microbial prevention and reconstruction when the materials stayed wet too long. Start with the details at RestoTek TX.