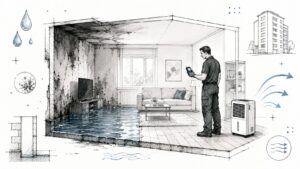
A storm rolls through Georgetown overnight. You wake up, step out of bed, and your sock lands in cold water. The floor near the hallway feels soft, the baseboards look darker than usual, and a faint damp smell is already building. Most homeowners do the same few things first. They grab towels, open windows, and hope the visible water is the whole problem.
Usually, it isn't.
Water moves fast through drywall, trim, insulation, subfloors, and wall cavities. What looks like one wet room can turn into a much larger drying job once moisture spreads behind surfaces. That's why water damage restoration is more than cleanup. It's a structured process for finding where water went, removing it, drying the structure properly, cleaning affected areas, and documenting that the building is safe to use again.
That process sits inside a very large industry. In the United States, the broader Damage Restoration Services industry held a market size of $7.1 billion in 2026, according to IBISWorld's U.S. damage restoration services industry report. For a homeowner, that number matters for one reason. Water losses are common enough that the work has become a core part of property ownership, insurance, and home repair.
Introduction to Water Damage Restoration
Water damage restoration starts the moment someone treats the event like a building problem, not just a mess.
If a washing machine hose fails in Austin or runoff pushes water into a Georgetown home during a heavy rain, the first challenge isn't only getting water off the floor. A greater challenge is stopping water from staying inside materials. A wet baseboard can mean a wet wall cavity. A damp laminate floor can mean trapped moisture under the surface. If that moisture remains, the home may look better before it's completely dry.
Homeowners often ask a simple question. What is water damage restoration? In plain language, it's the full process of returning a water-affected property toward its pre-loss condition through inspection, water removal, drying, cleaning, verification, and repair.
That's why speed matters. Towels and household fans may help with the obvious puddle, but they don't tell you whether water reached insulation, framing, or the underside of flooring. A proper response creates a record of what got wet, what was removed, what was dried, and what conditions were measured during the job.
Water damage is stressful because the damage you can see is often smaller than the damage water has already reached.
Understanding Core Concepts and Importance
Water behaves a lot like spilled dye on a paper towel. It rarely stays where it first lands.
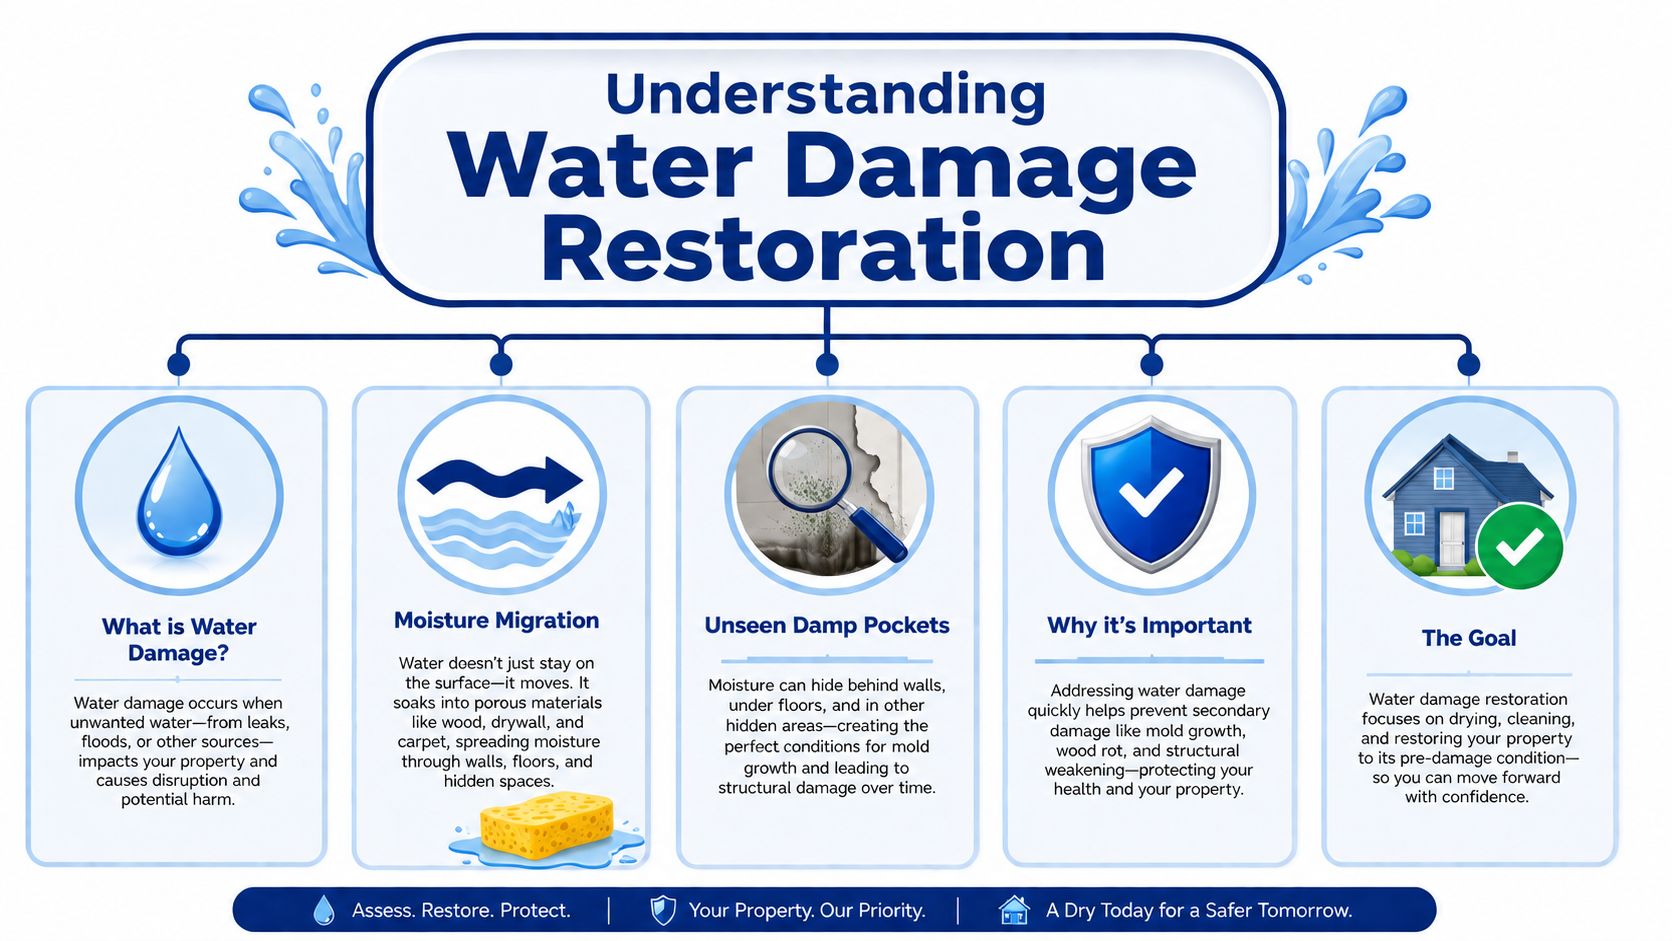
How moisture moves through a home
Think of drywall, carpet pad, wood trim, and insulation as different kinds of sponges. Some materials soak up water quickly. Others resist it at first but hold moisture once it gets in. Water can wick upward, spread sideways under flooring, or settle in cooler enclosed spaces where you can't see it.
That hidden movement is one reason this service is so common. Water damage restoration accounts for about 41% of total global demand within the disaster restoration services industry, making it the dominant segment, according to Industry Research's disaster restoration service market report.
A homeowner usually notices the symptom first. Cupped flooring. Bubbling paint. A musty smell. The underlying issue is that wet materials change slowly over time if they aren't dried to a verified standard.
The five practical goals
When professionals approach a water loss, they're trying to accomplish a few clear outcomes:
- Stop further spread: Shut down the source if possible and keep water from migrating into more rooms or deeper materials.
- Remove bulk water: Standing water and heavily saturated materials hold the largest moisture load.
- Dry the structure: Air movement and dehumidification work together to pull moisture out of building materials.
- Clean affected contents and surfaces: Water can leave soils, odors, and contamination concerns depending on the source.
- Document safe conditions: The job isn't finished because surfaces look dry. It ends when measurements support that conclusion.
Why this matters in daily life
If you leave a soaked bath towel in a pile, it doesn't just stay wet. It changes smell, temperature, and texture. Building materials act the same way, except they're harder to inspect and far more expensive to replace.
That's why restoration protects more than appearance. It helps preserve structural materials, indoor air quality, and the usability of the home. In Central Texas, where sudden storms and indoor plumbing failures can hit without warning, hidden moisture is often the part that catches people off guard.
Practical rule: If water touched walls, floors, cabinets, or insulation, assume the visible puddle is only the starting point.
Step-by-Step Restoration Process
Professional restoration follows a defined workflow, not guesswork.
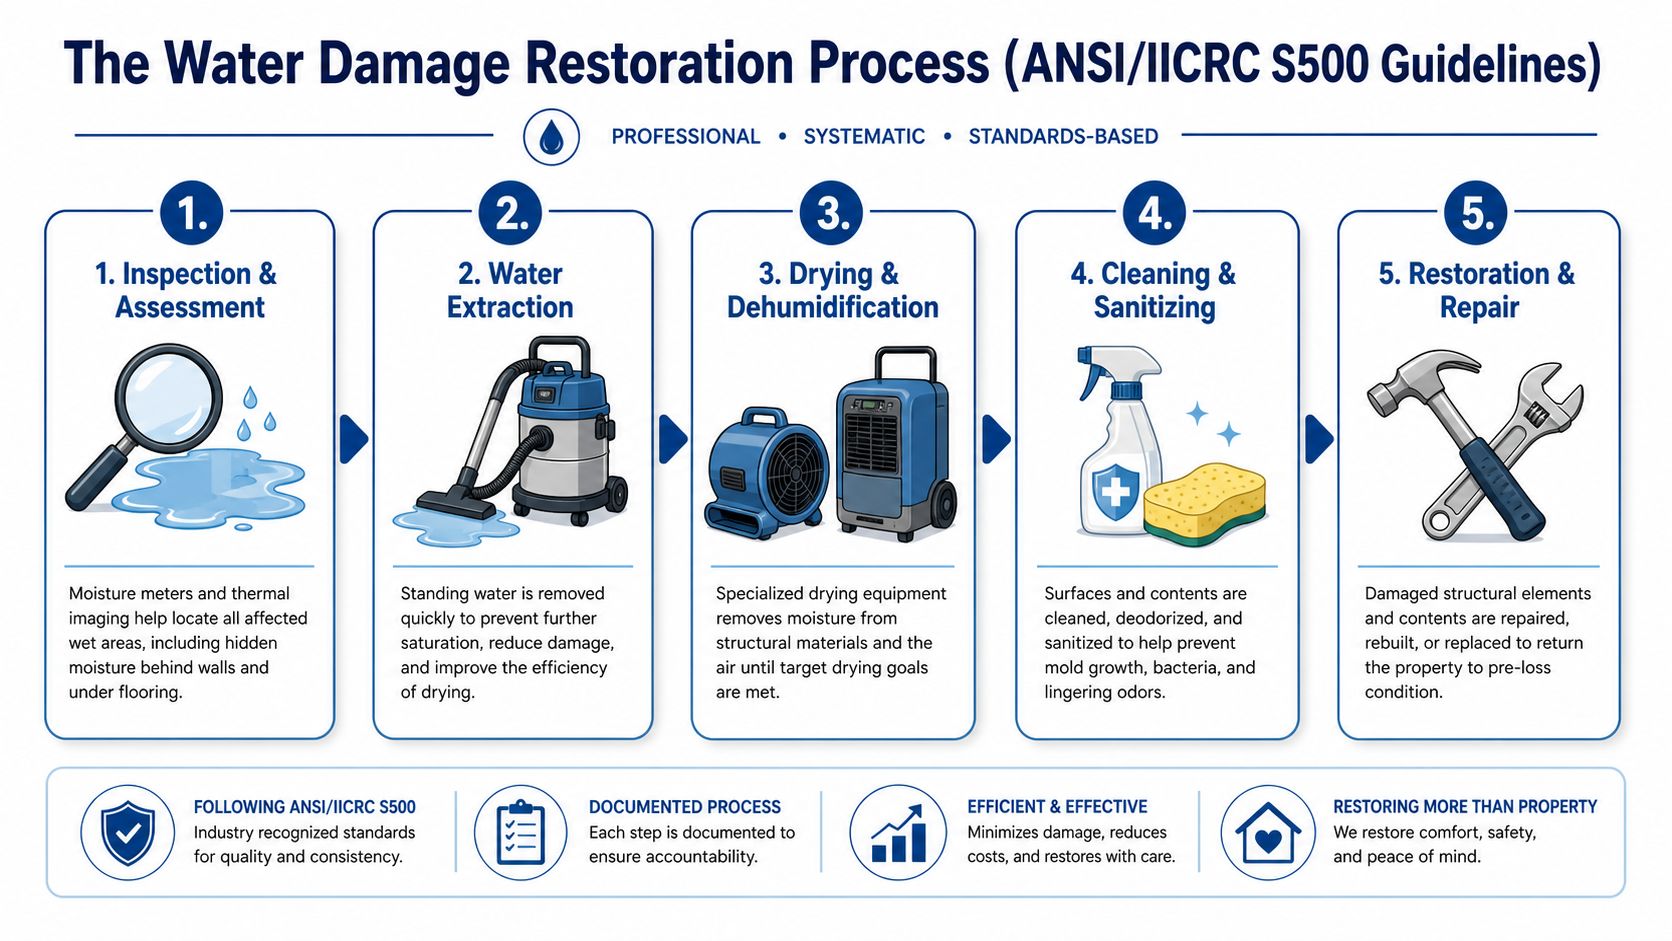
The governing framework most often referenced is the ANSI/IICRC S500 Standard, which sets out a five-phase protocol of Inspection, Extraction, Mitigation, Monitoring, and Completion, along with moisture mapping and contamination categorization at each stage, as described by the National Water Damage Authority summary of IICRC water damage restoration standards.
Inspection and assessment
The first step is figuring out three things. Where the water came from. Where it traveled. How contaminated it may be.
A trained crew uses tools such as penetrating moisture meters, non-penetrating moisture meters, thermal imaging equipment, and hygrometers to map the wet area, as water often moves beyond the stain or puddle you can see. A ceiling spot may connect to a wet wall chase. A wet kitchen floor may extend under cabinets.
The team also classifies the loss. The standard distinguishes between water Category and water loss Class. Category describes contamination risk, from sanitary water to grossly contaminated water. Class describes how much water was absorbed and how hard the affected materials will be to dry.
For example, a clean supply-line leak affecting tile and baseboards is very different from a backup involving contaminated water in porous materials. The drying approach, safety precautions, and demolition decisions all change.
Extraction and immediate stabilization
After assessment, the next priority is bulk water removal.
Pumps, truck-mounted extraction, portable extractors, and wet vacuums are employed for water removal. The reason is simple. Every gallon still sitting in carpet, pad, or flooring has to be removed or evaporated later. Extraction lowers the moisture load early, which makes the rest of the project more controlled.
Stabilization can also include moving contents, lifting furniture, placing protective blocks under legs, removing unsalvageable porous materials when needed, and isolating affected spaces. If part of the ceiling is compromised or wet drywall is beginning to fail, crews may open or remove sections to prevent additional damage and to expose trapped moisture.
Drying and dehumidification
Drying is where many homeowners get confused. Fans alone don't “dry a house” in a scientific sense.
Proper structural drying combines air movement, dehumidification, and measurement. Air movers help moisture leave wet surfaces. Dehumidifiers remove that moisture from the air so the building can continue drying instead of recycling damp air. Hygrometers and moisture meters show whether the plan is working.
This is also where psychrometry comes in. That's the part of drying that looks at air conditions, temperature, humidity, and material moisture together. It helps determine where equipment should go, whether changes are working, and when the structure has reached dry standards.
If you want a practical version of the workflow, this water damage restoration checklist from RestoTek TX shows the sequence homeowners usually need to track during an active loss.
Drying is a measured process, not a visual one. A wall can feel dry on the surface while the cavity behind it is still wet.
Monitoring and microbial control
A real restoration job doesn't stop after equipment is dropped off.
Crews return to monitor moisture conditions, adjust equipment placement, and confirm that wet materials are moving toward target dry conditions. That daily monitoring record matters both for good drying practice and for insurance documentation.
This phase also addresses microbial risk. If moisture lingers, fungal growth can become part of the job scope. Cleaning, deodorization, removal of affected materials, and controlled drying all help reduce that risk.
In Central Texas, this step is easy to underestimate. Homes can feel dry because the weather changes quickly, but enclosed cavities, subfloors, and low-permeability materials may still hold moisture.
Completion and repair
Completion means the building has reached verified dry standards for the affected materials and spaces. Then the property moves into the repair side of the job.
That can include replacing drywall, reinstalling trim, repairing flooring, rebuilding cabinets, repainting, and addressing the original source of intrusion. Restoration in the broad sense includes both mitigation and the return of the property to usable condition.
A straightforward way to think about the process is this:
- Find the water
- Remove the water
- Dry what got wet
- Clean and verify
- Repair what couldn't be saved
Each step depends on the one before it. If inspection misses hidden moisture, drying will be incomplete. If extraction is delayed, the drying burden grows. If monitoring isn't documented, the project becomes harder to defend to an insurer.
Typical Timelines and Cost Breakdown
Homeowners want two answers right away. How long will this take, and what will it cost?
The honest answer is that both depend on the size of the affected area, the materials involved, how quickly water was extracted, and whether repairs are limited to drying or extend into demolition and rebuild. One technical point does matter across almost every loss. The drying plan works best when excess water is removed first. The J.S. Held guide to advanced structural drying explains that restoration relies on psychrometry and that removing excess water before dehumidification speeds drying by reducing the moisture load.
Project size vs timeline and cost
| Project Size | Drying Time | Cost Range |
|---|---|---|
| Small localized leak | Often shorter when water is extracted quickly and only a limited area is affected | Varies based on materials, equipment needs, and whether repairs are cosmetic or structural |
| Multi-room water intrusion | Longer because moisture mapping, equipment adjustments, and selective material removal may be needed | Usually higher due to labor, monitoring, contents handling, and partial rebuild work |
| Major flooding or contaminated loss | Can extend significantly because safety controls, demolition, cleaning, and reconstruction often expand the scope | Broad range depending on contamination level, structural impact, and rebuild complexity |
What changes the timeline
A small clean-water leak in an open room is very different from moisture trapped under hardwood flooring or inside insulated walls. Material type matters. Access matters. So does weather.
Central Texas humidity can slow drying if the structure isn't controlled properly. Response time also matters. A home where water sat overnight usually needs a different approach than a home where extraction began immediately.
For budgeting, think in layers instead of one flat price:
- Mitigation layer: Emergency visit, inspection, extraction, setup, and monitoring
- Cleaning layer: Deodorization, contents handling, and contamination-related work if needed
- Repair layer: Drywall, flooring, paint, trim, cabinets, and source repairs
If you're trying to understand what typically drives the bill, this home water damage repair cost guide breaks the job into homeowner-friendly categories.
Insurance and Documentation Tips
Insurance delays often happen because the drying work and the proof of drying aren't packaged clearly.
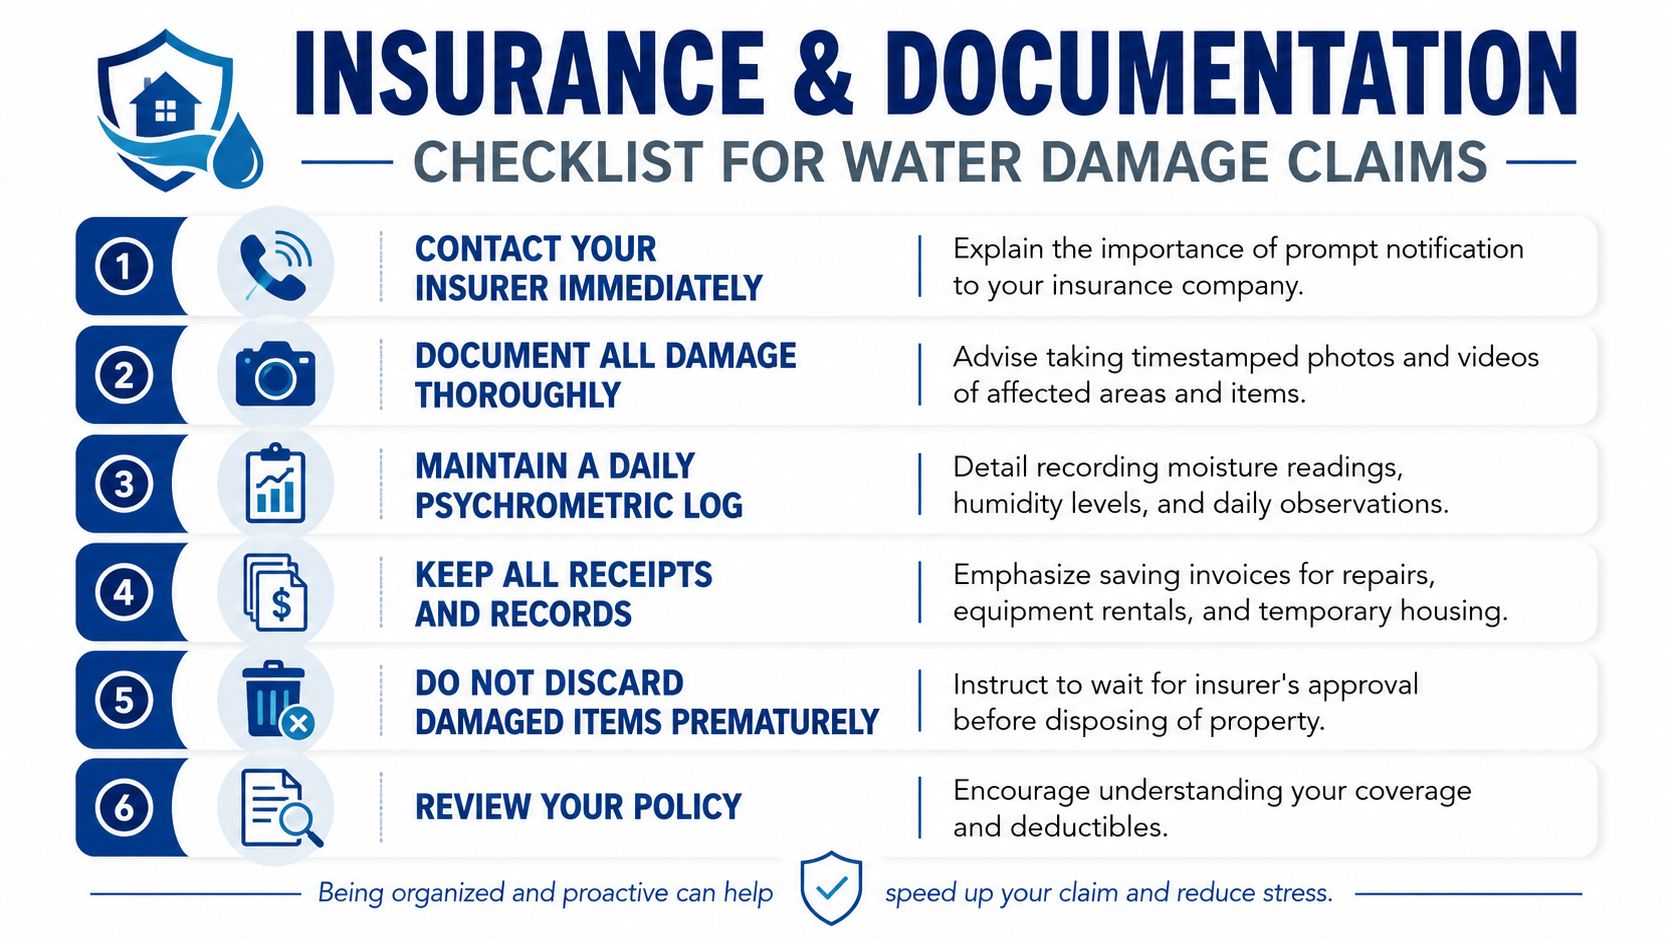
One of the least understood parts of water restoration is the gap between a homeowner feeling ready to move back into a space and a file showing that the structure has dried. The FSI Restoration article on water damage restoration questions states that 40% of post-restoration mold cases stem from premature reoccupation due to misunderstood drying standards requiring daily psychrometric monitoring.
What to collect from day one
Start a claim file as soon as it's safe to do so. Keep everything in one folder, whether that's digital, paper, or both.
- Photos and video: Capture the source area, affected rooms, damaged contents, and visible water lines.
- Daily readings: Ask for moisture logs, humidity readings, and notes showing where equipment was placed and why.
- Work records: Save authorization forms, estimates, invoices, and any notes about material removal.
- Source information: If a plumber identified the cause, keep that report with the rest of the claim file.
Why daily logs matter
Insurers often want a clear reason for equipment charges and labor entries. Daily psychrometric and moisture data show that drying was active, necessary, and adjusted as conditions changed. That record also helps answer a practical safety question. Is the home ready for reoccupation, or does it only look better?
If you can't show the drying progress, it becomes harder to prove the work was necessary and harder to confirm the structure is actually ready.
A homeowner-facing overview like this guide to home insurance water damage claims can help you organize the paperwork before the adjuster starts asking for it.
DIY Versus Professional Services
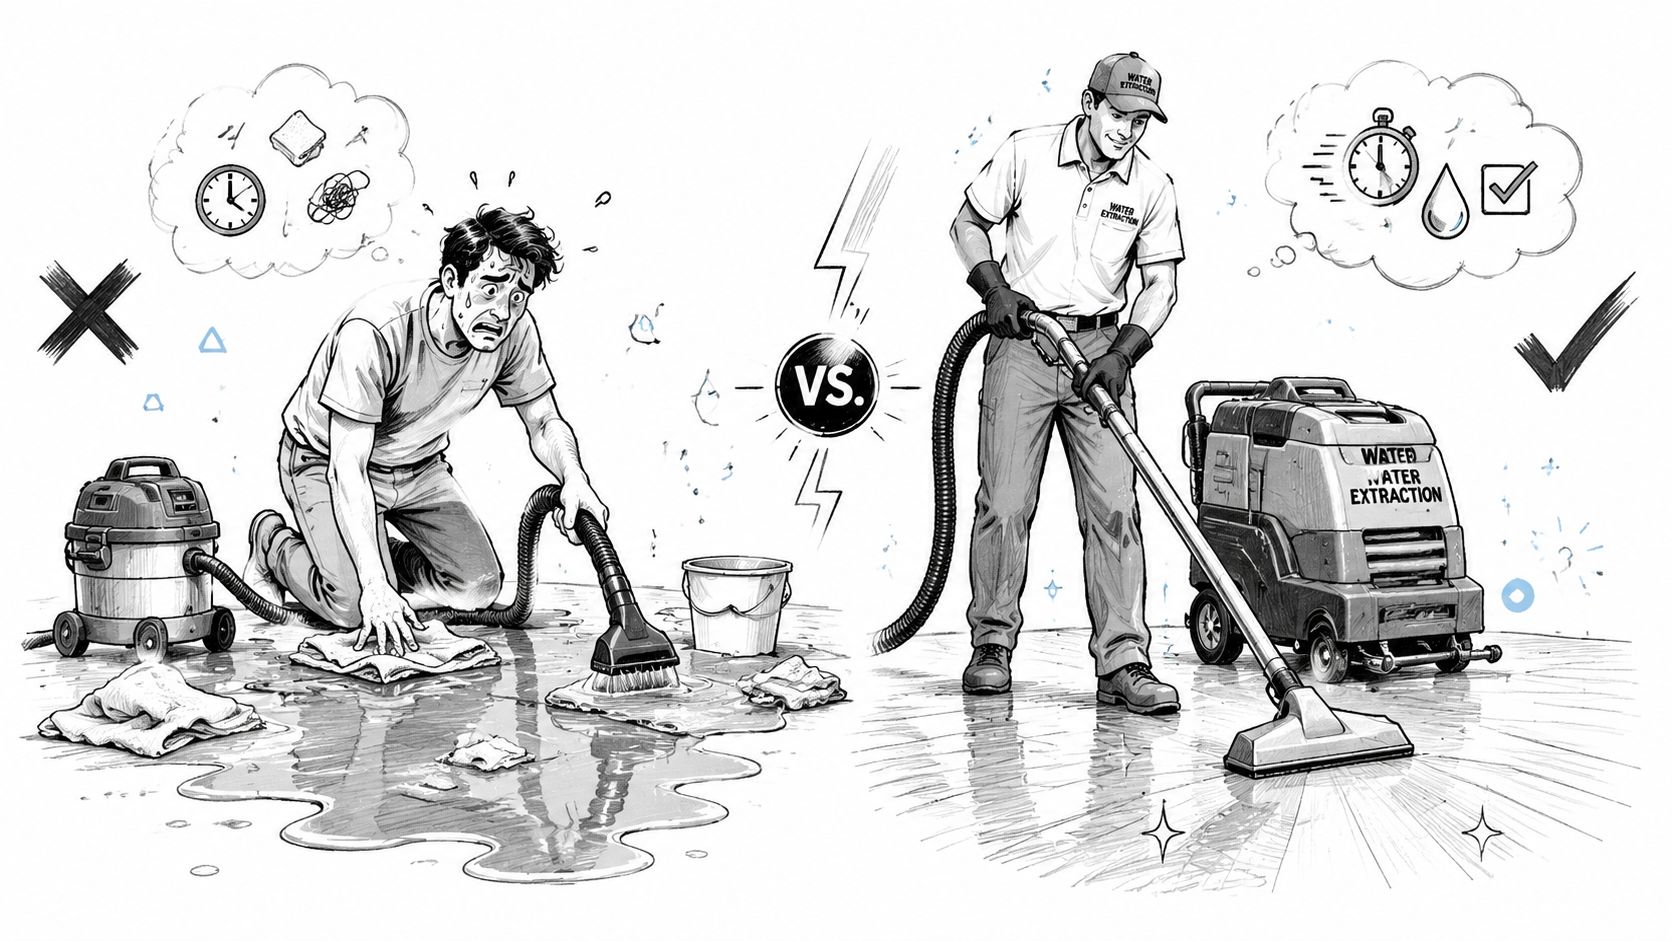
A lot of homeowners start in the same place. There is water on the floor, towels are out, fans are running, and the damage does not look serious. The hard part is that water rarely stays where you can see it. It moves through a home the way spilled coffee spreads through a paper towel. The surface may dry first while the deeper layers stay wet.
When DIY may be reasonable
DIY cleanup can make sense for a very small loss that was caught early and stayed on a hard, easy-to-dry surface. A minor refrigerator line drip on tile is one example, as long as water did not spread under baseboards, into cabinets, or into nearby rooms.
In that narrow situation, the job is straightforward. Stop the source. Remove standing water. Dry the surface and the room. Then keep watching the area over the next few days for cupping, staining, soft drywall, or a musty smell.
That last step matters more in Central Texas than many homeowners expect. Homes here can feel dry one week and humid the next, which makes it easier to mistake “less damp” for “fully dry.”
When professional help is the safer call
Professional service becomes the better option once the problem moves beyond surface cleanup.
- Water may have reached hidden spaces: under flooring, behind baseboards, inside vanity toe-kicks, or into wall cavities
- The water source is not clean: sewage backups, storm intrusion, and some appliance failures need different handling and cleaning
- Materials can trap moisture: drywall, insulation, wood flooring, and subfloors often need moisture checks and controlled drying
- The claim may depend on documentation: insurers often want a clear record of what was wet, what was removed, and how drying progressed over time
A contractor with restoration equipment is not just bringing bigger fans. The process works more like setting a broken bone than putting on a bandage. The visible problem is only part of the job. The goal is to confirm that the structure, not just the room, has returned to a dry condition.
That difference affects insurance timing too. If you handle cleanup yourself and hidden moisture shows up later, it can be harder to show when the damage happened, how far it spread, and whether later repairs came from the original loss or from delayed drying. Professional records can help answer those questions while the claim is still active.
For homeowners in Georgetown, Austin, and nearby communities who want one company to handle inspection, extraction, structural drying, microbial prevention, and reconstruction, RestoTek TX is one local option.
Central Texas Considerations and Next Steps
Central Texas adds its own complications to water loss. Flash floods can push water into homes quickly. Heavy rains can exploit weak points around roofs, windows, and exterior walls. Indoor leaks can also hide longer when humidity makes a home feel damp in general.
That local mix changes how homeowners should respond. Don't judge the situation by surface appearance alone. Wet drywall, insulation, flooring layers, and framing can hold moisture after the room seems normal again. Homes in Georgetown and Austin also vary widely in age, floor type, and plumbing condition, which means the same amount of water can produce very different restoration scopes.
Your next steps should be simple:
- Stop the source if it's safe
- Document the damage
- Avoid moving back into affected spaces too quickly
- Ask for moisture readings and drying verification
- Keep every invoice, photo, and note tied to the loss
The right response is usually the one that gives you answers early, not just fans early.
If you need help after a leak, overflow, storm event, or hidden moisture discovery, RestoTek TX provides water damage restoration services in Georgetown, Austin, and nearby Central Texas communities. Joan and Josh Garza's team handles inspection, mitigation, drying, microbial prevention, and reconstruction, and they offer a no-cost estimate with 24/7 emergency response.