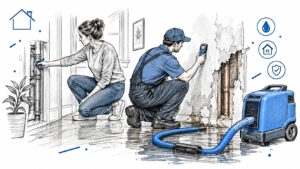
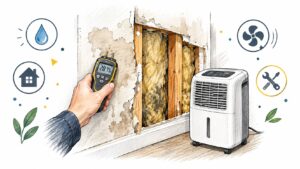
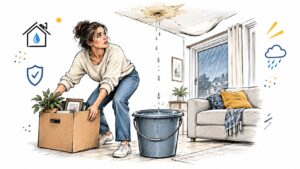
A faint coffee-colored ring on a ceiling can look like a minor paint problem, especially after a storm. In a Round Rock home, though, that mark may be the visible end of a much longer path. Water can enter where a roof meets a wall, travel along framing or insulation, and appear indoors far from the original opening.
That hidden movement is why water damage can look different from what is actually happening inside a home. A musty odor may develop before the drywall feels soft. A ceiling may sag gradually, then fail suddenly during an ordinary family dinner.
A building envelope inspection helps connect the finished-surface symptom to the exterior cause. It examines the roof, walls, windows, doors, drainage details, penetrations, and interior evidence as one system. In Central Texas, heat, ultraviolet exposure, wind-driven rain, and severe storms test that system repeatedly. The inspection matters because the right repair begins with the right entry point, not with the most obvious stain.
When a Small Stain Tells a Bigger Story
The homeowner sees a ring. The inspector sees a question: where did the water enter, and what path did it follow?
A roof-to-wall transition is a common example. If step flashing, counterflashing, or kickout flashing is incomplete, damaged, or poorly integrated with the wall drainage plane, storm water can move behind the exterior finish. The ceiling stain may sit several feet away from the actual breach. By the time the mark becomes visible, insulation may be wet, wood may have remained damp, and fasteners may show rust.
Central Texas weather makes this pattern especially frustrating. A hot roof can dry the visible surface while moisture remains trapped behind a wall or above a ceiling. Repeated rain events then add water to the same concealed area. The interior finish may look acceptable between storms, giving the owner false confidence.
What the inspector is trying to prove
A professional doesn't just confirm that a ceiling is stained. The inspection builds a chain of evidence:
- Entry point: The exterior location where rain or humid air can cross the envelope.
- Travel path: The route through flashing laps, cladding joints, insulation, framing, or a ceiling cavity.
- Affected materials: The insulation, drywall, sheathing, trim, or framing that has absorbed moisture.
- Current condition: Whether water is active, residual, or associated with an older repaired event.
That distinction changes the response. Painting over the ring addresses the symptom. Replacing the drywall without correcting the roof-to-wall transition leaves the pathway open. A thorough inspection identifies what must be repaired before drying, rebuilding, or sealing begins.
Practical rule: Treat the stain as a map marker, not as the boundary of the damage.
By at least 2000, envelope assessment had become a formal engineering discipline through ASCE/SEI 30-00, later updated and replaced by ASCE/SEI 30-14. The progression reflects a shift from general troubleshooting toward a codified method for assessing dysfunctional roof, wall, window, and waterproofing components, as documented in the ASCE/SEI 30-14 building envelope assessment standard.
What the Building Envelope Actually Is
Think of a house as a protective shell around conditioned interior space. The shell doesn't consist of one product. It consists of connected layers, joints, transitions, and openings that must control outdoor water, air movement, vapor, and heat.
The roof assembly is the first layer many homeowners picture. An inspector may evaluate the roof covering, underlayment, sheathing, valleys, wall flashings, chimney details, vents, and drainage. A shingle can look intact while a flashing transition beneath it directs water into the wall.
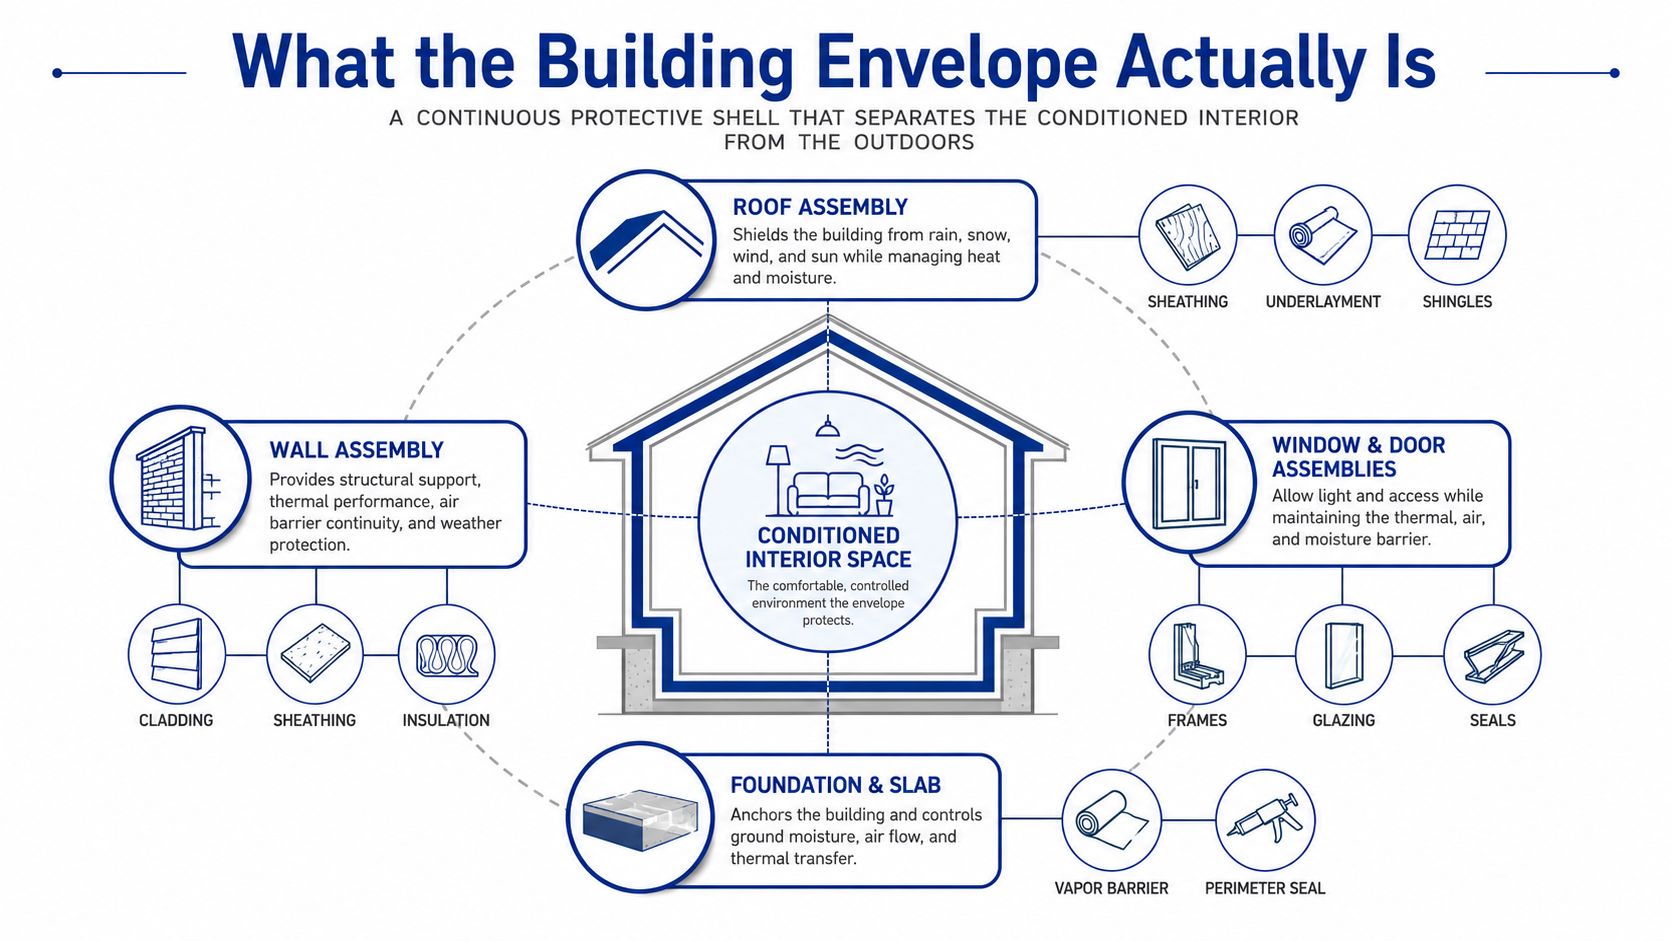
The layers that control the building
Exterior walls often include stucco, brick, fiber-cement, or siding over sheathing and a weather-resistive barrier. The barrier and the space or material that drains water behind the cladding form a drainage plane. If water gets behind the finish, that plane should guide it downward and outward through properly detailed openings.
Windows and doors are unitized openings in an otherwise continuous wall. Their frames, glazing, seals, sill details, and head flashings must connect to the surrounding wall layers. A window may shed water on its face while a missing pan flashing allows water to enter the cavity below.
Other components include:
- Flashing: Installed at roof edges, wall intersections, windows, doors, penetrations, and changes in material. It redirects water toward the exterior.
- Penetrations: Vents, pipes, electrical conduit, satellite mounts, and other openings interrupt the shell and require durable seals and compatible flashing.
- Foundation connection: The wall-to-slab or wall-to-foundation transition may include flashing, perimeter seals, and weep systems that help manage water at the base.
- Thermal layer: Insulation limits heat transfer, but gaps and compressed areas can create uncomfortable rooms and thermal irregularities.
- Air and vapor control: Air barriers limit uncontrolled movement through cavities. Vapor behavior depends on the assembly, materials, and indoor and outdoor conditions.
Each layer has a job, but the layers must also connect. A failure at one transition can wet insulation, reduce thermal performance, move air through a cavity, and expose framing to prolonged moisture. That's why an inspector examines the complete envelope rather than stopping at the surface that looks damaged.
How an Inspection Is Actually Performed
A reliable inspection follows a sequence because each step gives meaning to the next. Instruments can reveal patterns, but the inspector needs the building's history and visible conditions before interpreting those patterns.
The field sequence
Review the property history. The inspector starts with the owner's concerns, known leaks, storm events, previous repairs, roof replacements, renovations, and recurring odors or stains. A repair invoice or old photograph can explain why a current thermal pattern appears in one area.
Walk the perimeter. The exterior review covers cladding, trim, sealants, visible flashing, drainage outlets, roof edges, and penetrations. The inspector looks for cracked stucco, swollen trim, failed joints, open laps, efflorescence, rusted nail heads, and other clues that water has crossed or bypassed the intended drainage path.
Examine the roof and transitions. Roof coverings matter, but transitions often matter more. The inspector checks valleys, wall intersections, chimneys, vents, skylights, pipe boots, gutters, downspouts, and the places where water changes direction.
Inspect the attic and interior. Staining, soft drywall, peeling finishes, musty odors, damp insulation, damaged ceiling texture, and discolored framing can help locate the interior side of the problem. The visible mark still isn't assumed to be the source.
Use targeted instruments. Thermal imaging can map temperature anomalies associated with air leakage, missing insulation, structural details, or latent moisture. Pin and pinless moisture meters then help confirm whether materials are wet and identify the most useful probing locations.
Document the findings. A useful report connects photographs, locations, measurements, thermal images, suspected pathways, limitations, and recommended next actions. The record should allow a contractor or adjuster to understand what was found without relying on memory.
The sequence is deliberate. Visual review comes before instrumentation, because a camera can display a pattern without explaining its cause. Leak detection methods are most effective when the inspector uses the tools to test a documented hypothesis rather than scanning randomly.
What evidence can look like
A darkened roof edge may indicate repeated wetting. White efflorescence on masonry can show that water has moved through a material and carried salts to the surface. Swollen trim suggests prolonged exposure, while a thermal bridge may appear as a temperature line caused by framing or missing insulation.
No single clue proves the entire failure. The inspector compares exterior observations, interior symptoms, instrument readings, weather history, and assembly details before recommending a repair scope.
Comparing the Tools Inspectors Use
A tool can narrow the question, but it cannot answer every part of it. Visual inspection may reveal an open flashing lap while missing moisture inside a closed wall. A thermal camera may show a cool area, yet that pattern could result from water, air movement, missing insulation, or a structural detail. The useful result comes from comparing several kinds of evidence.
| Method | What It Detects | Best Conditions | Limitations |
|---|---|---|---|
| Visual inspection | Surface damage, open joints, failed flashing, staining, swollen materials, and drainage defects | Good visibility and safe access | Hidden conditions may remain concealed |
| Thermal imaging | Temperature anomalies associated with air leakage, latent moisture, insulation gaps, and structural details | A suitable temperature difference and controlled pressure conditions | It indicates probable problems but does not identify the moisture source or entry point |
| Pin and pinless moisture meters | Moisture presence at selected materials and locations | Correct calibration for the material and a clear comparison area | Readings can be affected by material type, salts, fasteners, and surface conditions |
| Pressure diagnostics | Air leakage and water penetration performance of an assembly | Controlled, sealed conditions and a defined test area | Results can be misleading if openings, weather, or building operation are not controlled |
Infrared inspection is useful, but it is not a magic leak finder. Thermal imaging inspection can help map temperature patterns associated with air leakage, missing insulation, or possible moisture, while moisture meters help determine whether the material is wet.
Guidance based on ASTM E1186 describes reliable air-leakage thermography with at least a 5°C, or 9°F, temperature difference and a sustained pressure difference of about 10 to 50 Pa for at least 10 minutes. The ASTM E1186 thermal-performance guidance explains why controlled temperature and pressure contrast improves the visibility of leakage-driven patterns.
Another standards discussion describes conditions involving a 20°C temperature difference and 25 Pa pressure difference, or 30°C when the pressure difference is under 10 Pa. These conditions are not interchangeable promises for every inspection. The infrared building-envelope inspection standard treats thermography as a qualitative method. It can indicate probable moisture problems, but it cannot determine the source or point of entry.
Why the sequence matters
An inspector might document a cool band below a window, take meter readings there, compare the result with a dry area, and then examine the exterior sill and nearby joints. If the readings confirm moisture, limited access to the assembly may provide targeted verification.
Pressure testing adds another layer of evidence. A blower door can expose air bypasses, while controlled water testing, including methods such as ASTM E1105, can evaluate whether a wall or window assembly resists water under defined conditions. These tests are most useful after the inspector has narrowed the question. That connection matters during remediation, because the repair should address the water path, not merely the stain left behind.
Common Failure Modes in Central Texas
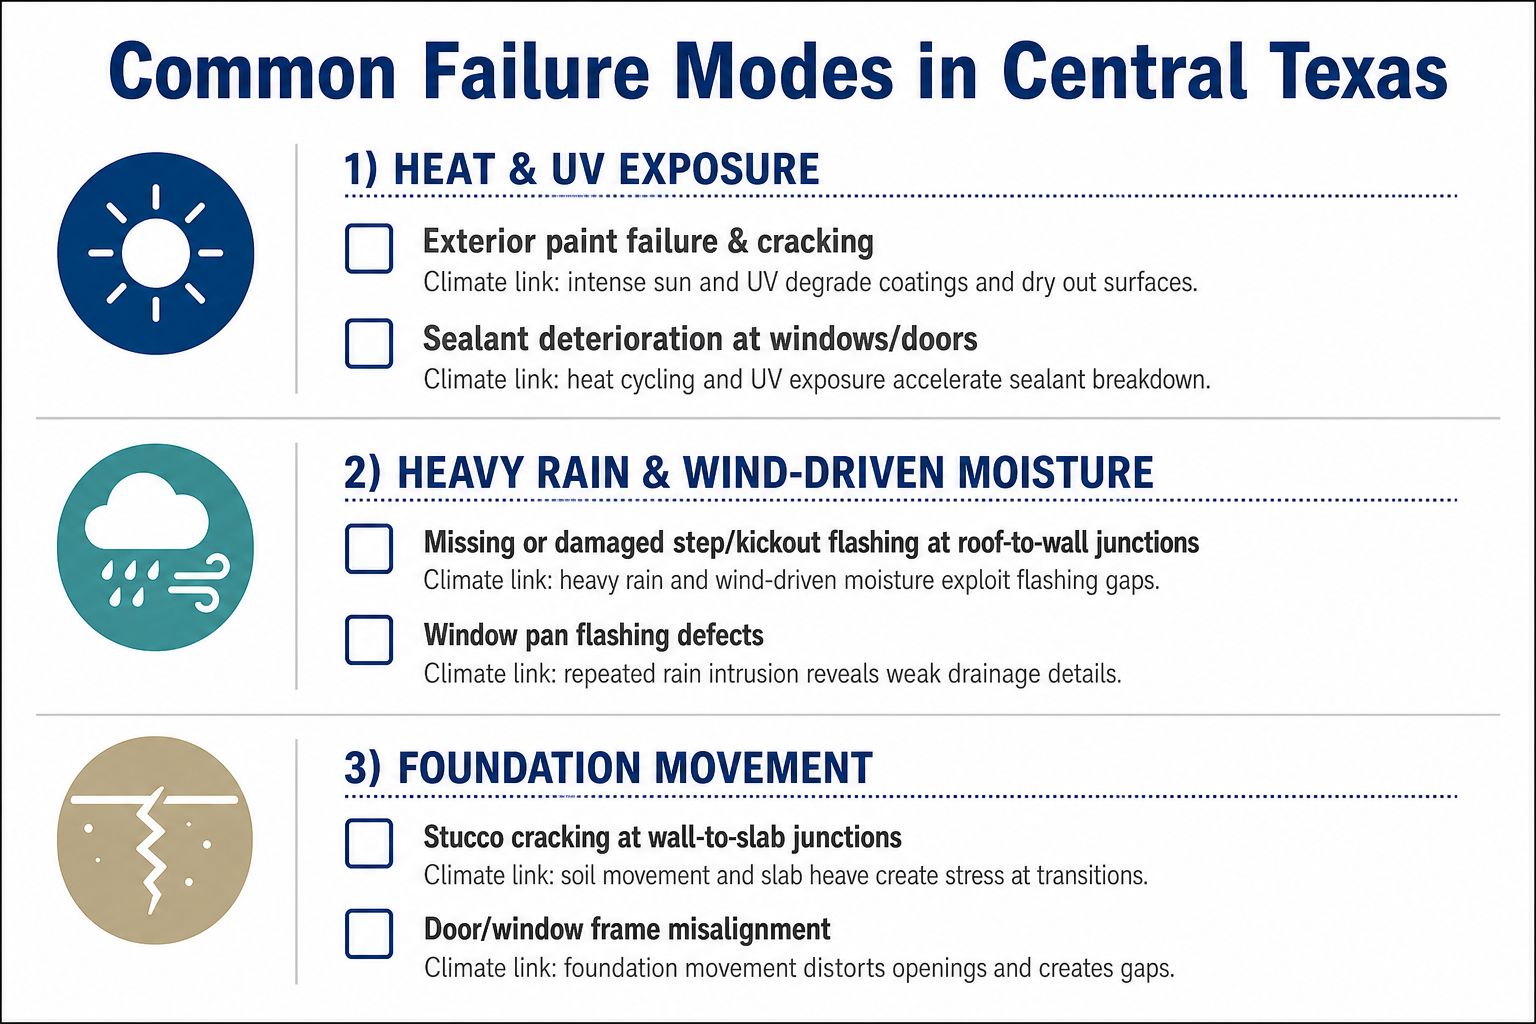
Central Texas homes face a combination of intense sun, high heat, wind-driven rain, hail, and rapid weather changes. Those forces don't create one universal defect. They expose weak transitions, aging sealants, incomplete drainage paths, and repairs that never connected one envelope layer to another.
Where storm water changes direction
Roof-to-wall transitions deserve close attention. During a spring storm, wind can drive rain against a wall and uphill beneath an incomplete step-flashing lap. Missing kickout flashing may allow water from the roof edge to discharge directly into the siding or stucco instead of away from the wall.
The interior symptom might appear near a ceiling corner, below a second-story window, or along an interior wall. The pathway can include the wall cladding, weather-resistive barrier, sheathing, insulation, and framing before it reaches drywall.
Windows create another concealed route. A failed sealant joint may be visible, but a missing, reversed, or poorly connected pan flashing can send water beneath the window unit. The water then moves laterally along the sill or downward inside the wall cavity, leaving the homeowner with a stain that doesn't align with the window itself.
Why cladding can hide the problem
Stucco and fiber-cement assemblies depend on correct joints, flashing, drainage, and termination details. Cracked stucco, failed control joints, or a missing weep screed can allow water behind the finish and restrict its exit. The surface may remain relatively intact while sheathing and framing receive repeated wetting.
Heat and ultraviolet exposure also age sealants and exposed flashing. A sealant bead can harden, shrink, split, or detach from one side of a joint. Windblown debris and hail can damage roof coverings, vents, metal flashings, and cladding, creating small openings that become active during the next heavy rain.
Water usually follows the easiest available path, not the shortest visible path.
An inspection should therefore describe the route, not only the defect. “Cracked stucco” is incomplete. A useful finding explains whether the crack intersects a window, control joint, roof transition, or wall base, and whether the drainage system behind it appears capable of moving water outward.
Reading the Inspection Report
A useful report should help you decide what happens next. It should identify the property, state the inspection scope and limitations, and explain which areas were accessible. Without that context, a photograph of a stained wall tells you very little about the confidence or reach of the finding.
What a complete report should show
Look for location-specific photographs rather than a gallery of unexplained images. A good caption identifies the elevation, room, roof area, window, wall transition, or other reference point so the finding can be matched to the building.
The report should also connect observations to evidence:
- Condition description: What the inspector observed, such as open flashing, swollen trim, staining, or cracked cladding.
- Instrument support: Moisture readings, thermal images, comparison readings, and the material tested.
- Likely pathway: How water or air may be moving through the assembly.
- Recommended action: Whether the next step is repair, targeted opening, drying, monitoring, or additional testing.
- Priority: Whether the finding needs immediate attention, short-term correction, or routine maintenance.
A thermal image without a corresponding explanation isn't a diagnosis. The infrared inspection guidance emphasizes the need to interpret anomalies carefully and verify suspected moisture with methods such as visual inspection or moisture-meter probing.
Turning findings into decisions
Active water entry should be separated from latent risk. An active pathway may require immediate stabilization and source control. A damp but inactive assembly may need targeted drying and a short-term repair. A deteriorated sealant joint with no evidence of current wetting may belong in planned maintenance, provided the report explains what should be monitored.
Ask the inspector what evidence supports each priority and what limitation could change the conclusion. A report that names the action and urgency gives you a defensible basis for contractor bids, insurance documentation, and remediation planning.
From Inspection to Remediation
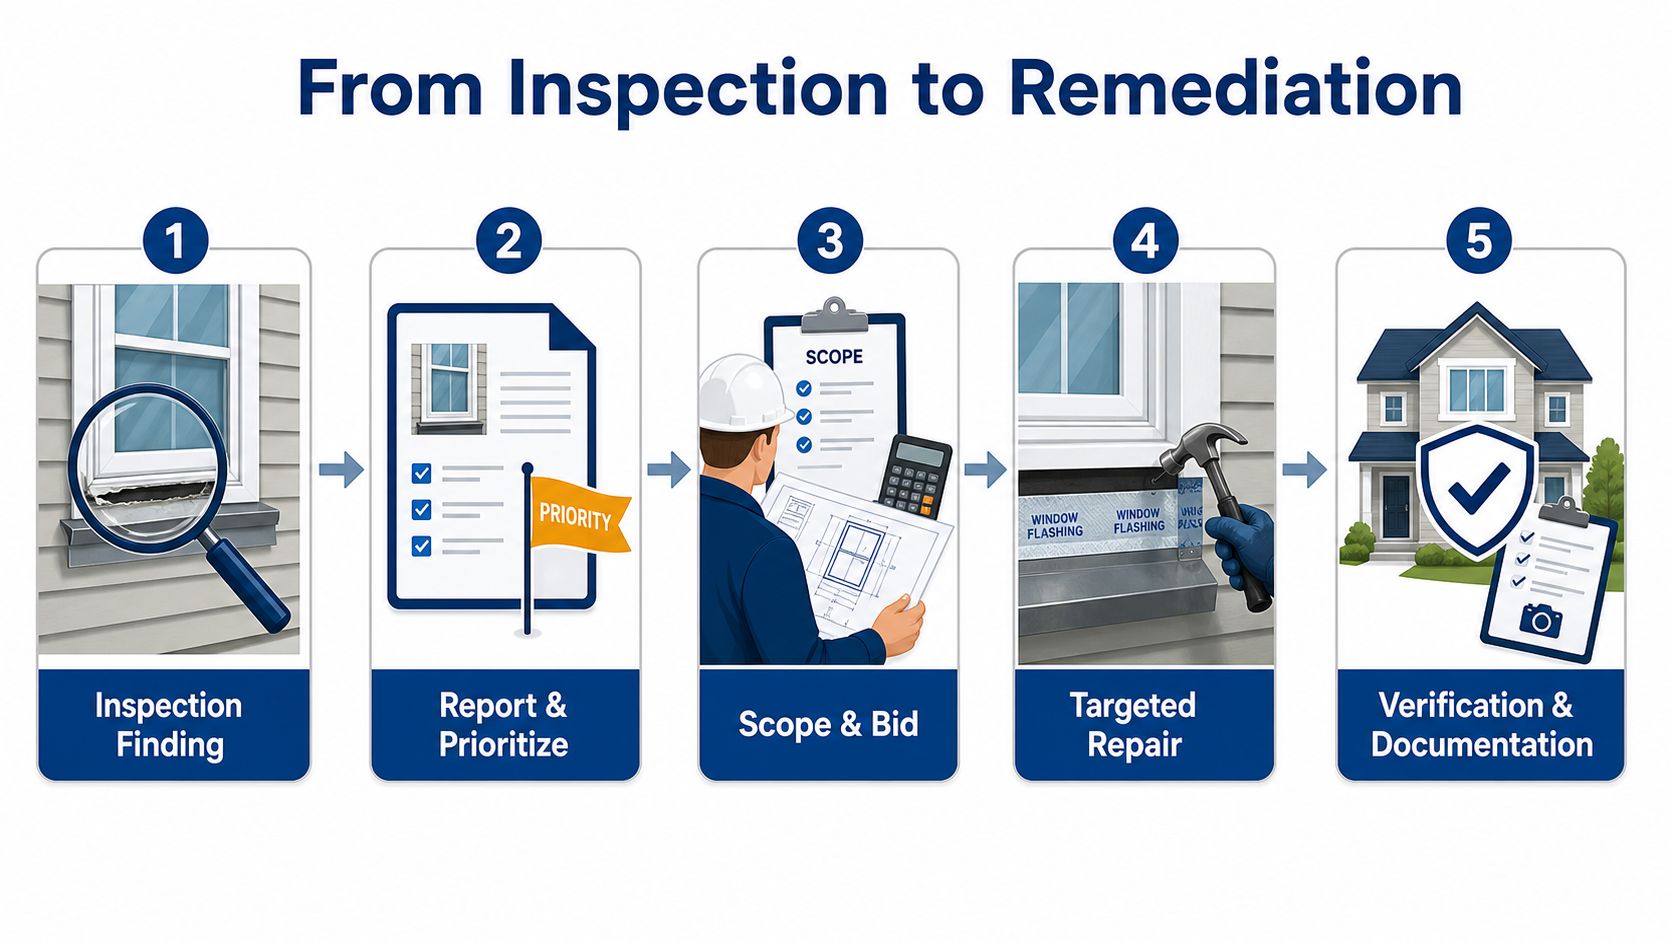
An inspection report becomes valuable when it changes the repair decision. Consider a window pan-flashing defect. If the inspector documents the exterior condition, maps the interior moisture, and identifies the affected drywall and insulation, the repair team can plan a contained opening, dry the impacted materials, and correct the flashing instead of waiting for a larger failure.
The order of work matters:
- Control active entry. Stop the roof, window, wall, or penetration pathway before treating interior finishes.
- Address concealed moisture. Use the inspection map to place drying equipment and determine where materials need testing or selective removal.
- Correct the assembly. Reflash the opening, repair the transition, renew compatible sealants, or restore drainage details.
- Verify conditions. Recheck moisture and affected materials after drying and repair.
- Document completion. Keep photographs, readings, repair details, and final observations with the property record.
Why the stain shouldn't define the scope
Drying equipment belongs where moisture is confirmed or strongly supported, not just where the paint is discolored. A ceiling stain may require attention above the ceiling, inside a wall, or at a roof transition. Conversely, a broad-looking stain may involve a limited area once the source and material boundaries are established.
A missed defect can turn a localized repair into broader work involving flooring, subfloor, framing, finishes, odor treatment, or microbial prevention. The issue isn't that every stain becomes a major loss. The issue is that remediation without source diagnosis can leave the mechanism intact, allowing the same pathway to wet the replacement materials.
RestoTek TX provides water-damage inspection and assessment, leak detection, structural drying, microbial prevention, and reconstruction services for properties in Georgetown, Austin, and surrounding Central Texas communities. Its team can use inspection findings to support source evaluation, mitigation, drying, and repair planning when an envelope failure contributes to a water loss.
The report isn't the finish line. It is the document that tells the restoration team where to work, what to protect, what to remove, and what must be verified before reconstruction.
Questions Homeowners Ask Next
How often should I repeat an inspection?
There isn't a universal interval that guarantees protection. In Central Texas, schedule an evaluation when hail, wind, or severe rain may have affected the roof or cladding, and consider one when recurring stains, odors, drafts, or deteriorated sealants appear. Your property history and the condition of the failure modes discussed above should guide the decision.
Can a general home inspector perform it?
A general inspection may identify visible concerns. A specialist is more appropriate when the problem involves concealed moisture, complex flashing, thermal imaging, pressure diagnostics, or a report that must support a detailed remediation scope. Ask what tools, testing limits, and documentation the provider includes.
Is a pre-purchase inspection different from a post-storm inspection?
Yes. A pre-purchase review evaluates overall condition and observable risk before a transaction. A post-storm inspection focuses on recent roof, flashing, cladding, window, and penetration damage, while preserving photographs and findings that may help with an insurance claim.
What should I keep for an insurer?
Keep the inspection report, dated photographs, thermal images, moisture readings, emergency mitigation records, repair estimates, invoices, and documentation showing that the source was corrected. Your insurer's requirements control, so ask the claims representative what information is needed.
Does a clean report guarantee five years without water intrusion?
No inspection can guarantee that. It describes conditions at the time of the evaluation and may be limited by access, weather, concealed assemblies, and test conditions. A clean report means no reportable evidence was identified within the stated scope, not that future storms or material deterioration are impossible.
RestoTek TX helps Central Texas property owners connect water-damage assessment with leak detection, structural drying, microbial prevention, and reconstruction when building-envelope problems affect the interior. Visit RestoTek TX to request guidance for a home or property in Georgetown, Austin, or the surrounding area.