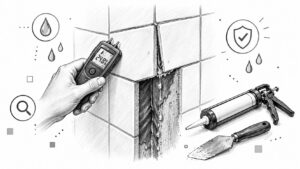
If drywall can't be dried thoroughly within about 24 to 48 hours, it should typically be replaced. Start drying immediately, but treat soft, swollen, moldy, or contaminated drywall as a removal decision rather than a surface-repair project.
You may be standing in a Georgetown or Austin home right now, looking at a brown ceiling stain after a slow plumbing leak, or pressing a finger into a wall that feels softer than it did yesterday. The visible mark is only the part you can see. Water may also be moving through the paper facing, insulation, framing, flooring, or the back of the panel.
The safest response is to stop the water source, protect people from electrical and structural hazards, document what happened, and assess the affected materials before painting or patching. With drywall water damage, speed matters, but speed alone doesn't make every panel salvageable.
Recognizing Drywall Water Damage Early
A homeowner in Central Texas may first notice a pale ring on the ceiling after rain, a bubbling patch of paint near a bathroom, or a musty smell in a room that otherwise looks normal. The temptation is to wipe the surface, apply stain-blocking primer, and watch for improvement. That approach treats the evidence, not the leak.
Surface clues that deserve attention
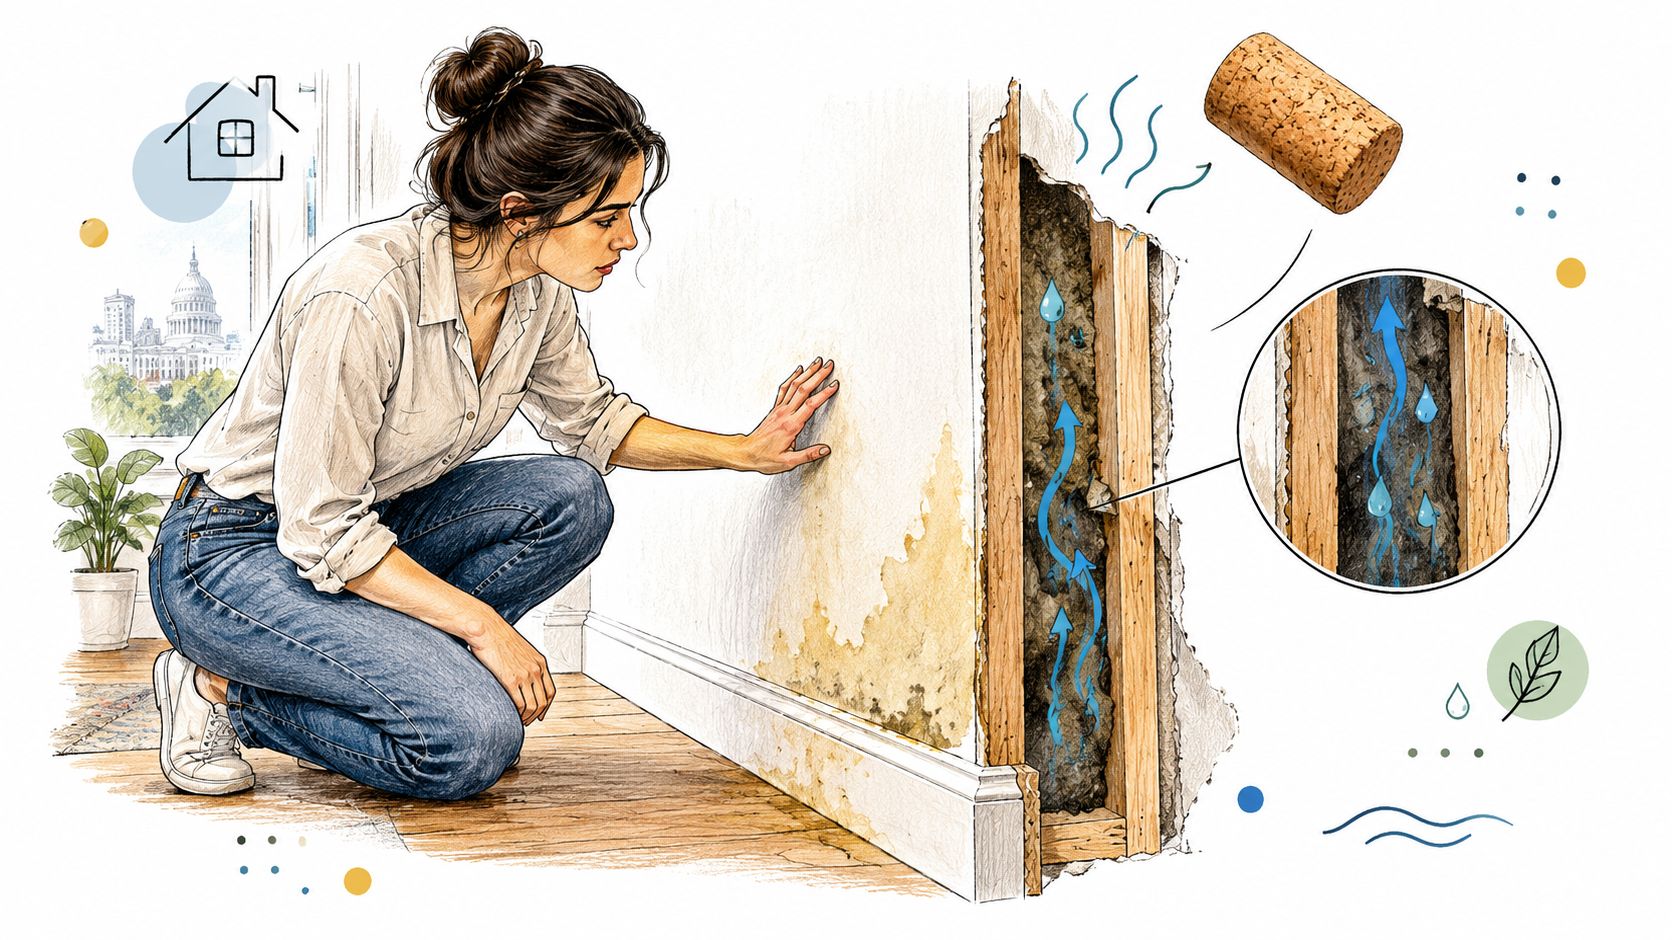
Water stains often appear yellow, brown, or gray, but color alone doesn't tell you how far moisture has traveled. Look for a stain that grows, paint that blisters, tape joints that separate, or texture that lifts away from the panel. A wall can remain mostly flat while the gypsum core behind the paper facing has already softened.
Other warning signs include:
- Soft or spongy areas: Pressing lightly can reveal weakened board, although probing should be done carefully and shouldn't replace a professional assessment.
- Warping and sagging: A deformed wall or ceiling has lost more than its finish quality. It may no longer hold fasteners reliably and can become a safety concern.
- Persistent odor: A musty smell near a wall, cabinet, or baseboard can point to trapped moisture even when the face of the drywall looks dry.
- Recurring stains: A stain that returns after cleaning usually indicates that the source remains active or that moisture is still present behind the finish.
A useful starting point is to photograph the area from across the room, then take closer images of the stain, trim, flooring, and any visible plumbing. Note whether the leak came from clean supply water, a drain, a roof, or floodwater. You can also use this practical guide to identify what water damage looks like before deciding whether a cosmetic repair is appropriate.
Why the visible mark isn't the full loss
Water follows gravity and gaps. It can run down a stud bay, spread along a ceiling, wick into insulation, and collect beneath flooring. A dry-looking face may hide a wet backside, especially where cabinets, baseboards, or wall coverings restrict airflow.
Don't cut into a wall blindly, and don't assume a small stain means a small repair. First identify the source, isolate utilities if necessary, and determine the highest and lowest points affected. A restoration technician can map moisture across the wall and compare it with an unaffected area, which helps distinguish an isolated surface issue from a cavity-wide problem.
Practical rule: A stain tells you where water became visible, not necessarily where the damage began or ended.
Why Drywall Is So Vulnerable to Moisture
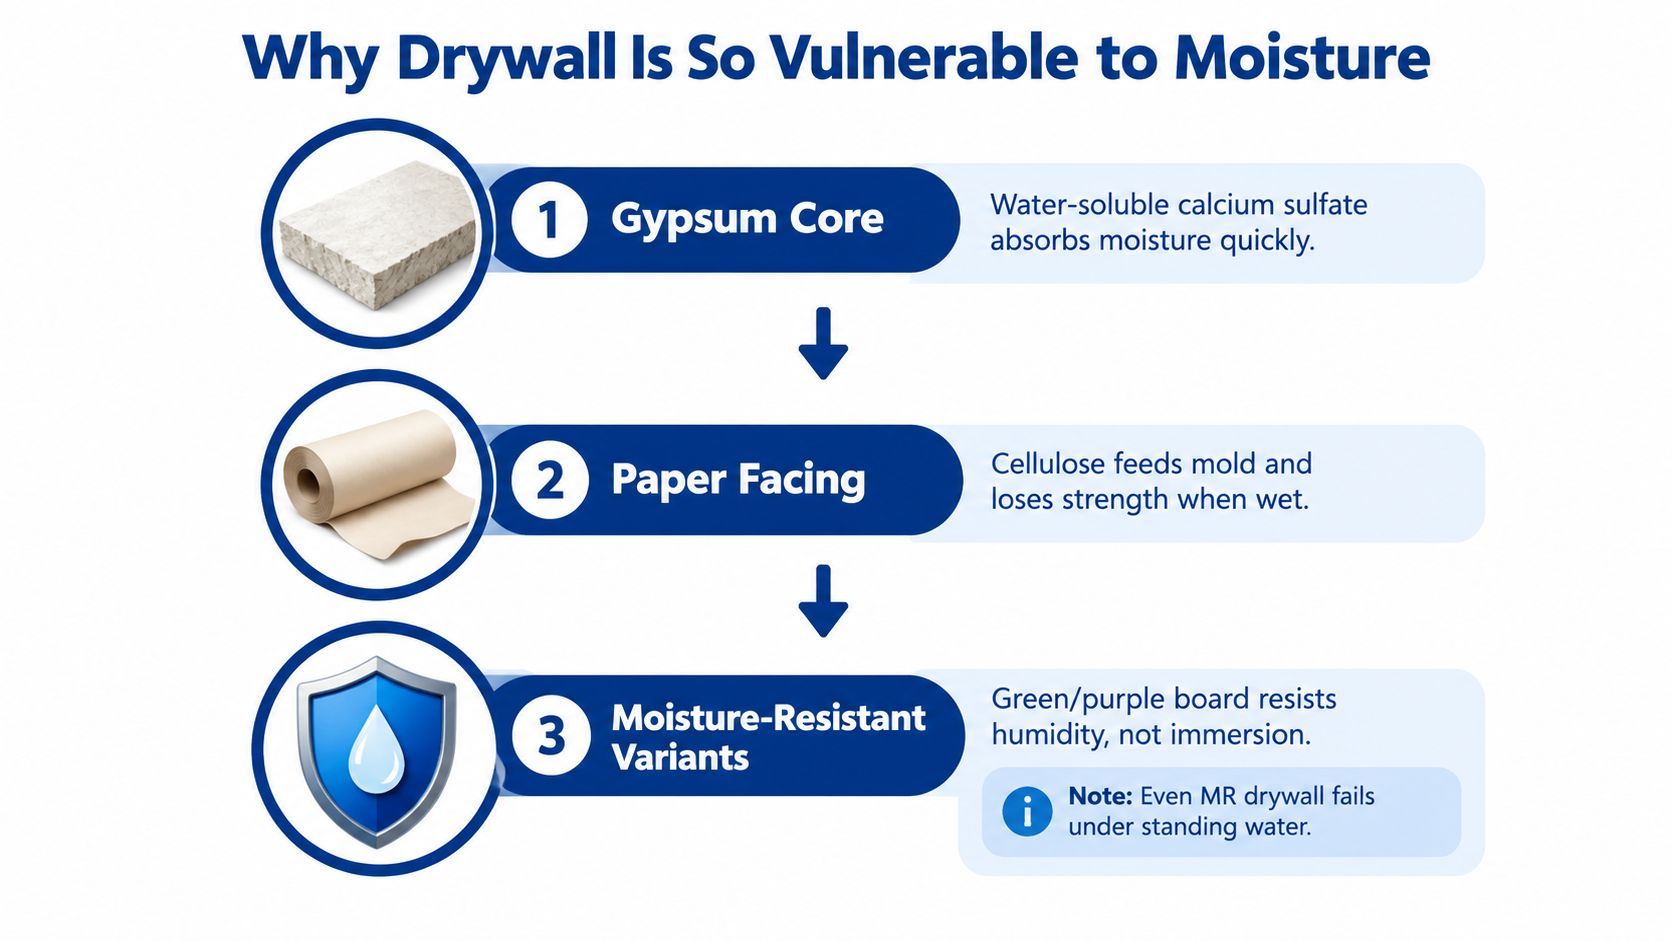
Gypsum board combines a mineral core with paper facings. That construction makes it light, smooth, and efficient for interior walls, but it also gives water two ways to create trouble. The core absorbs moisture and can lose strength, while the paper facing can remain damp long enough to support microbial growth.
The core and facing respond differently
The gypsum core isn't a waterproof barrier. As it takes on water, the panel can soften, swell, crumble, or lose its ability to hold screws and other attachments. The paper facing can wrinkle, delaminate, or separate from the core, leaving a surface that may look repairable but no longer has reliable integrity.
Moisture-resistant drywall changes the performance margin, not the basic rule. Under ASTM C1396, mold- and moisture-resistant gypsum board is allowed a maximum water absorption of 5% of board weight, and mold-resistance testing is commonly conducted at 95% to 98% relative humidity for 28 days under ASTM D3273, as summarized by the Gypsum Association's technical guidance. Those conditions demonstrate resistance to damp exposure. They don't make the product waterproof or suitable for standing water.
Relative humidity changes the risk
Equilibrium relative humidity, or ERH, describes the moisture relationship between a material and the air around it. An EPA-linked study summary reports that 65% ERH corresponds to about 0.85% moisture content in wallboard, while near 100% ERH corresponds to about 1.4% to 1.7% moisture content and strongly supports mold growth. The important point isn't that a homeowner should chase one universal meter reading. It's that a humid wall cavity can keep drywall biologically vulnerable even after the surface seems less wet.
Paper, dust, and organic residues create a favorable environment when moisture remains trapped. This is why drying the room's air without addressing the wall cavity often fails. Air movement, dehumidification, access to the affected materials, and removal of materials that cannot be dried thoroughly all work together.
Time is a material decision
Manufacturers and industry guidance generally advise that if the source isn't eliminated and the board can't be dried thoroughly within about 24 to 48 hours, replacement is typically required, as reflected in manufacturer guidance for gypsum board handling and installation. The same guidance recognizes that there isn't an accepted single “safe” free-moisture content for every wallboard installation.
That limitation matters. A meter can support an assessment, but it can't by itself prove that the paper, core, and hidden backside are safe to keep. A sound decision combines time since the loss, water category, material condition, cavity access, drying progress, and comparison with unaffected drywall.
Assessing Severity and Hidden Damage
A reliable assessment starts with a map, not a guess. Mark the visible perimeter, then inspect outward and downward because water can travel beyond the stain. Check adjoining rooms, baseboards, flooring transitions, cabinets, ceilings below bathrooms, and areas around outlets or penetrations.
A practical inspection sequence
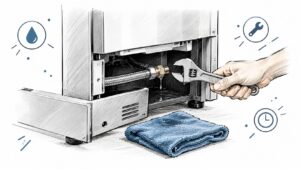
- Control the source. Shut off the leaking fixture or plumbing line, contain roof entry where safe, and keep people away from energized wet areas.
- Record the condition. Photograph surfaces, contents, stains, swelling, and the source before removing materials.
- Map the wall. A technician can take readings across a grid to identify the wettest areas and likely edges of the affected section.
- Check the cavity. Hidden insulation, framing, and the back of the drywall may hold moisture after the face appears dry.
- Compare control points. Read unaffected drywall in the same building, ideally in a similar room, to establish the structure's normal baseline.
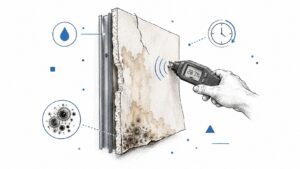
Moisture meters are useful for locating patterns and tracking change, but they have limits. Industry guidance says they're poor at determining whether gypsum panels are too wet to remain in service, and there is no universal free-moisture number that settles the question. For a practical explanation of how professionals detect moisture in walls, focus on the combination of mapping, comparison readings, and inspection behind the surface.
What “dry enough” should mean
A successful dry standard is reached when moisture is decreasing and ends within 10% of the building's normal baseline moisture content, measured against an unaffected control point in the same building, according to this water damage drying guideline. Under that guideline's example, if unaffected drywall reads 14% moisture content, affected drywall should finish at no more than about 24% moisture content.
The example isn't a universal target for every property. It illustrates why “under one fixed number” can mislead. Ask the crew to show the affected readings, the control readings, the locations tested, and whether the values are falling over time.
| Condition | Moisture content or time | Recommended action |
|---|---|---|
| Early, controlled loss | Drying begins promptly and the board remains firm | Continue controlled drying and document readings |
| Delayed drying | Drying isn't initiated within 48 hours | Treat replacement as the recommended path under the guideline |
| Incomplete drying | Material isn't dry within 72 hours | Replacement is recommended under the guideline |
| Verified endpoint | Affected material finishes within 10% of the unaffected baseline | Record the readings and proceed only if the board remains structurally sound |
A dry face, a quiet meter, or a fresh coat of paint isn't enough evidence on its own. The crew should be able to explain what was tested and why the remaining material is suitable for service.
When to Dry versus Replace Drywall
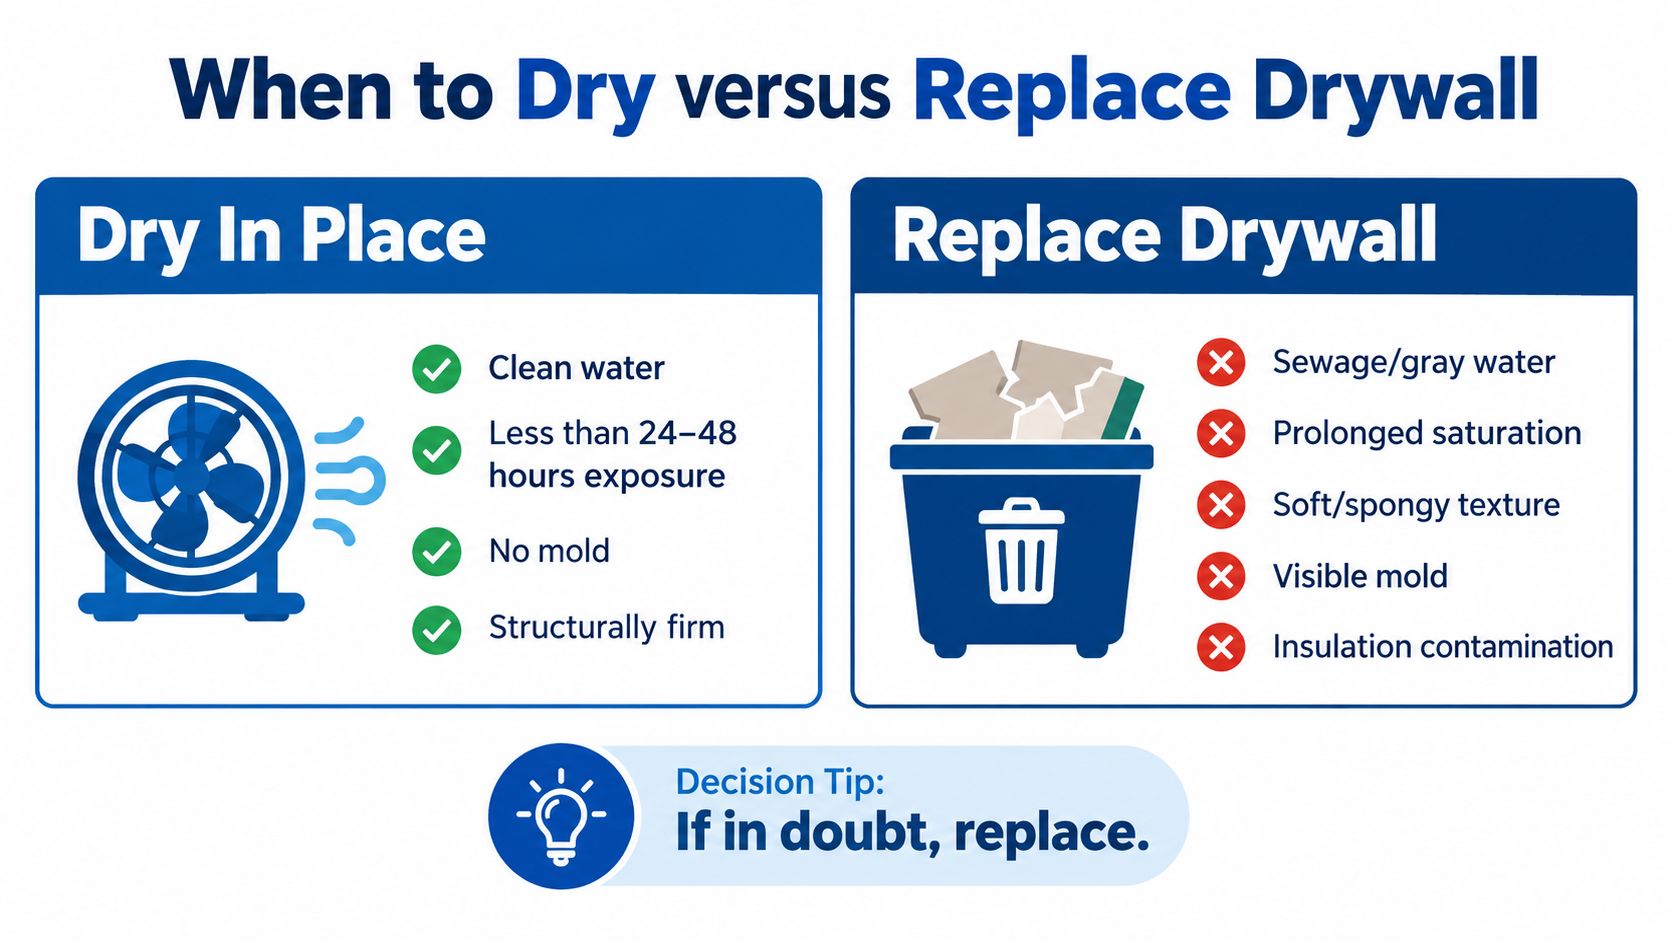
Drying in place works best when the loss involves clean water, the source is stopped quickly, the panel hasn't absorbed water through its full thickness, and the board remains firm and intact. The wall cavity must also be accessible enough for air movement and dehumidification. If insulation or the backside remains wet, drying only the painted surface creates false confidence.
Replacement becomes the safer choice when the panel is swollen, soft, delaminated, crumbling, visibly mold-affected, or contaminated. It also becomes more likely when the loss has remained wet beyond the available drying window. A small patch may restore appearance while leaving weakened material and contaminated insulation behind it.
Dry in place when the evidence supports it
Drying is a reasonable option when all of these conditions align:
- The water was clean: A supply-line leak is a different materials-risk problem from sewage or floodwater.
- The response was immediate: Early extraction and controlled drying reduce the chance that the board becomes saturated throughout.
- The panel is firm: It has no meaningful swelling, sagging, delamination, or crumbling.
- The cavity is accessible: Technicians can address the back of the board, insulation, framing, and adjacent materials.
- Readings are improving: Moisture is decreasing and can be compared with an unaffected control point.
Fans alone aren't a complete drying plan. High air movement without dehumidification can redistribute moisture, while closed wall cavities may remain wet. The objective is to remove moisture from the assembly and verify the endpoint, not just make the room feel comfortable.
Replace when removal reduces the risk
Drywall exposed to contaminated floodwater should be removed rather than dried in place. FEMA and EPA flood guidance recommends removing saturated wall material to support full-sheet replacement, using a 4-foot cut when water was below 2.5 feet, or an 8-foot cut to the ceiling junction when water exceeded 2.5 feet, as described in this FEMA and EPA flood recovery guidance.
Those cut heights aren't a license to remove blindly. The appropriate scope depends on saturation, contamination, wall construction, and the condition of the remaining materials. When saturated fungal-vulnerable materials have been air-dried over weeks, the same guidance notes that applying a disinfectant before drying can help prevent mold growth. That isn't a substitute for removal when the board is contaminated or structurally compromised.
If the paper facing has lost its bond, the core is swollen, or contaminated water entered the assembly, replacement is usually more defensible than cosmetic repair.
Health, Structural, and Insurance Considerations
Untreated water damage creates three separate problems that should be managed together. The first is material failure, including weakened drywall, damaged fastener points, and deteriorated insulation. The second is the indoor environment, where trapped dampness and microbial growth can create odors and occupant concerns. The third is proof, because an insurer, tenant, buyer, or property manager needs to understand what happened and what work was completed.
Build the record while the loss is fresh
Save photographs before demolition, note the date and suspected source, and keep copies of plumber, roofer, or restoration invoices. A useful drying record should identify room locations, affected materials, equipment used, environmental conditions, daily readings, control points, and the reason for removing or retaining each section.
Don't rely on a final photograph of a painted wall to prove that the assembly was dry. A moisture log tied to marked locations is much stronger because it shows the decision process and the endpoint. It also helps a landlord explain the repair to a tenant and helps a claims coordinator evaluate whether reconstruction followed mitigation.
Protect people and the building
Keep occupants away from crumbling or sagging panels, and don't disturb suspected moldy material without an appropriate containment and cleanup plan. Older properties may also require material testing before demolition, particularly where asbestos handling requirements apply. A qualified professional can determine whether testing is needed before cutting, sanding, or removing building materials.
Coverage depends on the policy, cause of loss, exclusions, and the condition of the property. The RestoTek TX guide to homeowners insurance and water damage can help frame the questions, but your carrier and policy documents control the claim.
For property managers, documentation also protects continuity. Record affected units, access attempts, tenant communications, temporary measures, and the condition of neighboring spaces. That information supports a controlled repair instead of a series of disconnected visits that leave hidden moisture unresolved.
Restoration Timeline and Next Steps
The right restoration sequence follows the building, not the paint color. A crew should first stop or isolate the source, make the area safe, extract standing water, and protect contents. It should then assess moisture in the visible surfaces and hidden assemblies before setting drying equipment.
A workable response sequence
Start with stabilization. Move unaffected contents away from the wet area, avoid operating electrical equipment in wet locations, and don't seal a damp wall behind plastic or fresh paint.
Proceed to structural drying. Air movers and dehumidification support evaporation, but technicians need to place equipment based on the moisture map. They may need to remove trim or create access openings so air reaches the cavity.
Decide on salvage or removal. Firm, accessible drywall from a clean loss may be monitored. Saturated, contaminated, swollen, mold-affected, or persistently wet board should be removed, along with other materials that cannot be restored safely.
Document the endpoint. Compare final readings with unaffected control points and preserve the drying log, photographs, scope, and disposal records.
Rebuild only after mitigation. Replacement drywall, insulation, texture, primer, paint, trim, and fixtures should follow confirmation that the remaining structure is dry and suitable for reconstruction.
A local provider is useful when the loss involves hidden cavities, multiple rooms, floodwater, tenants, or an insurance claim. Ask who will perform the moisture assessment, how control readings will be selected, whether the company handles extraction and reconstruction, and how it documents the dry standard. Verify licensing or trade credentials that apply to the work, confirm insurance, and request a written scope rather than approving a vague “dry and repair” package.
Property managers should notify occupants clearly, preserve access to affected areas, and maintain a room-by-room log. Homeowners should resist choosing the lowest-effort option when the wall's backside, insulation, or water category remains uncertain. A fast professional assessment can prevent a cosmetic repair from becoming a second loss.
Frequently Asked Questions
Can moisture-resistant drywall be saved after a major leak?
Sometimes, but resistance isn't waterproofing. If the board is firm, the water was clean, the cavity can be dried, and readings reach a documented dry standard, drying may be possible. Saturation, swelling, contamination, or hidden insulation damage favors removal.
How long should drying take?
There isn't one reliable duration for every wall. Drying should begin promptly, and the endpoint should be based on declining readings compared with unaffected drywall, not on appearance alone.
What should I keep for insurance?
Keep source information, photographs, invoices, moisture maps, equipment records, readings, demolition notes, and the final reconstruction scope. Ask your carrier what additional claim documents it requires.
How can I reduce future risk?
Repair plumbing and roof sources quickly, improve ventilation in damp rooms, and investigate recurring odors or stains before they spread into concealed cavities.
RestoTek TX provides water extraction, moisture inspection, structural drying, microbial prevention, and drywall reconstruction for water-damaged properties in Georgetown, Austin, and surrounding Central Texas communities. Visit RestoTek TX to request an assessment and discuss the safest path between drying in place and replacement.