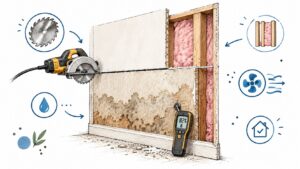
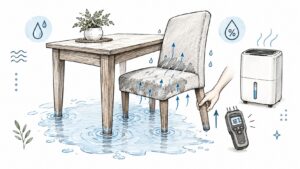
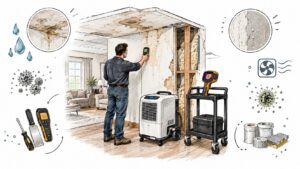
At 2 a.m., after a flash flood, the water may be gone but the wall is still holding it. The baseboards are swollen, the lower drywall feels soft, and a dark stain traces the route the water took. Your first instinct may be to aim a fan at the painted surface and start vacuuming. That can help remove surface water, but it doesn't tell you what has collected inside the wall.
A flood cut drywall removal gives a restoration crew access to the wet gypsum, insulation, framing, and bottom plate. The important decision isn't whether the stain reaches 12 or 24 inches. The cut should follow the moisture readings, the kind of water involved, and the condition of the insulation.
When the Waterline Creeps Up the Wall
At 2 a.m. in a Round Rock living room, four inches of muddy San Gabriel water has already receded. The lower portions of the drywall sheets are dark, the wet gypsum gives off a sour smell, and the baseboards have begun to swell at their joints. A Shop-Vac and a box fan are sitting nearby because removing the visible water feels like the obvious first move.
It is a sensible first reaction, but the stain on the wall is only the part you can see. Water can move upward through porous drywall and into the wall cavity before a homeowner finishes mopping. Plumbing penetrations, framing gaps, and the connections between the slab and wall assembly can give moisture additional paths into insulation and wood.
The visible line marks the damage you can see, not necessarily the highest point where the wall is wet.
The clock matters because porous materials retain moisture after the room looks cleaner. Wet insulation can remain saturated inside the cavity, while the paper facing on drywall creates a food source for microbial growth. Baseboards, cabinet sides, flooring edges, and the sill or bottom plate can wick moisture laterally as well as upward.
A homeowner standing in that room needs two answers quickly. First, has the water source been controlled and is the area electrically safe? Second, how far has moisture traveled beyond the stain? A professional inspection of water damage inside walls uses moisture mapping and visual assessment to answer the second question before anyone chooses a cut line.
The flood cut is the controlled response to that hidden problem. It removes damaged porous material, opens the cavity, and creates a surface that can be dried and rebuilt. It isn't a faster way to make the wall look tidy. It is an access decision made while the wall is still wet.
What a Flood Cut Actually Means
A flood cut is a deliberate horizontal removal of the lower section of drywall after water intrusion. Industry guidance commonly places the line 12 to 24 inches above the visible waterline, and some situations call for a cut as high as 4 feet from the floor when the wet zone extends farther upward. The height comes from the condition of the assembly, not from a universal cosmetic rule. Industry guidance on water-damaged drywall explains the relationship between wicking, cavity drying, and a cleaner replacement height.
Drywall has a gypsum core covered by paper. When the bottom edge contacts water, the paper and gypsum absorb it, much like a sponge that keeps drawing liquid beyond the point of the original splash. A wall can therefore read wet above the visible stain even when the upper paint still looks normal.
The horizontal removal exposes the parts that need attention:
- The cavity: Technicians can see whether insulation is wet, compressed, fouled, or holding debris.
- The framing: Studs, plates, and the backs of adjacent materials can be measured and dried.
- The wiring path: Open access makes it easier to identify hazards before reconstruction.
- The replacement edge: A straight, sound seam gives new drywall a stable surface to attach to.
The cut isn't cosmetic demolition. It is closer to cutting the soaked bottom from a layered cake so the remaining layers can breathe. Leaving the saturated portion in place may preserve a little drywall today, but it can also seal moisture into the cavity and make drying equipment far less effective.
The cut line is selected after checking the moisture gradient, water contamination, and insulation. A clean supply-line leak that was stopped quickly may need selective removal. Muddy outdoor water or sewage requires a more cautious scope because contamination changes which porous materials can remain.
Why the Visible Waterline Is the Wrong Reference
The stain is a visual clue, not a measurement. Moisture may have moved higher through the paper facing, across the gypsum core, or sideways through framing, so a technician should map the wall rather than place a tape measure against the discoloration.
A pin or pinless moisture meter helps compare the suspect wall with an unaffected area. The useful question is not, “How high is the mark?” It is, “Where does the wall stop reading high, and what materials are wet behind it?” Neutral guidance on water intrusion research highlights why a fixed 12-to-24-inch shortcut can miss moisture above the stain and why the cutoff may align with a higher replacement height when drying or sheet sizing makes that practical.
Water type changes the decision as well. A clean indoor supply leak may allow more salvage when the drywall and insulation can be dried promptly. Contaminated outdoor floodwater or sewage can make porous drywall and insulation unsuitable for drying in place, even when the visible line looks modest.
Insulation is another decisive factor. Fiberglass batts can hold water inside the cavity and may need removal through a larger opening. Closed-cell spray foam doesn't behave the same way, so a technician may assess whether the assembly can be cleaned and dried without removing as much material.
| Factor | Low Risk, 12 to 18 in | Moderate Risk, 24 in | High Risk, 36 in or full removal |
|---|---|---|---|
| Moisture readings | Readings return to the unaffected-wall baseline soon above the mark | Elevated readings continue above the lower section | Moisture extends well beyond the planned seam or reaches hidden areas |
| Water type | Clean water with limited exposure | Clean water with deeper wicking or uncertain duration | Contaminated floodwater, sewage, or material contact that cannot be safely salvaged |
| Insulation | No insulation, or insulation remains demonstrably dry | Partial wetting requires cavity access | Saturated or fouled porous insulation fills the affected cavity |
| Wall condition | Firm gypsum with no significant deterioration | Soft lower gypsum but sound material above the planned line | Crumbling, delaminated, visibly contaminated, or persistently odorous material |
Undercutting creates a predictable failure. Wet gypsum or insulation stays above the new seam, the cavity remains damp, and the homeowner later sees bubbling paint, a musty odor, or microbial growth. Documentation turns the decision from a guess into a defensible scope for the homeowner, contractor, and adjuster.
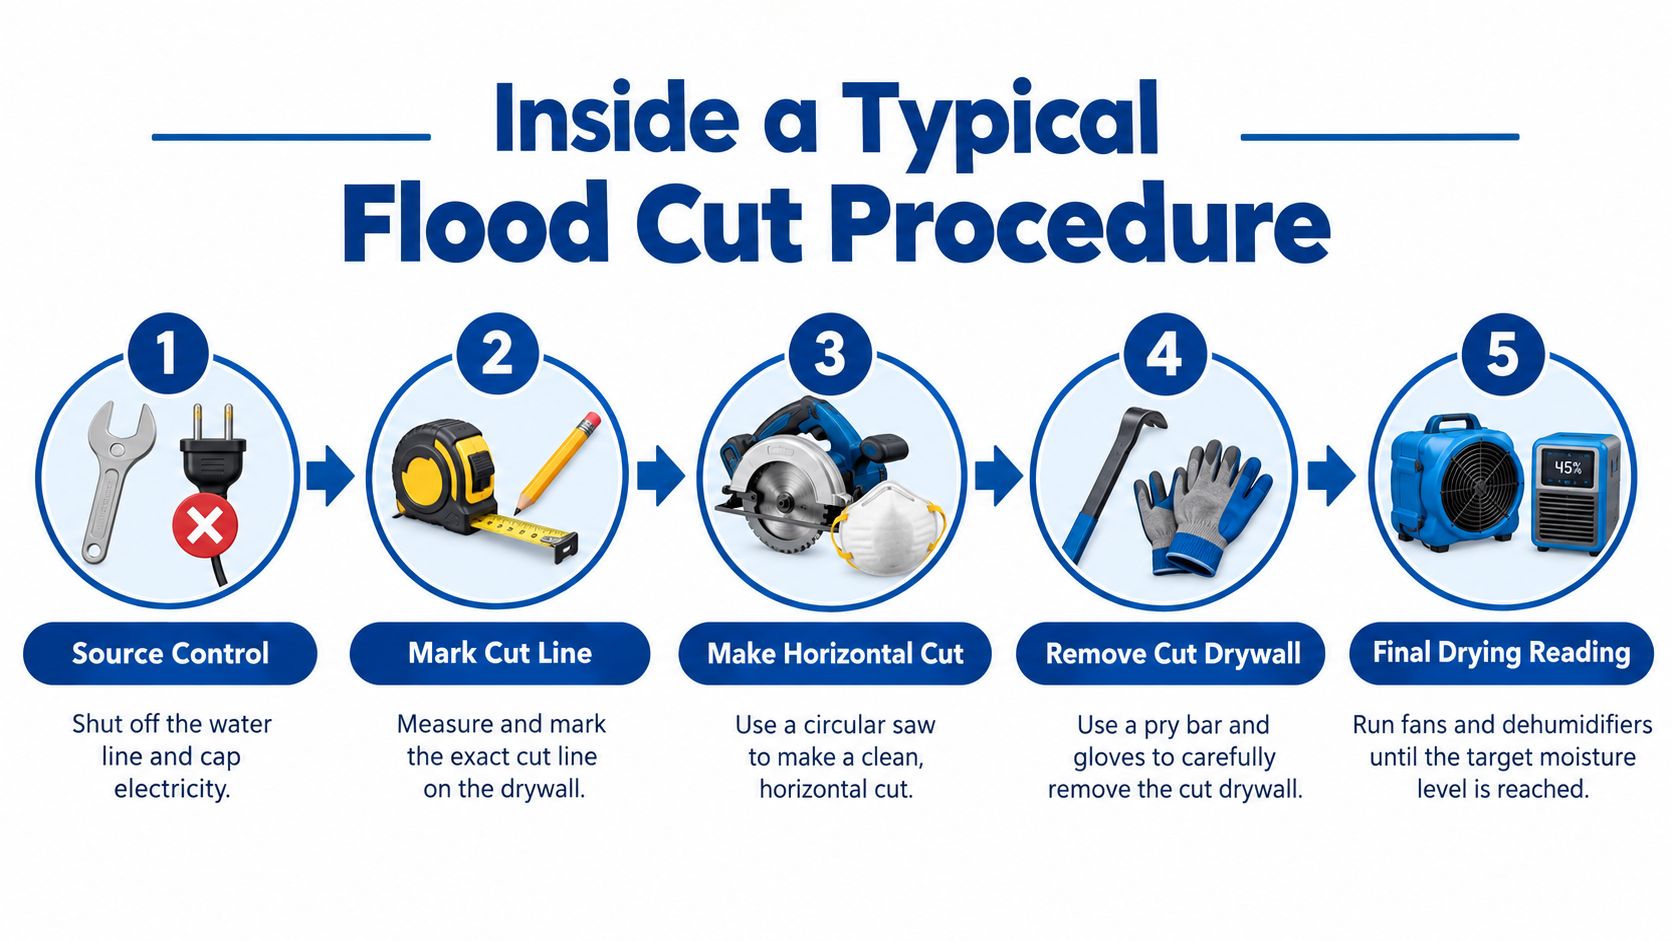
Inside a Typical Flood Cut Procedure
A professional crew starts with source control and safety, not a saw. They identify whether the water came from an interior supply, a backup, or outdoor flooding, then check for electrical hazards and unstable materials before entering the affected work area.
Technicians next map the wall. They take readings across the lower drywall, near corners and penetrations, at the base plate, and in comparable dry areas. The cut line follows the highest relevant moisture reading and the condition of the cavity, rather than stopping immediately above the stain.
The removal itself should be controlled. A technician may score the face with a utility knife, make a measured horizontal cut, remove manageable sections, and place debris into sealed bags when contamination requires controlled disposal. Wet fiberglass insulation is pulled from the opening instead of being left behind as a reservoir of moisture.
Once the cavity is open, air movers can direct airflow across exposed studs and plates. A low-grain refrigerant or desiccant dehumidifier removes moisture from the room air, allowing more water to leave the building materials. Equipment placement depends on the room, the wall construction, and the moisture map.
Daily readings matter because equipment can dry the surface before the cavity is ready. Technicians compare the affected materials with unaffected areas, adjust airflow, and continue until the wall assembly reaches the applicable dry standard. Only then should the crew treat exposed framing, remove remaining debris, and prepare the opening for insulation and replacement drywall.
Rebuilding is a separate phase from mitigation. Guidance on repairing water-damaged drywall treats replacement as the final step after inspection, removal, cleaning, and verified drying. That separation protects the new drywall from being installed over a damp cavity.
The Real Cost of Waiting Too Long
Wet drywall doesn't become safe merely because its face feels less cold. The paper facing and gypsum core can remain damp after surface water disappears, while insulation and framing dry more slowly inside the wall.
The key benchmark is 24 to 48 hours. If porous drywall remains wet beyond that window, or if contamination is possible, guidance generally favors removal rather than drying it in place because mold risk rises sharply. Guidance on wet drywall after water damage connects that benchmark to the need for moisture-meter verification and cavity drying.
What delay changes
During the first day, water continues moving through porous materials. A fan aimed at the painted surface may improve evaporation there without reaching the back of the drywall, the insulation, or the bottom plate.
By the second day, the wall can develop a persistent odor and retain conditions that support microbial growth. If the wall remains closed, the homeowner may not discover the problem until paint bubbles, trim separates, or a musty smell returns after the room appears clean.
The practical difference is scope. A prompt, selective cut may leave sound upper drywall in place and allow targeted drying. A delayed response can require broader demolition, cavity cleaning, odor treatment, disposal controls, and additional inspection.
Waiting to avoid demolition can turn a small opening into a larger restoration project.
That doesn't mean every damp wall requires panic demolition. A clean, limited incident may be salvageable when readings confirm that the drywall, insulation, and framing can dry safely. It does mean that waiting without measuring is a decision to leave unknown moisture inside the assembly.
Safety and Containment During the Cut
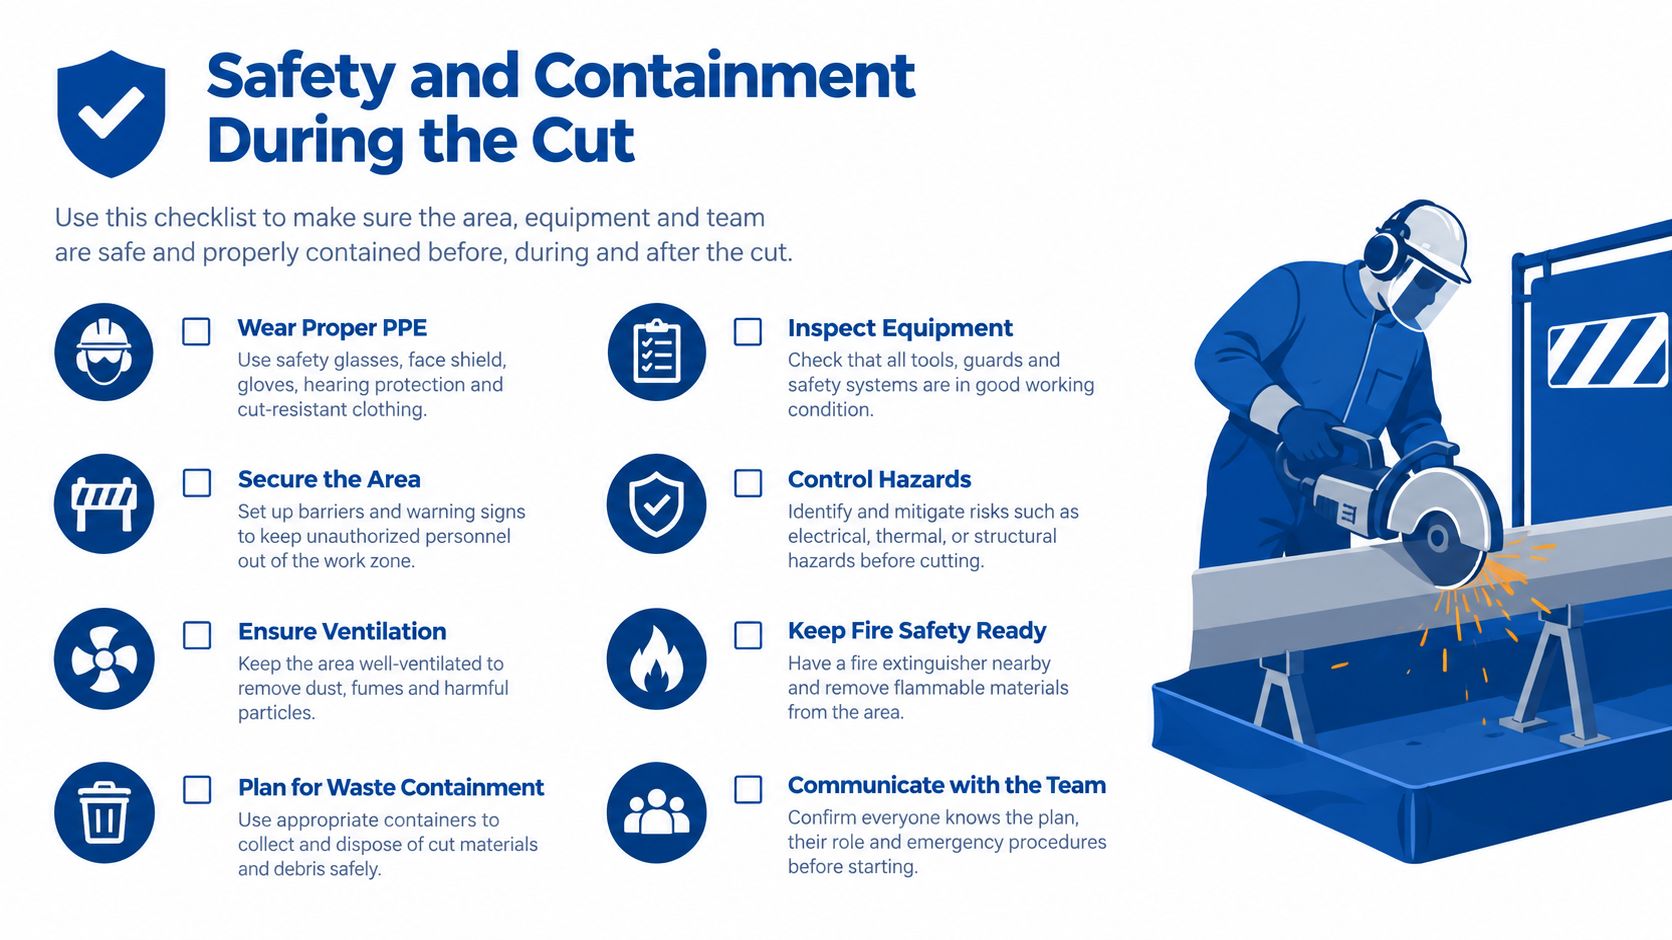
A flood cut starts only after the source is controlled. For an interior plumbing failure, that may mean closing the local supply valve or the home's main shutoff. An exterior flood requires confirmation that water is no longer entering, while a suspected slab leak may need plumbing attention before the wall is opened.
Electricity creates a separate hazard. Affected outlets, switches, panels, and splices must be de-energized and verified by someone qualified to do so. Wet paper-faced drywall can conceal damaged wiring, and cutting before verification can expose a worker to shock or create a fire risk.
Keeping the work zone contained
The crew may isolate the room with a poly barrier so dust, debris, and contaminated particles don't move into occupied areas. With Category 2 or Category 3 water, negative-pressure air scrubbing can help control migration while demolition proceeds. Learn more about negative-pressure systems for restoration containment before assuming a box fan provides the same protection.
Removed drywall should be handled as potentially contaminated material when the water source warrants it. Workers need gloves, eye protection, respiratory protection appropriate to the hazard, and protective coveralls when sewage or river water is involved.
A homeowner can often remove a loose baseboard or change a dry outlet cover after the area is confirmed safe. A wall-to-wall flood cut is different. It combines electrical risk, contaminated debris, hidden plumbing, insulation handling, and the need to prove that the remaining wall is dry.
Stop work if the drywall is sagging, the ceiling is swollen, the breaker cannot be identified confidently, or the water may contain sewage or outdoor contaminants. In those situations, containment and professional assessment matter more than speed with a saw.
Documenting the Loss for Your Insurance Claim
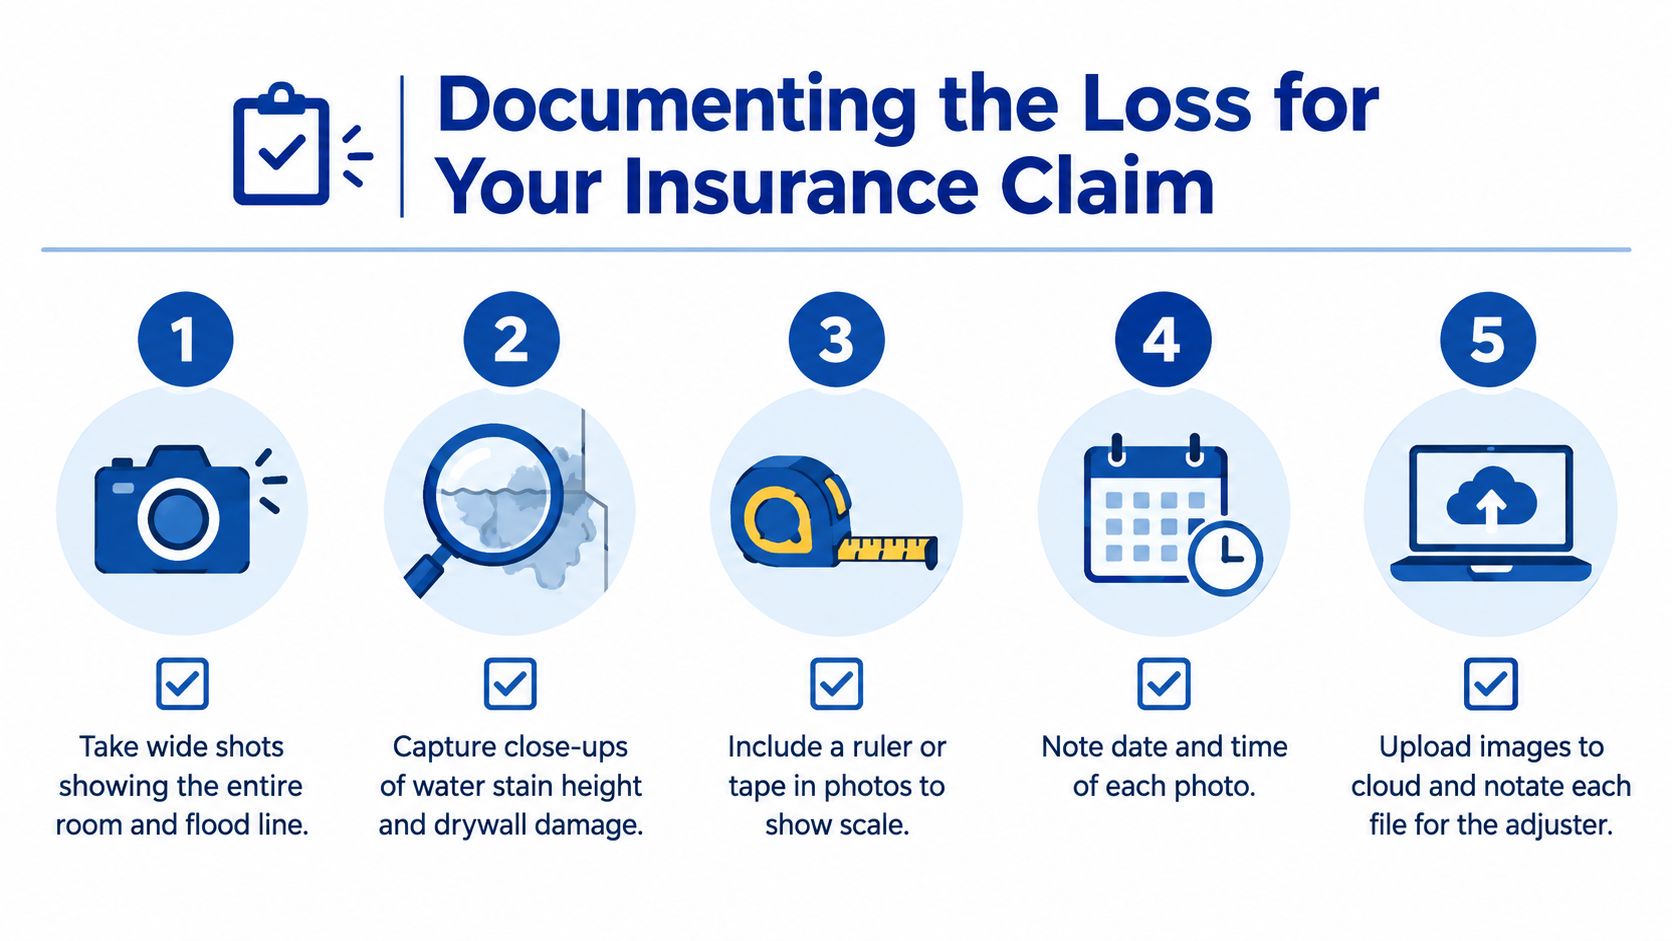
Good documentation connects the physical cut to the reason it was necessary. Before demolition, photograph the whole room, each affected wall, the visible waterline, swollen trim, damaged flooring, cabinets, and personal property. Wide images establish location, while close images show the condition that may disappear once materials are removed.
Record the moisture map in writing. Note where the meter was placed, which materials were tested, and where readings changed from high to normal compared with an unaffected area. The cut drywall itself can also preserve evidence of water height, wicking, and deterioration, so don't rush to discard every removed section before the scope is documented.
What the adjuster needs to understand
An adjuster may need to distinguish mitigation from reconstruction. Keep separate records for extraction, demolition, drying equipment, cleaning, and the later replacement of drywall, insulation, trim, paint, or flooring. Contractor estimates should describe the affected rooms and the reason for each removal area rather than using a vague phrase such as “remove damaged drywall.”
Dates and times help establish sequence. Save photographs in more than one location, label them with the room and subject, and retain drying logs that show equipment placement and follow-up readings.

Common gaps include missing pre-mitigation photographs, no moisture map, no record of the water source, and a scope that confuses stain height with contamination type. Coverage depends on the policy and cause of loss, so documentation can't guarantee payment. It can, however, show that the flood cut followed observed conditions rather than a contractor's habit.
Calling a Professional in Central Texas
A professional assessment makes sense when the affected assembly is larger than a small, accessible patch or when the water source creates a contamination concern. Call for help when standing water remains, the water has sat beyond the safe drying window, outdoor floodwater or sewage entered the home, or insulation behind the drywall is saturated.
Ask prospective contractors how they assess the wall before cutting. A clear answer should include moisture mapping, water-source classification, electrical safety, cavity inspection, controlled demolition, drying equipment, and written readings. The IICRC S500 provides a recognized framework for water-loss restoration procedures, including inspection, controlled removal, drying, and restoration, as described in this overview of the standard.
Questions worth asking
- Training: Can the technician explain the relevant IICRC training and the proposed scope?
- Insurance: Can the company provide proof of general liability and pollution coverage?
- Documentation: Will you receive photographs, moisture maps, equipment records, and final readings?
- Coordination: Will the contractor communicate with your adjuster while keeping the scope understandable to you?
- Reconstruction: Can the same provider explain how the opening will be insulated, closed, finished, and checked?
A smaller repair may be reasonable when a clean indoor leak was contained quickly, the affected area is limited, and readings show that the insulation and framing can be dried without broad demolition. A handyman can repair a confirmed dry opening, but shouldn't be asked to decide the mitigation scope without the tools and process needed to inspect the cavity.
For homeowners in Georgetown, Austin, and nearby Central Texas communities, RestoTek TX offers water-damage inspection, extraction, structural drying, microbial prevention, and drywall reconstruction as part of its restoration and repair services. The right provider should help you understand why the line is where it is, not draw a familiar line and start cutting.
If your wall has been exposed to floodwater, don't measure the cut from the stain alone. Visit RestoTek TX to request an inspection that connects moisture readings, contamination, insulation condition, drying, and drywall reconstruction into one documented plan.