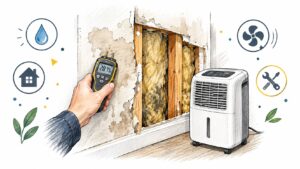
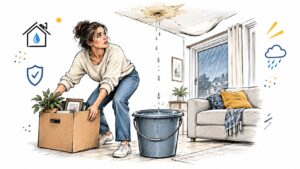
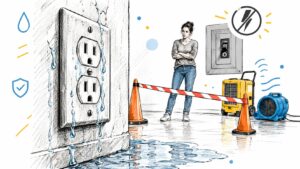
A water stain has appeared on the ceiling, the baseboard smells musty, or the latest utility bill is higher than expected. In a Georgetown or Austin home, the visible damage often sits several feet away from the actual failure. Water can travel along framing, insulation, flooring, and plumbing runs before it announces where it entered.
That's why leak detection and repair should be treated as one evidence-driven process. A plumber may stop the flow, but someone still needs to establish how far moisture traveled, whether another source is active, and whether the building materials are drying. Cutting open the wrong wall or accepting a quick patch can leave the original problem unresolved and make insurance documentation harder.
Why Leak Detection Is the Hidden Half of Water Damage
A homeowner in Georgetown might first notice a ceiling stain below a bathroom, a water bill that suddenly feels abnormal, or a damp smell near a baseboard. The natural response is to look directly above the stain, remove a section of drywall, and hope the pipe is sitting there. Sometimes it is. Often, the stain only marks the point where water finally became visible.
I've seen this mistake create two problems at once. The opening becomes larger than necessary, while the active leak remains hidden behind a wall, under a floor, or along a different section of pipe. Water may follow joists or framing, so the apparent damage location isn't reliable proof of the source.
Practical rule: Treat every stain as a clue, not a diagnosis.
The first task is evidence gathering. A technician should identify whether the water is coming from a pressurized supply line, a drain, a fixture, an appliance, a roof or window assembly, or an underground line. That distinction controls the repair. An accessible valve may need a small plumbing correction, while a concealed supply failure can require targeted demolition, drying, and reconstruction across multiple rooms.
A useful starting point is what leak detection involves. The process should connect observations to tests, not jump from a wet mark to a destructive guess.
Why speed matters
Small leaks can become expensive because flow continues while everyone is still looking for the source. The U.S. Environmental Protection Agency's WaterSense leak detection and repair guidance illustrates how quickly losses compound. A leaking toilet flowing at 0.02 gallons per minute can waste about 860 gallons per month, while a 15.0-gallon-per-minute leak can waste 648,000 gallons per year and cost up to about $86,000 annually in water loss alone.
Those figures aren't a reason to panic. They're a reason to shut off the water when safe, document what you see, and locate the source before moisture spreads. Good detection protects the repair budget, the structure, and the claim record.
The Core Methods Used to Find a Leak
Professionals usually begin with the least invasive method and add specialized tools only when the evidence calls for them. No single instrument sees through every material or identifies every kind of failure.
Start with the building, not the camera
Visual inspection can reveal active dripping, water rings, efflorescence, swollen trim, warped flooring, peeling paint, or discoloration around penetrations. It narrows the search, but it can't prove that the visible mark is the source. A dry surface may still conceal moisture behind it.
Moisture meters add measurable information. A pin meter samples resistance between inserted pins, while a pinless meter scans without puncturing the finish. Technicians compare readings across damaged and unaffected areas, then map the wet boundary in drywall, subfloor, trim, or other materials. A meter reading is evidence of moisture, not evidence of a particular leak path.
Use thermal imaging as a pattern-finding tool
An infrared camera detects surface temperature differences. Evaporation can cool wet materials, and hot-water lines can create warmer patterns. Thermal imaging is useful for screening walls, ceilings, floors, insulation, and slab areas, but the pattern must be checked with moisture readings because temperature changes can also come from sunlight, air movement, insulation differences, or building materials.
The comparison of acoustic, thermal, and ground-penetrating radar methods makes the key limitation clear. Thermal imaging isn't a direct water sensor. It maps temperature anomalies associated with moisture or heat transfer.
Escalate when the pipe or drain demands it
Acoustic listening equipment detects the hissing or rushing sound produced by pressurized water escaping a pipe. Correlation equipment uses sensors and timing differences to narrow the likely leak position. Tracer gas, commonly a hydrogen-nitrogen mixture, can help locate difficult pressurized-line leaks when sound transmission is poor. Dye testing is useful for certain drain, fixture, and envelope investigations, where a visible dye path can connect a test source to a wet area.
| Method | Best For | Limitations |
|---|---|---|
| Visual inspection | Drips, stains, damaged finishes, obvious entry points | Doesn't prove the concealed source |
| Moisture meter | Mapping wet materials and tracking drying | Readings vary by material and conditions |
| Thermal imaging | Screening hidden moisture and hot-water patterns | Temperature anomalies can have non-moisture causes |
| Acoustic detection | Pressurized supply lines and underground piping | Background noise, soil, and pipe construction affect results |
| Tracer gas or dye | Difficult pressurized lines and selected drain tests | Requires controlled testing and interpretation |
The right sequence is usually more valuable than the newest device. Start with observations, test the wet materials, isolate the plumbing system where possible, and open finishes only after the evidence supports a location.
How Acoustic and Thermal Detection Work
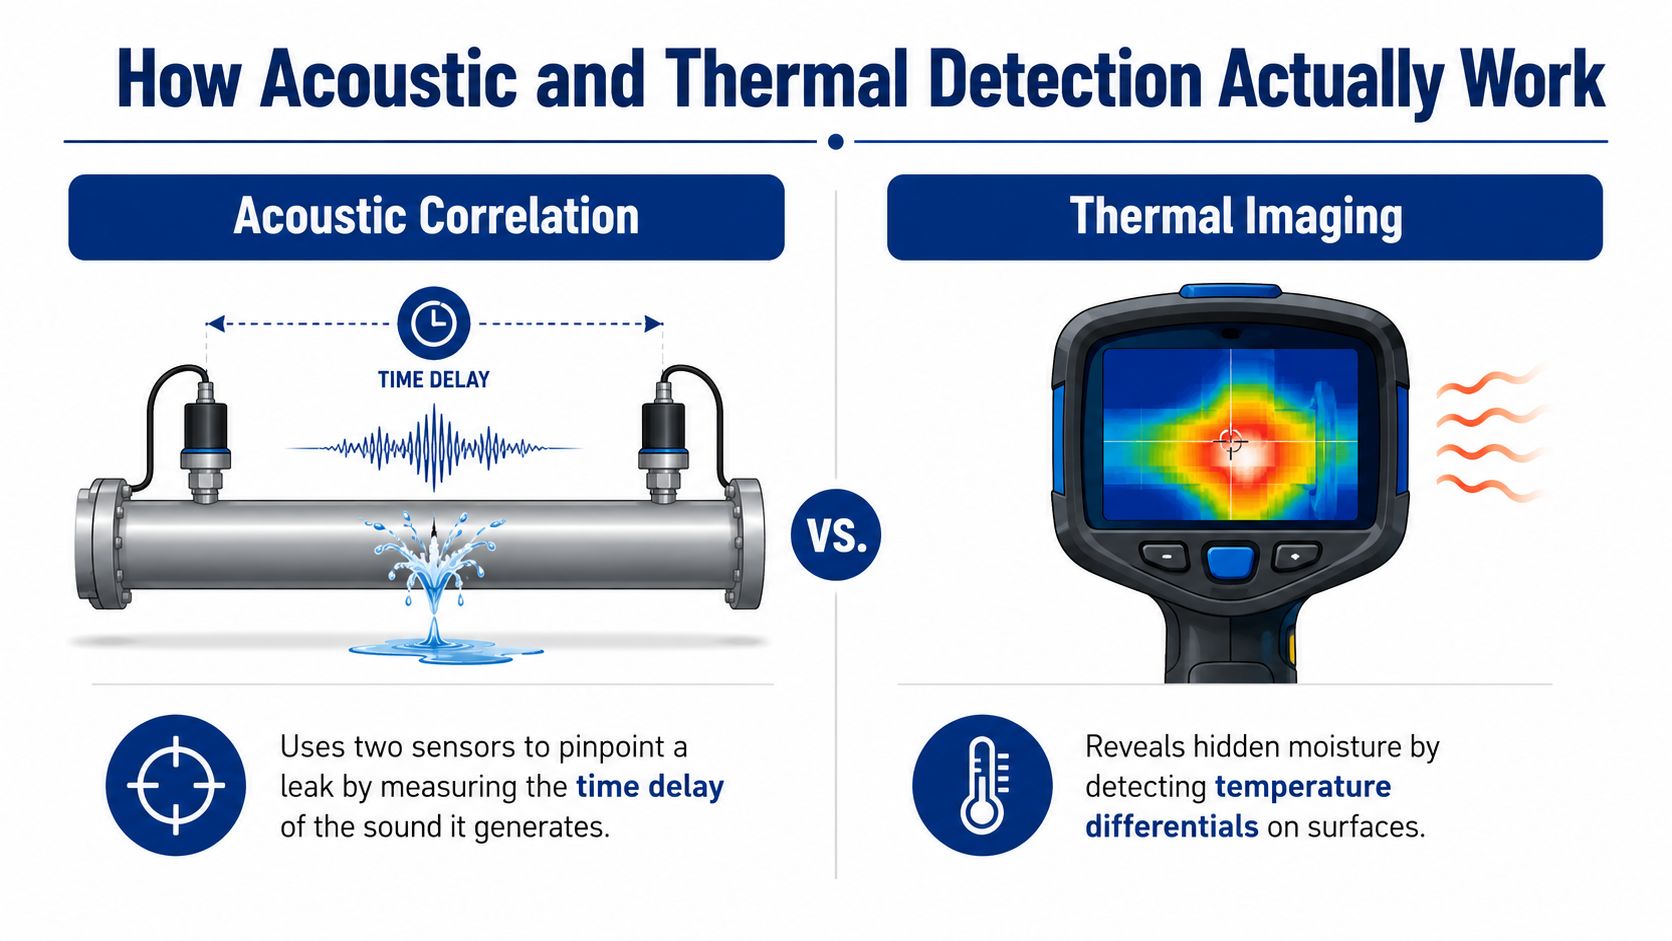
A leak investigation succeeds only when the evidence agrees. The equipment should identify a location, support the suspected failure, and provide a record that the opening or repair decision was justified. Acoustic correlation and thermal imaging serve different roles in that process.
Acoustic correlation follows time and frequency
A pressurized supply line produces a hissing or rushing sound when water escapes. The vibration travels through the pipe, often more clearly than through surrounding soil. A correlation setup places sensors at two points on the suspected pipe section, then compares the arrival time and frequency of the sound at each sensor. Software uses that timing difference to estimate the leak position.
Good results depend on setup before the calculation begins. The technician must confirm the pipe route, identify accessible contact points, enter the correct pipe length and material, and check pressure conditions. Sensors need firm, consistent contact. Filtering then helps separate leak noise from pumps, traffic, valves, and activity inside the building.
Published engineering guidance on non-revenue water management describes correlation equipment narrowing a leak to within about 0.5 metres in many pipe sizes. Residential work may be less precise. Pipe material, fittings, soil, access distance, pressure, and background noise can all shift the result.
A strong correlation peak is evidence, not proof. Repeat the test from another pair of access points when possible. Shut down nearby equipment, compare readings before and after isolating the line, and confirm that the proposed location matches staining, moisture, or the observed plumbing behavior. Acoustic testing is less decisive on drains that leak only during fixture use, buried lines with complicated fill, and systems with heavy mechanical noise.
Thermal imaging supports the investigation
Thermal cameras can show surface patterns associated with moisture migration or hot-water movement, helping technicians choose where to inspect without immediately removing finishes. The image should be saved with the inspection conditions and paired with meter readings or another physical observation.
A documented thermal imaging leak detection inspection gives the result more value than an unexplained camera image. Record the suspected location, test conditions, instrument findings, and the reason for selecting an opening. After repair, repeat the relevant test and document dry readings or normal system behavior. A temporary patch should not be treated as a verified repair.
The most reliable finding is a matched finding, where the instrument pattern, moisture reading, plumbing behavior, and visible conditions point to the same location.
Repair Options Once the Leak Is Located
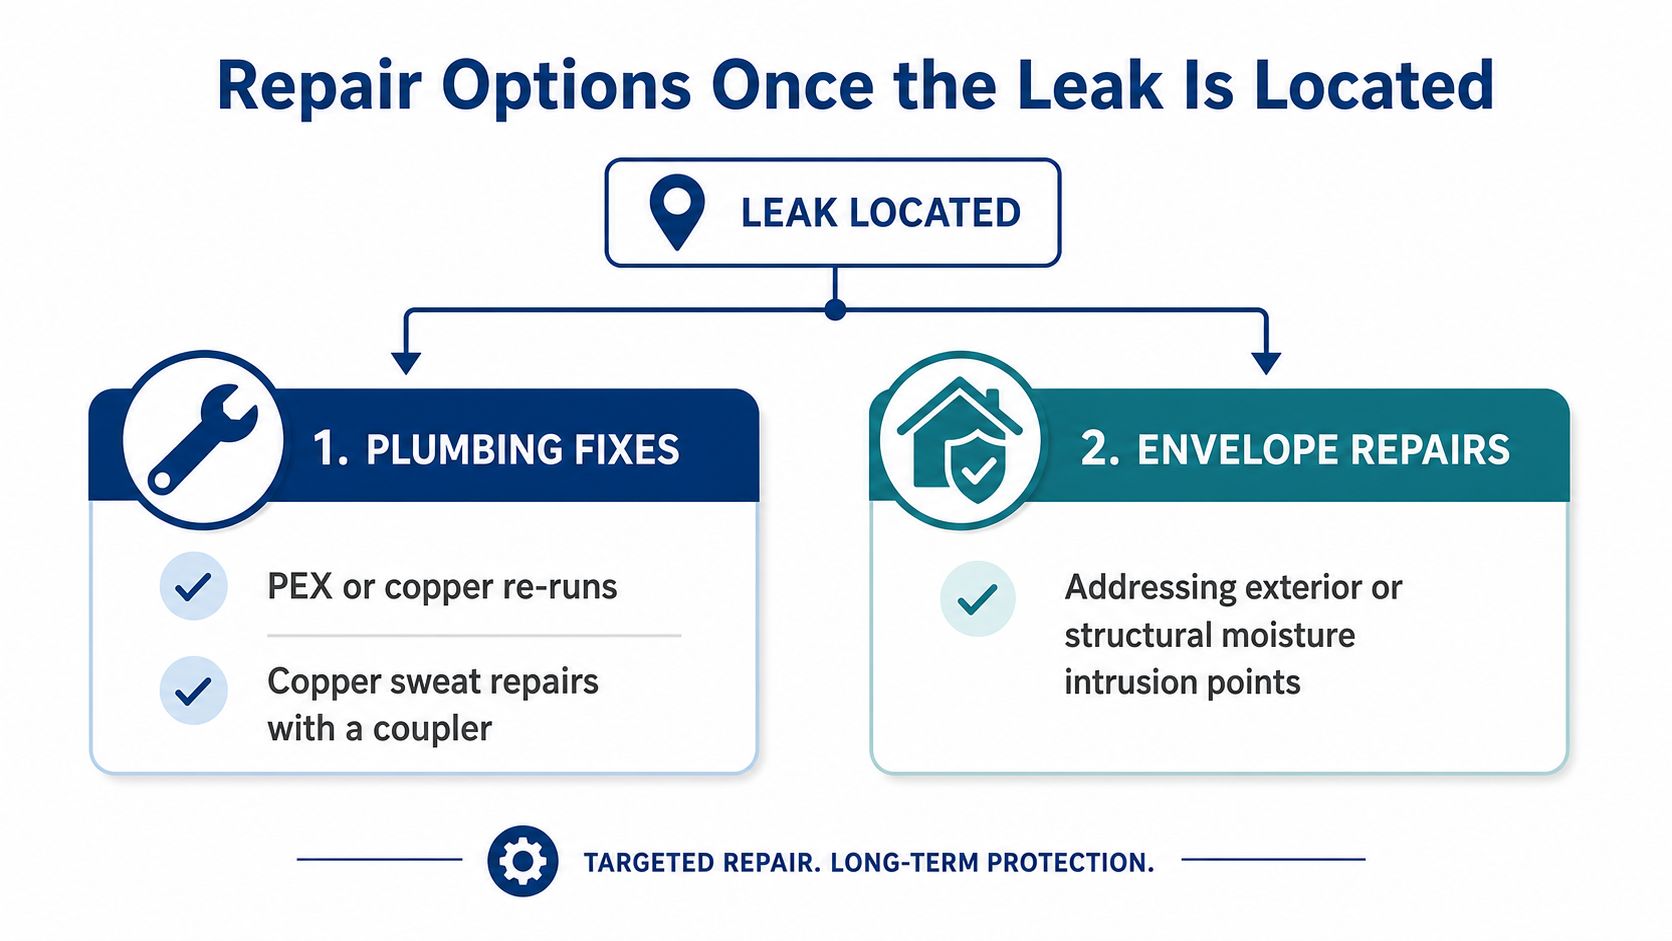
Repair selection depends on the failed component, pipe material, access, and the chance of another failure nearby. In Central Texas homes with expansive clay soil, a plumber may compare direct excavation with a manifold reroute. Excavation can preserve the original layout but disturb slab, flooring, and nearby finishes. A reroute costs more in new piping and may require attic or wall access, yet it can reduce demolition and leave the line easier to service.
An accessible supply-line defect may accept a copper coupler and sweat connection, or a push-to-connect fitting when installation conditions support it. A longer damaged section often makes a PEX or copper re-run more sensible than repeated spot repairs. With older galvanized systems, repair planning should address the condition of other exposed sections, since one successful fix does not improve the remaining pipe.
Drain repairs require a different approach. A localized PVC replacement may resolve a cracked or separated section, while a drain beneath a slab can require invasive access. For example, if a bathroom drain repeatedly backs up and inspection shows a separated joint beneath the floor, the contractor may open only the affected area, replace the joint, test the drain under fixture use, and restore the finish after drying.
The pipe repair doesn't restore the room
The building envelope includes the materials separating the interior from moisture. After the source is controlled, restoration may include removing unsalvageable drywall, drying or replacing insulation, treating affected framing, reinstalling trim, patching flooring, and repainting.
Exterior intrusion needs its own repair path. Failed window flashing, stucco cracks, roof penetrations, and poorly sealed transitions can continue sending water into a wall after an interior patch. Inspect and correct the entry point before closing the wall, then document drying and reconstruction.
Match the work to the failure
- Pressurized supply leak: Repair or replace the failed section, then pressure-test the system.
- Drain-line failure: Test the drain under the conditions that caused the loss, then replace or bypass the damaged portion.
- Slab leak: Choose excavation or rerouting based on access, durability, and finish restoration.
- Interior moisture damage: Extract standing water, dry the assembly, remove damaged materials where required, and rebuild.
- Exterior intrusion: Correct the entry point before closing the interior wall.
A reliable handoff records what failed, what was replaced or bypassed, what remains untested, and which finishes still need drying or reconstruction. Keep test results and photographs with the repair record so a temporary patch is not mistaken for a verified repair.
Costs, Timelines, and Who to Call
In Georgetown and Austin, access alone can change the cost of a leak repair substantially. A visible valve drip differs from a pressurized line beneath a slab, and the plumbing repair may not include damaged drywall, flooring, drying, or paint.
The figures below are planning ranges based on 2025 Central Texas service estimates. They are not guarantees. Routing, materials, demolition, permits, drying, and reconstruction can change the final scope. For more context, see this guide to leak detection service costs.
| Service Type | Typical Cost | Typical Timeline | Best Provider |
|---|---|---|---|
| Accessible supply-line repair | $250 to $600 | A few hours | Licensed plumber |
| Slab-leak reroute | $3,000 to $8,000 | One to three days | Licensed plumber with reroute experience |
| Acoustic detection | $350 to $750 | Same-day testing is common | Leak-detection specialist or plumber |
| Thermal imaging add-on | $200 to $500 | Added to an inspection | Leak-detection or restoration technician |
| Drywall and paint repair | $400 to $1,200 per opening | Depends on drying and finish work | Handyman or restoration contractor |
| Flooring replacement | $8 to $25 per square foot | Material and access dependent | Flooring or restoration contractor |
A capable homeowner may handle a visible shutoff-valve drip or simple trap replacement. Shut off the water first, avoid electrical hazards, and do not open a wall unless you know what you are testing. A handyman can repair a small, confirmed drywall opening, but concealed pressurized lines require proper testing and repair.
Call the trade that owns the risk. A licensed plumber should handle pressurized and drain-line work. A restoration contractor should manage structural drying, microbial control, and reconstruction when moisture has spread.
A full restoration service fits situations involving several rooms, drying equipment, or coordination among plumbing, contents, flooring, and insurance documentation. Before hiring, ask what the provider will test, which readings and photographs will be recorded, and whether the estimate covers source repair, mitigation, and rebuilding.
A useful estimate should identify the suspected source, the evidence supporting it, the work completed, and anything that remains untested. That record helps distinguish a verified repair from a temporary patch.
Signs You Need a Professional Restoration Service
A plumber may stop the water without proving the building is dry. Call a restoration professional when the evidence suggests moisture moved beyond the repaired fixture or pipe, or when you cannot document what was tested.
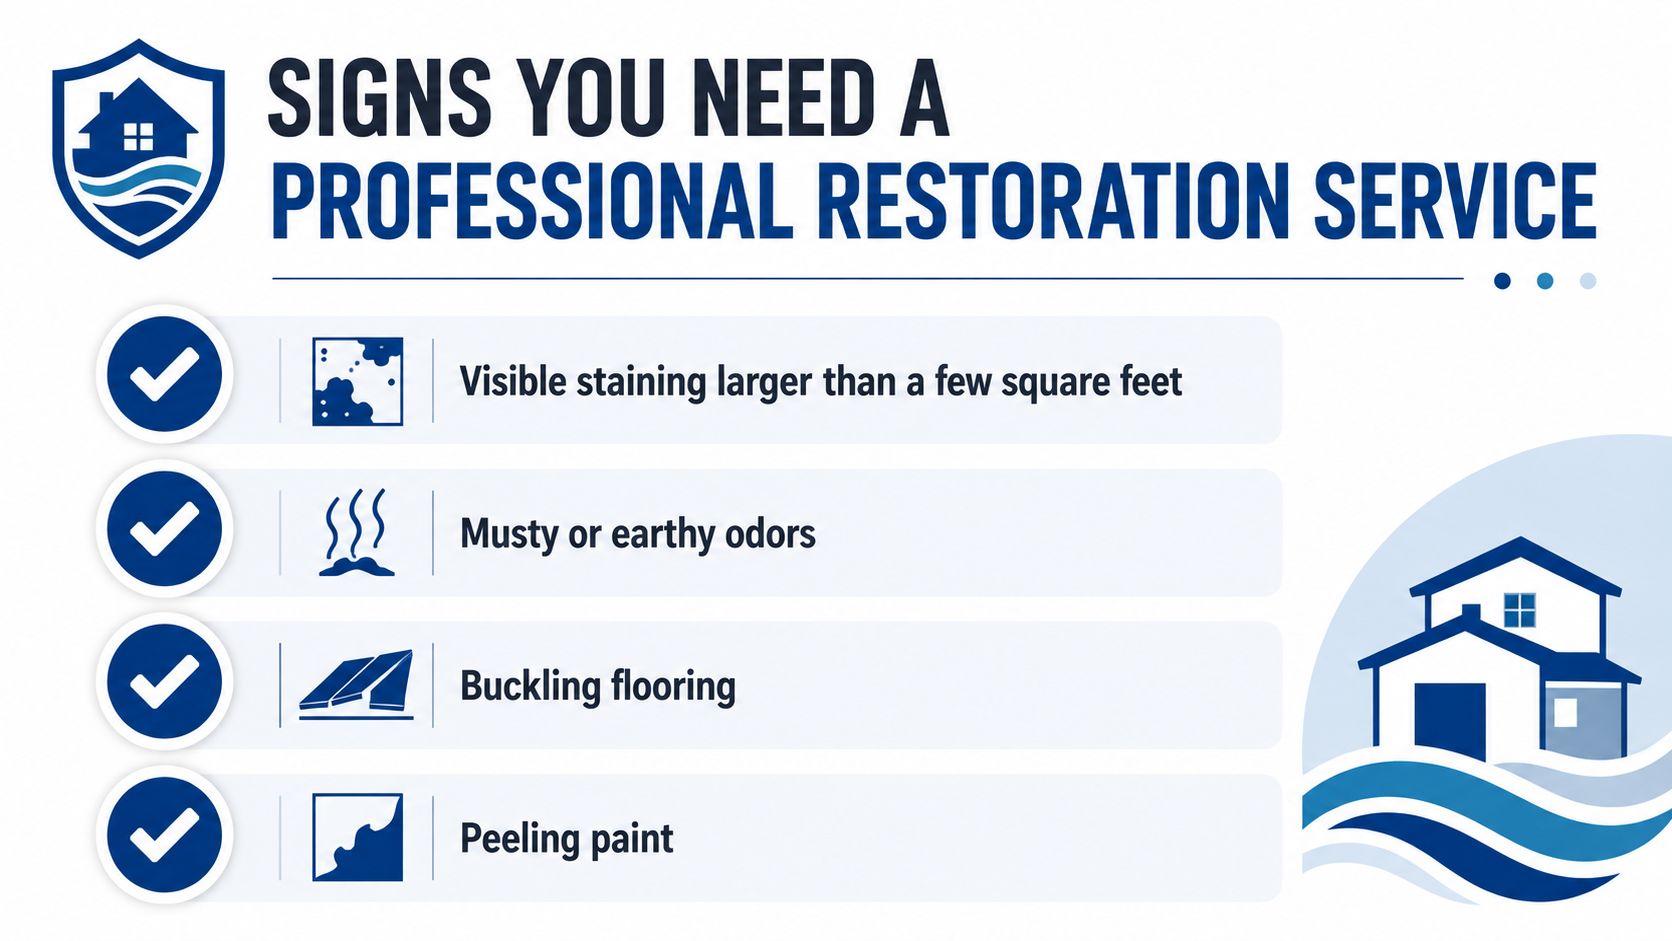
Escalation signals that require judgment
- The affected area does not match the repair: Water appearing away from the access point can indicate travel through framing, flooring layers, or a ceiling cavity.
- Readings stay high after the source test passes: Residual moisture can remain after a leak stops, but readings should show a drying trend rather than remain unchanged or spread.
- Damage returns after drying: New staining, swelling, or dampness after materials appeared dry points to an unverified source, a second leak, or moisture entering from outside.
- Several systems are involved: Wet insulation, cabinets, underlayment, or HVAC components require more than a plumbing repair.
- The cause cannot be reproduced: A professional can set out what conditions were tested and identify what remains uncertain, rather than treating a temporary dry surface as proof.
Insurance adjusters also assess evidence differently from homeowners. They typically need a documented cause, affected materials, photographs, moisture readings, and a clear separation between emergency mitigation and rebuilding. Ask the contractor to record what was inspected, what was removed, and which areas were inaccessible.
Extended saturation may require air movers, dehumidifiers, moisture mapping, and repeated readings. A slab leak or water spread across several rooms can involve structural drying and coordination among plumbing, contents, flooring, and insurance documentation.
A restoration estimate should name the suspected source, supporting evidence, completed work, remaining limits, and whether source repair, mitigation, or reconstruction is included. If the loss involves HVAC equipment, multiple rooms, or wicking up drywall, use a qualified restoration team instead of a cheaper diagnostic shortcut.
Verifying the Leak Was Fixed
A quiet pipe and a wall that looks dry are only a starting point. Verification means proving that the suspected source was tested after the repair, the affected area was checked for continued change, and any limits were recorded.
Start with a written test sequence tied to the repair. After a supply-line repair, run the connected fixture and check the line under normal operating pressure. After a drain repair, use the drain repeatedly while inspecting the access point and nearby materials. For a toilet, appliance connection, or valve, operate the equipment through the conditions that previously produced moisture. The contractor should record what was tested, for how long, and whether any water appeared.
Use a closeout checklist
Before the work is considered complete, request these items:
- Source test: Identify the fixture, line, drain, or exterior condition tested after the repair.
- Follow-up inspection: Record whether new staining, swelling, odor, or dampness appeared during or after testing.
- Repair details: Name the component repaired, replaced, sealed, or bypassed, along with any remaining restriction.
- Access limits: State which cavities, finishes, or weather conditions could not be inspected or reproduced.
- Condition record: Include dated photographs of the source, access opening, affected materials, and completed repair.
- Next check: Specify whether the area needs observation after use or during the next wet-weather event.
A contractor should also explain what would trigger a return visit. Recurring moisture near a repaired area may indicate a second source, water migration through a slab or wall assembly, or an exterior leak that was not active during the inspection. Envelope leaks deserve particular caution because wind-driven rain may be required to reproduce them. A dry patch immediately after work does not close that question.
This evidence protects the homeowner when insurance or reconstruction decisions follow. Policy analysis of leak detection and repair programs describes how inconsistent field methods, incomplete documentation, limited resources, and differing interpretations can turn repair programs into paperwork exercises. Ask plainly: What post-repair test was completed, what did it show, and what remains unverified?
RestoTek TX handles inspection, leak detection, structural drying, microbial prevention, plumbing-related water-loss services, and reconstruction in Georgetown, Austin, and nearby Central Texas communities. For unexplained moisture, recurring leaks, or damage that continues after a plumbing repair, RestoTek TX can help locate the source, document the condition, and restore affected areas.